How To Grow Your Etsy Business: Product Photography
If you caught the last post on branding your Etsy shop, you know that one of the secrets to success on Etsy is treating your homepage like a storefront. That means establishing a cohesive design for your shop icon, banner, cover photo, and profile photo. But the importance of branding doesn’t stop there! In this post we’re going to talk about how to tie everything together with product photography that speaks well of your brand.
When consumers shop online, a photo is the only tangible representation of a product they have - it’s the closest thing to actually picking it up and inspecting it. According to Etsy’s customer research poll, 90% of shoppers stated that having high quality images was the most important factor when deciding to buy products. That makes imagery more important than shipping costs, reviews, and even the cost of the item itself.
If you don’t know where to start when it comes to creating high quality images, fear not! Whether you’re a seasoned Etsy seller or just starting out, we’ll show you how to take amazing photos of your products, edit them to perfection with BeFunky’s Photo Editor, and even create transparent backgrounds for a seamless, professional look. Let’s get started!
Essential Tips For Product Photography
Just like the elements of your shop branding should be established, your product photography style should be consistent and cohesive. Not only will a dedicated photography style look more professional across your product lineup, it will seriously save you time in your photoshoots and editing workflow. Here are our best tips for approaching your photoshoots with consistency:
Invest In A Setup. The word ‘invest’ here may sound intimidating, but it really doesn’t cost much to achieve greatness when it comes to product photos. A good place to start is by finding the most well-lit room in your house (or shop, if you’re fancy like that). Natural lighting is a camera’s best friend, so planning your photoshoots next to a large window is a great idea. If you’ve got a lot of direct sunlight streaming in, you can diffuse the light by hanging a white sheet over the window.
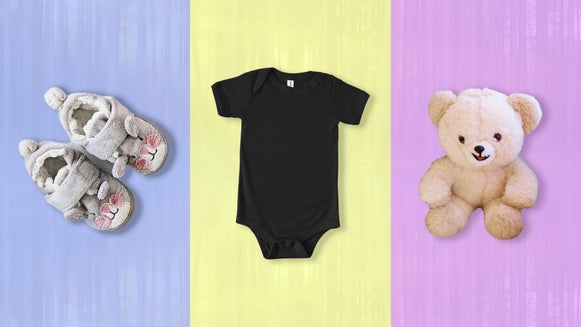
Keeping the backdrop simple will also work wonders. Not only will a solid-colored backdrop in a natural hue like white keep the all of the focus on your product, it will make editing a breeze. Commonly used backdrops are as simple as white foam core or a large roll of paper. Using the same backdrop and styling in every photo will keep your shop looking clean and consistent.
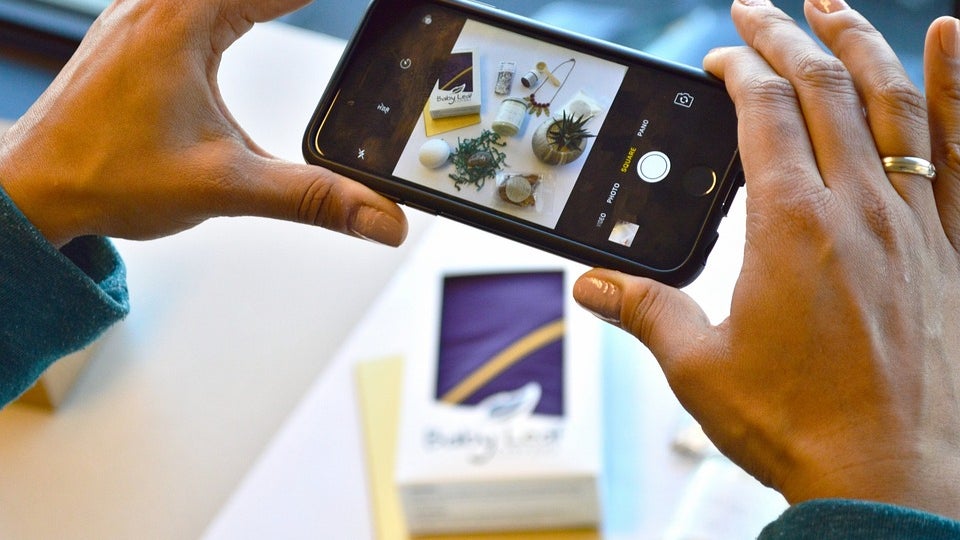
Get To Know Your Camera. You don’t need an expensive DSLR to take great photos, but you do need a high-quality camera, even if it’s your smartphone. Each camera will have its own unique settings, so spend some time getting to know how to use them. If you’re absolutely brand new to photography and don’t know the first place to start with your camera, try starting with a free, interactive photography course on sites like Photoskop.
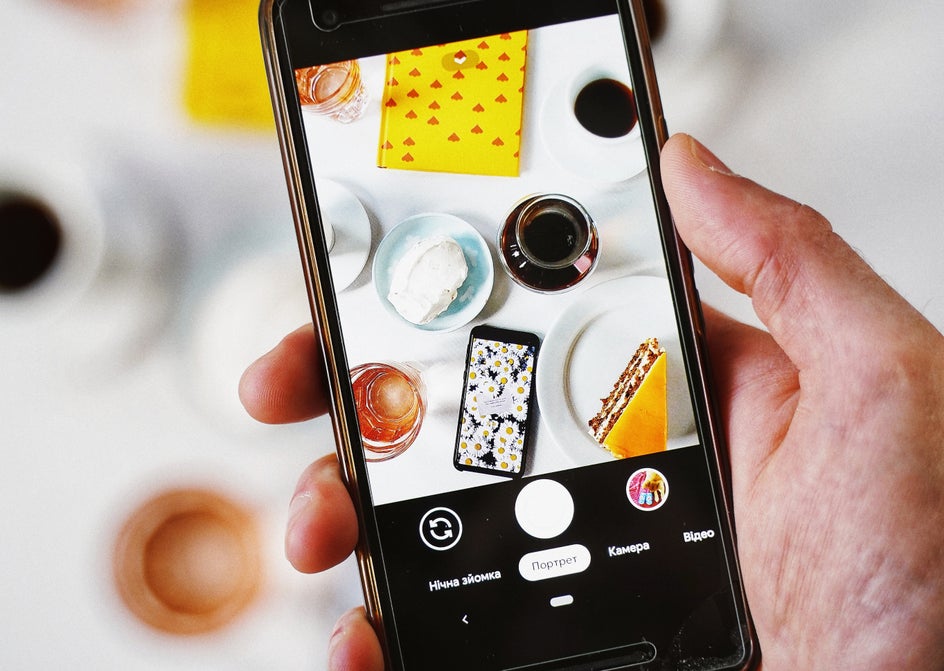
Plan Out Your Photoshoots. Remember how we talked about photos being the closest thing a customer has to actually holding the product in their hands? Instead of one great shot of your product, it’s a good rule of thumb to have multiple photos and show the item from every angle. That way, the customer can better imagine the product. Etsy allows you to upload up to 10 images per listing, so take advantage of the opportunity to showcase your item and make a list of all the shots and angles you want to capture.
Use Props Wisely. Remember that the main focus of your imagery should be your product. That means, if you are showcasing your product in the midst of other items you must be sure that your product remains the focus.

Too many props can risk the chance of cluttering your shot and confusing your customer. So when using props, ask yourself if they add to the shot and intrigue, or confuse and detract.
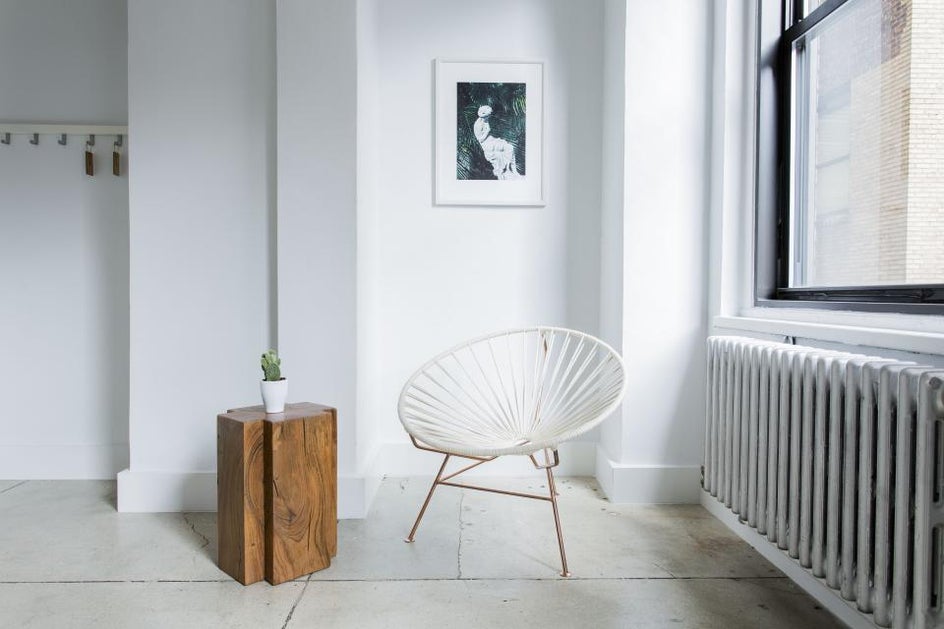
Establish A Style. Think about the brand you’ve established for your Etsy shop. Is it colorful, minimalistic, retro, bohemian? Whatever style you’re going for with your brand, carrying it over into your product lineup is a good idea for consistency. If it’s colorful and poppy, think about photographing your items with different colored backgrounds or using colorful props on a white background, as long as it showcases the product well. If it’s minimalistic, shooting on a white infinity background might be a good idea. Whatever look you’re going for, keeping it true to your brand is essential.
Keep Yourself Organized. Once you finish a photoshoot for each product, take a moment to upload those image files to your computer. Instead of one file on your desktop that includes all of your products from the shoot, try organizing each product’s photos into its own file. Creating separate files for each product will spare you a headache when it comes time to move on to the editing process.
How To Edit Product Photography
Once you’ve nailed your photoshoot, a little photo editing can go a long way! Thankfully, BeFunky’s Photo Editor offers a huge library of free tools to help your products look their best. Here are some of our favorite edits for enhancing your product:
Balance Exposure
Even products captured in the best natural lighting could use a little balance in the exposure department. The Exposure tool helps to balance your brightness, contrast, shadows, highlights and fill light.
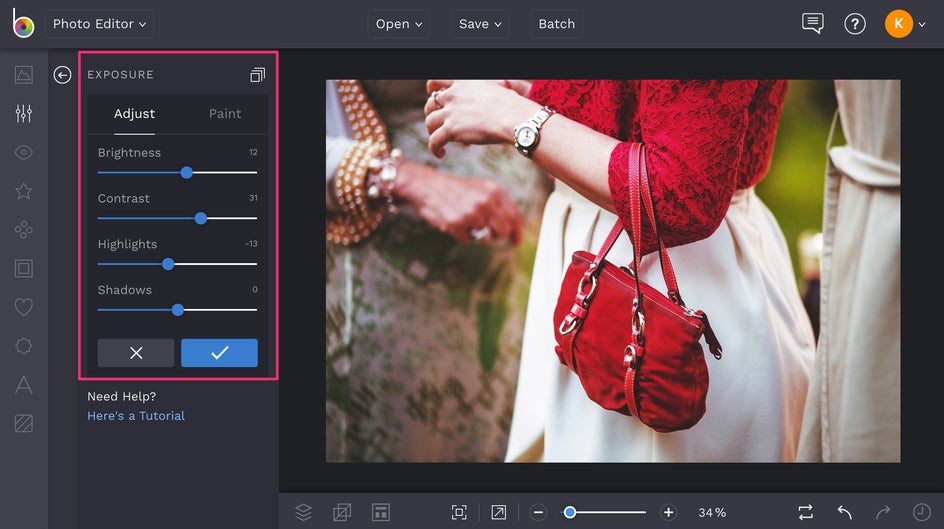
You’ll find the Exposure tool in the Edit menu on the left, where you can slide the respective scales to brighten a dull photo, balance the contrast, and more!
Sharpen Details
A good image sharpener will help you bring out the details in your product. Luckily, BeFunky’s Sharpen DLX effect is beyond good. It’s one of our smartest tools yet, as it’s able to sense the edges of the objects in your photo and sharpen only the areas that need it most. You’ll find it in the Enhance DLX category at the top of the Edit menu.
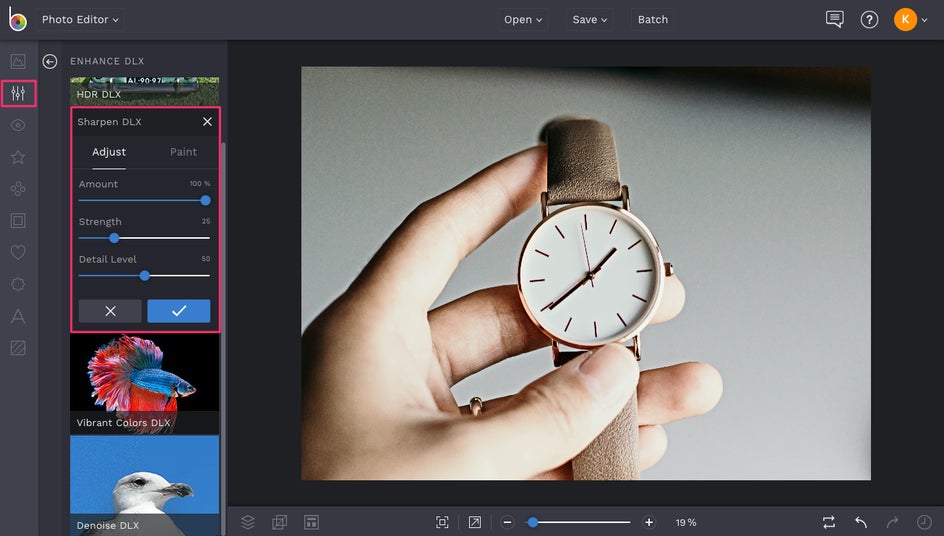
Once you click on Sharpen DLX, it will automatically sharpen your photo without ever producing the dreaded halo effect of oversharpening. You can even click the Settings menu (looks like a mixing board) to adjust the Opacity, Strength, and Detail Level and really customize the effect.
Get Rid Of Unwanted Objects
There are times when you’re photographing a product and simply don’t notice a crumb, dust particle, or stray coffee bean until after you’ve taken the shot and put everything away. For times like these, BeFunky’s Clone tool can help you easily edit out unwanted objects from your photos in just a few clicks. You’ll find the Clone tool in the Touch Up tab in the main menu on the left.
When you’ve selected the Clone tool, adjust the brush size so that it’s just large enough to cover up the unwanted object. With your paintbrush target, click on the area of the photo that will be essentially covering up the unwanted object, which in most cases will be its immediate surroundings. A second brush will appear with the target remaining on the first selection. With this second brush, click on the unwanted object and drag your brush until the object is removed.
Crop Photos To Perfection
Whether you want your product to be centered in the photo, or you’re wanting to stick to the rule of thirds, the Crop tool will be your best friend. You’ll find the Crop tool in the Edit menu, and when you click on it, a target will appear.
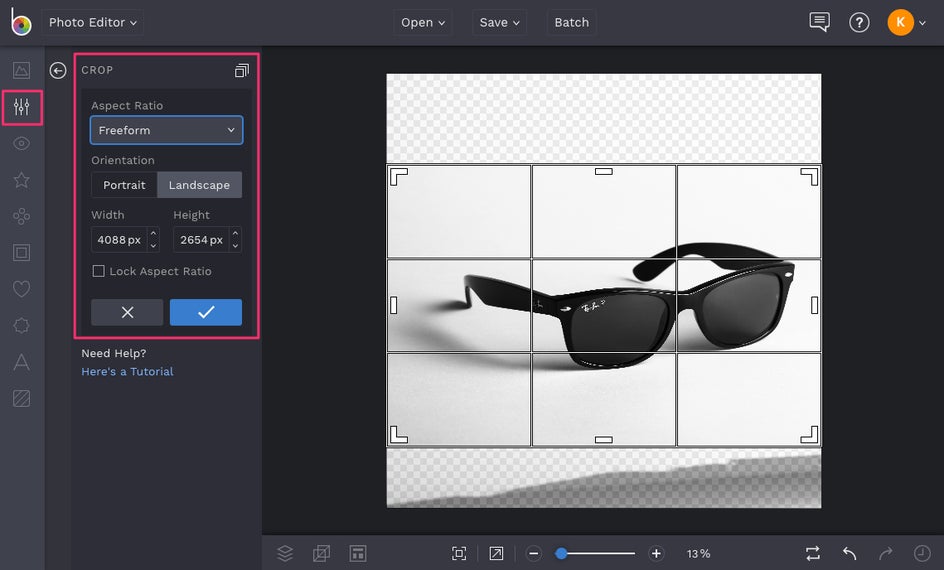
You can crop photos in freeform mode by clicking and dragging the edges of the target, or select one of the crop presents from the dropdown menu. Either way, make good use of the gridlines to ensure your product is exactly where you want it to appear in the image.
Resize Images To Etsy’s Standards
Per Etsy, listing photos should be at least 1000 pixels wide. You can resize images by clicking on the Resize tool in the Edit menu to ensure they’re the ideal Etsy listing size.
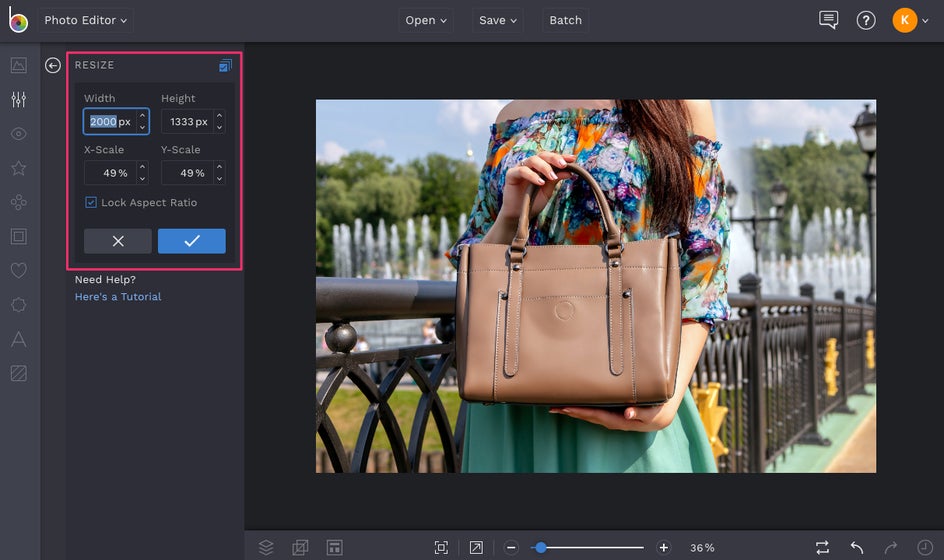
Once you’ve clicked on the resize tool, you’ll be able to type the ideal dimensions into the Width and Height boxes, before clicking the blue checkmark to confirm. Resizing images will not only help you meet Etsy’s requirements, it’ll also help you save on file storage. A win win!

These are just five essential photo editing tools we recommend for product photography, but there's so much more you can do with BeFunky! Not only can you make your product look it's absolute best, you can even edit the background of your photos. We'll show you that next.
How To Create A Transparent Background
Now that you’ve highlighted your product’s best features in the editing process, it’s time to turn your attention to the image background. Transparent backgrounds are common in product photography, mostly because eliminating the background creates a seamless look and brings the focus where it should be - your product.

Even when you photograph your products on a white background, the chances are that shifts in the natural lighting cause you to capture different shades of white in the background, which can be a problem if you’re wanting your product photos to look consistent. Creating a transparent background in your product photography keeps the background color consistent with the color of the site, which is a neutral white on Etsy. If a consistent white background is what you’re after, we’ll show you how to use BeFunky’s Cutout Tool to achieve it:
With your product photo uploaded in the Photo Editor, select the Background tool from the Edit menu on the left. Once selected, the entire photo will turn into a checkered background, but don’t worry. Just click the Paint button and then select the Reverse icon (looks like two overlapping squares).
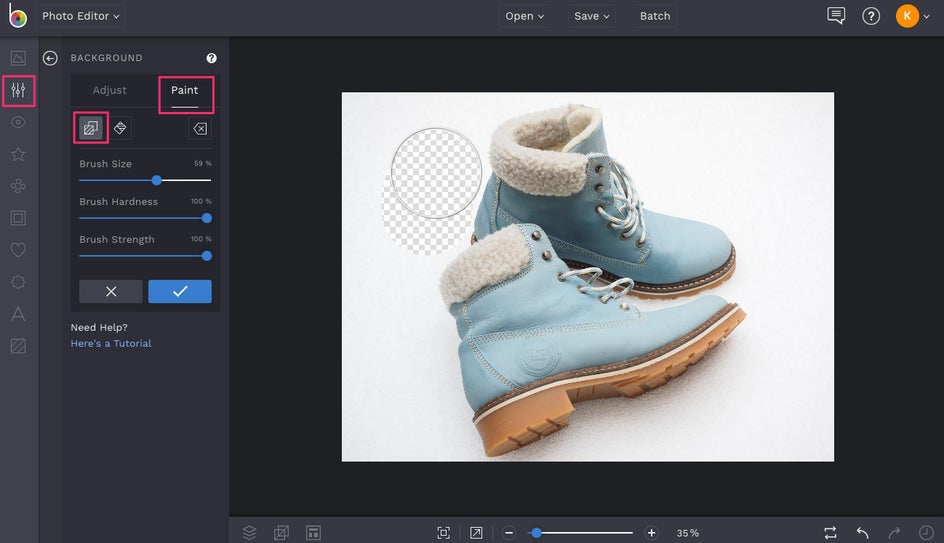
From here, you’ll be able to paint a transparent background around your product. Be sure to adjust the brush size to accommodate your photo and feel free to use the Erase tool if you paint outside the area you’re wanting transparent.
Once you’ve finished painting over the background, click the blue checkmark to apply it. To save your image, select the Save button at the top of the Photo Editor and be sure to Save as a PNG, so the background remains transparent instead of checkered.
Make The Most Of Your Etsy Listings
Now that your photos are Etsy-ready, all that’s left to do is list them! When titling your Etsy listings, be aware that the first five words are the most important, as these will be the keywords most searched. Also, make good use of the description section. Instead of a one-liner, describe your product in detail and be sure to include every selling point.
We’ve shown you how to establish your Etsy brand and make your product photos look their best, and now it’s time to get the word out and drive traffic to your shop. Stay tuned for part three of our series on how to grow your Etsy business: advertising. You’re on your way to Etsy success!