


One Click A.I. Background Remover
Easily remove the background of your image to make it transparent or replace it with a solid color!


How Does the Background Remover Work?
It is the easiest way to erase the background of your photos. Using our powerful A.I. technology, this tool detects the subject in your photo and erases the background around it. Use it to replace your photo background with a solid color or transparent background. You don't need any photo editing skills to use the tool.


Define Your Photo Subject
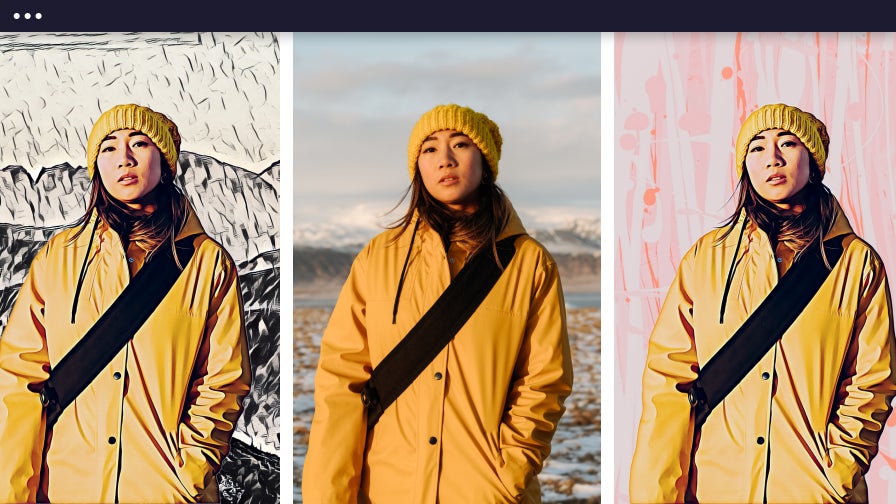
Using the Cutout tool and the Background Remover tool in the Photo Editor, you can isolate the subject of your photo from the background. Then, you can apply a wide range of photo effects on your background and subject independently until every pixel looks just the way you want. Make your portrait photography stand out by adding a textured background – like our Bokeh effects – without applying the effect to the subject. Now, you have complete creative control over your photo!


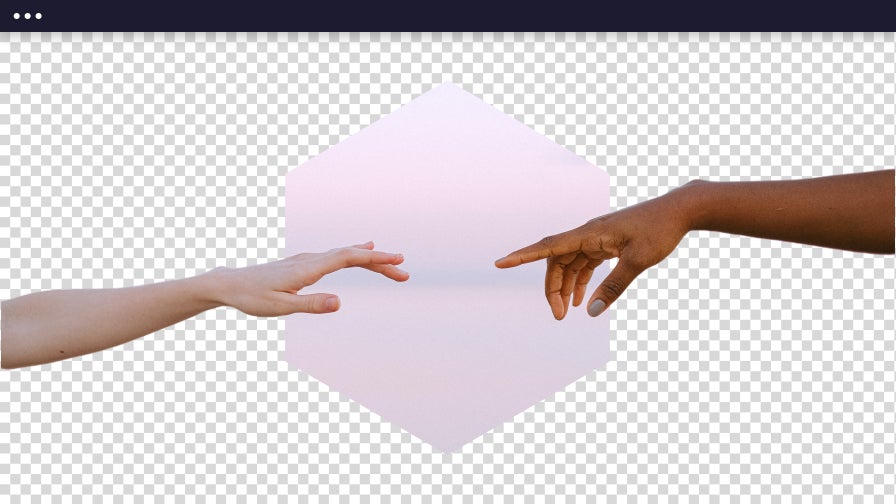
Create Designs With Transparent Backgrounds
Customizing your digital marketing designs doesn’t have to be tricky. Our one-click Background Remover easily isolates your subject to give your photo a transparent background. Save your image with a transparent background or your choice of any background color imaginable – from white to whatever shade matches your brand identity! Creating your digital marketing materials just got a whole lot easier.

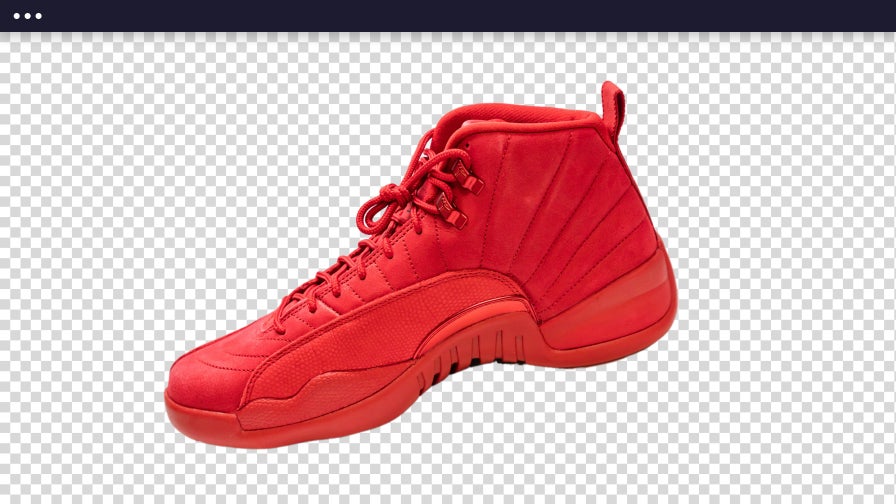
Customize Your Product Photography
Do you want to remove the background of your product photography to create seamless backgrounds for your online store? Our Background Remover will easily create transparent backgrounds for your product photography so you can customize them for Amazon, Etsy, or your personal website. Take your boring product photography and amplify it by erasing the background and replacing it with a new, eye-catching photo.

Removing Image Background - FAQ
How do I use the BeFunky Background Remover?
Click on the Cutout tool and then click the Remove Background button and watch the background around your subject erase automatically!
What photo file types can be used with the Background Remover?
BeFunky supports JPEG/JPG (common file format for digital cameras), GIF, BMP, and PNG file formats. To learn more about what kinds of files can be uploaded to BeFunky, read here.
How do I save my image with a transparent background?
You’ll want to save your image as a .PNG, as it’s the only filetype that supports transparencies. From the Save menu, select the .PNG option when saving to BeFunky or your Computer.
Can I add a subject to my photo?
Yes! You can use a subject from one photo and add it to any other photo. Check out our full tutorial on how to do this here.
How does the Background Remover find my subject in a busy photo?
It works by detecting the main subject in your image and erasing the background around it. Using power A.I., the subject of your photo is identified and isolated from the background.
What do I do if there are parts of my picture that did not get selected by the Tool?
If you find the tool missed anything, use one of the Cutout selection tools to edit areas that need touching up. Switch between the Remove and Keep buttons in the brush settings to remove parts that were missed or add back areas that were removed.
How to Remove Image Backgrounds in 4 Easy Steps
Use BeFunky's Background Remover to create transparent backgrounds, add a solid-colored background, and more!

01. Upload a Photo
Open your image in BeFunky's Photo Editor.

02. Use the Background Remover
Select the Cutout tool and click the Remove Background button to let our A.I. detect the subject in your image.

03. Choose a Background Color
Keep the image background transparent or add a new Background Color.

04. Save Your Image
Save the image as a PNG to keep the background transparent, or choose the JPG option for images with a solid colored background.


