Introducing the New Color Bleed and Volume Light Effects
BeFunky is constantly adding new and exciting features to keep your creative flow fresh. The two new additions to the Effects tab of the Photo Editor include Color Bleed and Volume Light. Each can be useful in situations where achieving a certain look is otherwise very difficult. With Color Bleed, you can add watercolor details to your image. Volume Light creates the illusion of light beaming from the brighter parts of your image, while also making it appear translucent. Read on to learn more about how and when to use these new effects!
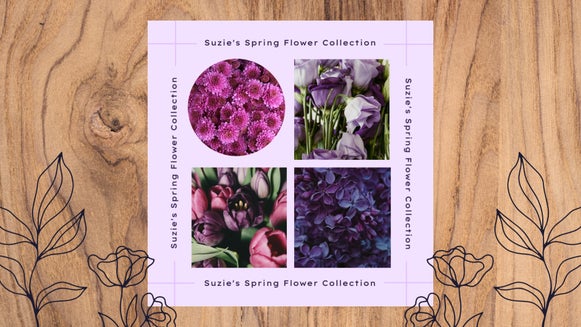
Add a Color Bleed to Achieve a Softer Aesthetic
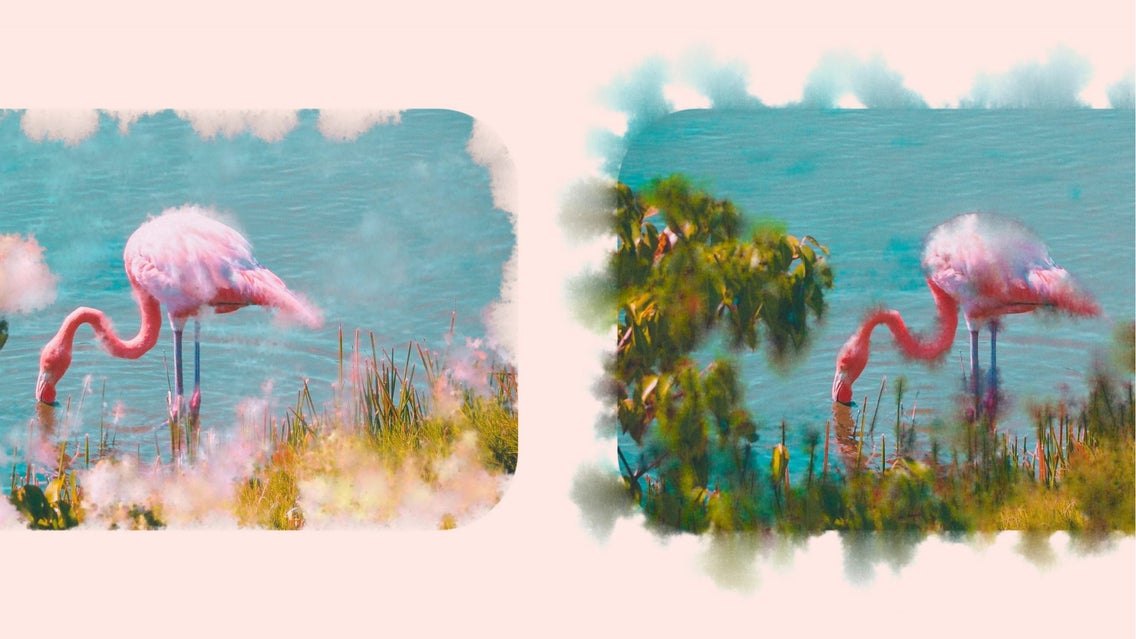
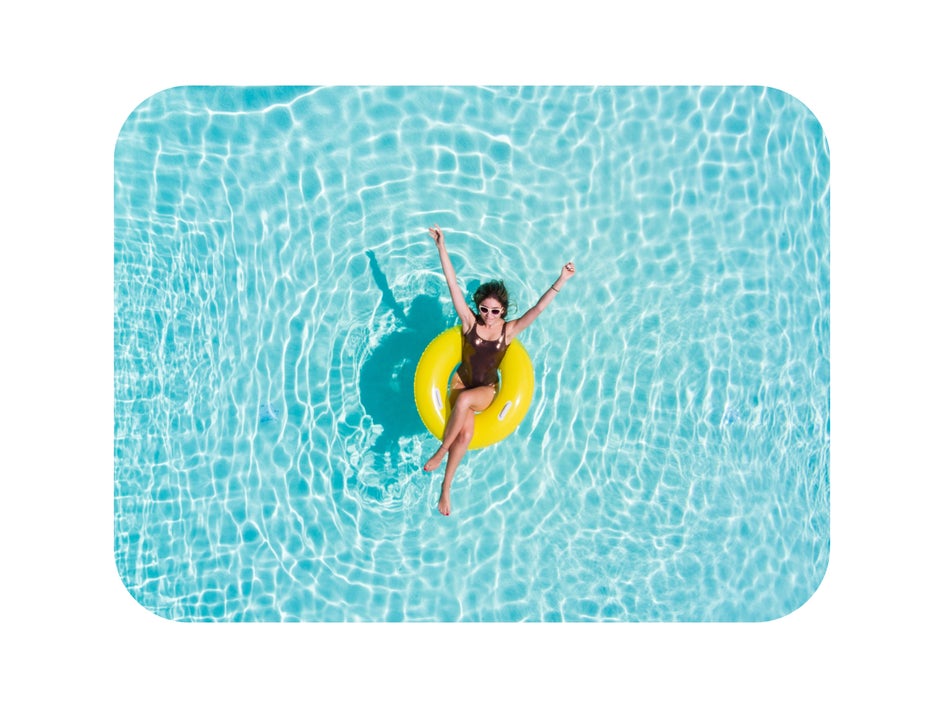
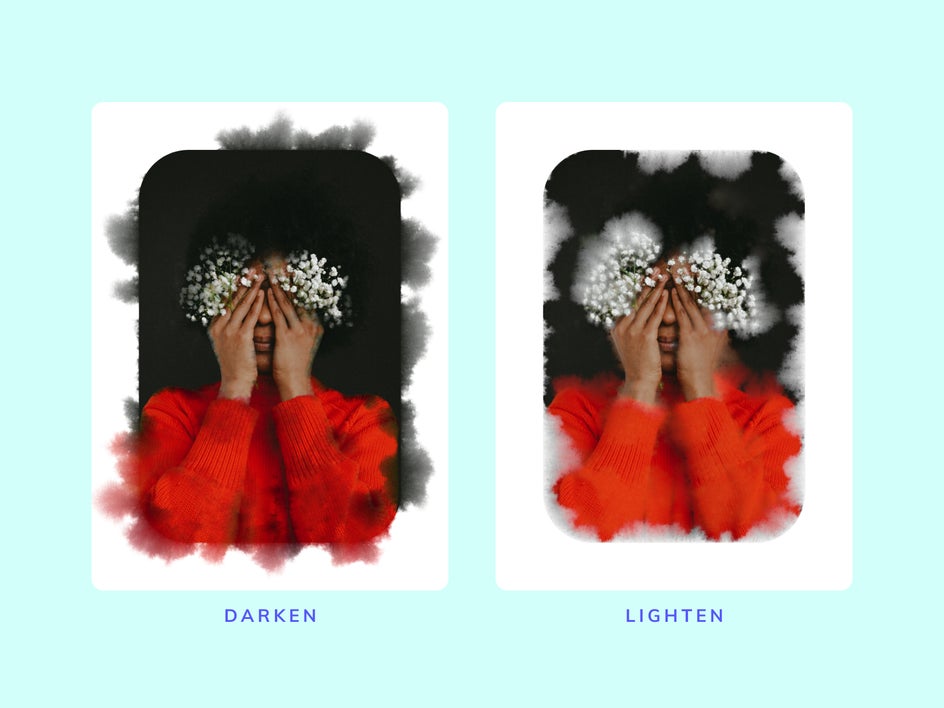
Adding a color bleed to your design mimics the look of a wet-on-wet watercolor painting – with erratic, water-based patterns that are saturated with pigment. This effect can be used to add an analog-meets-digital style enhancement with watercolor details. In the example below, we took an image with a very stark, white border and applied the effect to achieve a softer, overall aesthetic.
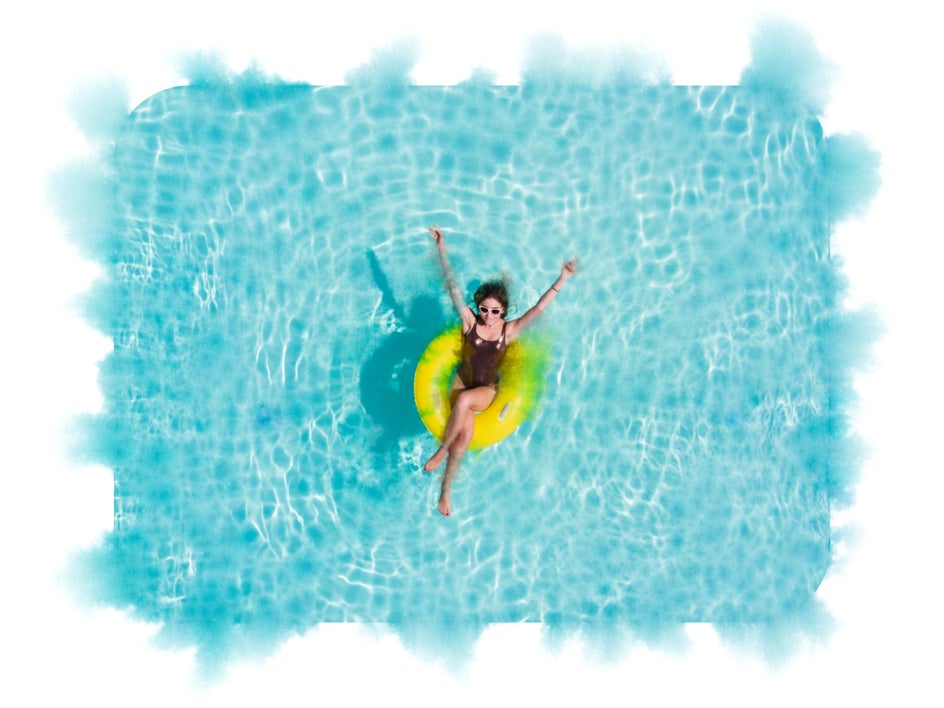
With the available Darken and Lighten modes, you can apply this effect to both darker and lighter images. Darken bleeds the darker colors and is best used on lighter images, as it will emphasize your subject rather than wash it out. Similarly, a darker photo would benefit from Lighten mode, which bleeds the lighter colors instead, to avoid producing a murky image. Whichever way you go, for the Color Bleed effect to look its best, an image with solid colors and fewer details is favored over an image with like-tones and intense detail.
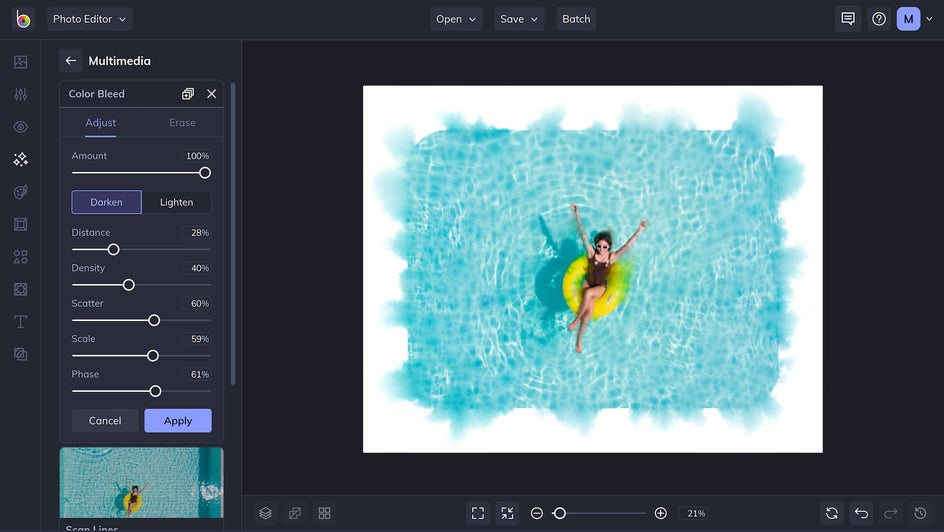
To apply a Color Bleed, first head to the Multimedia category in the Effects tab. Once you’ve decided on an image and clicked on the effect, you’ll be presented with several options.
As mentioned above, the two modes, Darken and Lighten, allow you to control whether the color bleed is mixed with light or dark colors. From there, Density decides how pigmented the bleed is. Scatter increases the blend and branches out further. Scale creates the illusion of larger water patterns. And lastly, Phase randomizes the order and placement of the patterns.
Use Volume Light to Emphasize Light Rays
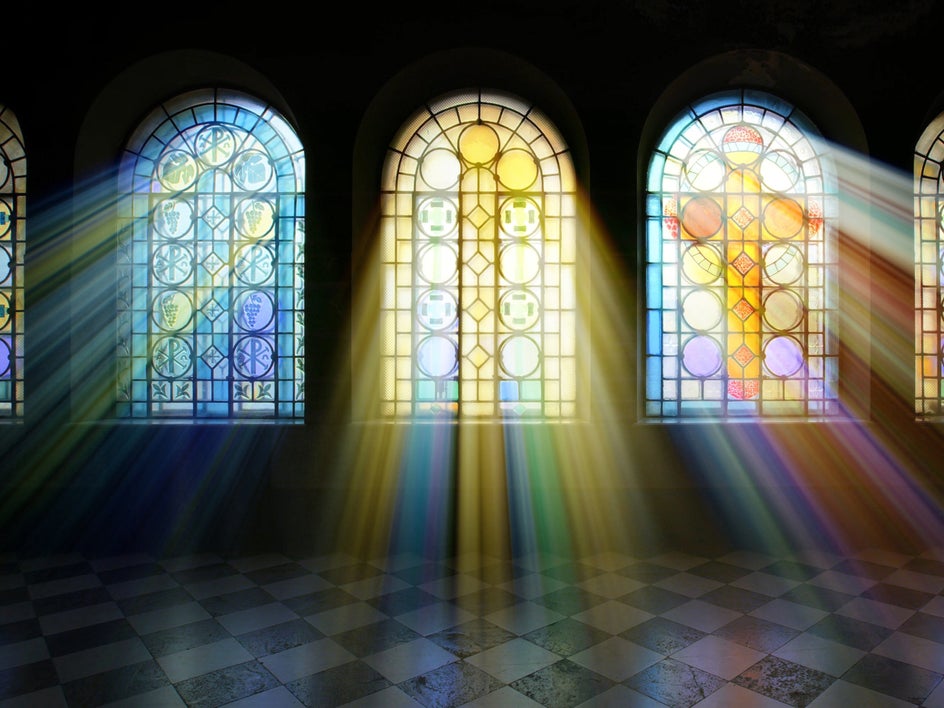
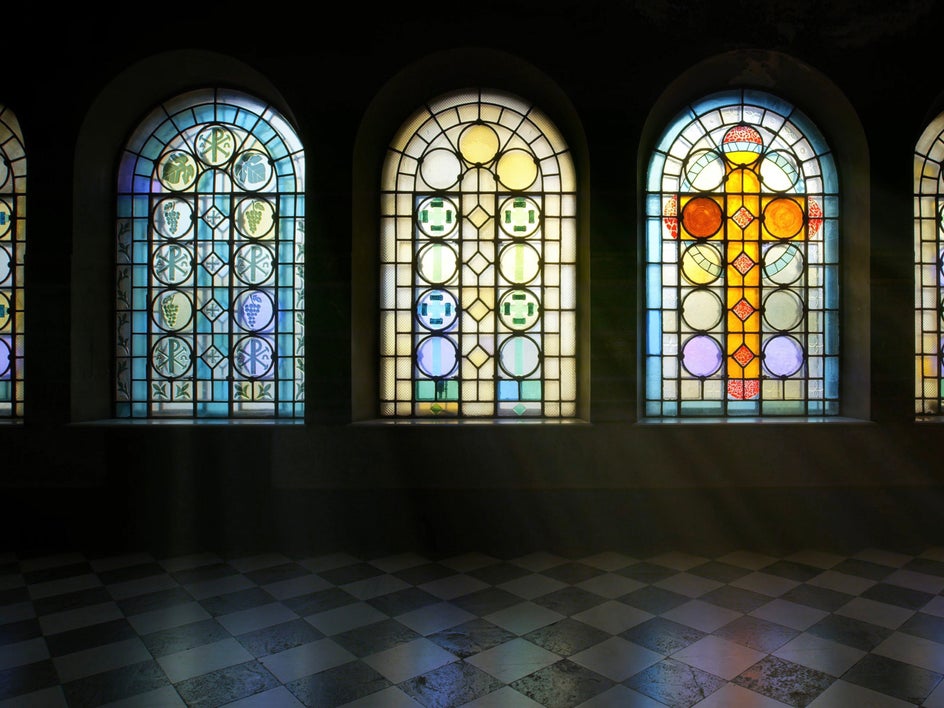
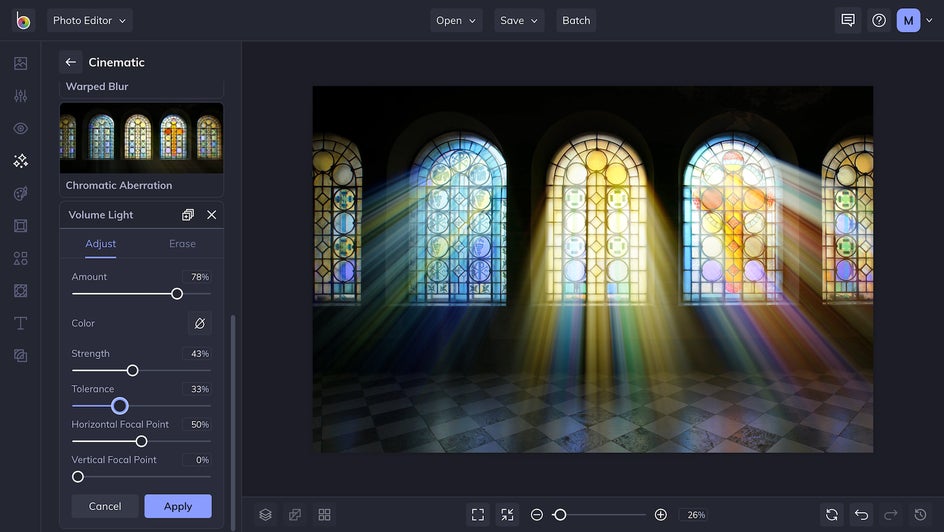
The Volume Light effect generates light rays by making parts of your photo appear translucent. Unlike Lens Flare, Volume Light can be used to simulate a natural light source – unrelated to a camera’s lens. This effect is perfect for emphasizing light that shines through the trees, fabricating celestial rays in the clouds, or dramatizing the light that filters through windows in indoor photography – as we've done below. The effect draws out the colors of the stained glass to give the dark and otherwise unexciting hallway an ethereal glow.
Volume Light can be found under the Cinematic category in the Effects tab, where you'll find parameters to customize your effect.
Amount turns up the brightness and intensity of the effect. Adding a Color will change the shade of the atmosphere that the light travels through. Strength is used to decide how far the light omits. Tolerance determines how luminous a color has to be to emit light. The higher the tolerance, the more colors will register. Finally, Horizontal and Vertical focal points move the direction of the light's focal point.
Create Something New With Volume Light and Color Bleed
Now that you know all about these new effects, we hope you're inspired to experiment with them in your own designs. Our effects can be applied to any photo to create something totally new – and perhaps unexpected - that will unlock new channels of creativity.