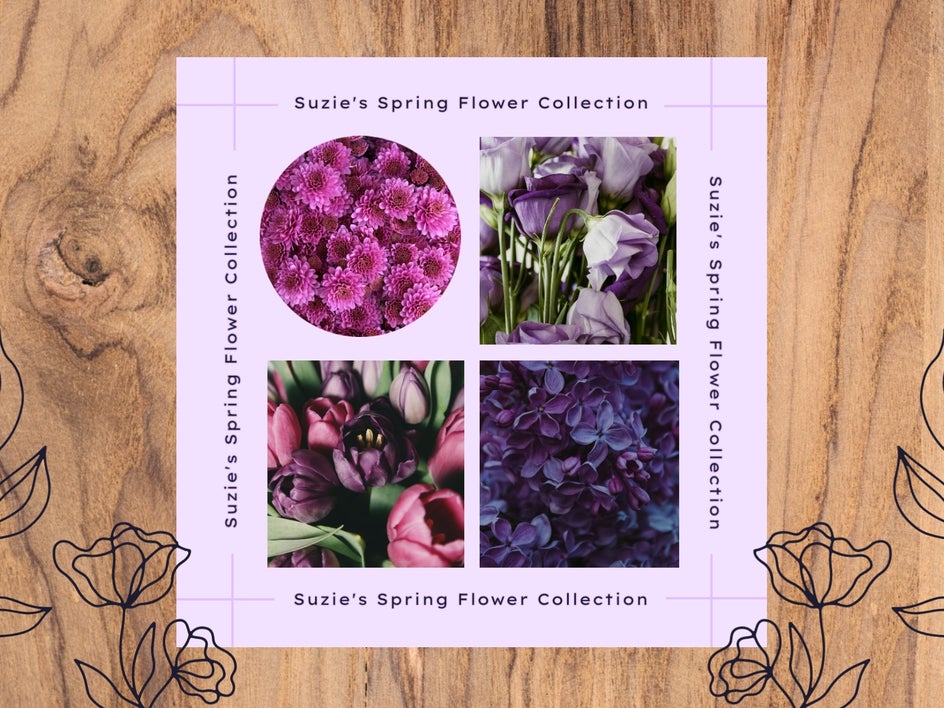
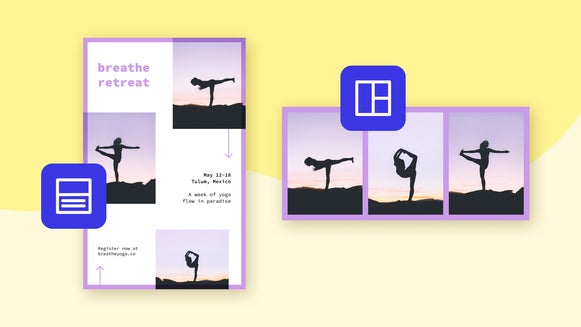
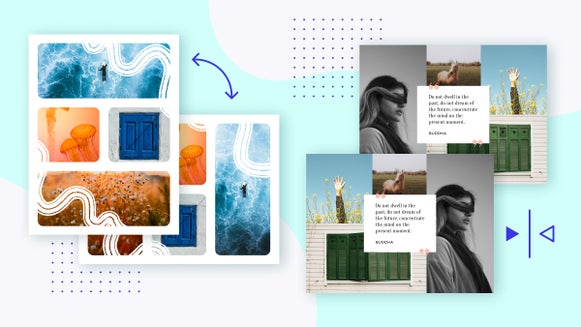
How to Customize a Collage Template in the Graphic Designer
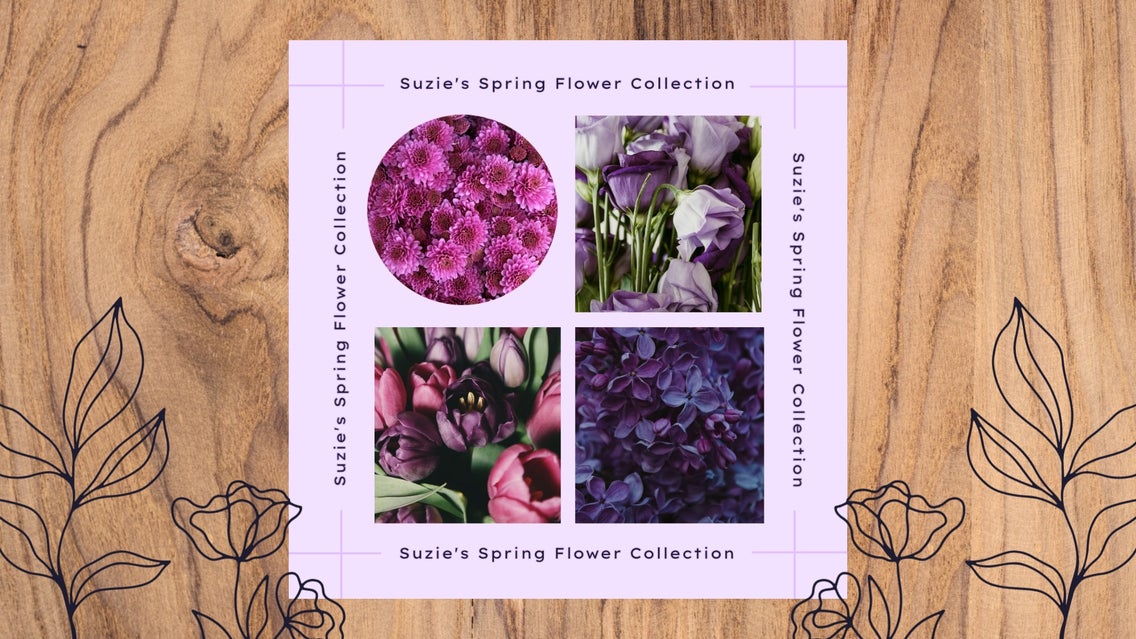
BeFunky's Collage Maker is a great resource for easily compiling your favorite photos into an original collage. But did you know that the Graphic Designer also offers easy drag-and-drop collage templates? Read on to learn how to customize our collage-focused designer templates.
How to Customize a Collage Template in Graphic Designer
Creating a collage in the Designer is a super easy process. We'll walk you through choosing a template, adding photos, and making it your own! First, head to the Designer by clicking here.
Step 1: Choose Your Template
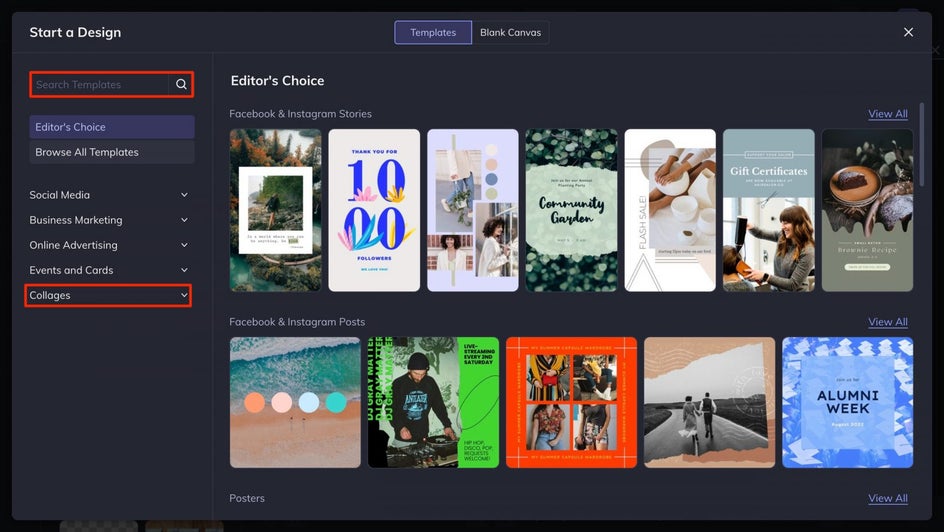
To find a collage template, type "Collage" into the search bar, or head to the Collages category. If using the search bar, you can add other keywords to your search for more refined results. Click on the template closest to your ideal look, followed by Use This Template.
Step 2: Add and Edit Your Photos
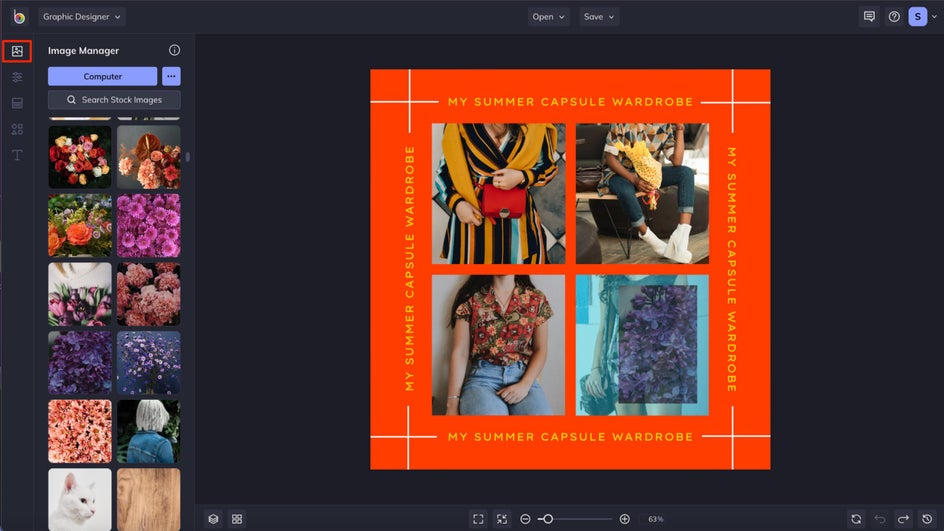
Next, head to the Image Manager tab where you'll be presented with several ways to upload your images – you can drag and drop photos directly from your desktop, choose some images from our Stock Image library, and more. Then, drag photos on top of the placeholder photos already on the template. Once you've done this, you may want to make some edits to your images. Luckily, you can edit photos directly from the Designer!
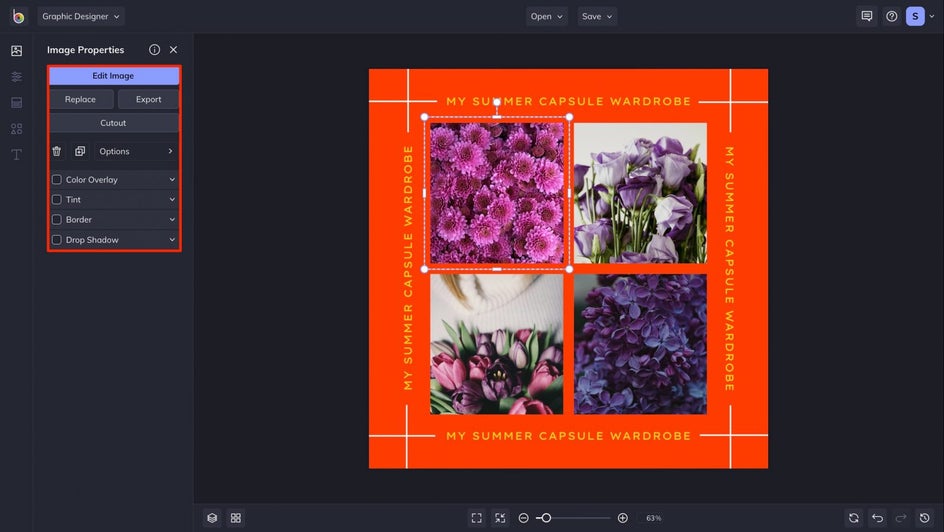
Click on any photo to open the Image Properties menu. From here, you can add a drop shadow, tint, and more. Or, click on the Edit Image button to access all of the features of the Photo Editor. Add effects, use our A.I. tools to make impactful improvements in a single click, touch up portraits, and whatever else you need to make your images stand out.
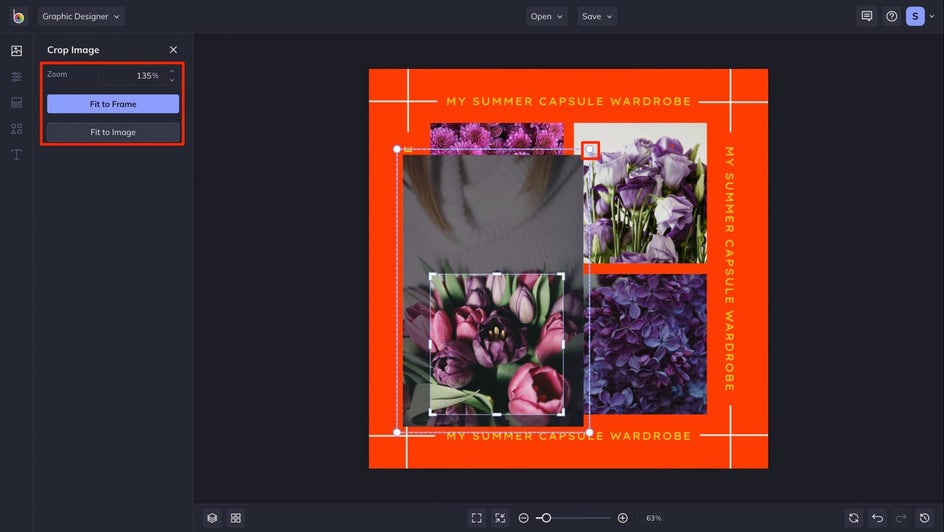
During the process, if you find that some photos may look better elsewhere, simply drag and drop one of the photos into another cell to replace it. You can also move or adjust photos from within a shape by double-clicking and using the guides, or by holding down Shift and dragging your mouse on desktop. To be more precise, use the Crop Image menu to adjust the zoom or use the Fit to Frame and Fit to Image options.
Step 3: Customize It!
Now, let's customize the template itself. Change the background color from the Customize tab by clicking on the first color swatch. Here, you can choose a color from your library, find one you like with the Color Picker, or plug in a HEX code.
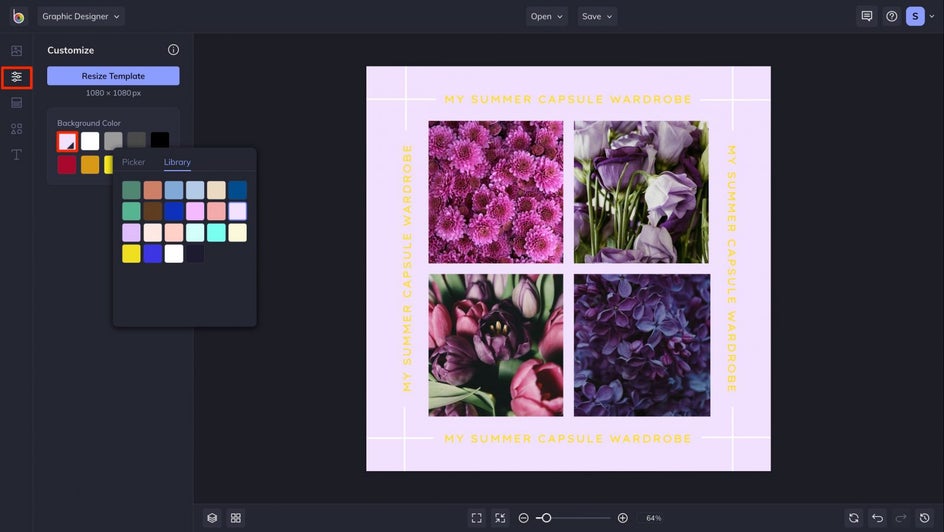
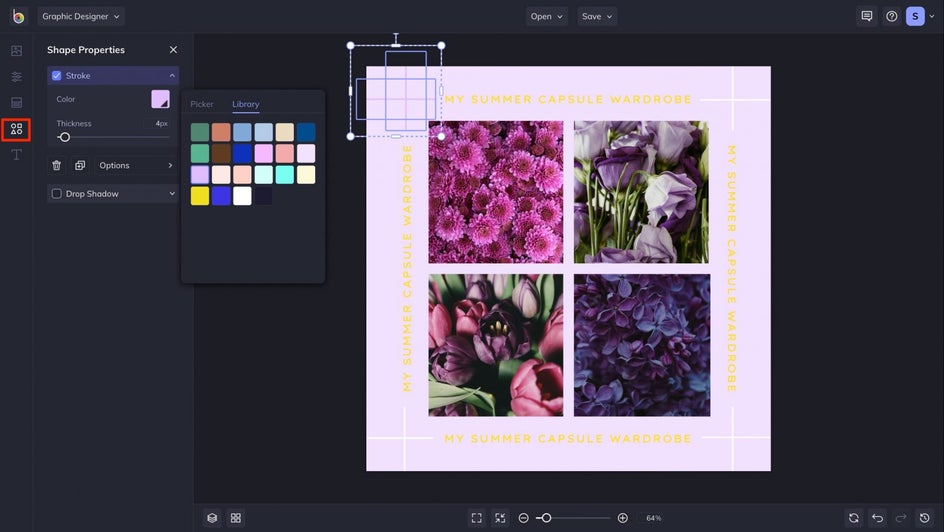
To edit graphics, click on a graphic once to open the Graphic Properties menu. Each shape has some unique customization options, but you will always be able to change the color. Here, we edited multiple graphics by clicking and dragging our mouse to select both lines and then picked a new color. With multiple assets selected you can also uniformly change the size, opacity, and any other shared parameters. To quickly access this selection again, create a group.
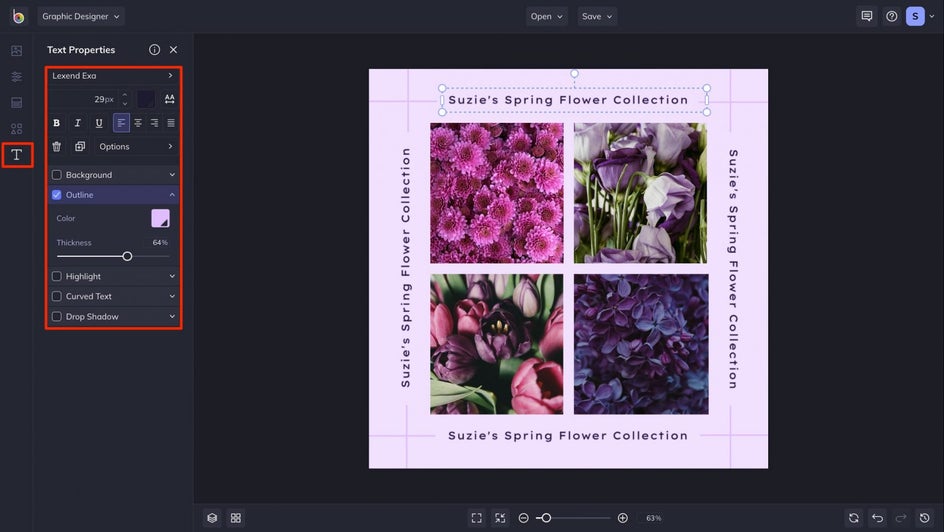
To change the text in a template, a double-click lets you edit the preexisting phrase and opens the Text Properties menu so you can change the color, apply a drop shadow, add border, and more to make your message stand out.
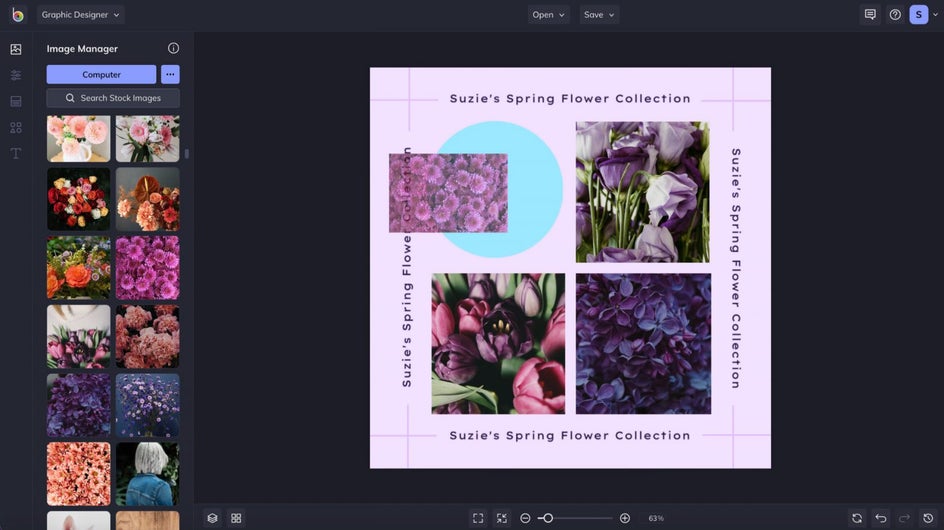
And in the easy drag-and-drop motion you use to swap images, our Clipping Mask feature allows you to plug in images to any graphic or text added to your design. That means you can fill a triangle graphic or some chunky text with a photo, or use any one of the thousands of graphics and fonts we have available.
Step 4: Save Your New Collage Design
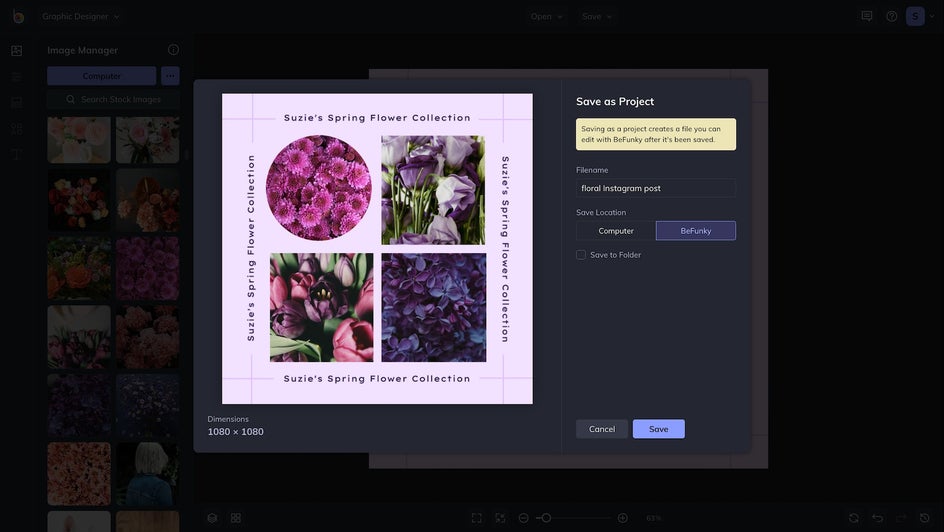
Once you're done customizing, it's time to save your design. Click on the Save button found at the top of your canvas, followed by your desired location. We recommend taking advantage of the Save as Project feature if you want to come back and continue editing at a later time.
Designer Collage Templates for Any Occasion
BeFunky's Graphic Designer is a super versatile tool, and with collage-specific templates, you can create a standout collage for any occasion. But if you're looking for a more straightforward, image-heavy approach with fewer design elements, sticking with the Collage Maker is probably the best option!
