How to Edit Multiple Photos at Once with the Batch Image Resizer
Wouldn’t it be nice if you could use the same sized photo for every platform and medium you need? Unfortunately, nearly every social media platform and website has size requirements for photos, meaning you’ve got to have an image resizer handy to meet the specifications. It’s easy to use BeFunky’s Resize tool to size photos on a one-by-one basis, but that process can get pretty time consuming if you’ve got a whole folder full of photos to resize. That’s where our Batch Image Resizer comes in!
BeFunky’s Batch Image Resizer allows you to edit the image size on an entire group of photos, all at once. Just drag-and-drop all the images you want to resize, choose the percentage scale or type in a precise pixel amount, and watch them all resize before your eyes. It’s one of the many tools available in our Batch Photo Editor that will save you a tremendous amount of time in your photo editing process, and all you need to get started is a BeFunky Plus account (worth it!). Whether you’re prepping photos for a blog post, editing images from a photoshoot, or need to resize photos for any other reason, this bulk image resizer is about to rock your world!
How to Use the Batch Image Resizer
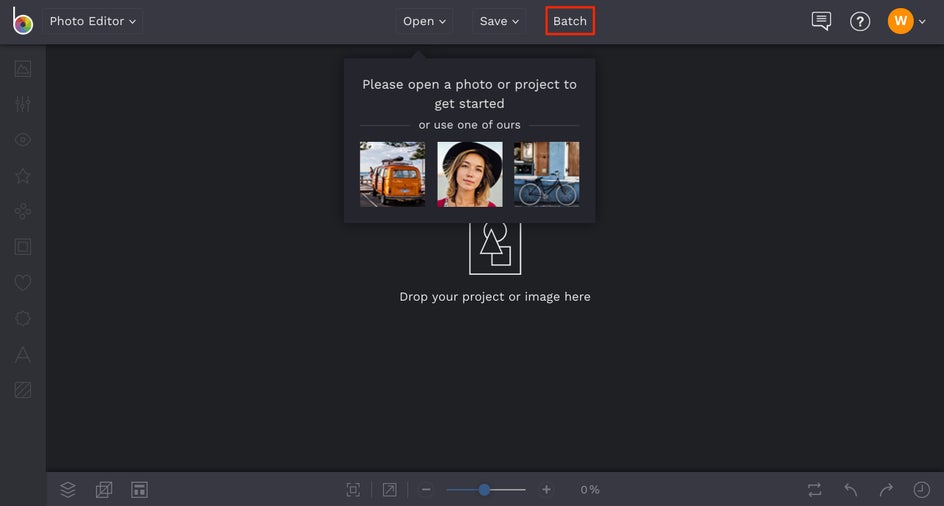
Whether you have two photos to resize or two hundred, gather them all into a folder and head to BeFunky’s Batch Photo Editor. Alternatively, you can get there by clicking the Batch button at the top of the Photo Editor.
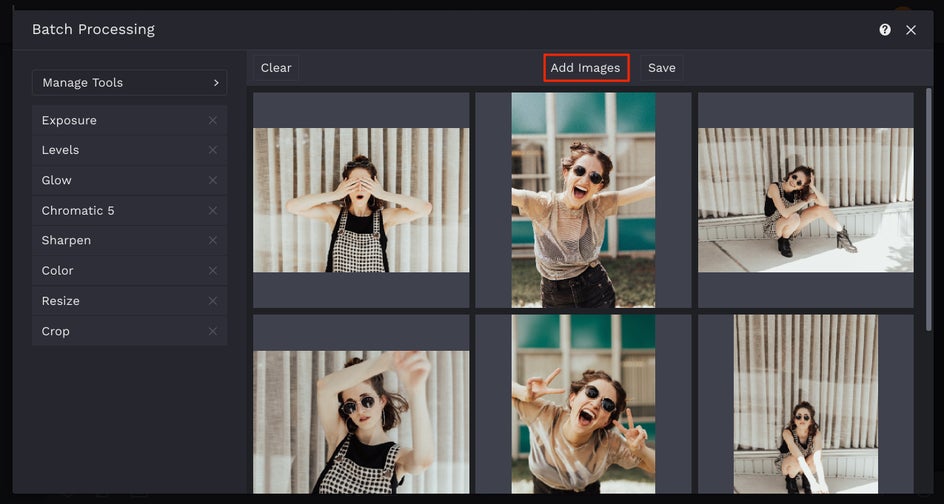
Once you’re there, click the Add Images button to upload your images or simply drag-and-drop them in.
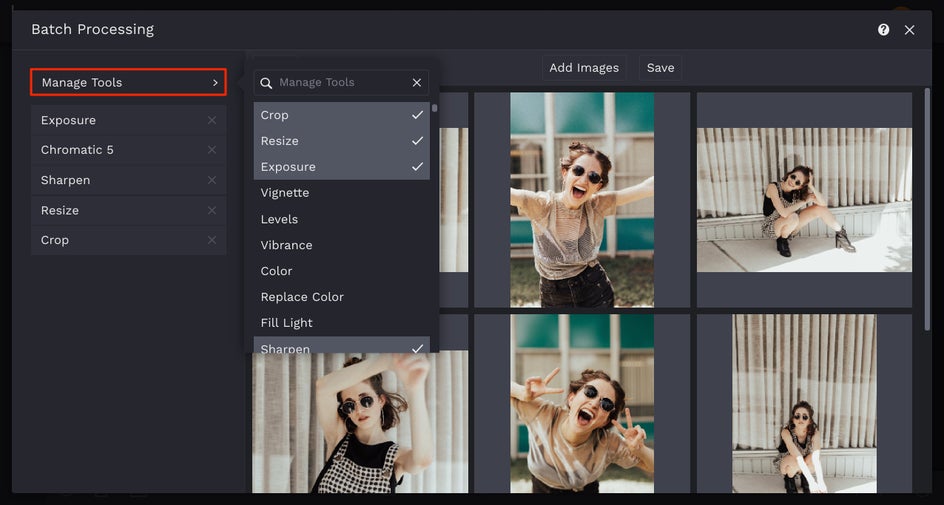
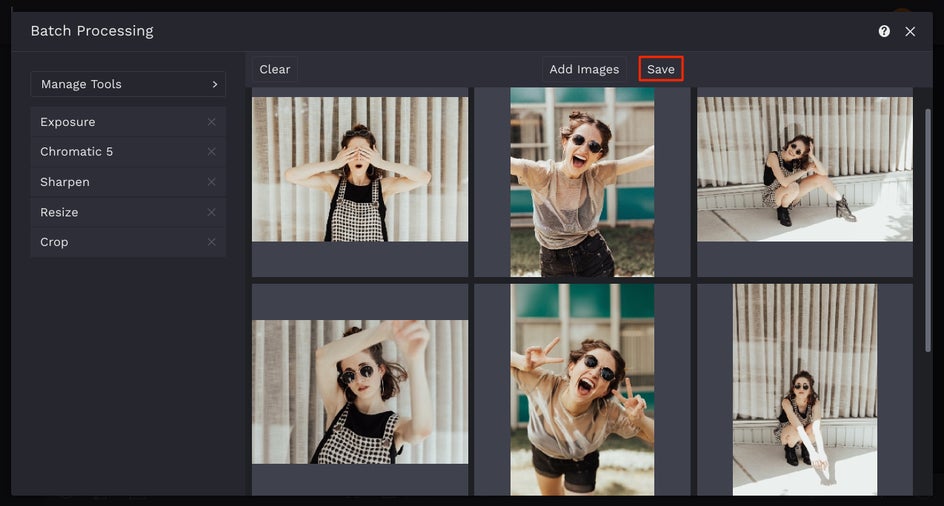
With all of your images loaded in, select the Resize tool from the left-hand menu. If you do not see Resize as an option here, expand the Manage Tools menu and select Resize to add it to your quick menu. Feel free to add as many tools and effects from the Manage tools menu as you want!
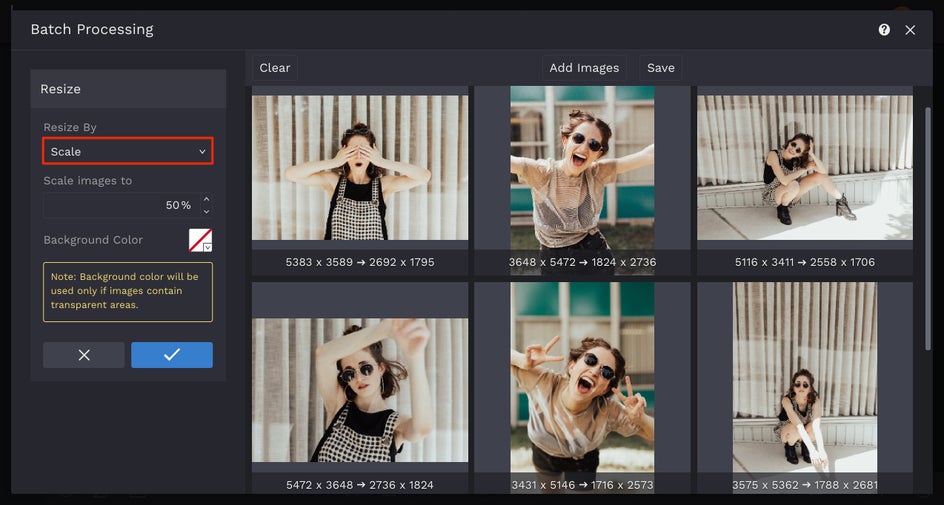
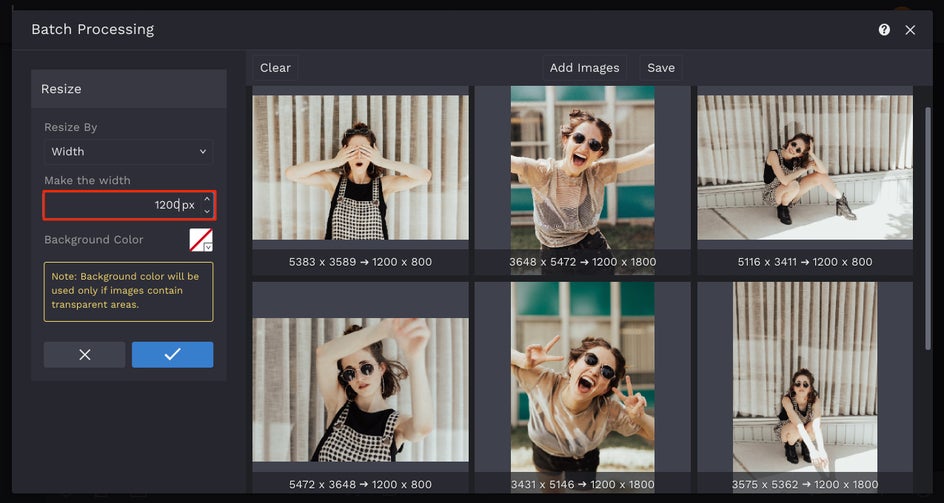
Once you’ve got the Resize tool open in Batch, you’ll need to decide how you want to resize your images. You can resize by Scale, Longest Side, Width, Height, and Exact Size. Resizing by Scale allows you to choose a percentage to reduce the image size by. If your image is too large and you don’t have a specific pixel amount in mind, reducing the size by 25% or even 50% can be a quick option.
If you do have a specific pixel amount in mind, any of the other options will allow you to type the dimensions in. Choose Longest Side to set the pixel amount of the longest side of the image, Width to set the pixel amount for the width, or Height to set the pixel amount for the height of the image. Choose Exact Size to type in specific dimensions for both the Width and Height, but note that this can stretch your image if it’s not already cropped to the right aspect ratio (more on that here).
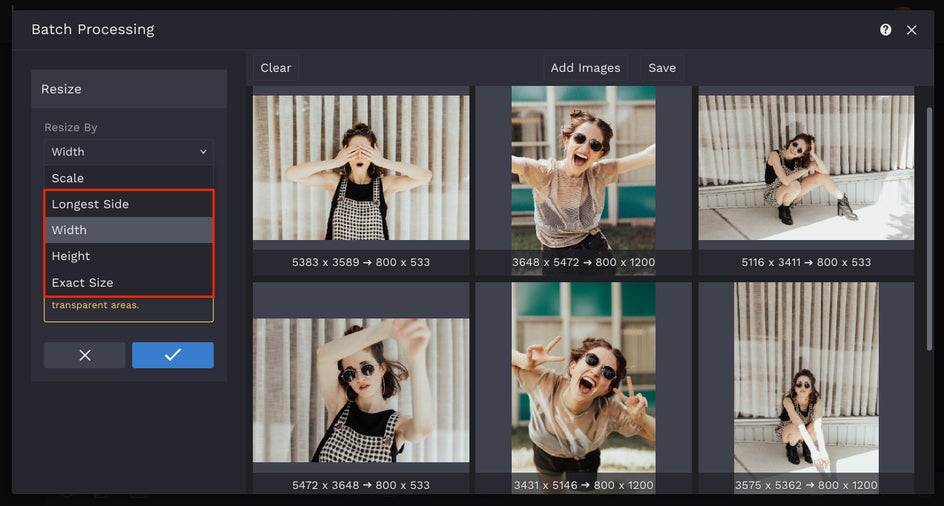
For our batch of images, we chose Width to ensure that whether the images in our batch are vertical or horizontal, each one will end up being the same width in the end. Perfect for those instances where specific width dimensions are outlined, such as uploading images to a website, blog, or eCommerce shop. Simply type in your desired width in the pixels field.
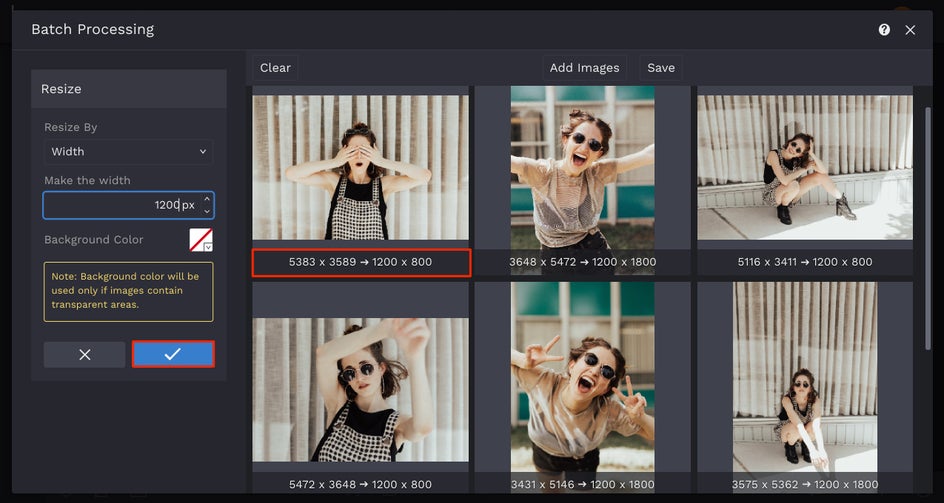
Before applying this tool, you can see the before and after image dimensions on the bottom of each photo. This is a helpful way to see the dimension before making any final adjustments. If it all looks good, press the blue checkmark to resize your batch of images.
From here, you can continue using the other photo editing tools and effects available in our Batch Photo Editor, or save your resized images. When you are ready to save your images, select Save at the top of the Batch Processing menu.
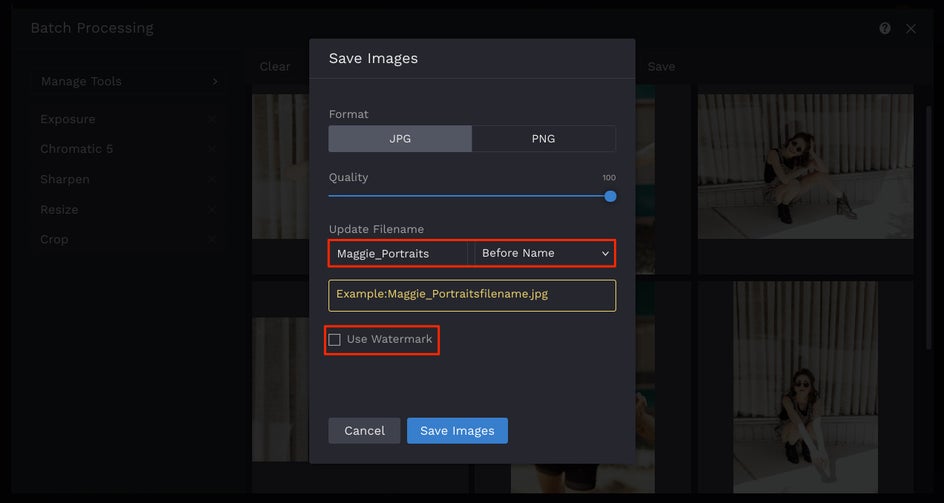
The one question that arises when resizing is, ‘will the quality of my photo also suffer?’ The answer is, it doesn’t have to. To ensure that you save your resized images at the highest quality, select the JPG option and slide the Quality slider to 100. Alternatively, you can save your batch of images as PNG.
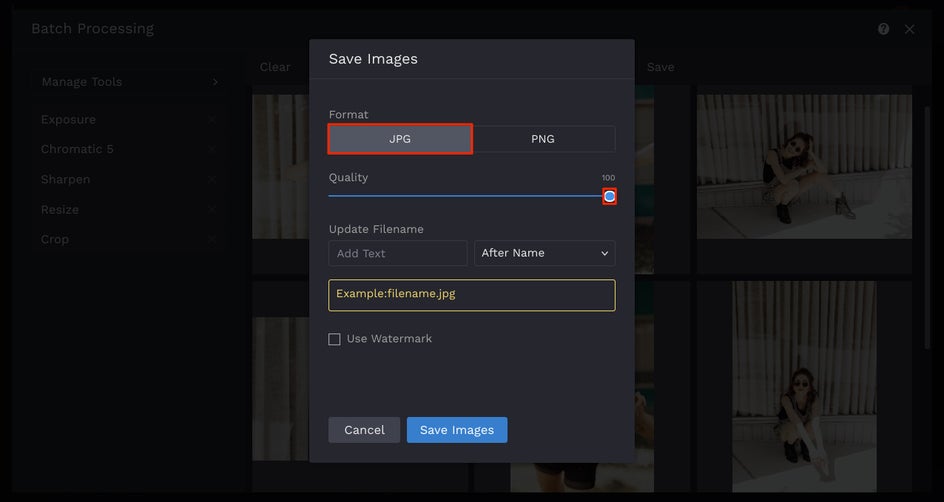
From here, all that’s left to do is name your images in the Update Filename field and select your placement option. If you want to add a watermark to your images, it’s only a checkbox away! Just make sure you’ve got your watermark stored as a preset and check the box (or check the box and follow these steps to add your watermark).
Once you click Save Images, you’ll be able to download all of your photos into one handy zip file and choose the exact location for it on your computer. This makes your batch so easy to export, ensuring you have every photo you need, with the exact name, in the exact sequence, with the exact size - all in one place!
BeFunky’s Batch Image Resizer is just one of the many batch photo editing tools we have available - be sure to check out the rest of the tools and effects available in our Batch Photo Editor and explore all the different ways you can edit multiple photos at once! You can even create your own customized tools menu to get easy access to all your favorite tools and effects any time you edit in Batch. All it takes is a BeFunky Plus account, which is well worth it for gaining unlimited access to this and every premium feature in our Photo Editor, Collage Maker, and Graphic Designer! So worth it.