How To Create Circle Images For Designs
Shapes are often an essential part of design. More than just fun, textural elements, shapes can help add to the story of what you are designing, especially if you’re using them consciously and with meaning. And believe it or not, each shape carries a different meaning and can often represent different messages. For example, triangles are often used to represent key information (i.e. hazard symbols and recycling symbols), while circles are inviting and represent softness, wholeness, and completion.
Today we’re gonna focus on the circle and how it can convey movement and dimension in your designs. It’s the most popular shape to incorporate, and with BeFunky’s Cutout Tool, you can easily create circular cutouts from your images and use them in designs to take them to an all new level! Whether you pair circle images with other circular design elements or not, you’re bound to end up with an eye-catching design, whatever you’re using it for.
Circle Image Design Inspiration
Photos are typically rectangle-shaped in either portrait or landscape orientation. Our Cutout tool can help you break free from sharp-edged photos and create circle images that are so pleasing to the eye. Here are some of our favorite ways to incorporate them into design:
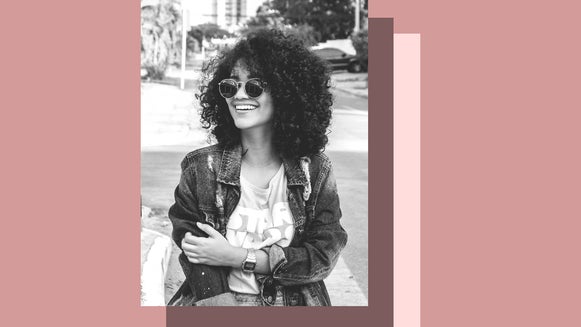
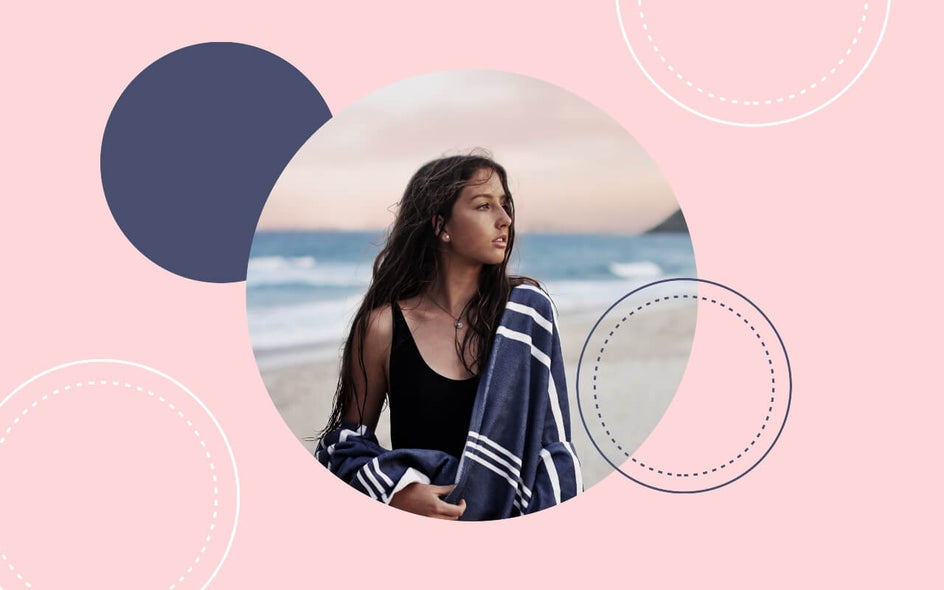
A Single Circular Image
Using a singular image in a design allows your audience to solely focus on that image and the surrounding information.

If you are wanting to make a statement with your image, try finding a single image that stands out and reveals the experience you are trying to promote.
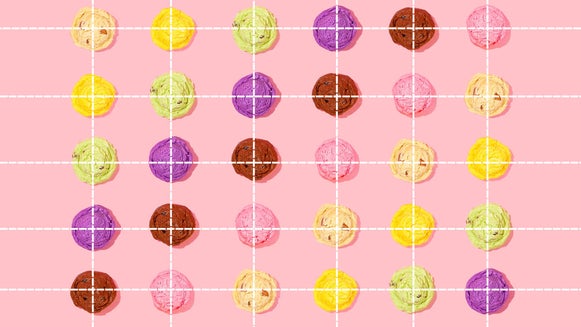
Multiple Circular Images
Using multiple images allows you to add depth to a piece. Adding a second or third image to a design brings about support for the main or largest image.
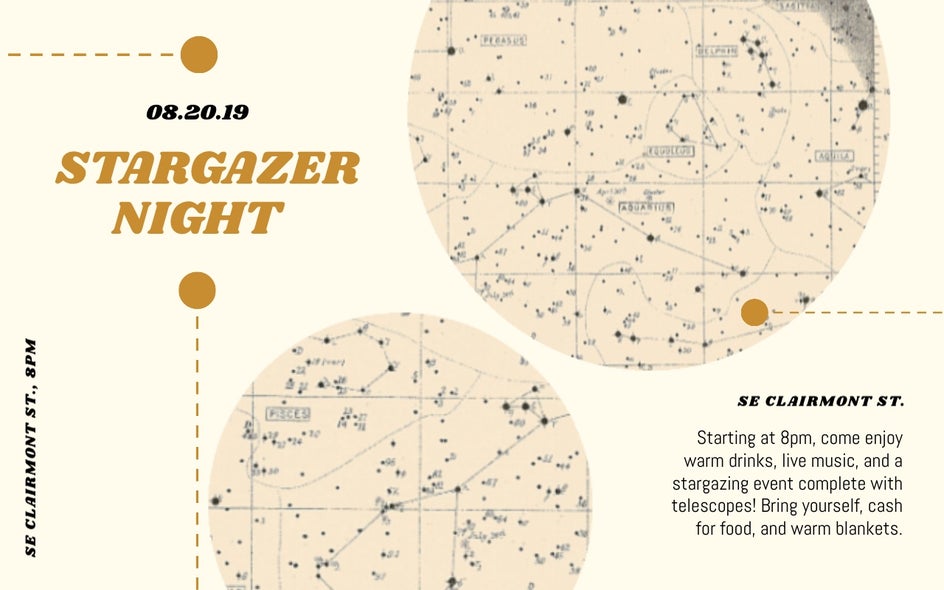
Secondary images should be a different size and should support the primary image that you use. This is also a great way to look “into” a piece, by creating cutouts that seem they are peering past the first layer.
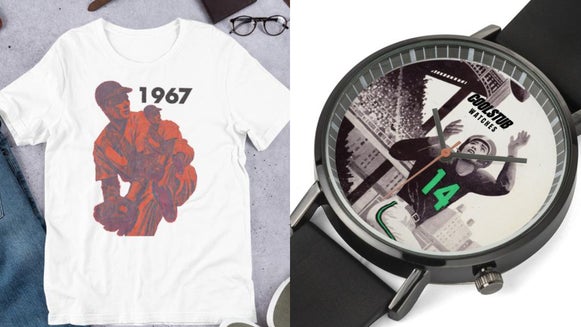
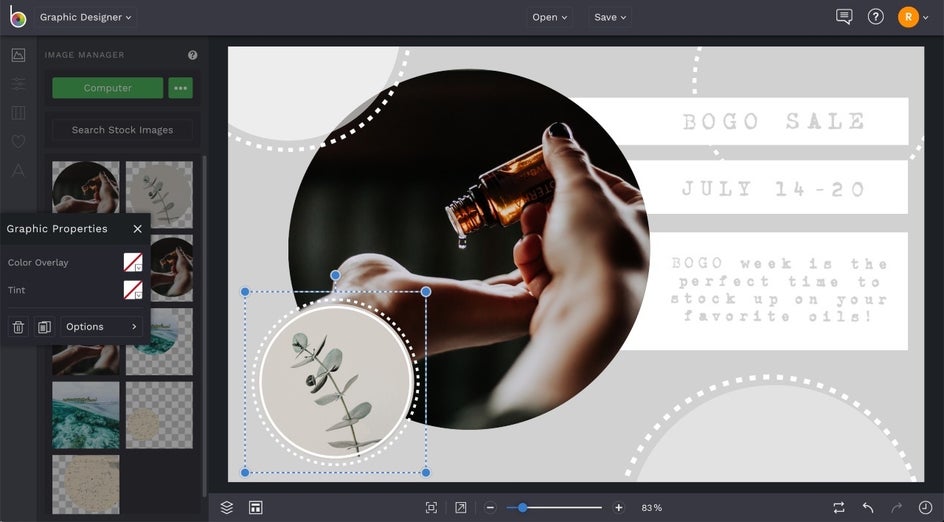
A Circular Image with Graphics
Using an image with supporting graphics helps to bring in some design elements to support the main image and overall message.
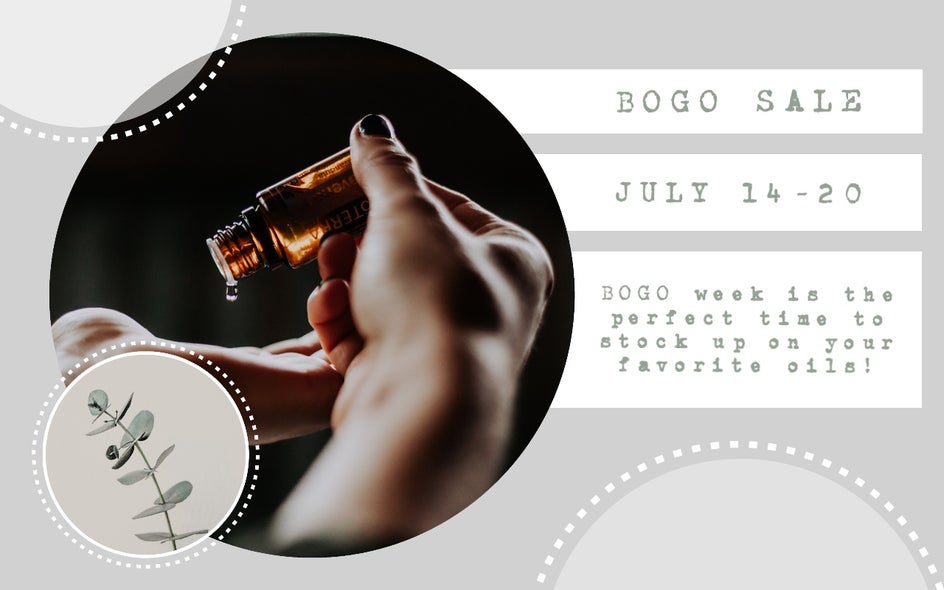
Adding in some design elements (in this case, more circles that are balanced with some rectangular elements) helps to add depth and interest.
How To Create Circle Images
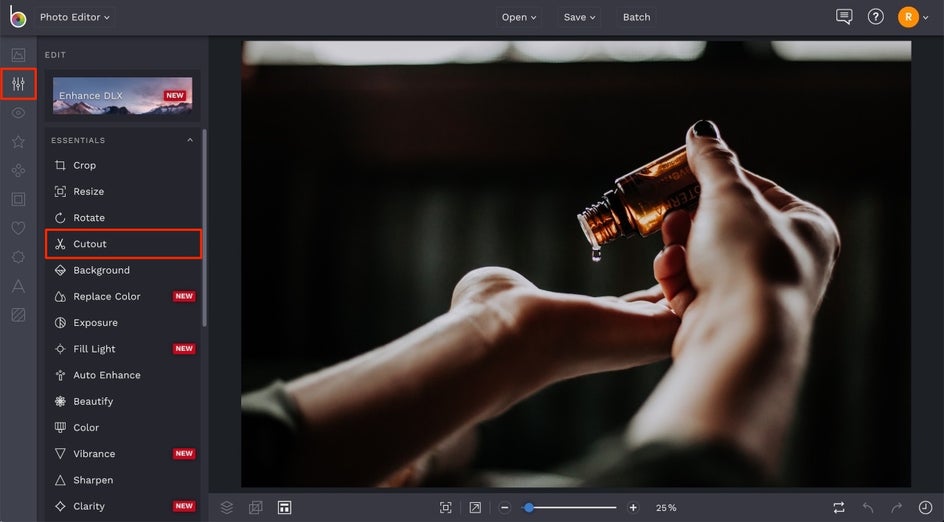
Creating circle images is easy with BeFunky’s powerful tools. To get started, head to the Photo Editor and upload the photo you want to use by selecting it from the Open button at the top of the page, or simply drag and drop your image onto the canvas. In the Edit menu on the left, select the Cutout tool.
Once you’re in the Cutout tool menu, select the Circular option from the row of brushes. Make sure the Keep tab is selected and drag your cursor over the area that you want to cut out. Click, hold and drag, and then release. After you release your circular selection, you’ll see that the rest of the image becomes transparent. If you’re happy with your circle image, press the blue checkmark button.
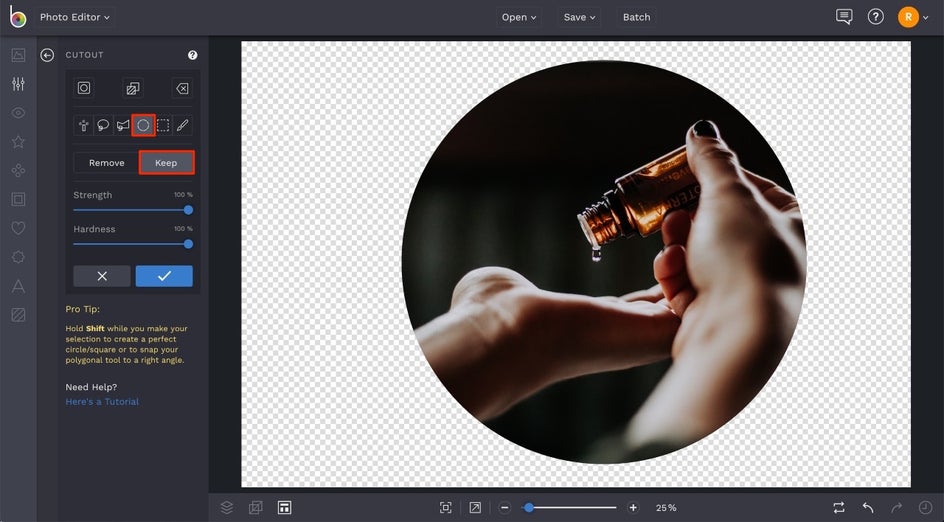
Pro Tip: If you are wanting a perfect circle, hold down SHIFT as you create your circle. This makes the shape symmetrical and proportionate.
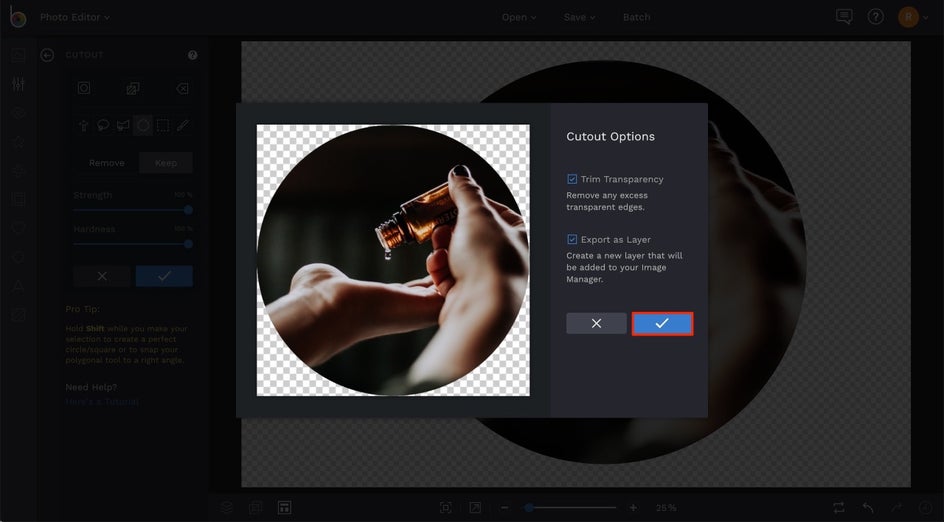
After you press the blue checkmark button, you'll see a Cutout Options menu appear. Trim Transparency will make sure that your shape is confined to its edges, without any extra transparent space as a border. Export as Layer will add the new cutout to your Image Manager and add the circular image layer on top of the original photo. If you want to alter the photo you uploaded, only select Trim Transparency.
From here, you can save the circle image using the Save button at the top of the Photo Editor. Just be sure to select the .png option in the Save menu to keep the edges transparent. If you want to add the circle image to a design in BeFunky, right click the image and select Add To Image Manager (if it’s not already there) and read on to the next section!
How To Add Circle Images To Your Design
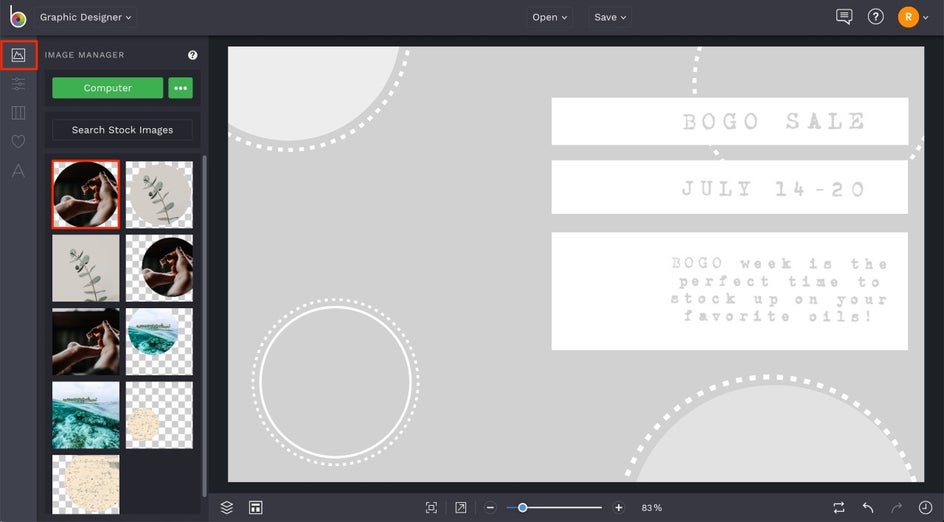
Whether you’re creating your design in the Photo Editor or Graphic Designer, once you have your graphics and text the way you want it, click on the Image Manager tab in the menu on the left. Double-click the circle image thumbnail or right-click it and select Add As Layer to add it to your design.
When the circle image has been added as a layer, you can drag it around your template to place it and use the blue circles around it for resizing and rotating. You’ll notice that any time your circle image is selected, an Image Properties menu appears to help you customize it further. If you need to move the circle image between other layers on your design, you can select Options from the Image Properties menu and select the Move Backwards or Move Forwards button.
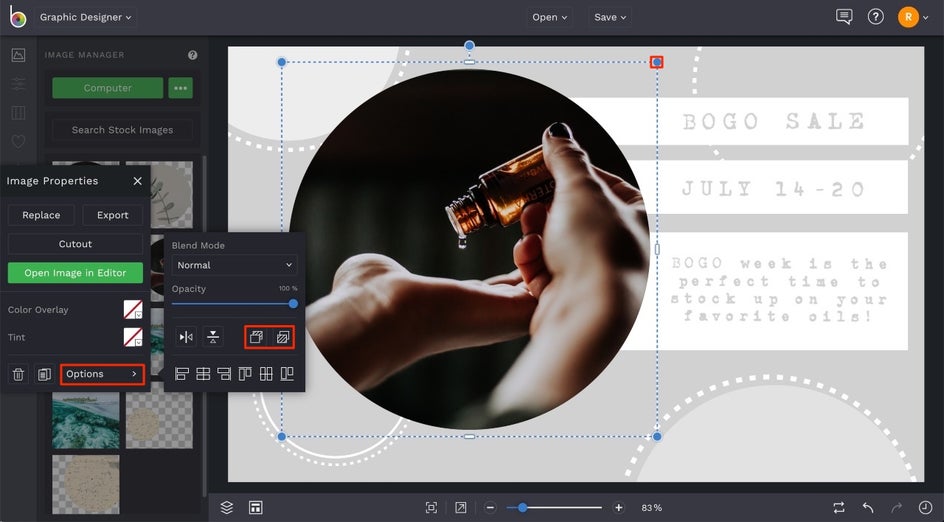
You can add in extra circle images by completing the steps above, and try experimenting with additional graphics by clicking on the Graphics tab (the heart icon in the left menu) and selecting some lines or shapes to support your graphic.
When your design looks perfect, click the Save menu at the top of the page. There are plenty of save options to choose from, but if you’d like to save a copy of your design in editable format, select Save As Project. That way, you can always come back to your design at a later date to keep on editing.
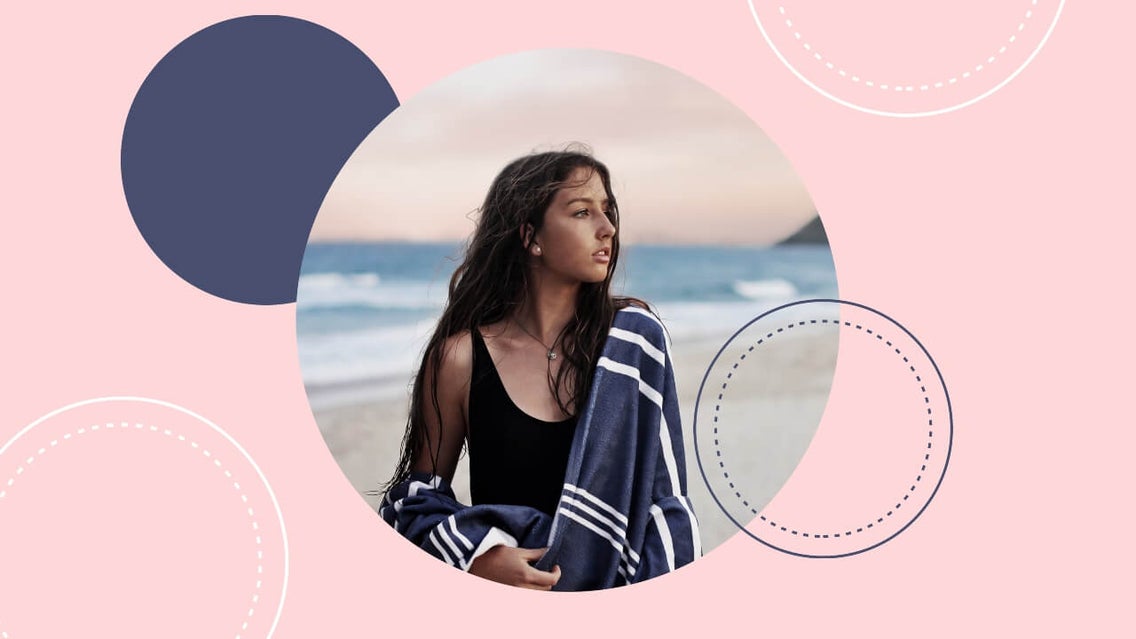
Final Results
Just look at how the circular imagery in this design creates a sense of wholeness:
With BeFunky’s Cutout tool, you are able to clip images into different shapes in order to use them in your designs! The Cutout tool is such a powerful and fun tool to use, whether you need a circular shape, triangle, or more. It’s basically like taking a pair of scissors to a photo, only digitally! Click the link below to get started with it: