Your Master Guide to Cropping and Resizing Images
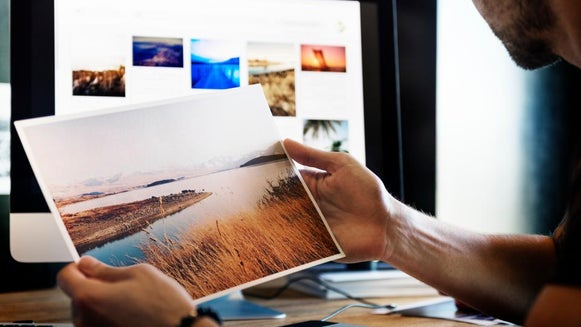
When it comes to photo editing, two of the most common tweaks include cropping and resizing your image. After all, no one likes strangers or unsightly objects ruining an otherwise special photo, nor do they want a photo that’s too large or small for a specific purpose (like framing it).
Sometimes, knowing when to crop an image or resize it can be tricky – but it doesn’t have to be. In this guide, we’ll teach you everything you need to know about these two photo editing features, as well as how each of them can perfect your photography!
What Is Cropping?
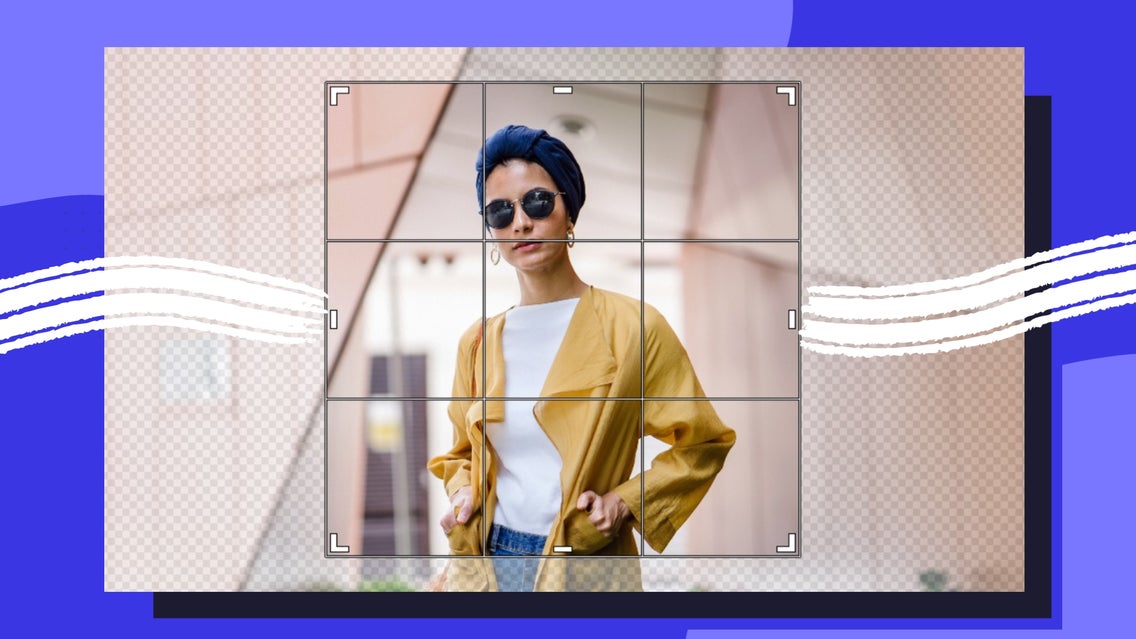
Cropping is the process of removing a portion of an image in order to improve framing, emphasize a subject, or change the aspect ratio. This type of photo editing allows you to keep all of the elements you want while removing those you don't.
Cropping can also help you reframe your subject or attract the viewer's attention to a specific part of your photo for greater impact. To truly understand cropping, you must first understand two key terms: aspect ratio and pixels.
An image's aspect ratio is the ratio of its width to its height. It’s represented by two numbers separated by a colon, such as 16:9, or sixteen-to-nine.
Pixels, on the other hand, are the little squares of color that form your image. Every digital photo is made up of a grid of horizontal and vertical pixels that work together to present your image. When you crop an image online, you reduce the number of pixels by cutting out certain sections of the image, hence lowering the total size of the image.
When Should You Crop an Image?
While cropping is useful for cutting unwanted elements out of your photo, this process also comes in handy in the following scenarios.
Printing Images
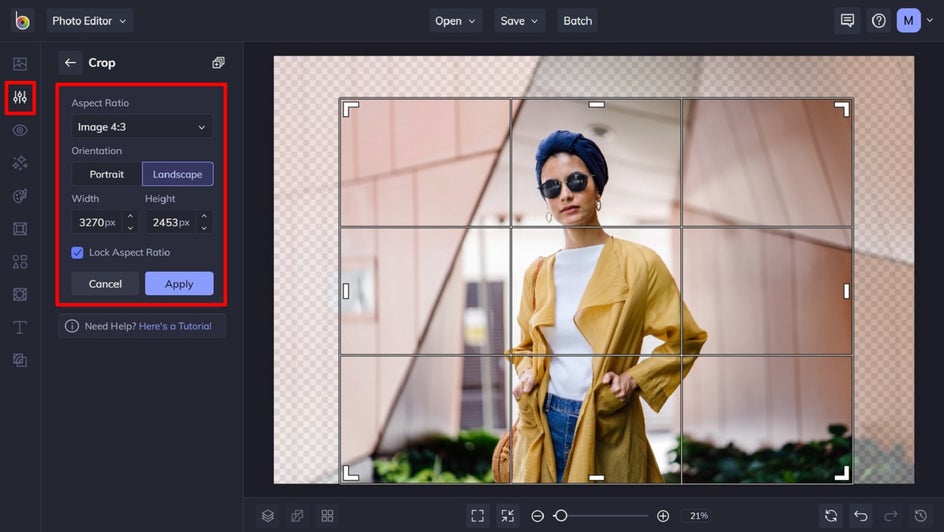
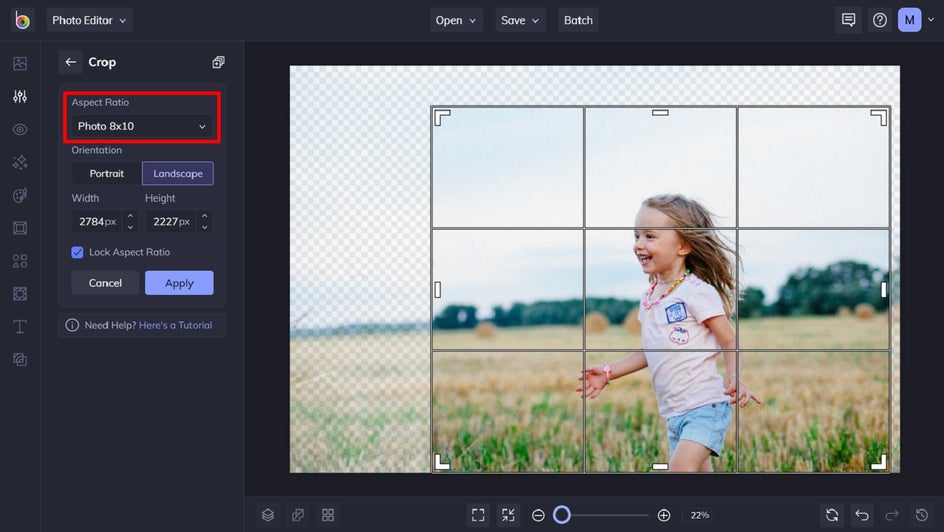
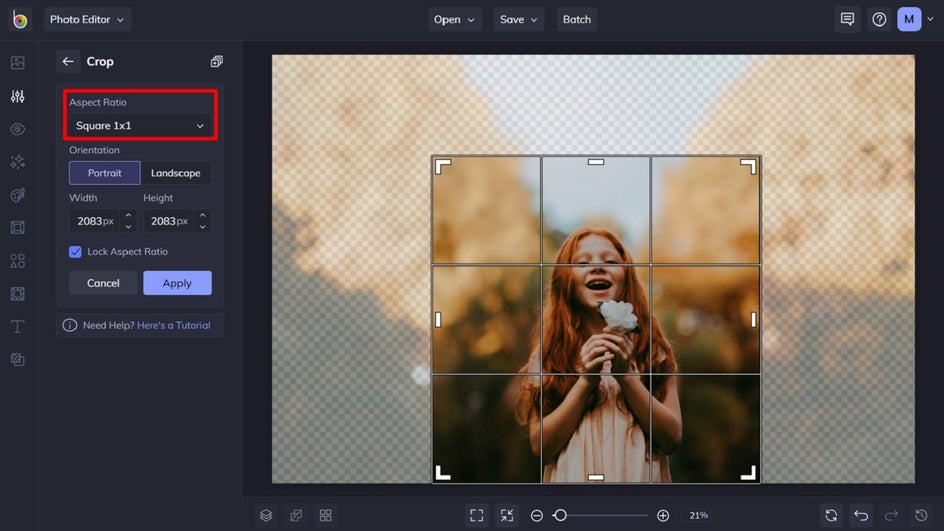
BeFunky’s Crop tool, available in the Edit menu of our Photo Editor, includes pre-set crop templates for common printing aspect ratios such as 4x6, 5x7, 8x10, and more. There's even a Golden Ratio crop template if you want to create the most aesthetically pleasing crop.
Pro Tip: Want to make sure you get as much of the photo into the aspect ratio as possible? Check the box for “Lock Aspect Ratio” and then drag the edges of the crop tool to include more of the photo, yet keep the aspect ratio the same.
If you’re looking to print a size that isn’t already available as a Crop preset, check out this helpful Pixel Dimension Guide for print sizes, so you’ll know exactly what size your photo needs to be before you hit 'print.'
Social Media Posts
Each social media platform has its own preferred image size. What looks great on Twitter, for example, might not translate as well when uploaded to Pinterest. With all of these different sizes, preparing your image to suit a particular aspect ratio requires a crop – before you resize it.
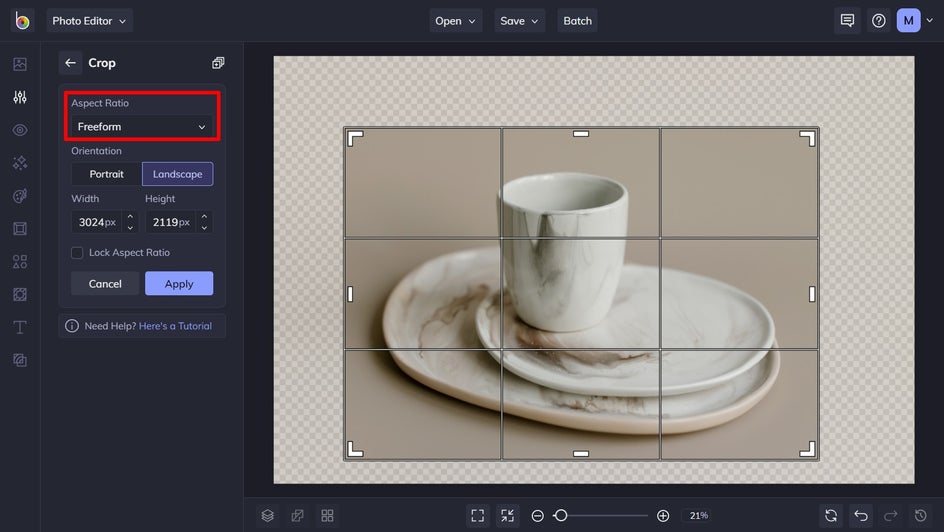
For this, we recommend using BeFunky’s Crop tool in Freeform mode and typing in your desired dimensions into the boxes for Width and Height. Then, check Lock Aspect Ratio and either reduce or enlarge your crop selection by dragging the corners inwards or outwards. After this, you can simply apply the Resize tool to get those final dimensions just right!
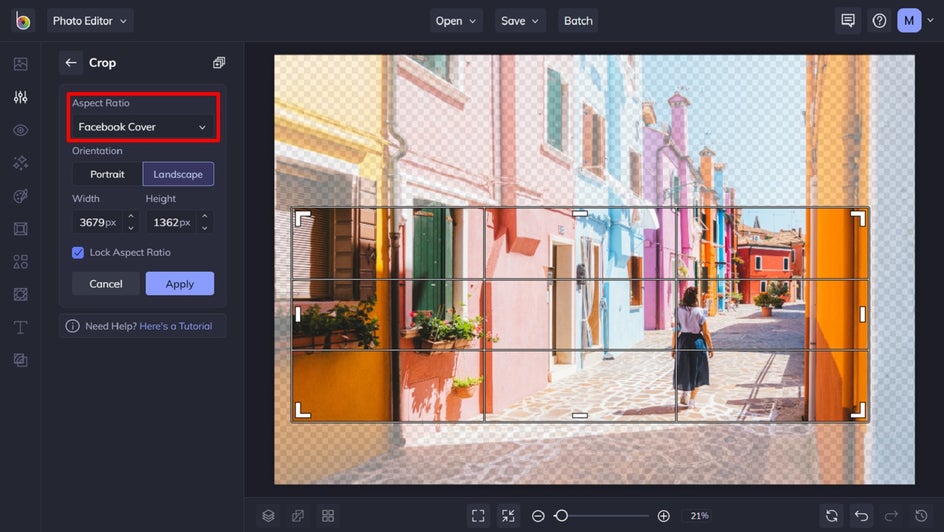
Social Media Cover Images
The same method above also works for getting the perfect aspect ratio and size for your social media cover images. You want to make sure your image meets the minimal dimensions across all the social platforms, or it will be stretched to fit and likely distorted. Luckily, Crop presets are available in the Crop tool’s drop-down menu to keep aspect ratios correct for Facebook, Twitter, and YouTube cover art.
Another thing to consider when creating social media covers is where the overlaid buttons will appear. You don't want crucial parts of your image, such as text or people's faces, covered by Subscribe and Follow buttons, so consider where these elements can interfere with your image and frame your photo accordingly.
Product Photos for eCommerce
Are you using your photos to show off products on Etsy, eBay, or another eCommerce site, or to advertise your rental property on Airbnb or VRBO? You need those photos to be super crisp and clear so you can present your assets at their best.
Just like with social media posts, you will want to crop your product photos for the dimensions required first and then resize if needed. It’s the simple, two-step process that helps you get your photos right for any platform, no matter their required dimensions or aspect ratio.
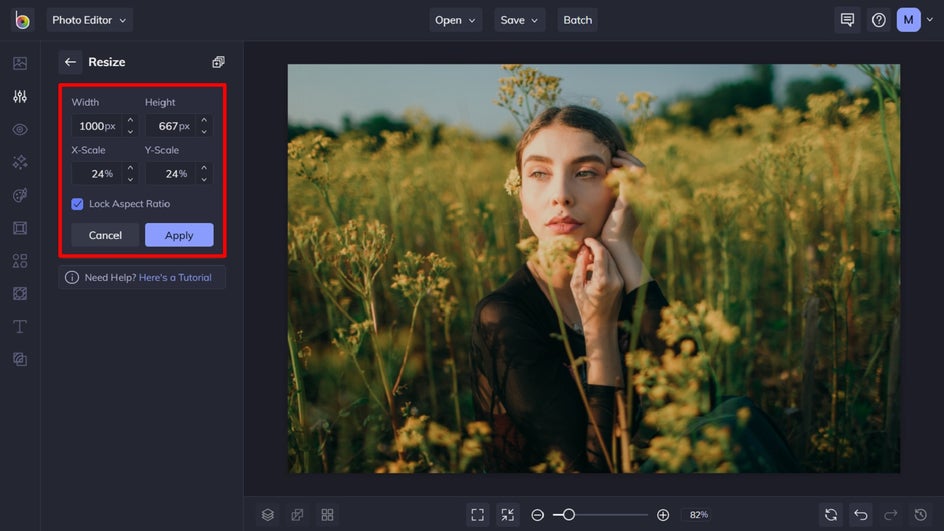
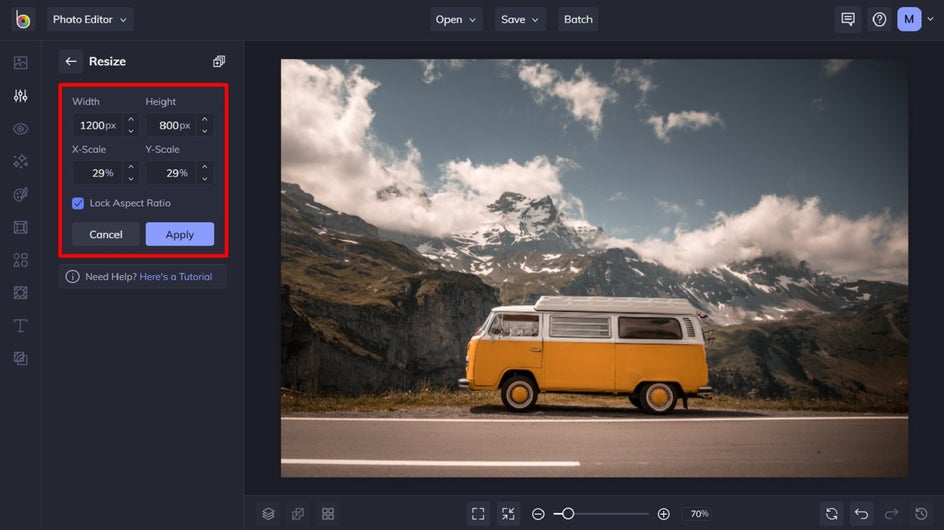
What Is Resizing?
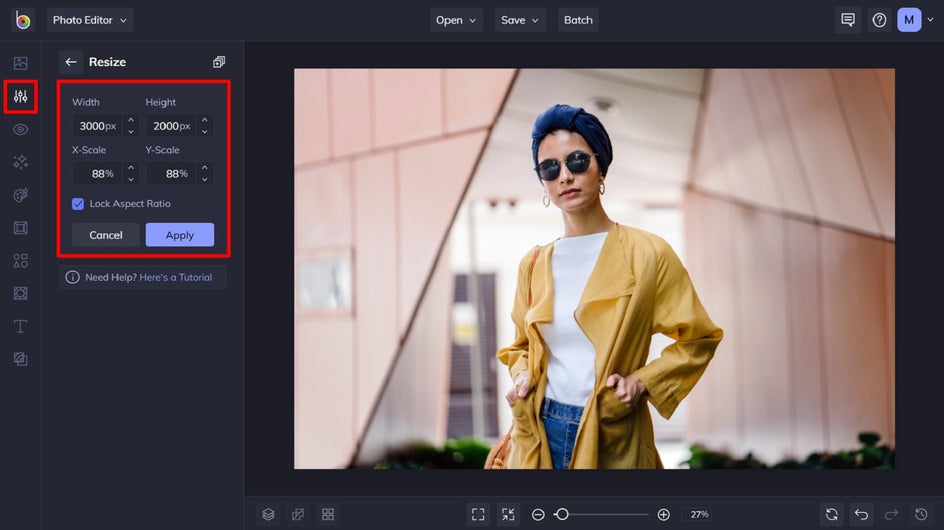
Now that you know the ins and outs of cropping, let’s turn our attention to resizing. The Resize tool is also available in the Edit section of the Photo Editor. You’ll find it directly below Crop!
Resizing allows you to make your image smaller or larger without cutting anything out. Resizing alters the image's dimensions, which typically affects the file size and image quality. The most common reason for resizing photos is to reduce the size of large files to make them easier to email or share online.
Reducing the size of an image simply discards pixels. Alternatively, making an image larger increases the number of pixels, which might result in a loss of quality. Excessive enlargement can cause images that are pixelated or blurry. This is because resizing photos larger than the original changes the resolution, or the amount of fine detail in an image. In photography, resolution is often expressed as Pixels Per Inch (PPI) when in digital format or Dots Per Inch (DPI) when in print format.
When Should You Resize an Image?
Resizing simply makes your image larger or smaller. Along with those mentioned in relation to cropping, there are some additional situations where resizing comes in handy.
Creating a Smaller File Size
When you’re saving images to your computer, you can use the Resize tool to decrease their file size, along with their actual size in dimensions. This will free up more space on your computer, allowing you to store more photos and files.
When emailing an image as an attachment, you’ll also want to make sure the file size is small. Images that are a large size – and therefore, have a large file size – can take ages to load for the recipient, which isn’t ideal.
Image attachments work best as .jpegs, so after using the Resize tool to make the file 'weigh' less, save it in this common file format.
Adjusting Photos for Blogs and Websites
When creating blogs and websites, your CMS usually has a recommended size for images to ensure they remain crisp and are displayed perfectly in line with the content. With BeFunky’s easy-to-use Resize tool, getting your images ready for publishing on the web is possible within seconds.
The Easy Way to Resize and Crop Images Online
After learning all there is to know about cropping and resizing images, you’re now well on your way to creating perfectly sized images every time. Want to see just how easy it is? Try the Crop and Resize tools in the Photo Editor today!