How to Turn Any Photo Into an Oil Painting
Have you ever snapped a photo and wondered what it would look like as an oil painting? Sure, you could pull a Van Gogh and do it by hand (that is, if you want to wait for the paint to dry in two to twelve days), but BeFunky’s Oil Painting effects will transform that beloved photo to oil painting in mere seconds. Whether you want to impress your friends on social media or create some frameable home decor, you’ll find an entire collection of Artsy effects to help you get the look you’re going for – all without picking up a paint brush.
The best thing about BeFunky’s Oil Painting effects is that they’re totally one-of-a-kind. They’re all built in-house by a very creative team, plus each effect is fully customizable, so you’ll always get a look that’s unique and exclusive.
How to Convert Photos to Oil Paintings
Ready to create some amazing art with BeFunky’s Oil Painting effects? Head to the Photo Editor and follow the steps below:
Step 1: Upload a Photo
Click the Open button at the top of the Photo Editor and choose a file from your computer, or simply drag-and-drop your photo onto the canvas.
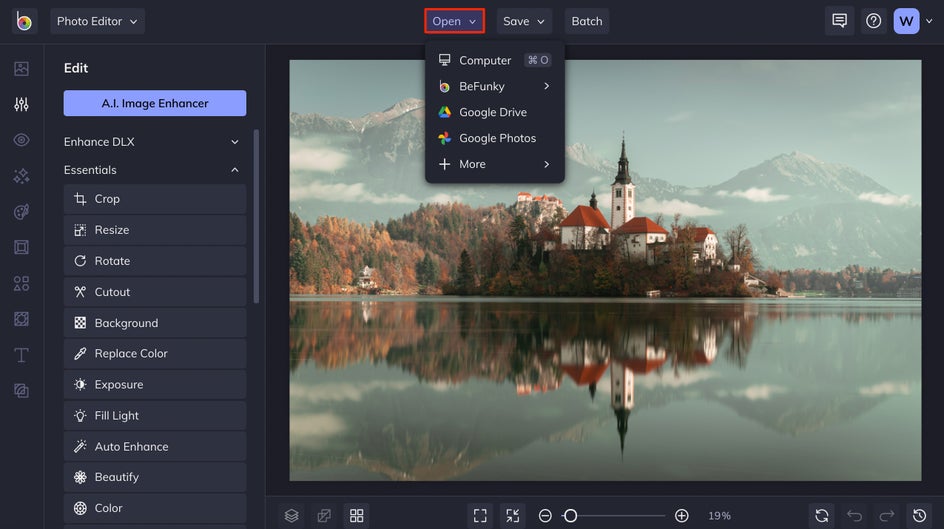
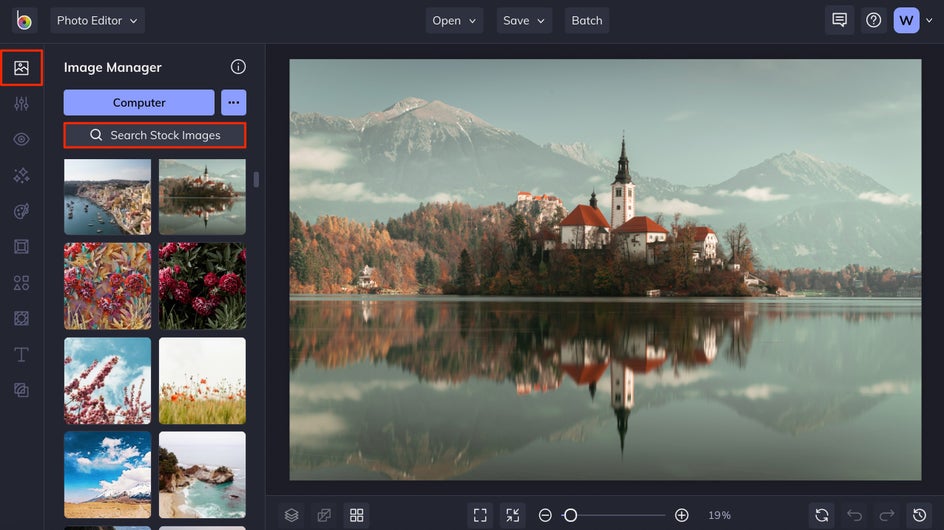
You can also upload a photo from your BeFunky account, Facebook, and more from the same dropdown. Or, you can use the Search Stock Images button to search over a million free stock photos to use.
Step 2: Make Some Basic Photo Edits (Optional)
In the Edit tab in the left sidebar, you’ll find all the essential photo editing tools you need to prepare your image before turning it into an oil painting. If you need to, use the Crop tool to crop your image into your desired orientation. You can either type your dimensions into the Width and Height boxes or choose from presets in the dropdown menu. We went with Golden Ratio to better frame the building in the photo.
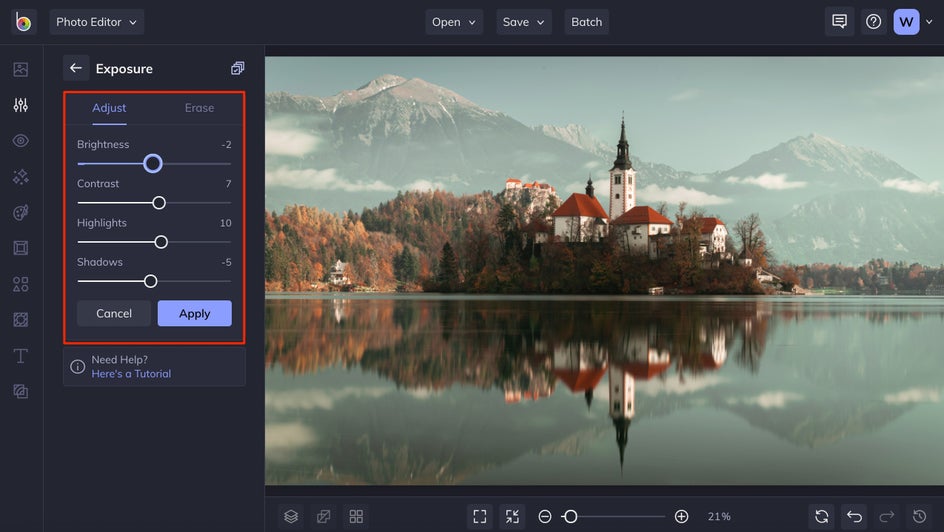
Use the Exposure tool to enhance Brightness, Contrast, Highlights, and Shadows. Simply drag the sliders until the picture looks perfect, then click Apply.
If you’d rather use an all-in-one tool to enhance your photo, click on the A.I. Image Enhancer at the top of the Edit menu. Using the power of A.I., this tool will automatically amplify the colors and add light and contrast where your photo needs it most. Just drag the slider to choose the perfect amount of enhancement and click Apply.

You can make as many photo edits as you’d like before moving on to the next steps, or completely skip over the editing and head right to the Artsy tab to go straight from photo to oil painting – it’s all up to you!
Step 3: Choose an Oil Painting Effect
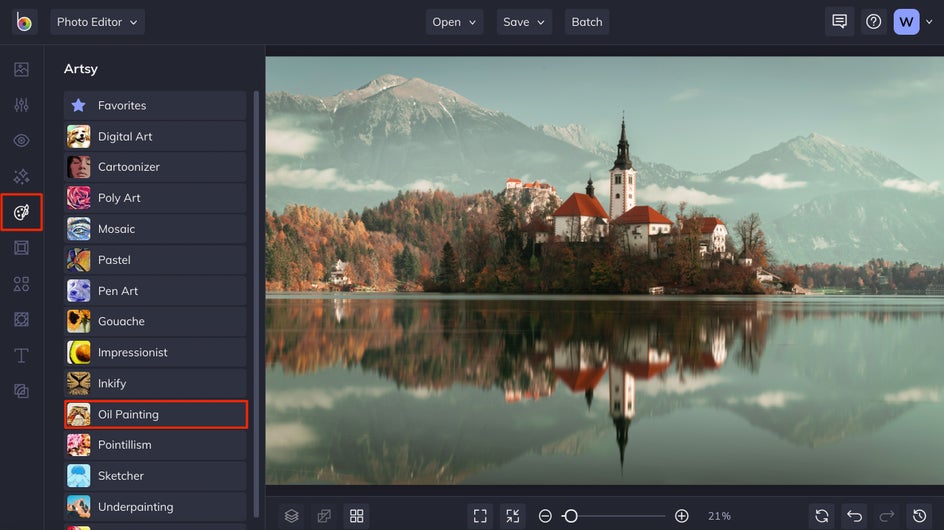
Click on the Artsy tab in the left sidebar menu. Here, you’ll find everything you need to turn photos into art in many styles by using the different categories. Click on the Oil Painting category to start previewing the different looks you can get with BeFunky’s Oil Painting effect collection.
When you click on the different Oil Painting effects, you’re able to preview what that effect looks like on your photo. Click on each effect to see which one you love the most. We’ve gone with Oil Painting DLX 2 for this photo.
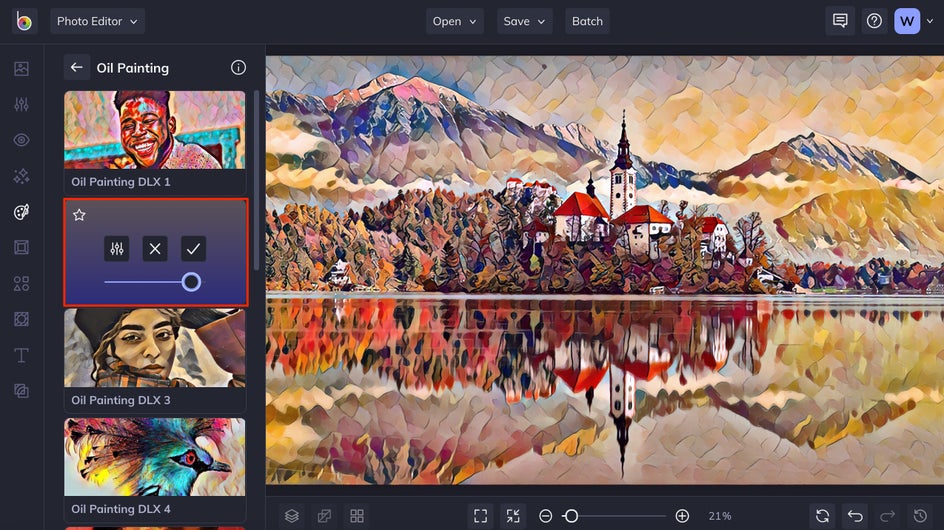
Step 4: Customize the Oil Painting Effect
Drag the slider on the effect thumbnail to increase and decrease the effect amount.

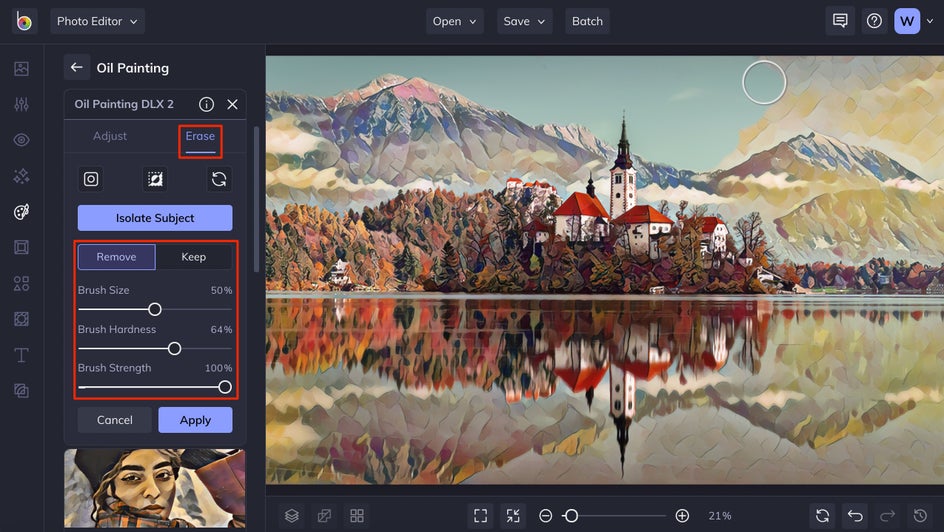
For even more control, click the Settings button on the effect thumbnail. Each effect will have its own unique Settings menu, so you may find more options for customizing the Color Detail, Brush Size, and/or choosing an exact percentage Amount.

The Settings menu also gives you the ability to Erase the Oil Painting effect from parts of your photo if you wish. Just click on the Erase tab and use the Remove and Keep buttons with the brush settings to erase portions of the effect.
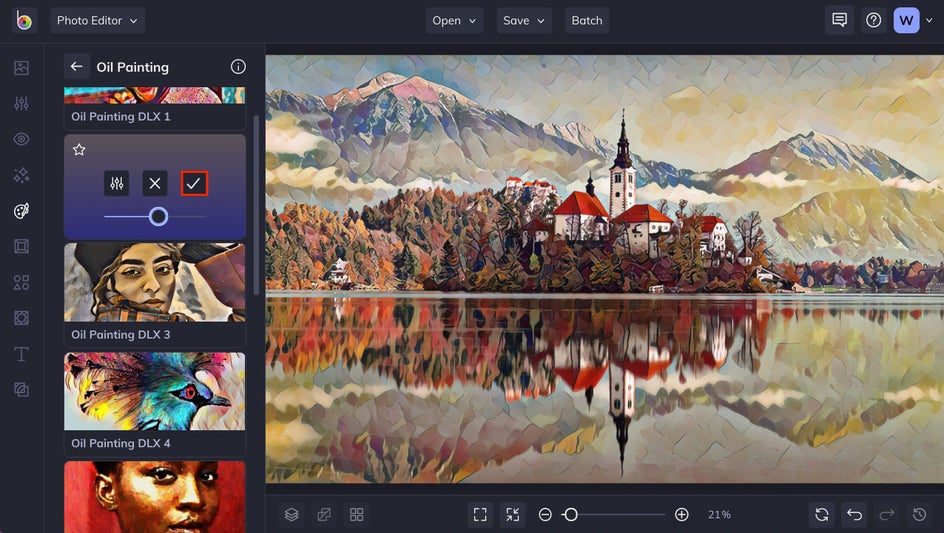
Step 5: Apply the Oil Painting Effect
When you’re happy with your photo to oil painting creation, click Apply.
If you’re not finished yet, keep on editing your image with BeFunky’s Photo Editor to create exactly what you’re imagining.
Step 6: Save Your Photo
When you’re ready to save your image, click the Save button at the top of the Photo Editor. You’ll be presented with several options for saving photos – to your computer, BeFunky account, Facebook, and more.
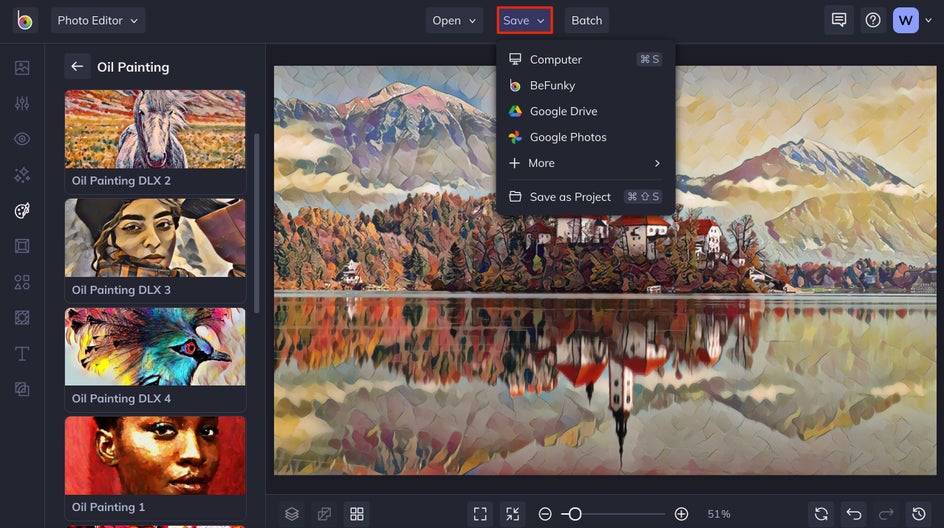
Choose a destination and follow the prompts to give your image a file name and choose a format.
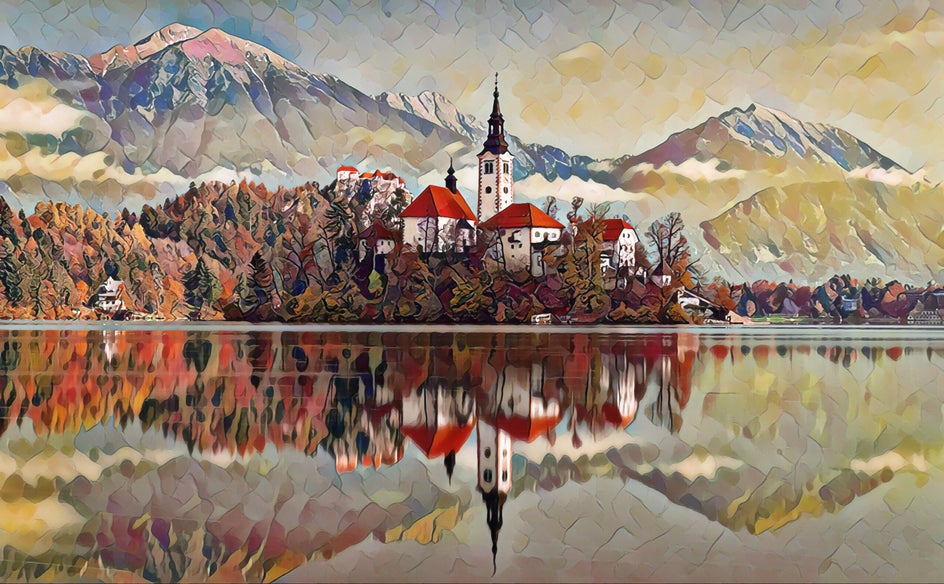
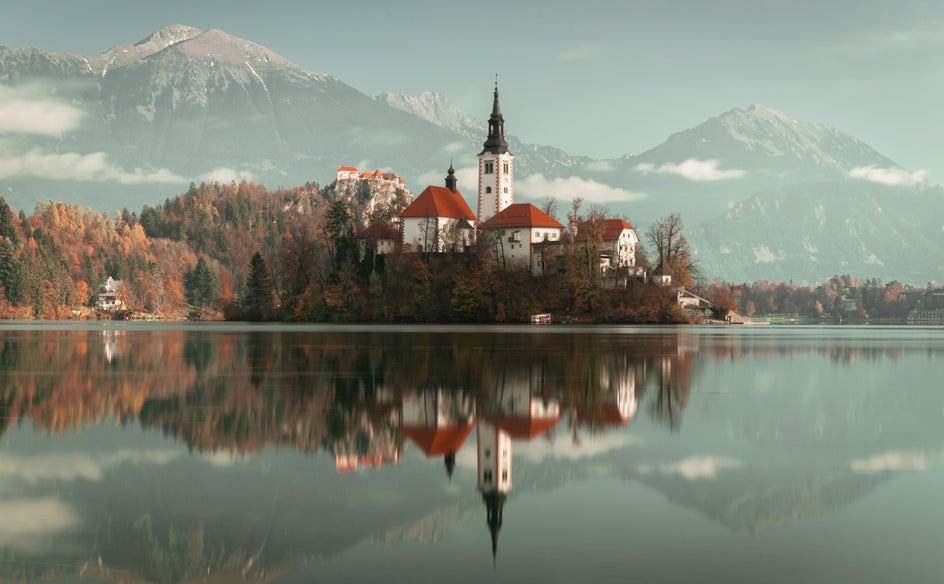
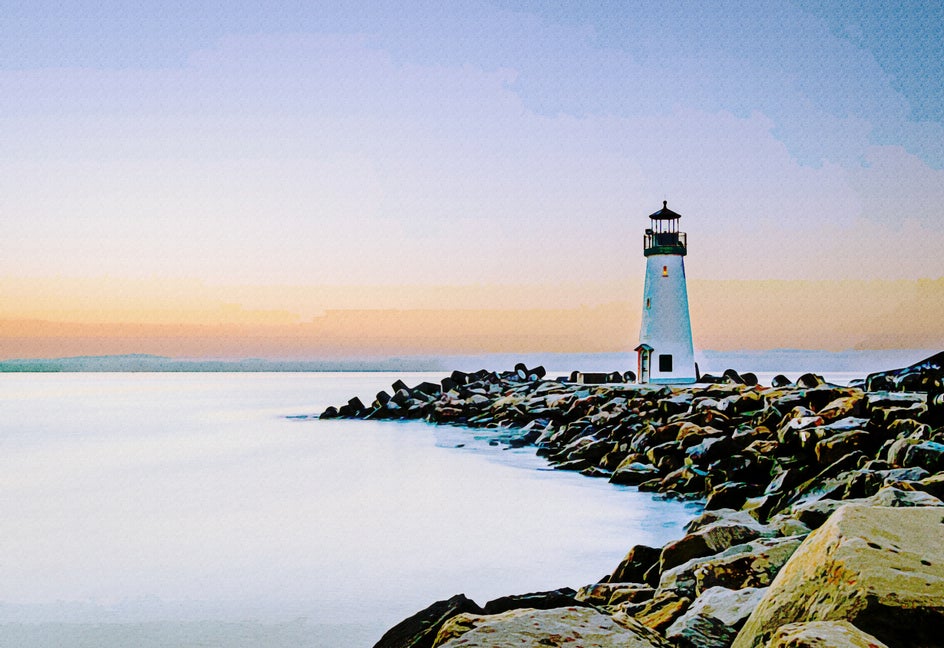
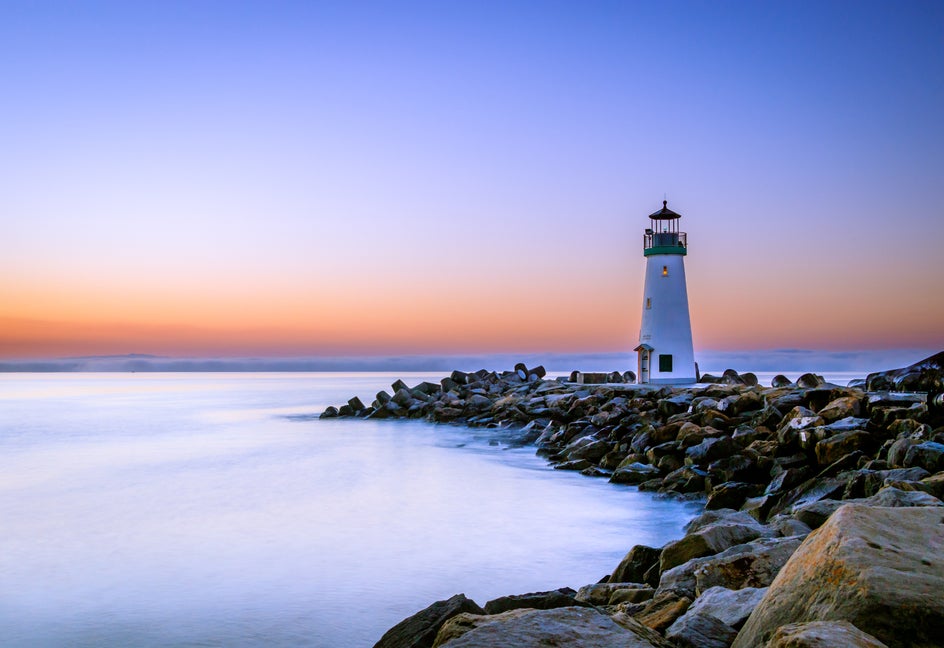
Photo to Oil Painting Before and After
These results are pretty brilliant, right? It’s amazing what you can create in just a few clicks.
Now that you know how to turn photos to oil paintings with BeFunky, you’re not going to want to stop! Be sure to check out all of the Artsy effect categories to create even more styles of art with your photos.
Photo to Oil Painting Inspiration
Need some more inspiration for your picture to oil painting project? Here are some more examples of photo to oil painting magic we love using BeFunky’s Oil Painting effects:
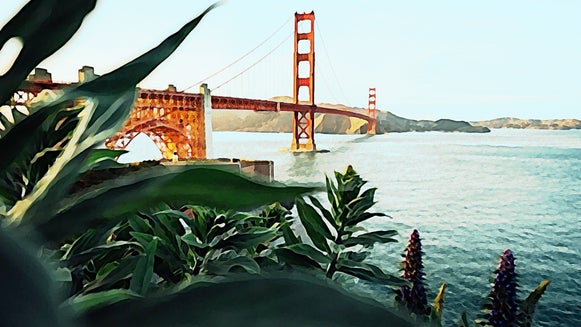
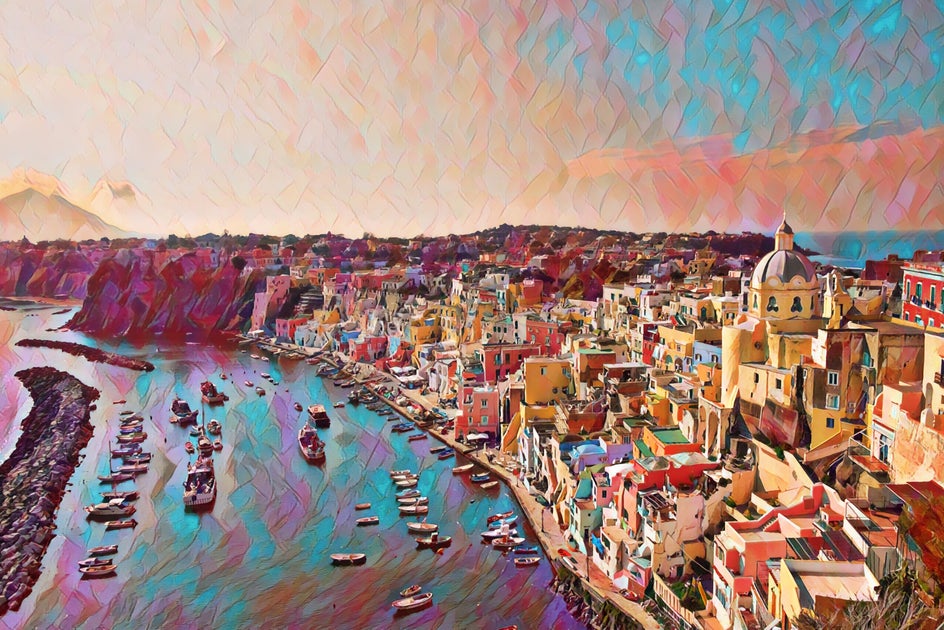
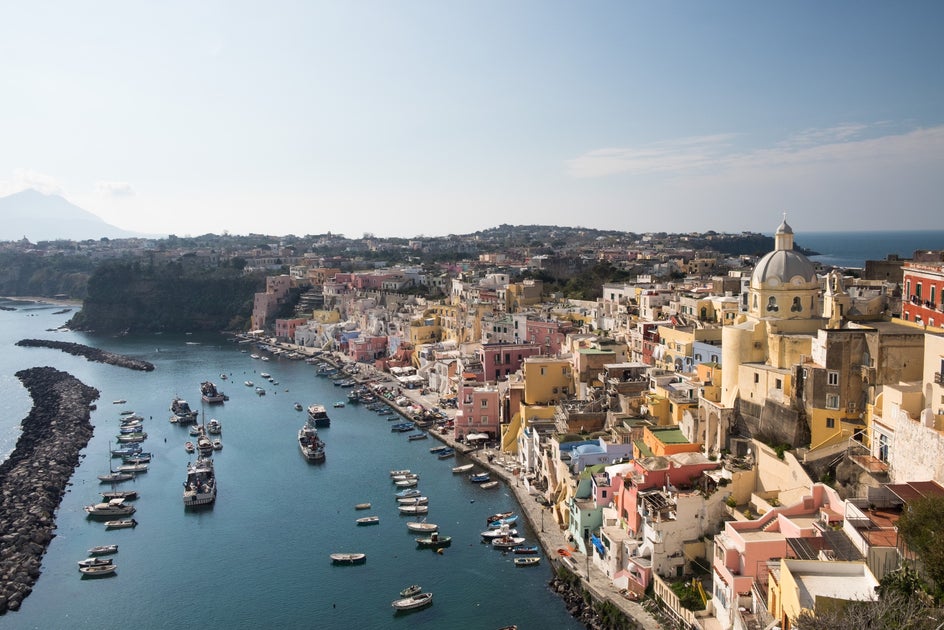
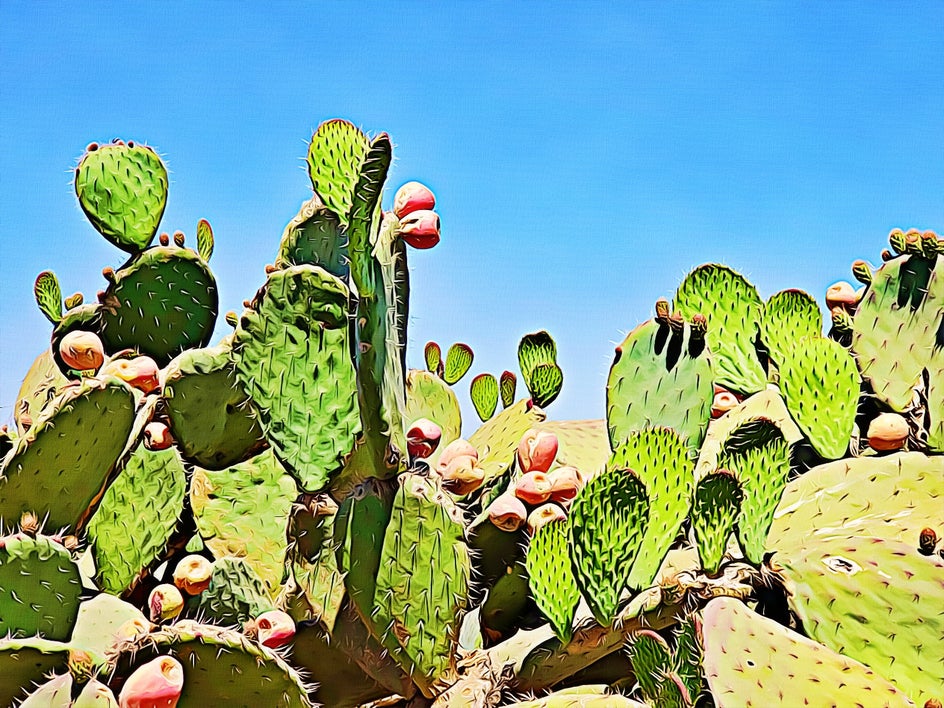
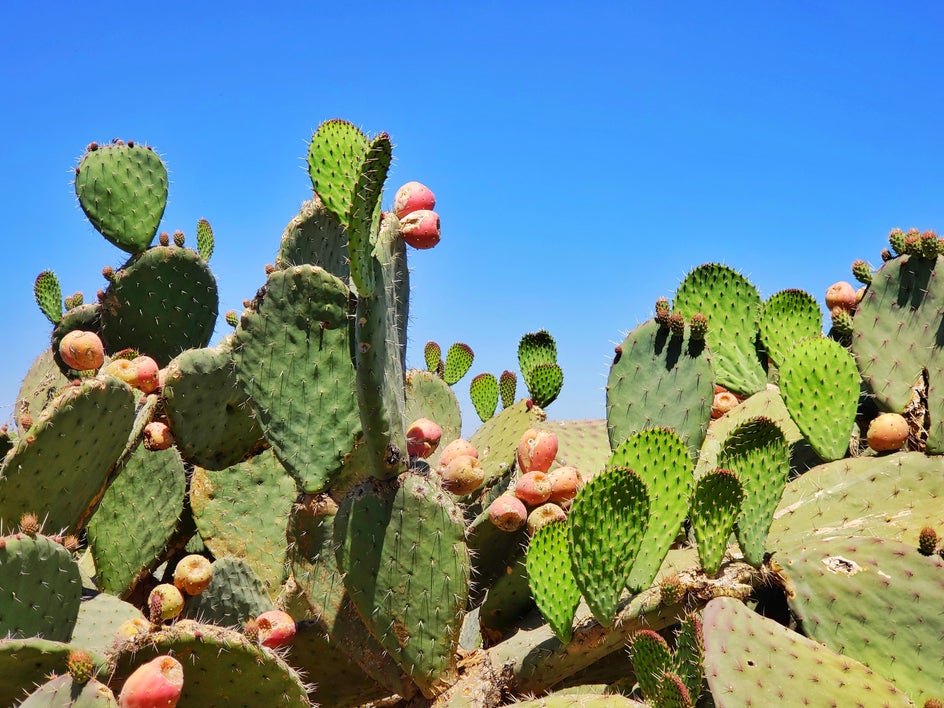
Add Vibrant Colors
The Oil Painting DLX 1 effect will add vibrant colors and artsy brush strokes to any image. Just look how it transforms this scene.
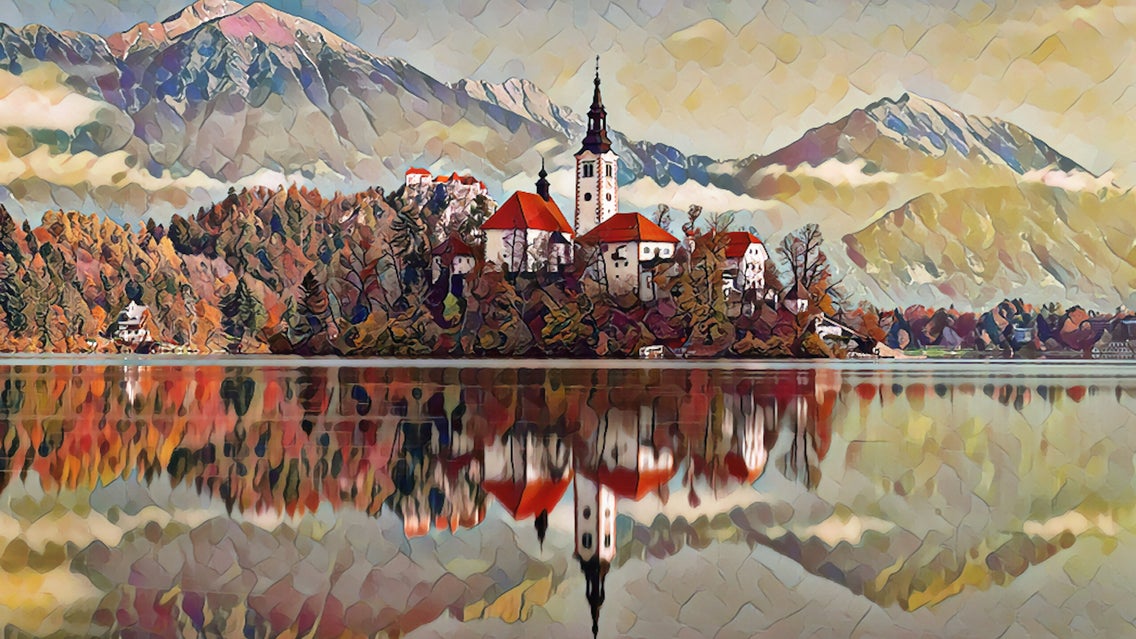
Try a Photo to Canvas Oil Painting Effect
This one is located in the Digital Art DLX category of the Artsy tab and is more of a photo to canvas oil painting effect. The canvas texture makes it truly look like a painting!
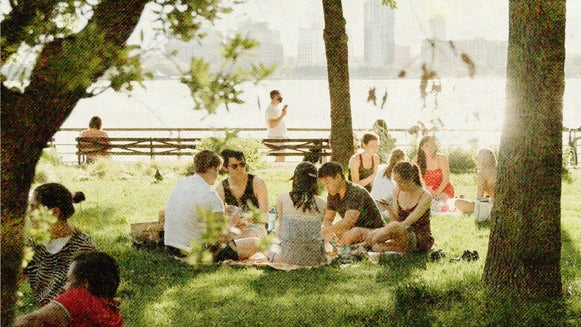
Give Your Oil Painting a Muted Effect
Want to tone things down a bit? The Oil Painting 4 effect will mute the colors in your image while still giving it that oil painting on canvas look you’re going for.
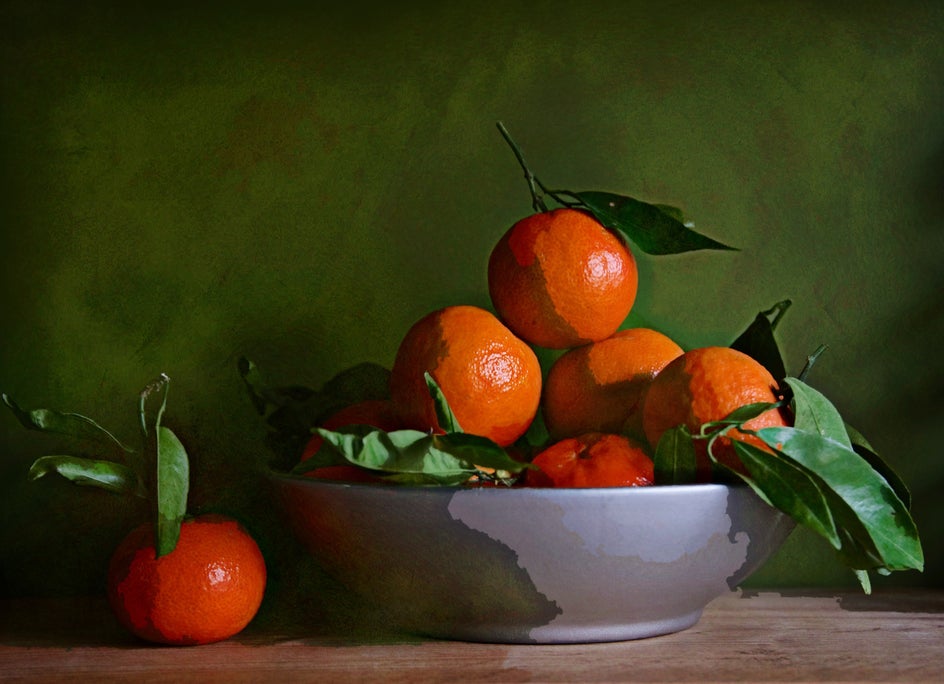
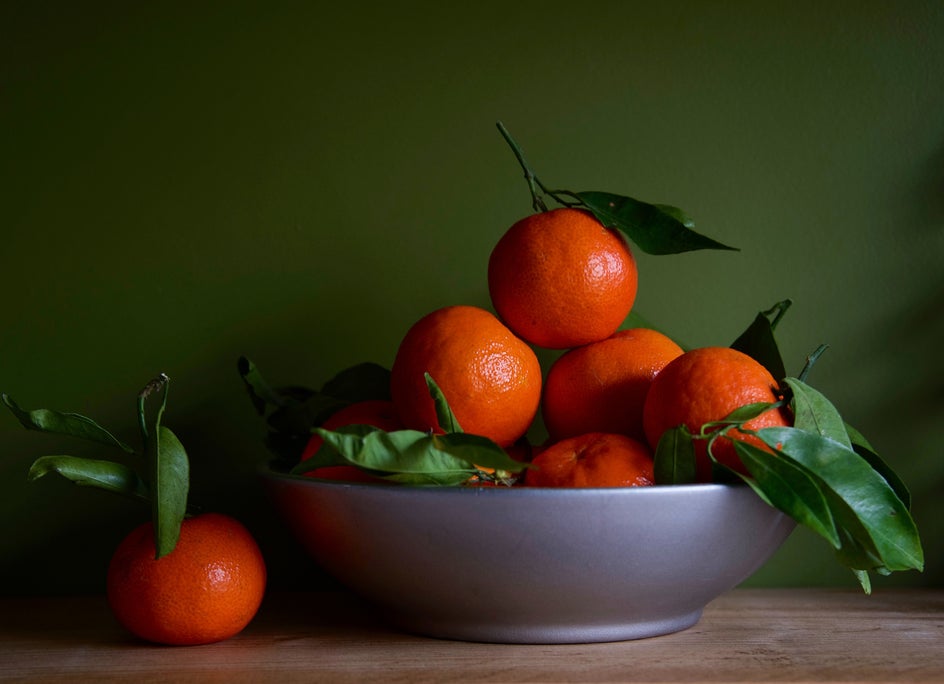
Create an Oil Painted Still Life
Go for some traditional art and take a photo of a still life scene (a bowl of fruit is classic) and add the Oil Painting 5 effect. Just look at how amazing the colors, shadows, and details become!
Create a Masterful Oil Painting, Without All the Work
Ready to get started with these fantastic Oil Painting effects by BeFunky? Give them a try with your favorite photos.