How to Make a Digital Pet Portrait
Our pets become our family members, so why not honor them with their very own portrait hung up in your home? Digital pet art has become extremely popular of late, as it offers a fun and artistic interpretation of your four-legged friend. But this custom pet art comes with a price tag, not to mention the time spent waiting on the design and delivery of your new piece.
Luckily, creating your own personalized pet portraits is both quick and easy thanks to BeFunky’s Photo Editor. Simply follow our digital pet portrait tutorial below to create yours in just minutes!
How to Make Digital Pet Art Using BeFunky
Ready to create your own digital pet art? Click here to enter our Photo Editor and choose a photo of your beloved cat, dog, or any other animal to get started.
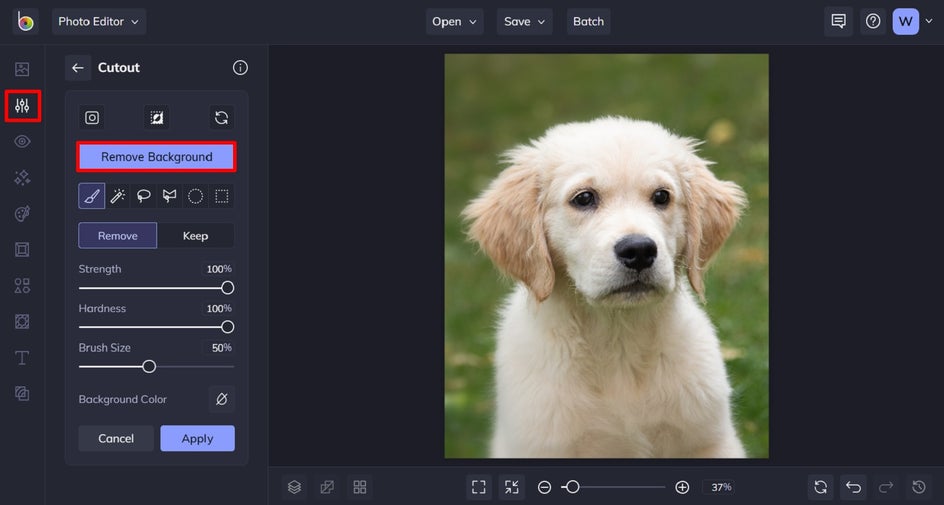
Step 1: Use the Cutout Tool to Remove Your Photo’s Background
For our tutorial, we're going to apply an effect to our pup and remove the background to replace it with something more neutral. So first, we’re going to use the Cutout tool to separate your pet from the background of the photo. To do this, navigate to Edit in the main menu on the left, then click Cutout. In the Cutout section, click the Remove Background button. A pop-up window featuring a preview of your results will appear. If you need to make adjustments, you can do so by using the Remove and Keep tabs. Once you're ready, click the blue checkmark to continue.
Step 2: Export Your Cutout as a Layer
The next pop-up window will prompt you to select your Cutout options. For this project, you’ll need to select the checkbox next to Export as Layer. This saves your isolated pet image a new layer that you’ll also be able to find within your Image Manager.

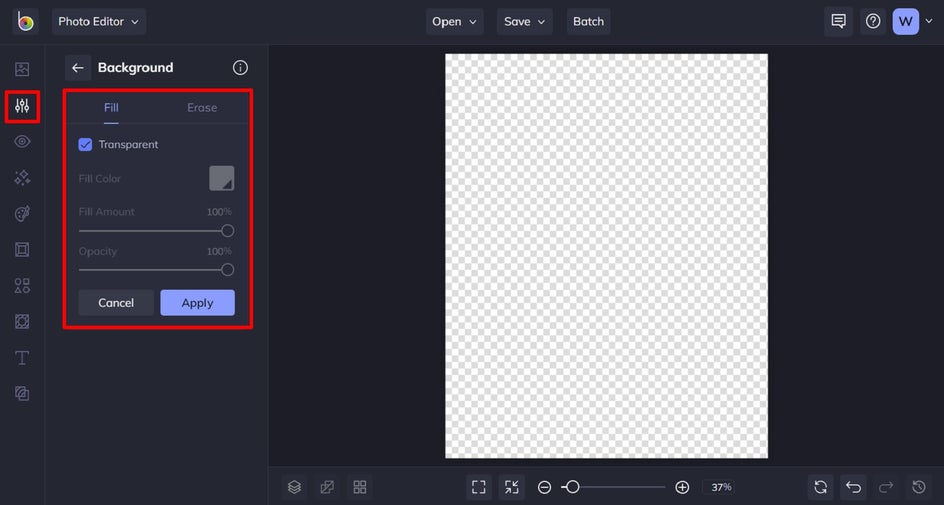
Step 3: Make Your Background Transparent
Next up, you’ll want to turn your original photo into a transparent layer, so you’re just left with your pet’s portrait. Navigate to Edit > Background and ensure the Transparent checkbox is selected. Then, click Apply.
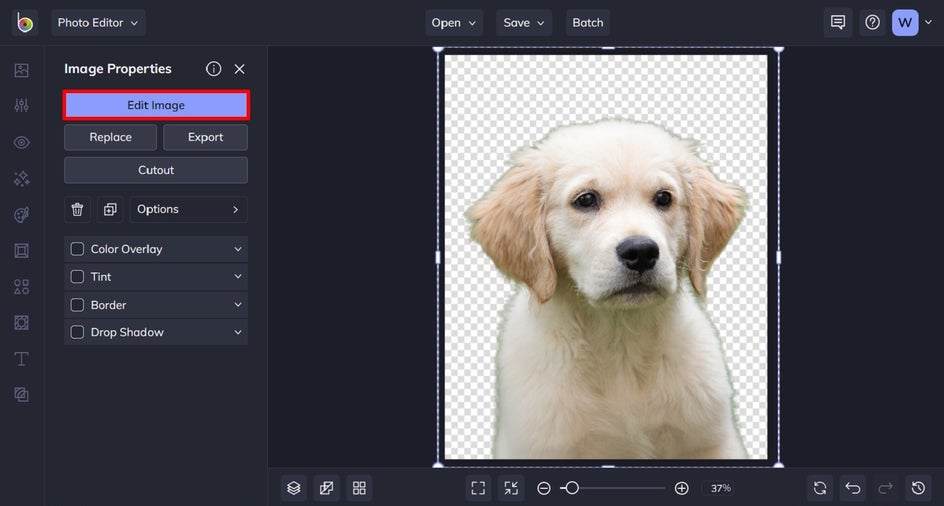
Step 4: Edit Your Image Layer
Now that your image just contains the image layer of your pet, it’s time to turn it into digital art! Click on your pet, then click the Edit Image button. At the top of your screen, it should now read “Currently Editing an Image Layer."
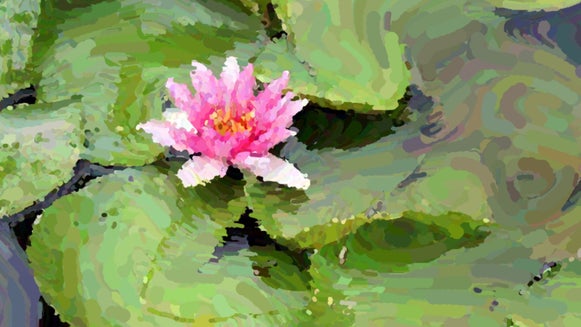
Step 5: Apply a Digital Art Effect to Your Pet Portrait
To locate the digital art effects, navigate to Artsy in the main menu on the left, followed by Digital Art. There are numerous effects to choose from here, so feel free to sample how they look on your pet’s portrait. For our portrait, we went with Underpainting DLX.
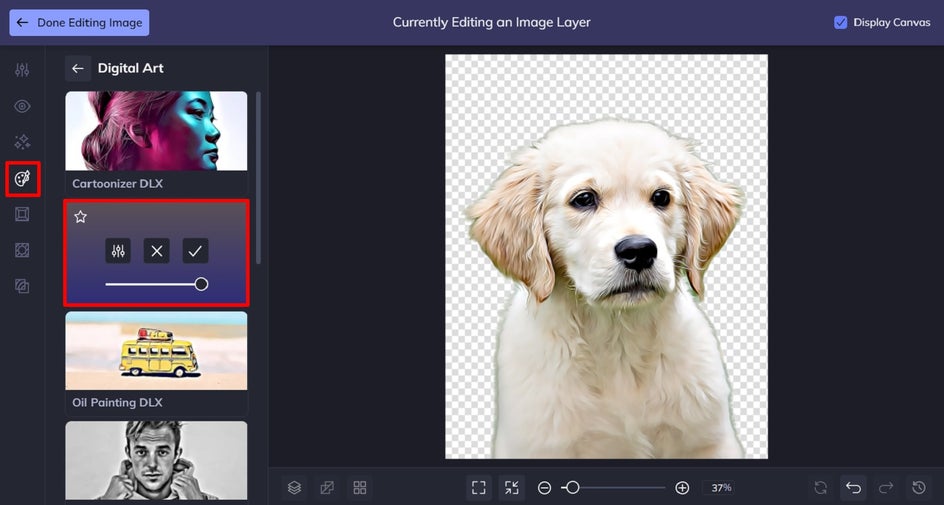
You’ll notice when you click on an effect, three options are available: Settings, which allows you to alter the effect further; Cancel, which cancels the selected effect; and Apply, which applies the effect as-is. You can also adjust the strength of the effect by using the slider.
Step 6: Adjust the Digital Art Effect, If Necessary
To adjust your Digital Art effect, click Settings. Here, you can further customize elements of the Photo Effect, such as the sharpness. Use the sliders located underneath each to increase or decrease the desired effect.
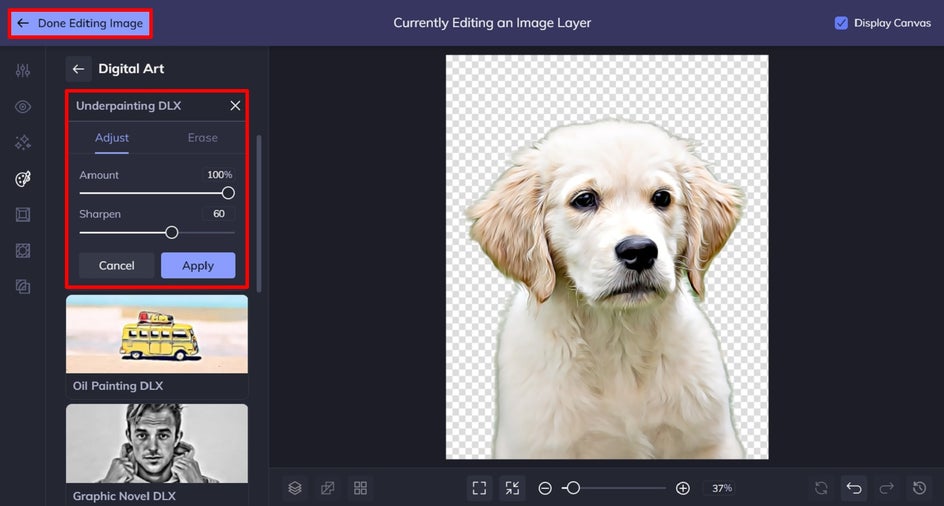
Once you’re happy with your changes, click Apply. Then, click Done Editing Image in the top left corner.
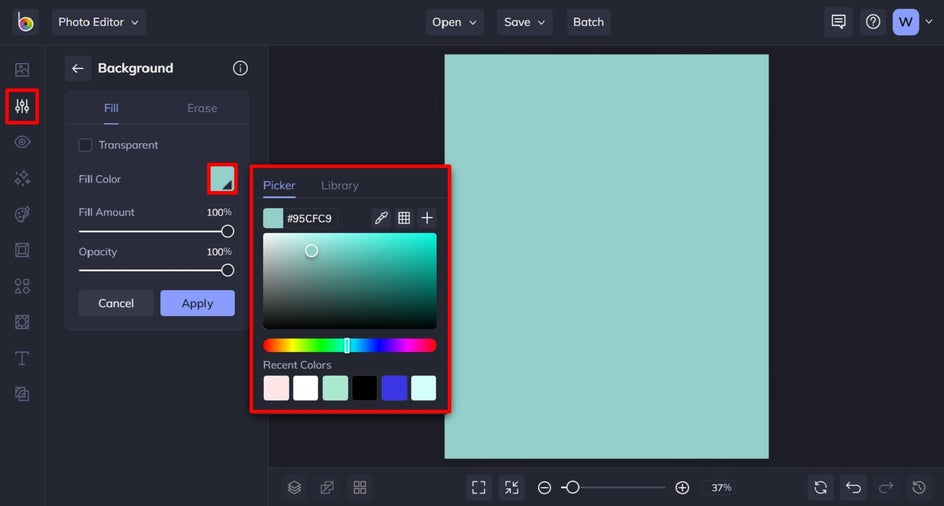
Step 7: Add a Color to Your Background
Next, we want to add a colored background to our digital pet portrait to make it pop. Navigate to Edit > Background, followed by the square located next to Fill Color. This opens the Color Picker, from which you can select a color from the palette or input a HEX code. Choose your desired shade and click Apply.
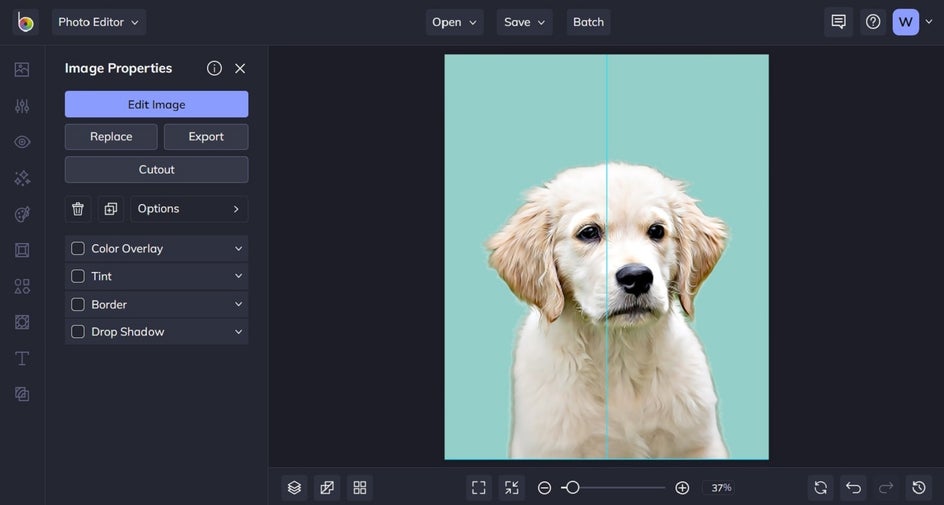
Step 8: Adjust and Reposition Your Image
Want to reposition your pet’s image or make it smaller or larger? Simply click and drag it with your mouse to reposition it on your canvas. Alternatively, you can click the image and drag its outer corners inwards or outwards to decrease or increase its size.
Step 9: Add and Edit Your Text
Finally, it’s time to add text to your pet’s portrait (if you wish)! Click Text in the main menu on the left, followed by Add Text. Then, simply double-click your new text box and type in what you want it to say.

When you select a text box, you’ll also notice a Text Properties panel appears. From here, you can change things such as the font, font size, text color, spacing, and more.
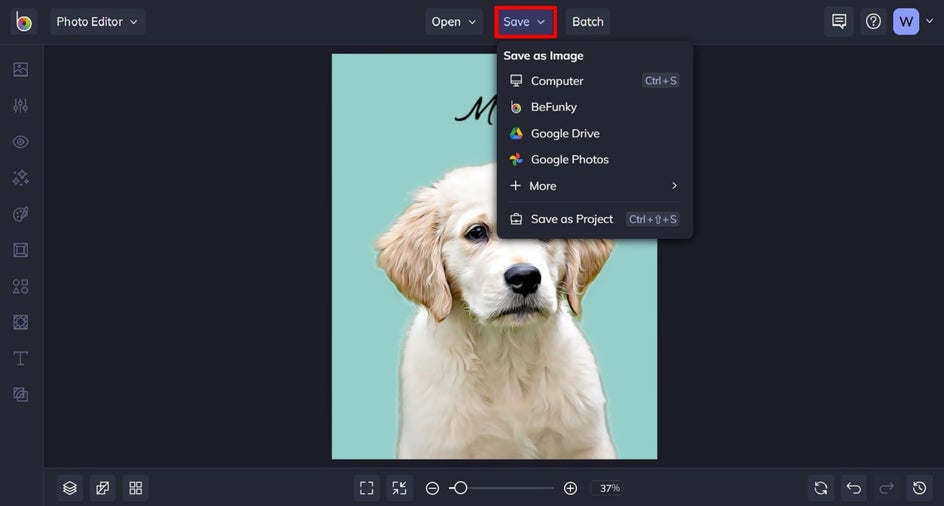
Step 10: Save Your Digital Pet Portrait
Once you’ve finished editing your digital pet portrait, click the Save button at the top of the page, then select your desired save location and file type. We recommend saving your pet art as a PDF file in Print Quality so it remains the highest quality for printing and displaying!
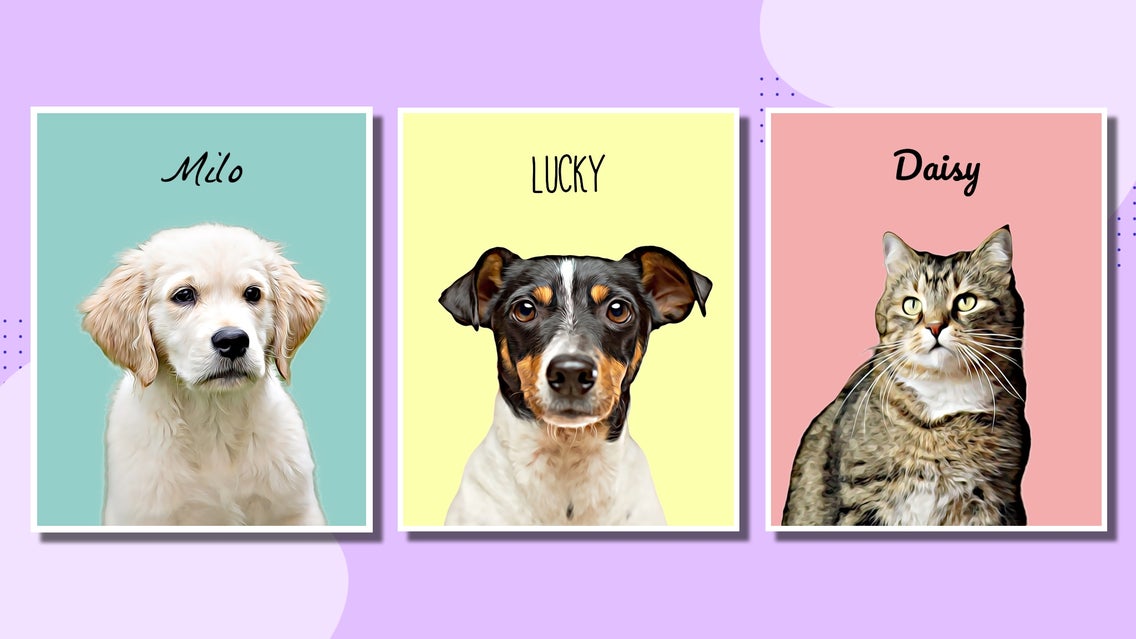
Final Results
In just 10 simple steps, you can transform a photo of your pet into a digital work of art! Take a look at how we transformed our pup's photo into a professional-grade portrait.

Create Digital Pet Portraits From Photos In Just a Few Clicks!
Whether you’re looking to create pet portraits as gifts for loved ones, or simply want to celebrate your furry friend with an artwork of their own, making your own digital pet art has never been easier. Thanks to the Photo Editor’s wide range of tools and Artsy Photo Effects, you too can create yours within minutes.
Go on, try your hand at making a custom pet portrait today!