Perfect Your Photos With BeFunky’s A.I. Image Enhancer

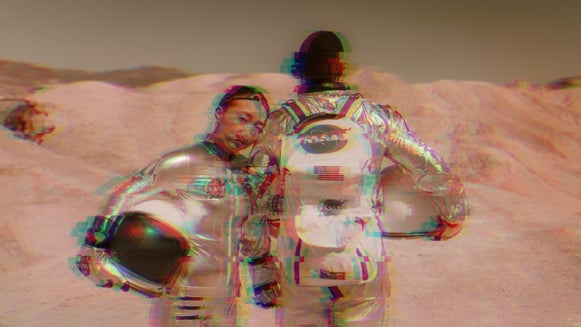
While modern camera technology tries its best to capture the world as we experience it, it can fall short of adequately preserving the energy and magic these scenes had in the real world. The BeFunky A.I. Image Enhancer re-introduces the magic with one click by countering some of the most common reasons cameras can’t capture these feelings just right.
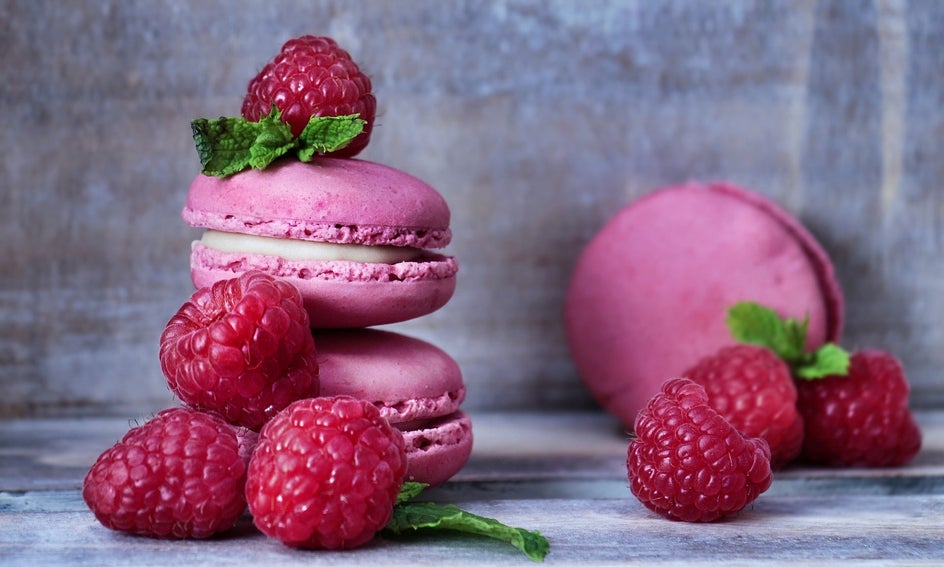
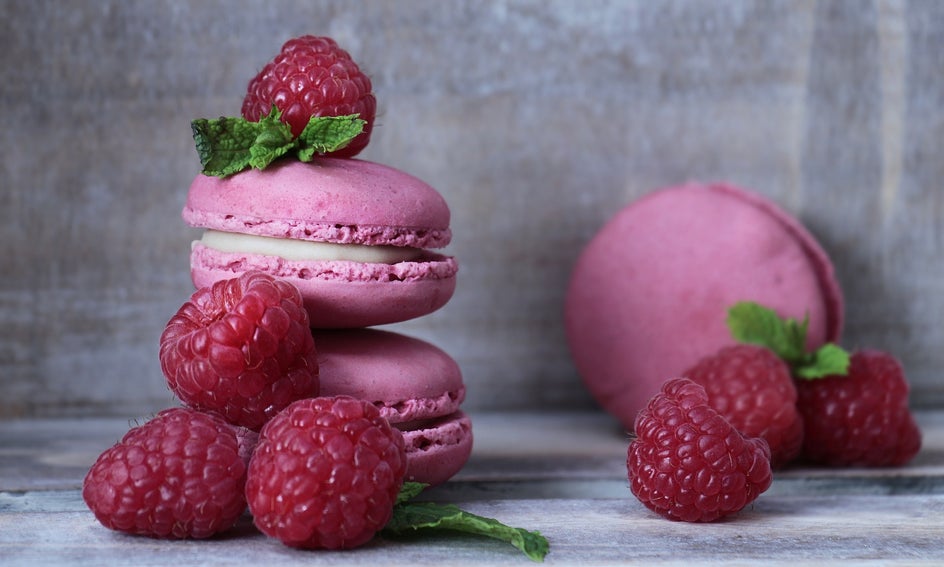
The BeFunky A.I. Image Enhancer, accessible in the Photo Editor, uses powerful A.I. technology to automatically balance exposure, adjust contrast and shadows, and enhance color in your photo without oversaturating them. This tool can amplify your photos with a single click. It’s a great solution for boosting your landscapes, portraits, cityscapes, or other photos.


Editing photos step by step takes time, long-winded tutorials, and hand-cramping precision with a mouse or drawing pad. After over ten years spent developing a tool that could skip the hassles, the A.I. Image Enhancer was introduced to the BeFunky toolbox. This advanced tool will adjust color saturation, lighting, and overall sharpness in record time and with digital precision. It feels familiar to users of the A.I. Portrait Enhancer, the A.I. Image Enhancer makes powerful color corrections and adjustments sure to boost quality and appeal. These features work for indoor and outdoor photography, so feel free to capture any moment you feel inspired by without dreading the editing grind later.


Landscape and city shots can be touched up in a fraction of the time compared to using traditional methods. With just one click, the brightness and contrast, saturation, and exposure of your photos are adjusted so that your creative photography shines. Now, your photos can look perfect and you can get back to finding the next shot even sooner!
How to Use the A.I. Image Enhancer
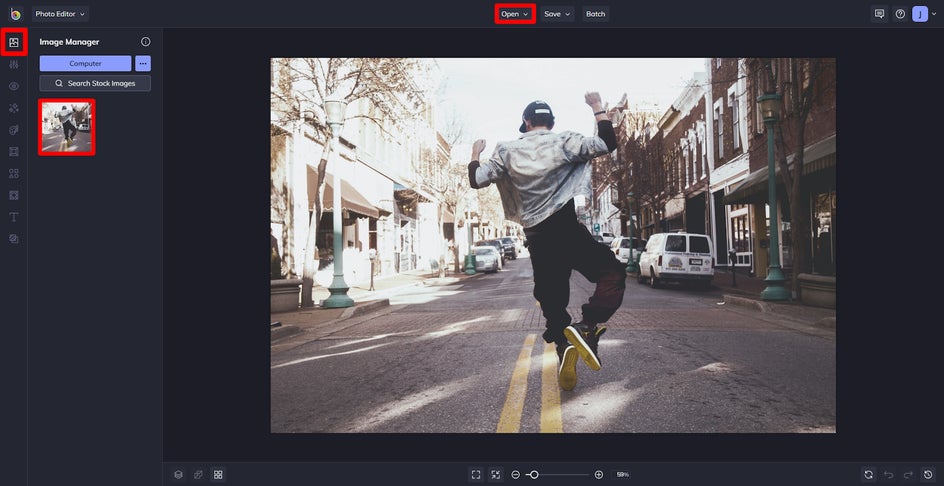
To use the A.I. Image Enhancer tool, head to the Photo Editor application and open the image you wish to enhance.
Step 1: Choose a Photo
Begin by choosing either one of BeFunky’s stock images or opening your own. You can access images saved to your computer by searching for them or dragging and dropping them into the canvas. BeFunky’s selection of over one million free stock images or images previously uploaded to BeFunky can be accessed via the Image Manager options on the left-hand toolbar.
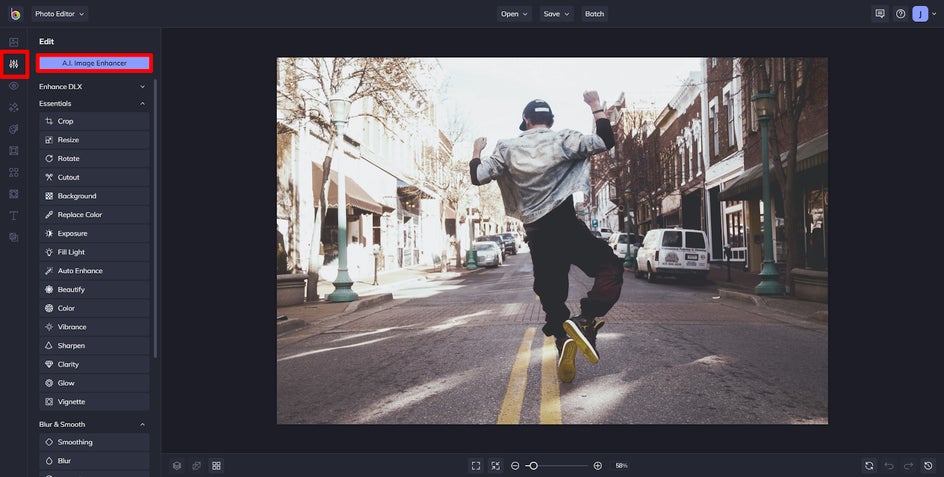
Step 2: Select the A.I. Image Enhancer
Next, navigate to the Edit options on the left-hand toolbar and consider the first option, the blue button labeled “A.I. Image Enhancer.” Select this button to automatically begin making adjustments with the A.I. Image Enhancer, as well as be given access to further customizable options.
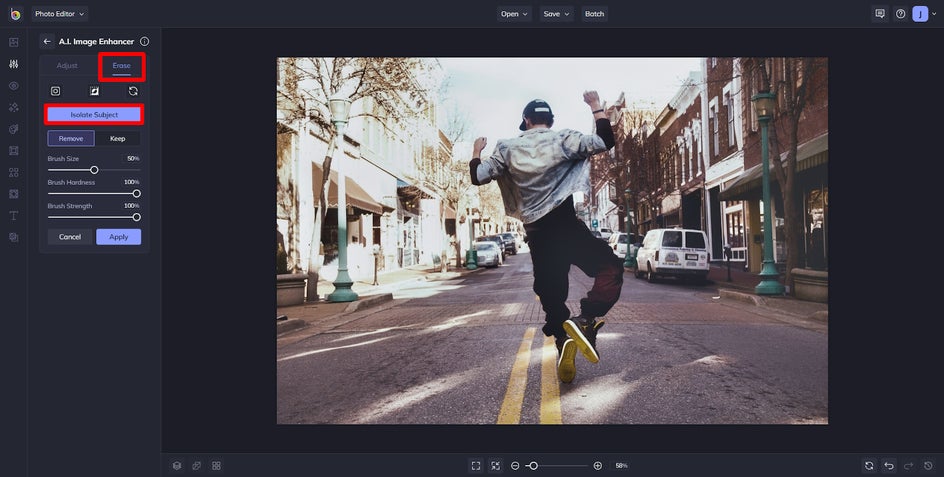
Step 3: Isolate the Subject
You can enhance the entire photo, or you can isolate your subject to help it pop against the background. To do this, click on Isolate Subject, found in the Erase tab, and BeFunky will automatically detect the areas most likely in need of enhancement.
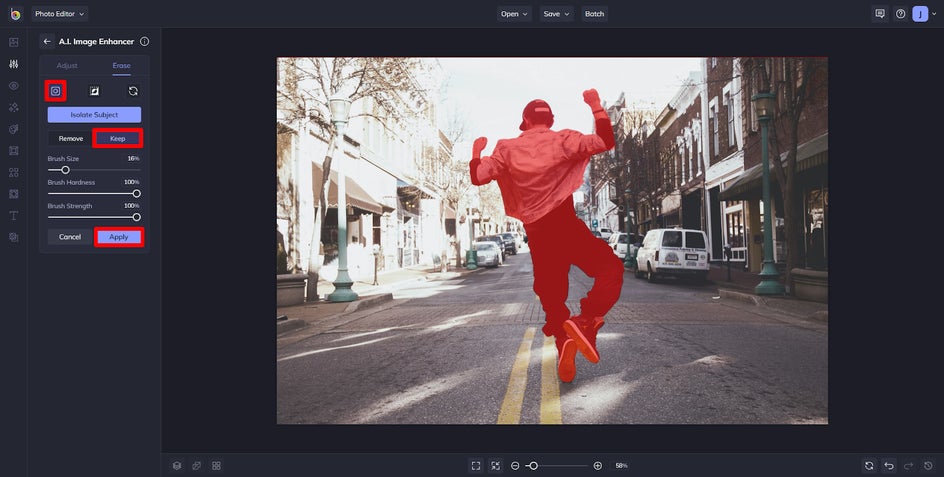
Step 4: Make Adjustments
If the subject identifier does not find all the areas in need of enhancement, or if you'd like to remove it from some areas, use the Brush tool. Click on the Show/Hide Mask icon, found below Isolate Subject, to highlight the targeted areas in red and make adjustments as needed with the Brush tool.
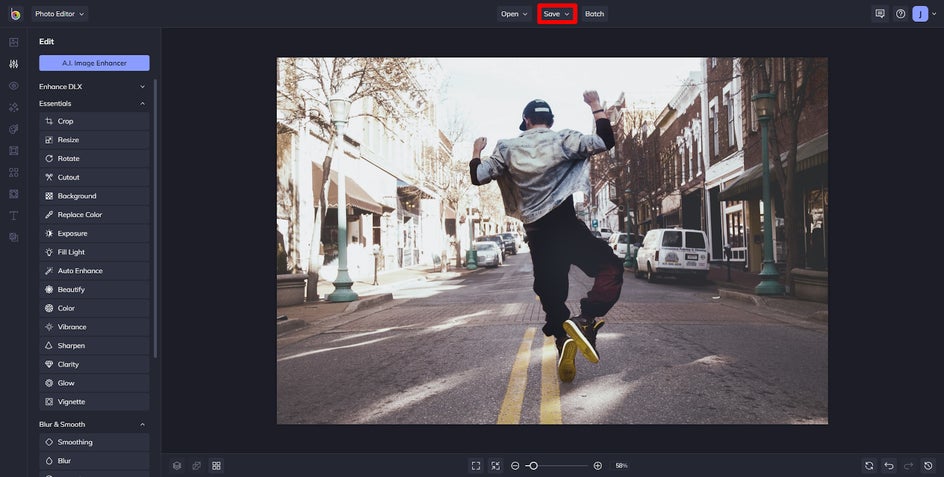
Step 5: Save Your Work
Finally, save your finished product to keep it for later. Works-in-progress and finished projects can be saved locally to your device, saved to BeFunky, or uploaded directly to many of your favorite social media platforms.
Add Some Magic to Your Photos
With BeFunky's A.I. Image Enhancer, all it takes is a single click to add some magic to your photos. With this tool, you can balance exposure, adjust contrast and shadow, and emphasizes key colors – no prior photo editing skills are required. Head over to the Photo Editor to try it for yourself.