How to Turn Photos to Art More Selectively Than Ever
You’ve probably seen the same old photo editing effects hundreds of times before, but did you know BeFunky has unique Photo to Art effects that you just can’t find anywhere else? Built in-house by our talented graphic designers, these effects work in one swift click to turn your entire photo into a work of art.
But have you ever wanted to Cartoonize your photo’s subject and keep the background realistic or add Artsy effects to the background while keeping the subject looking true-to-life? What seemed previously impossible is now easier than ever, thanks to our new AI-powered technology – all created right here at BeFunky HQ! Now when you're adding Artsy effects, you can use this intuitive technology to instantly detect the subject in your photo and apply Artsy effects selectively to only the background or only the subject. It’s photo editing like you’ve never imagined, and we’re revealing everything you need to know below!
Selective Photo to Art Inspiration
Wondering what kinds of wonderful things you can produce with selective Photo to Art effects? Here’s the lowdown!
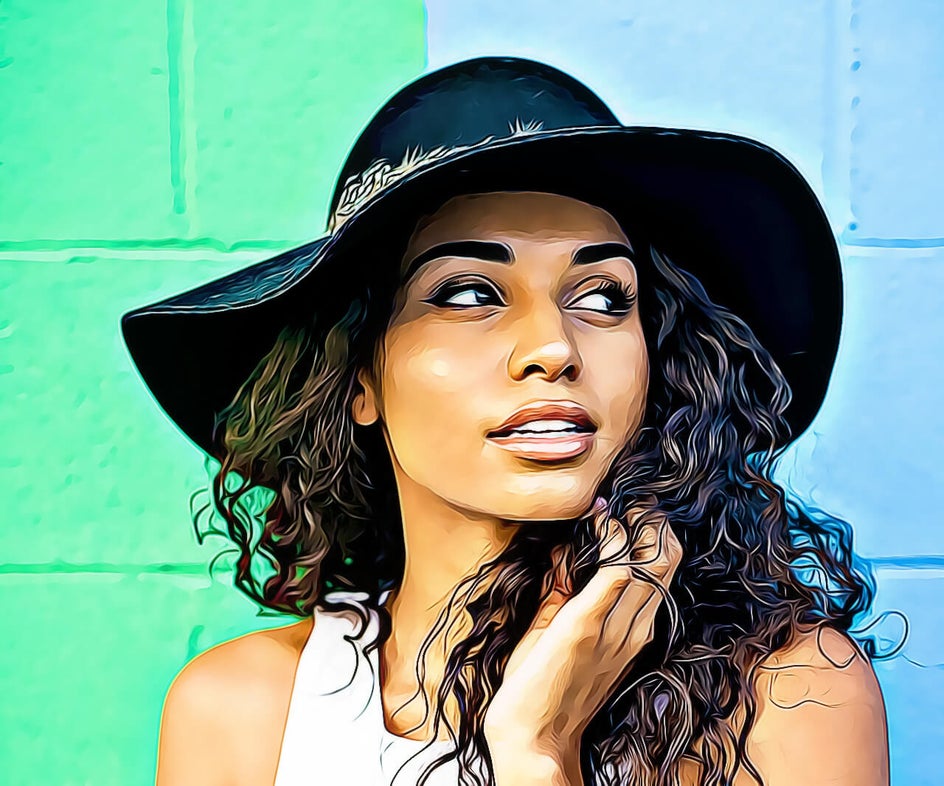
Create a Comic Book Character
Let’s face it, who wouldn’t want to see themselves as a comic book character? In the Photo Editor, you can use effects such as Cartoonizer or Graphic Novel DLX to turn your kid, friend, yourself, or anyone else into a comic book character while keeping the background looking realistic. And if you'd rather have a completely different background (as shown below), pair the selective Artsy effects with our Background Remover and get as creative as you want!
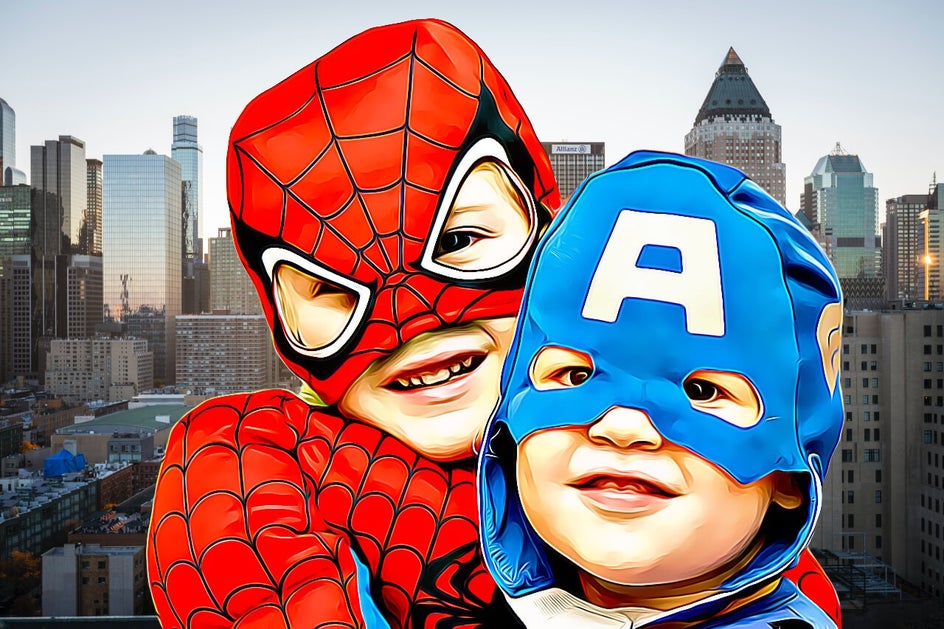

This comic book character technique is perfect for creating unique birthday cards, invitations, social media images, and more. You could even create graphics for your very own comic book if you plan out the photo sequence just right! Photo art has never been so fun.
Create Your Own Design Elements
If you’ve ever wanted to create totally unique design elements for your website, branding, or graphic design projects, then you’re in luck. Choose a photo featuring something you’d love to turn into a graphic (like a flower), then remove the background using the Background Remover located in the Cutout tool. Next, apply an Artsy effect to make the flower look illustrated, painted, sketched, or any other effect you desire, while keeping the background transparent.
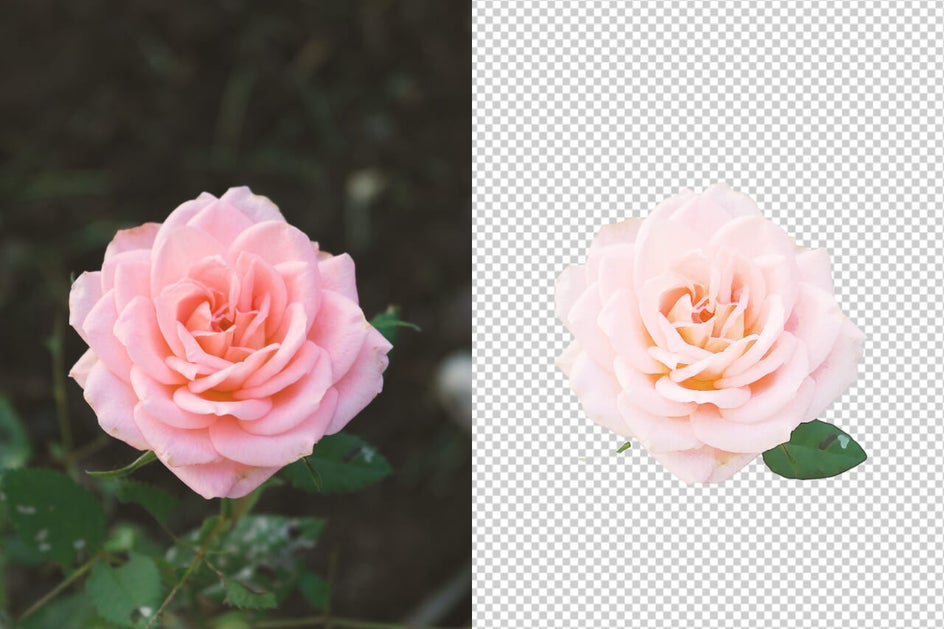
Repeat the process to make as many design elements as you'd like! Then add them to your invitation designs, greeting cards, and any template in our Graphic Designer.

Being able to turn elements of your photo to art will help you make one-of-a-kind graphics in minutes. It couldn't be easier!
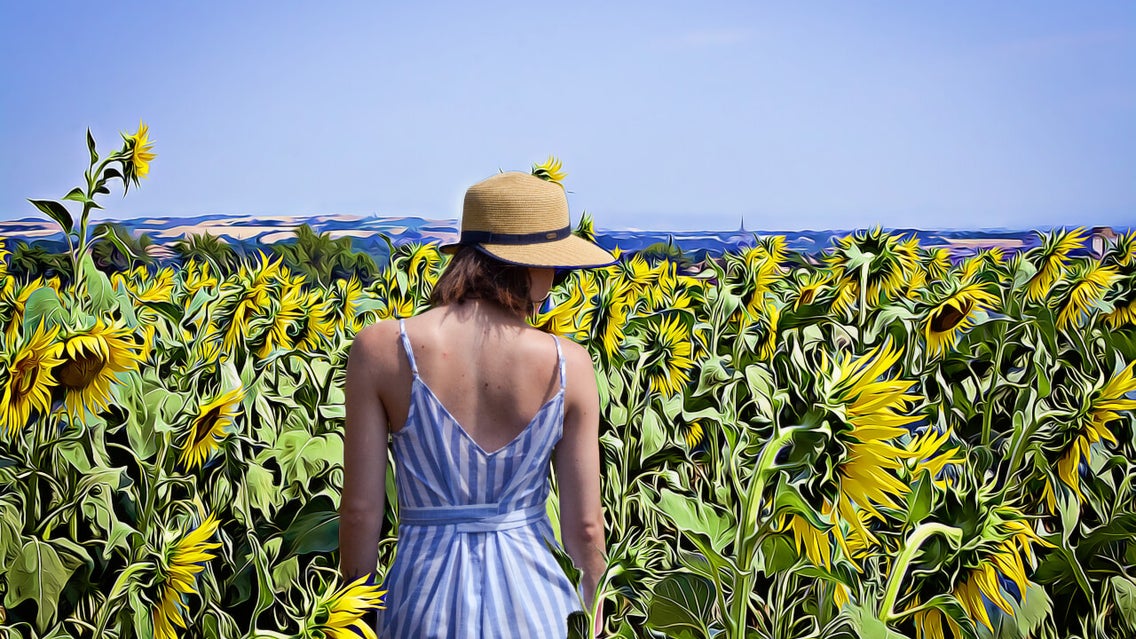
Create Mixed Media Masterpieces
You don’t need hours of time or experience as a visual artist to create a mixed media masterpiece. All it takes is one photo and the endless editing opportunities available at your fingertips, thanks to our selective Artsy effects. Now, you can easily create the look of a realistic subject in a cartoonized world, a painted object in a realistic world, and anything in between.
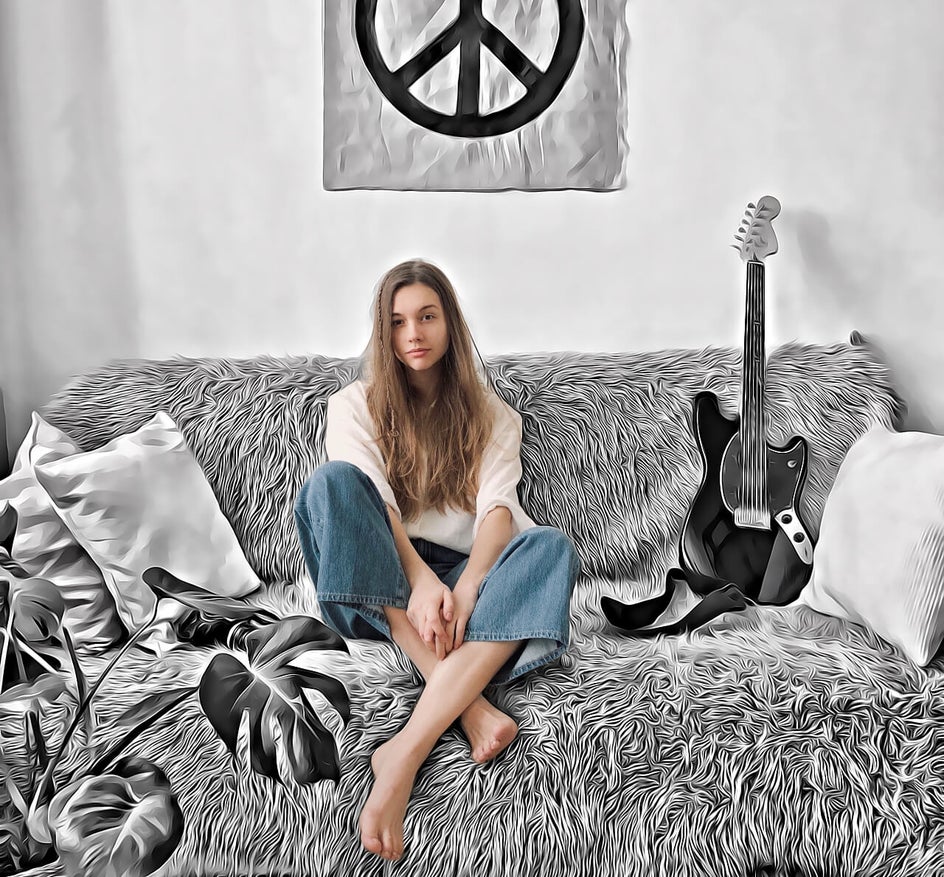
If you want to add Artsy effects to more than just the subject (but not the entire image) our paint brushes in Erase Mode will let you paint them selectively onto anything in your image. So let your imagination run wild! We've got the perfect set of tools to make your creative vision happen.
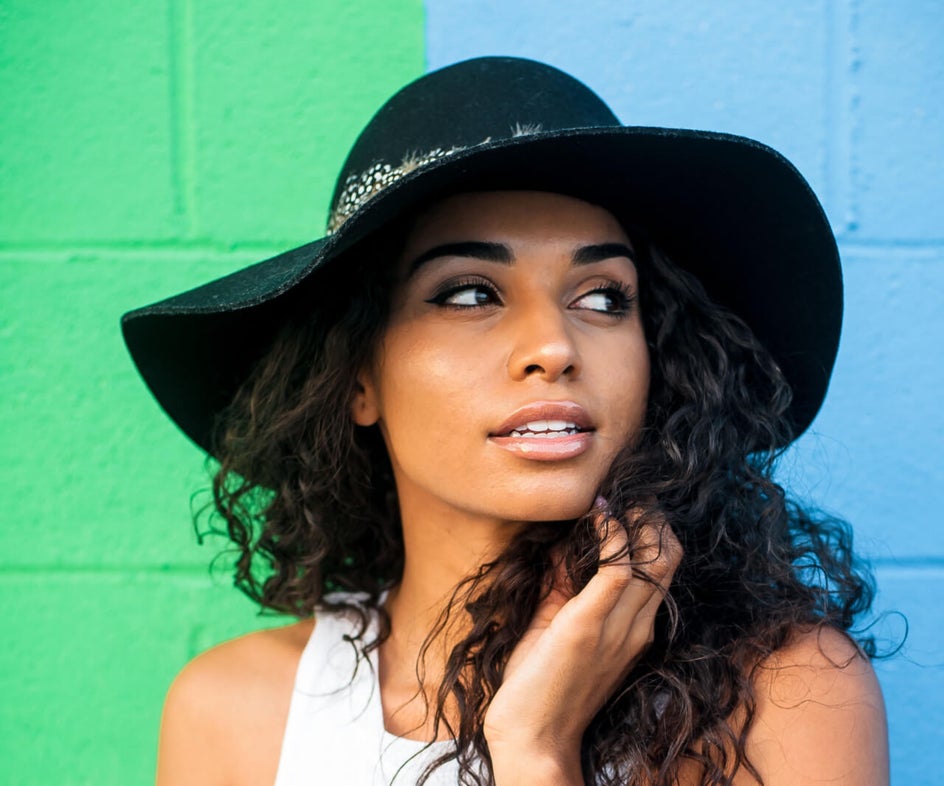
How to Add Artsy Effects to a Subject
Ready to turn your own photo into a work of art? Head to BeFunky’s Photo Editor and start by uploading a photo of your choice. Then, click on the Artsy tab in the lefthand menu (the four circles icon).
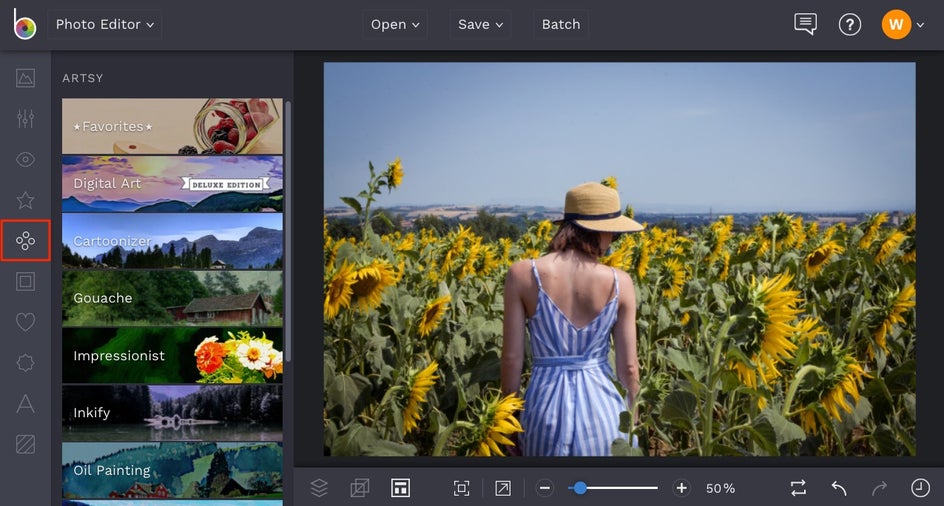
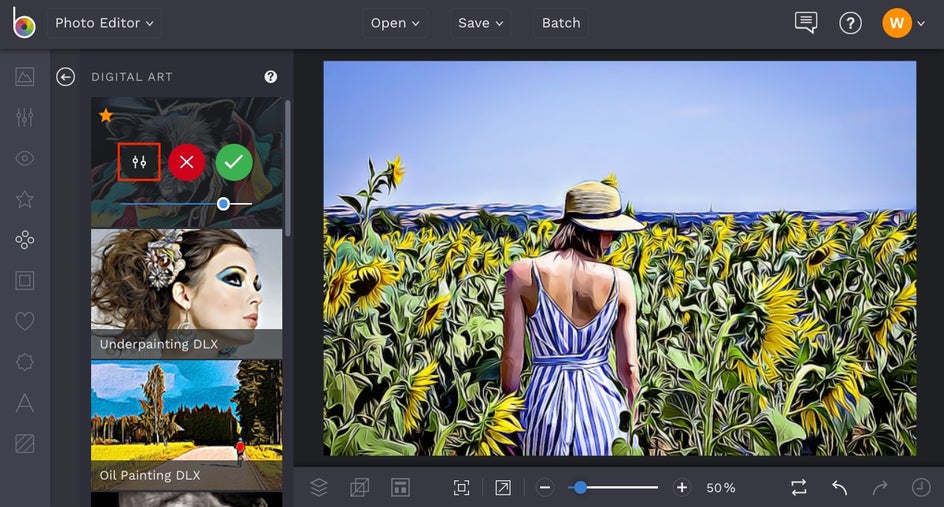
You'll find a giant library of Artsy effects in this tab, from the Cartoonizer to Digital Art and painterly styles. Take some time browsing through the different effects and notice that you can preview each one on your photo. For this photo, we’re using the Cartoonizer DLX effect, found in the Digital Art category. To apply the Artsy effect selectively, click the Settings icon on the effect thumbnail (the mixing board icon).
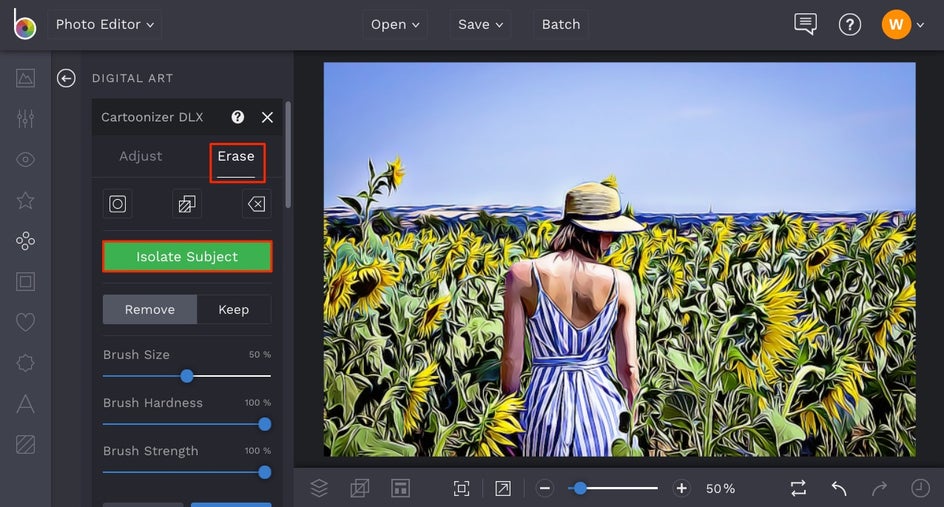
In the Settings menu, navigate to the Erase tab. Here, you can either use the brushes to paint the Artsy effect where you want it, or select the Isolate Subject button. This tool uses AI technology to apply the desired Artsy effect only to your photo’s main subject(s), but not the background.
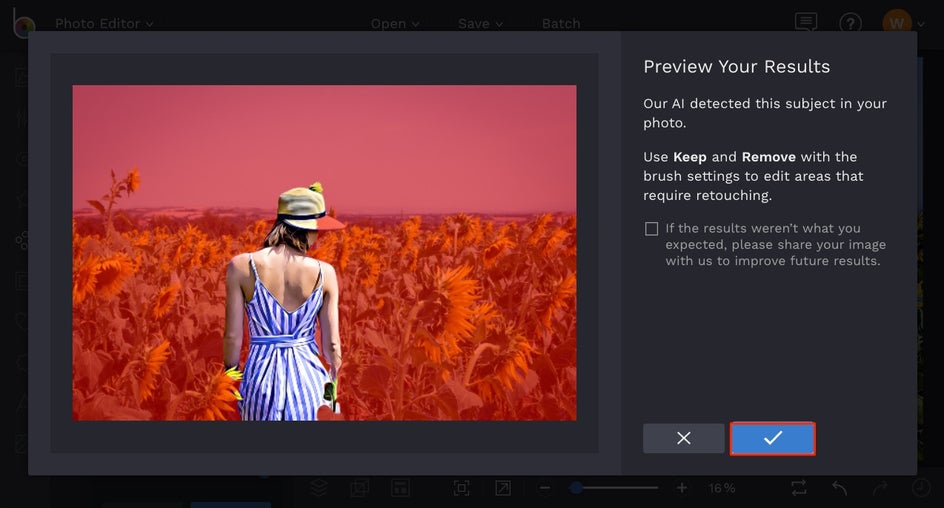
After clicking Isolate Subject, a preview of your image will appear showing the subject our AI detected. Everything that's not your subject will be masked in red. Select the blue checkmark to continue.
Your subject will now have the Artsy effect applied to it, while the background remains realistic. If you need to do some touch up work to your subject or want to add the Artsy effect to other selected areas of your photo, use the Keep and Remove buttons with the brushes in the Erase tab. Clicking the Show Mask button will allow you to see where you're painting.
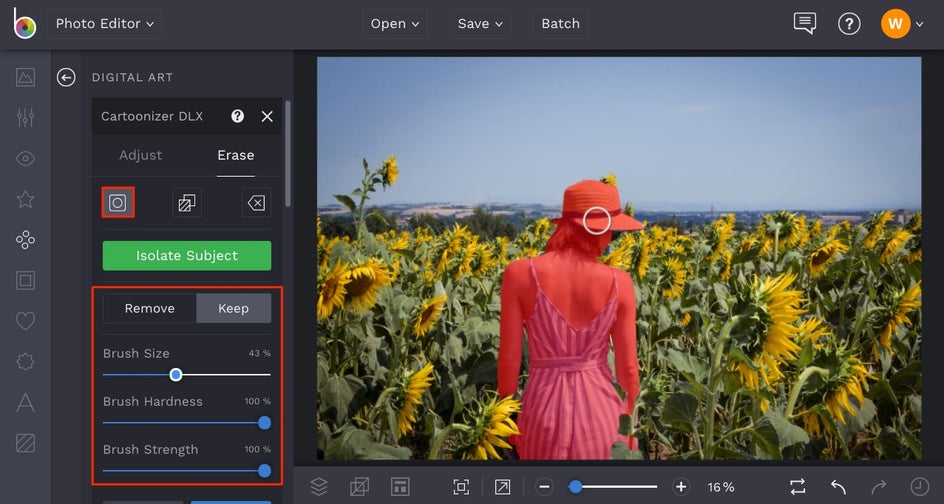
Keep will let you paint over sections of your photo you wish to apply the effect to, while Remove will erase the effect. You can also adjust the Brush Size, Brush Hardness, and Brush Strength using the sliders.
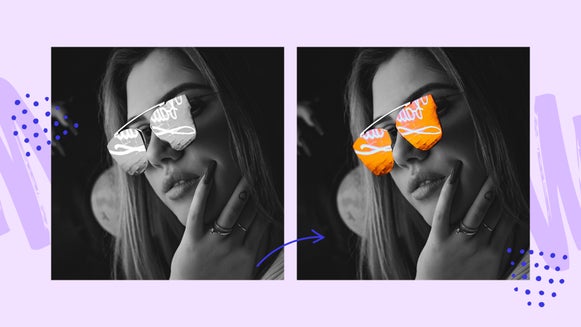
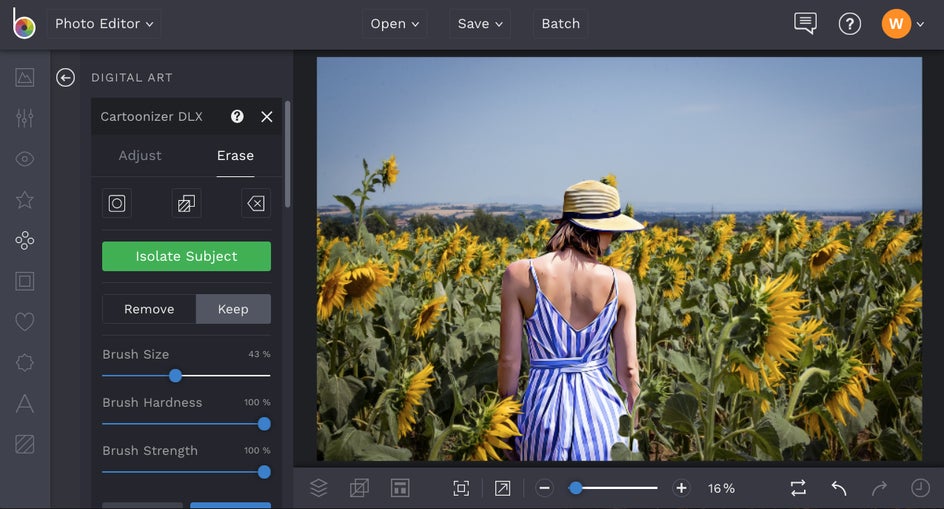
You can use this technique to apply Artsy effects to your subject:
Or click the Invert Selection button and apply the Artsy effect to the background:

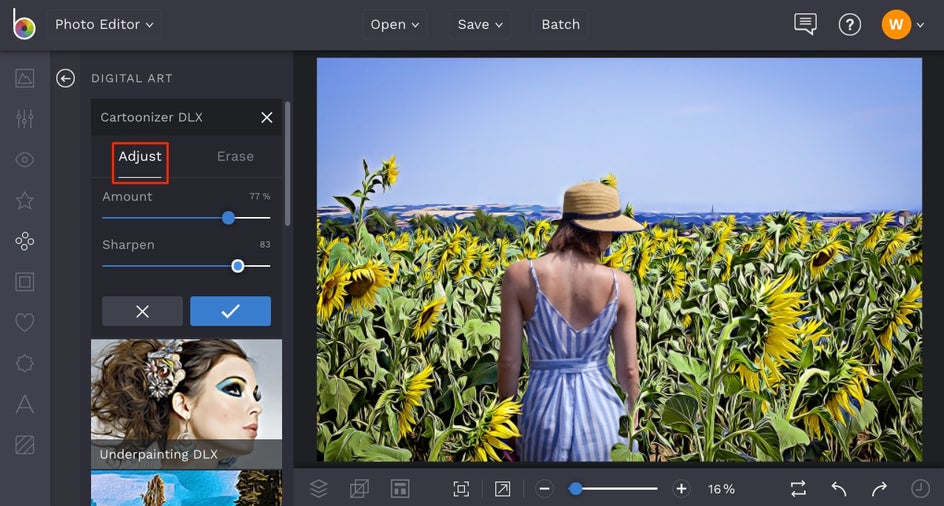
Once you've decided where to selectively apply your Artsy effect, click over to the Adjust tab to make any final adjustments. Each effect will have its own settings to control, but in the case of the Cartoonizer DLX, we're able to customize the Amount and Sharpness.
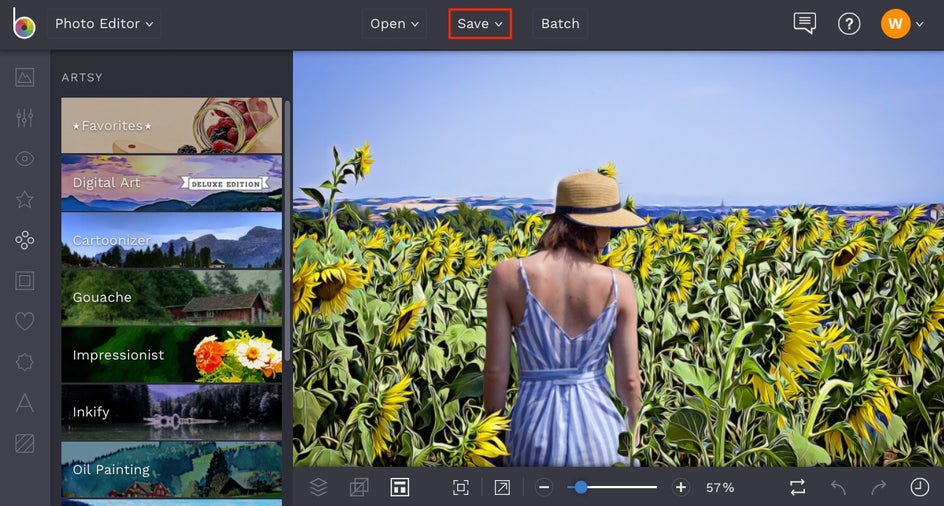
Once you’re happy with how your photo looks, simply click the blue checkmark button to apply. Then, all that’s left to do is to save your Photo to Art masterpiece! Click on Save at the top of the screen and select which destination you wish to save your image to, including your Computer, Facebook, Dropbox, and more.
Ta-da! Wasn’t that easy?
Final Results
Along with our unique Artsy effects, our new selective editing features offer a world of possibilities at your fingertips.

Why simply edit your photos when you can turn them into works of art? Try our in-house developed Artsy effects for yourself to experience the difference!