Tips for Capturing and Editing Nature Photography
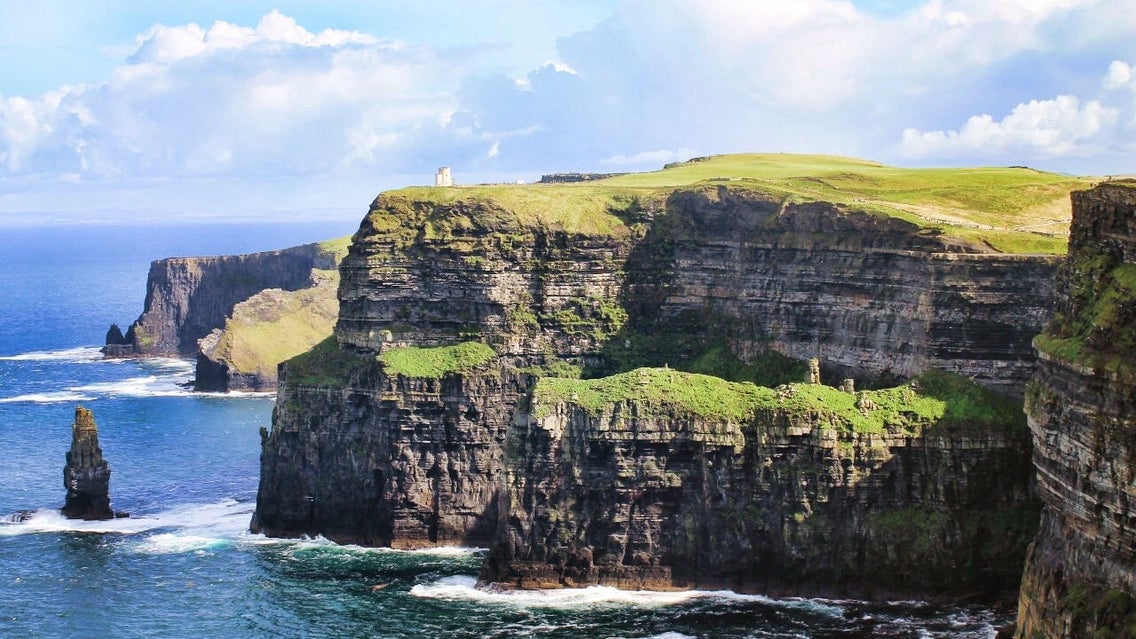
Whether you’re in your own backyard or enjoying the great outdoors, there are a few important tips to keep in mind when capturing nature with your camera. Nature photography is an ever-changing field. New techniques and gadgets are emerging all the time to further enhance nature photos. There always seems to be a new angle or subject or editing trend that might make it overwhelming when trying to grow your personal photography skills.
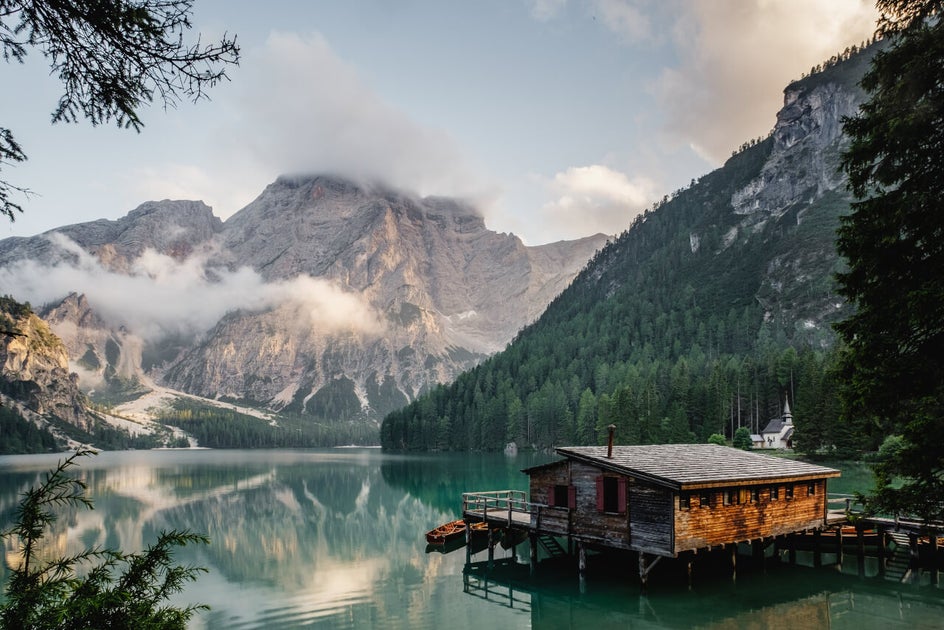
We’ve gathered our best tips and tricks for capturing excellent photos of nature, from gear to lighting and everything in between, in hopes of helping you become a phenomenal nature photographer. We’ll also explain the best tools for editing your nature photos to perfection in BeFunky’s Photo Editor, so you can make those shots look even better! Here's everything you need to know when setting out into the great outdoors with your camera.
Tips for Capturing Nature Photography
The number one rule when it comes to taking photos of nature is to expect the unexpected. Nature is not a static subject and you must have your camera ready for a perfect but fleeting shot. Taking photos in nature will keep you on your toes. That's why it’s important to have some tips and gear to make your photography process as smooth as possible. Here's what we recommend:
Use the Right Lens
The lens you’re using when taking nature photos will vary based on your subject. Much of the landscape and travel photography is done with a wide-angle lens. Super zoom lenses are recommended for most photographers, as they provide focal points that range from wide-angle to telephoto in a single, compact lens.
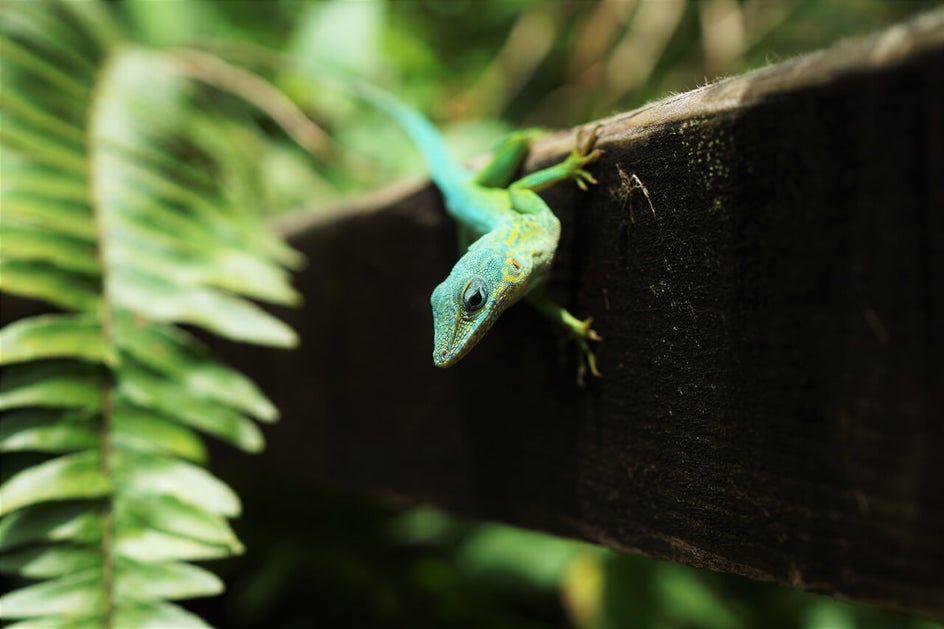
Wildlife photography usually requires a lens with a long focal length as it can be difficult to get close to a subject. If you’re expecting to take action shots in nature, use a fast lens to capture these epic images. All in all, make sure you know what lens is going to work best for where you’re taking photos in nature and experiment with various angles and settings to master your lens.
Locate a Focal Point
Locating the focal point when taking a photo of an animal or insect is easy. These figures will be the central point that draws in the attention of viewers. However, when it comes to landscape photography, determining a focal point might be more challenging. To make landscape photos interesting and unique, it’s important that there is something drawing in viewers’ attention.
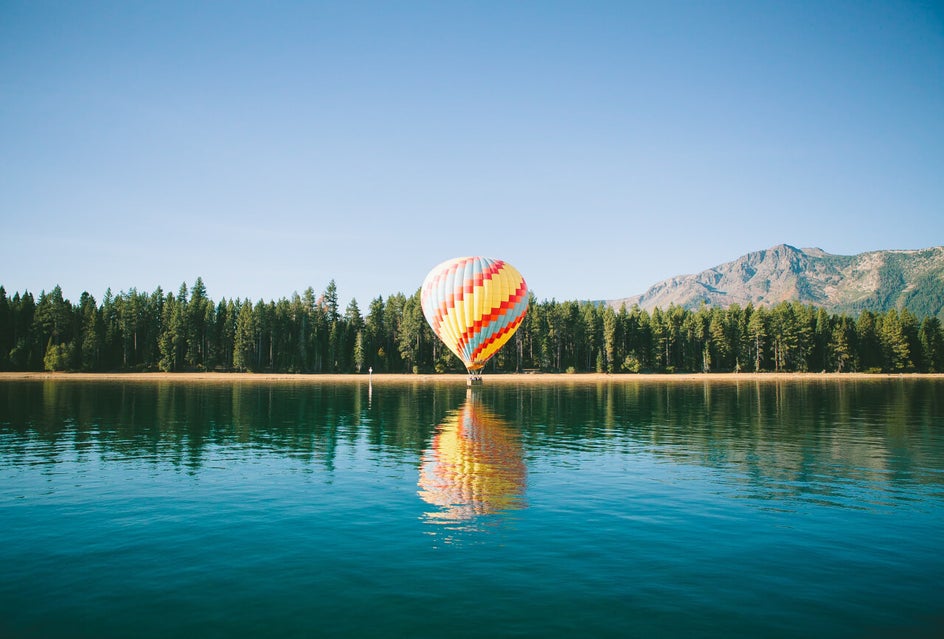
Maybe it’s a tent near a ledge with an incredible mountainscape in the background or a focus on a plant near the photographer before expanding outward toward a lake of crystal blue waters. Finding this angle in your landscape photography is crucial and it’s equally important that all parts of the photo are in focus.
Bring the Right Gear
There is nothing more frustrating than preparing to take an incredible photo and realizing you don’t have the proper gear for the shot. Before setting out, whether it’s into a local green space or national park, take stock of your gear.
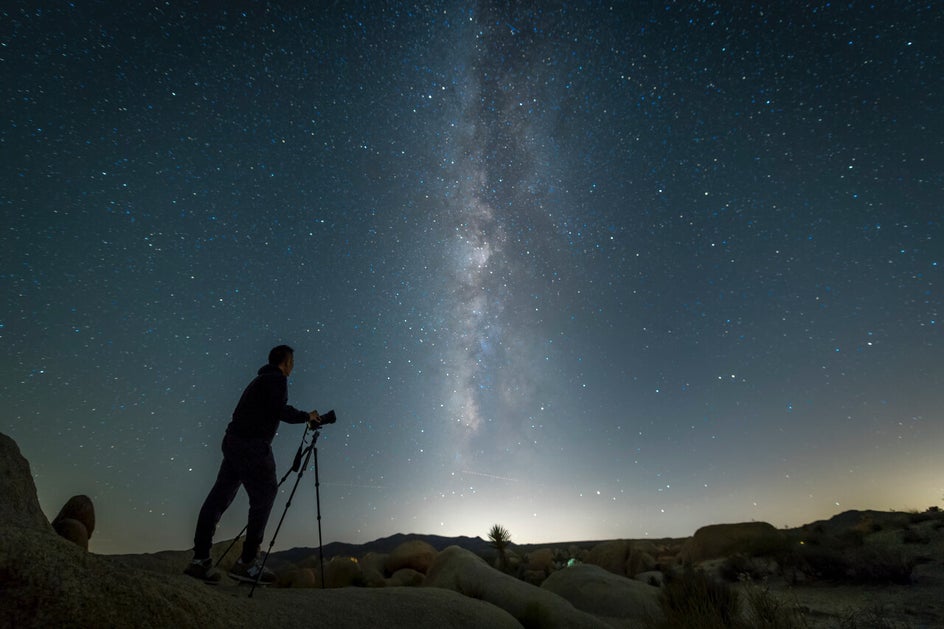
A good, sturdy tripod is useful when taking long-exposure shots and will decrease the micro-shakes that can blur photographs. A ball head attaches to the tripod and allows you to adjust the angle of the camera without having to detach and reattach it from the tripod. An L-bracket is a device that permanently attaches to the bottom of your camera and allows you to easily attach and remove your camera from the ball head. Tripods, ball heads, and L-brackets are worthy investments if you’re seeking to improve your nature photography skills.
Consider a GND Filter
Graduated Neutral Density Filters, or GND, are used to control the exposure of a shot. They have a color-neutral filter that faintly darkens the top of the image and becomes clearer toward the bottom. The filter measures the amount of light coming through the lens and adjusts the exposure to achieve this neutral density effect. They come with hard or soft edges that tell photographers how abruptly the exposure of the image will shift.
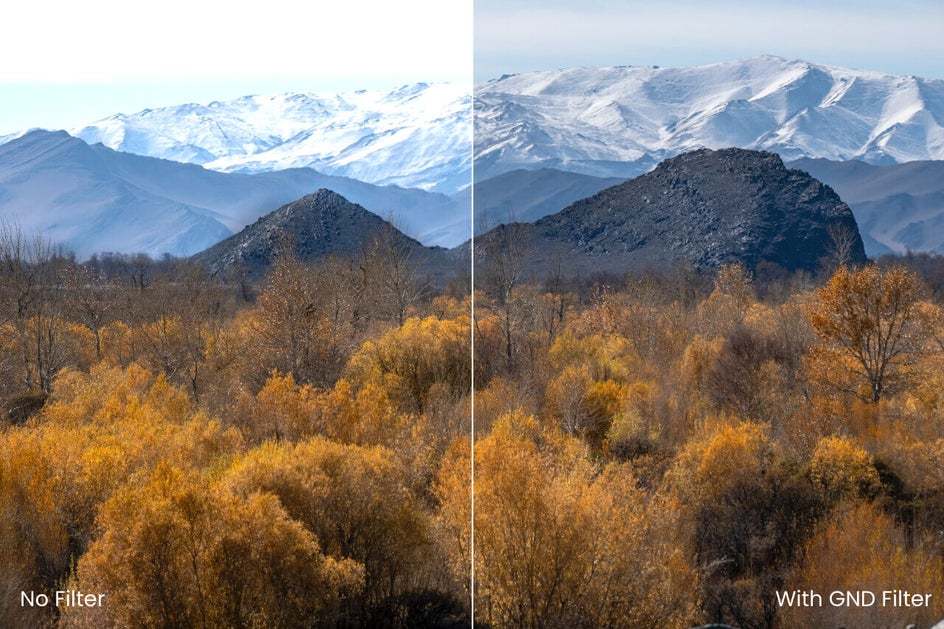
See how the GND filter helps prevent the brighter parts of the above image from being blown out? A GND is most often used in landscape photography when there is a focal point at the bottom of the image before becoming a widespread landscape. Truly, it’s a matter of personal preference when it comes to using GNDs, but they have the ability to help photographers capture some incredible images.
Use the Rule of Thirds
No matter what you’re photographing, the rule of thirds is a strategy to utilize. This rule divides your frame into nine squares made from three horizontal rows and vertical columns.
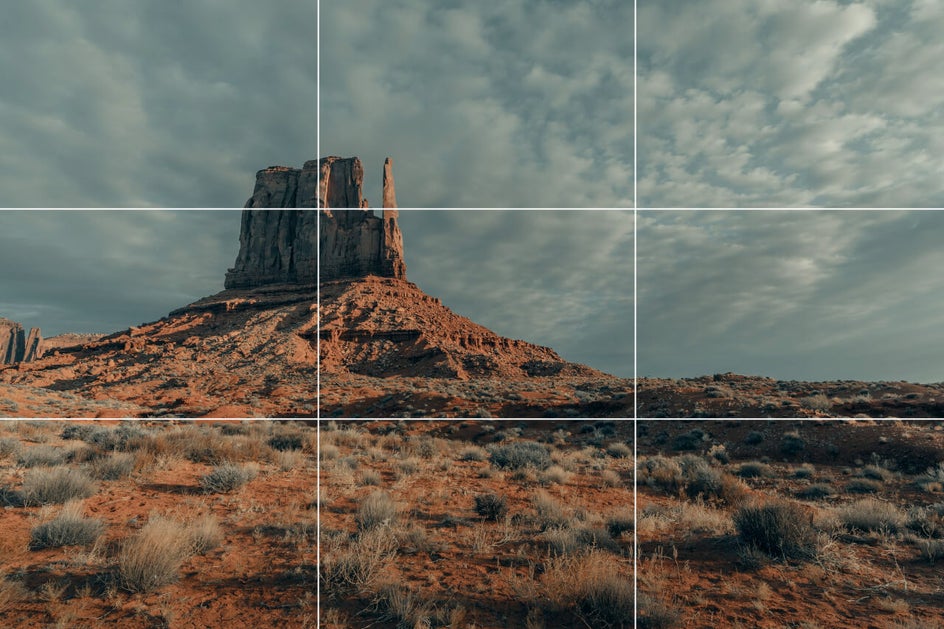
Using this framework allows you to consistently take visually-appealing photos and is an easy rule to apply in every photo op. Where the lines intersect on the frame are your points of interest. You should position your focal point or subject on or near these points to maximize the use of the rule of thirds. The rule of thirds is easily the simplest strategy for taking great photos.
Venture Off the Beaten Path
One of the goals of nature photography is to capture the parts of nature that the average person would not see. This unique perspective requires that nature photographers not be afraid to get their hands dirty to find an angle never before seen.
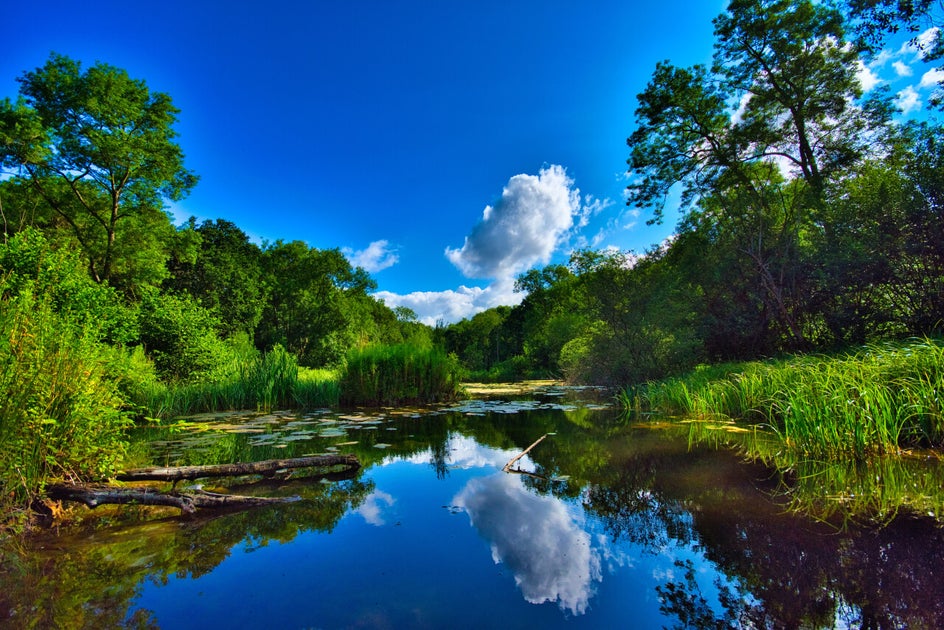
Instead of standing upright, get down on a knee or your stomach. Angle the lens up for a new perspective. Try climbing a tree and gazing down or straight ahead. Tilt, twist, and turn your camera to find something new. Walk a bit off the path or safely venture into parts of nature that most don’t to see what photos await you there.
Utilize Natural Lighting
Gear for your camera is important for nature photography, but one of the most crucial tools in your arsenal is natural lighting. This can be the difference between an average and stunning shot. Generally, early morning and late evening provides the best lighting for landscape photography. For more wildlife or action photography outdoors, it’s best to position yourself to avoid awkward shadows that distract from your focal point.
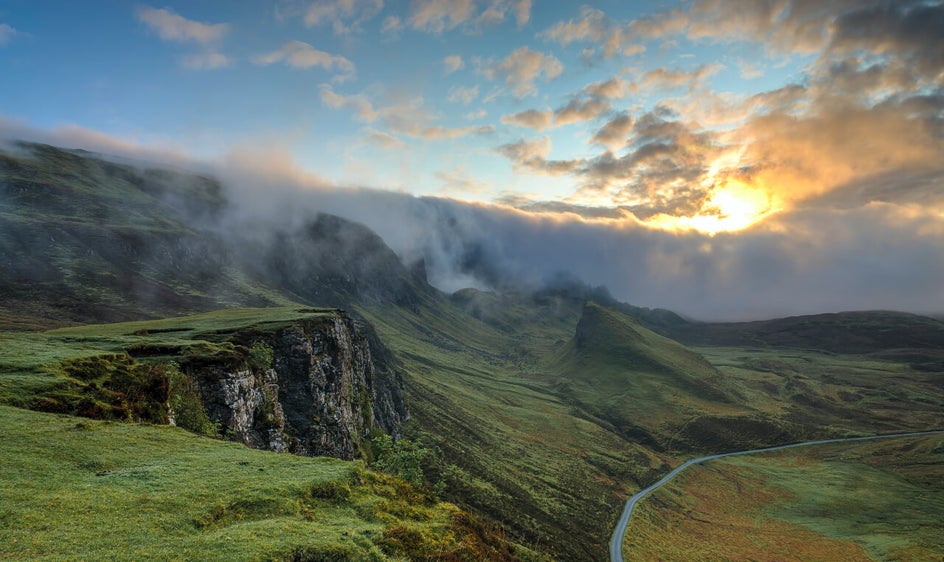
An overcast day might offer texture to your photograph. Don’t be afraid to experiment with taking photos at different times of the day and different kinds of weather. The most unique images are captured by those who try new things and explore.
Best Photo Editing Tools for Nature Photography
Now, prepared with the tips and tools necessary for capturing excellent nature photos, let’s take a look at what comes next: editing. Taking your photo is only half the task when creating incredible shots of nature. BeFunky’s Photo Editor helps take these photos to the next level with creative, fun, and intuitive editing tools. Here are some of our very favorites for enhancing nature photos:
The Crop Tool
Not every nature photo you take will have the frame, but the Crop tool can help you apply the rule of thirds, crop out distractions, and otherwise help you get the composition just right. In the Edit tab on the left, you'll find the Crop tool under the Essentials category.
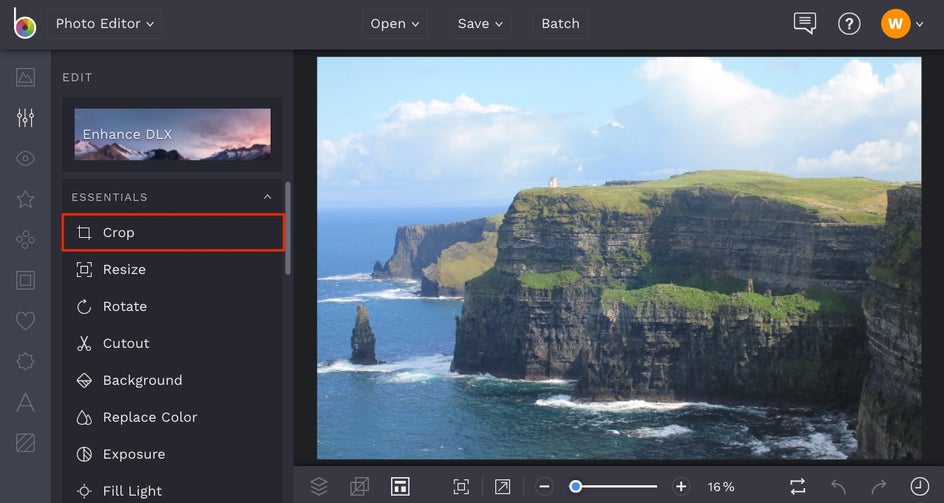
Once there, choose from the dropdown menu of Aspect Ratio presets, or type in custom crop dimensions.
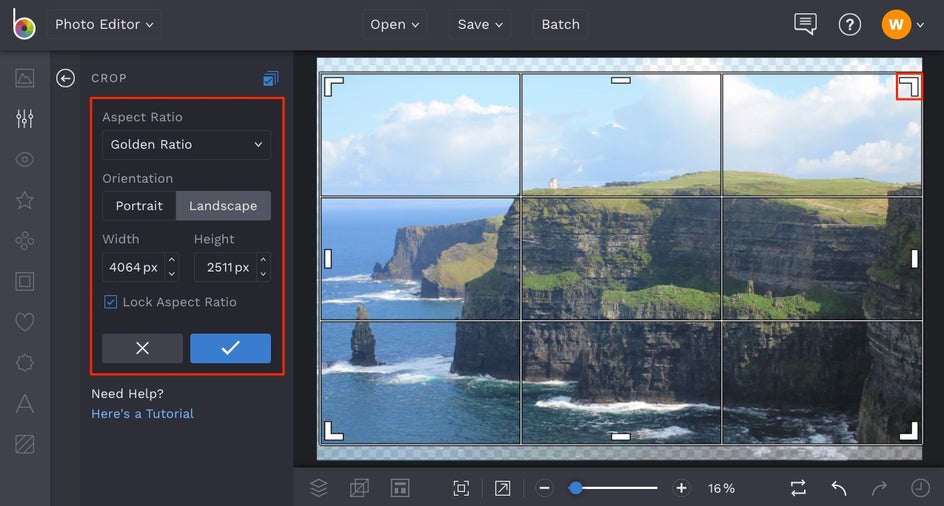
You can click and drag the crop target that appears on your image until it looks just right, and even drag the edges of the target to frame your photo the way you want.
The Exposure Tool
Also found in the Edit menu, the Exposure tool is perfect for adjusting the lighting in your image. Simply move the sliders to adjust Brightness, Contrast, Highlights, and Shadows.
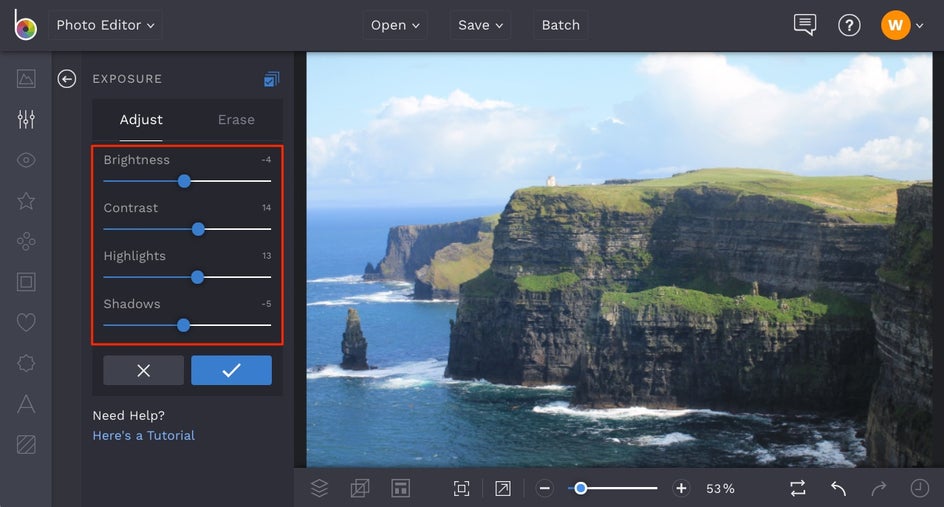
If you want an even more robust tool for editing exposure, scroll down to the bottom of the Edit menu and click on Levels. The Levels tool works with sliders as well, but gives you more detailed control over the highlights, shadows, and overall exposure of your image.
Enhance DLX Tools
At the top of the Edit menu, you'll find a collection of amazing one-click tools when you click on the Enhance DLX button. These four tools can help add dimension and detail without over-sharpening, boost color without over-saturating, and even help reduce image noise.
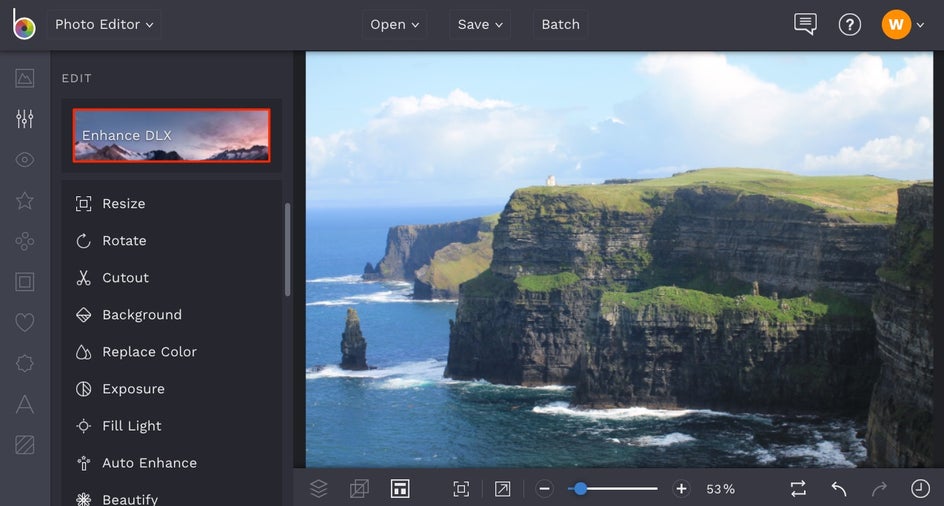
For landscapes, we recommend trying the HDR DLX effect to add a supreme amount of detail and dimension to your photo in a single click. Here's a more detailed tutorial to show you exactly how it works.
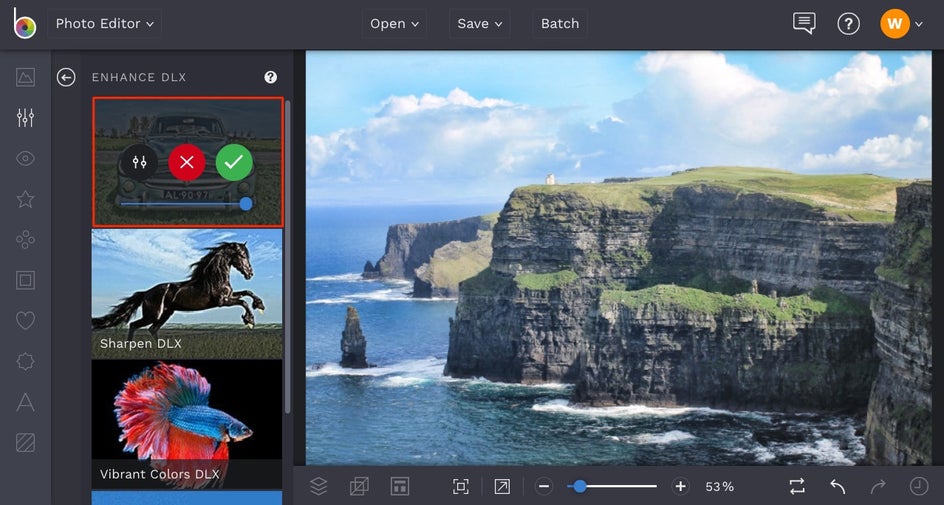
If colors in your shot need a boost, try the Vibrant Colors DLX tool. It works to enhance the midtones in your image without over-saturating the colors. Here's a more detailed tutorial to show you exactly how it works.

All of the Enhance DLX tools will come in handy when you're editing photography at some point or another, so keep them in mind when you're trying to fix problem photos or keep things ultra-realistic in your images.
Color Grading
For all those times you want to create a custom photo filter or just add some alternative colors to your shot, the Color Grading tool is going to be your best friend. You'll find it in the Effects tab (the star icon) in the menu on the left, located in the Cinematic category.
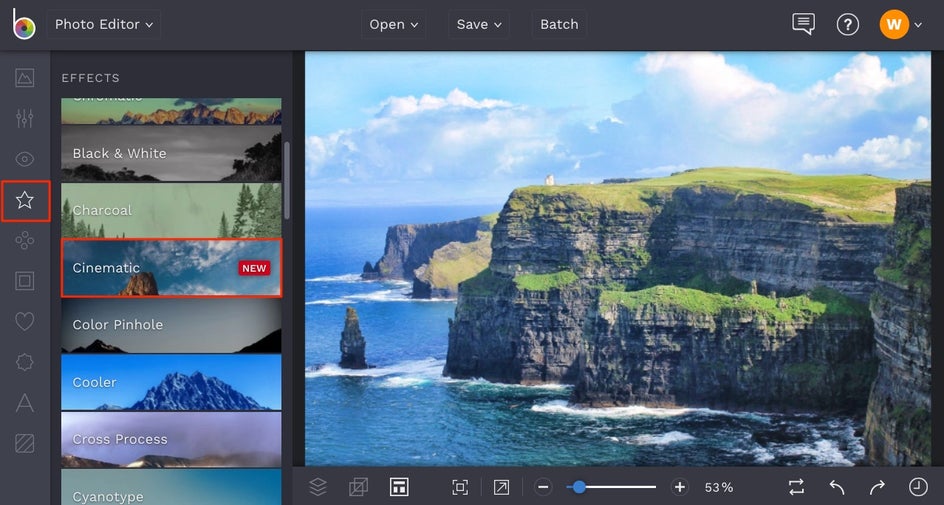
Once there, you can assign different colors to the Highlights, Midtones, and Shadows in your image to create a totally custom color palette.
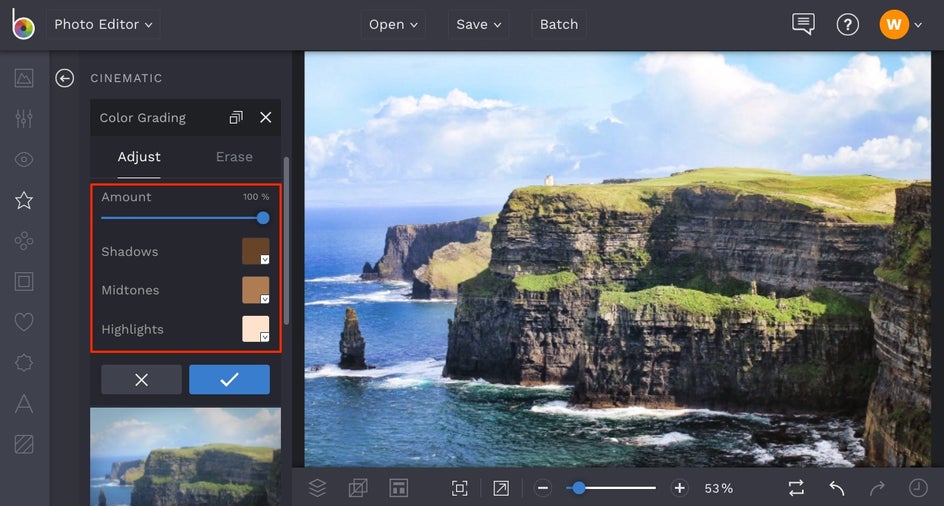
Here's a more detailed tutorial to show you how it works.
Before and After
Once all your editing is complete, take a moment to admire the final product. Note what story it’s telling, how it captures the essence of a moment, and what it tells us about this bit of the natural world.
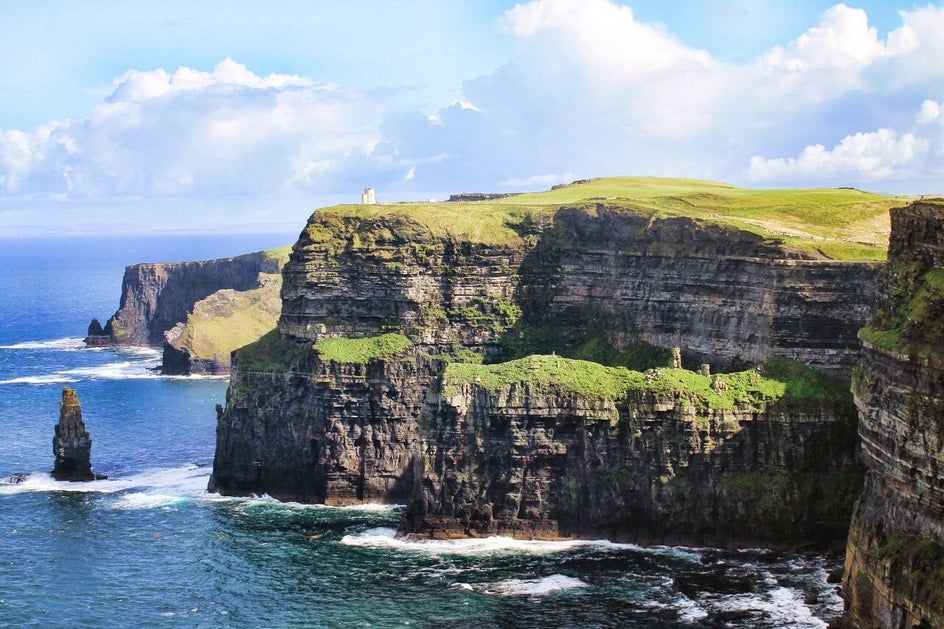
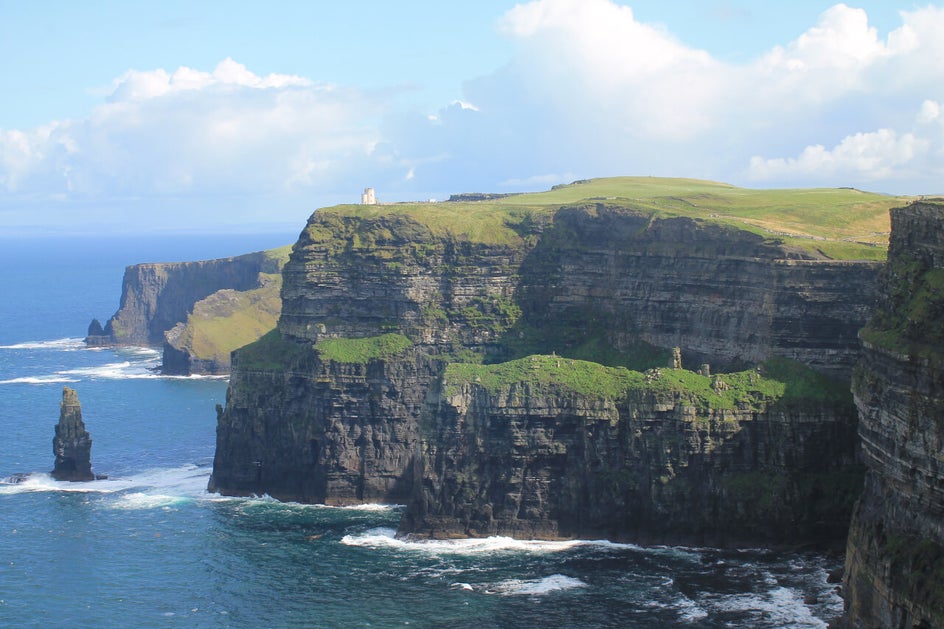
Now, you’re ready to start capturing nature in all its grandeur!
