How to Enhance Colors in Your Photos Without Oversaturating
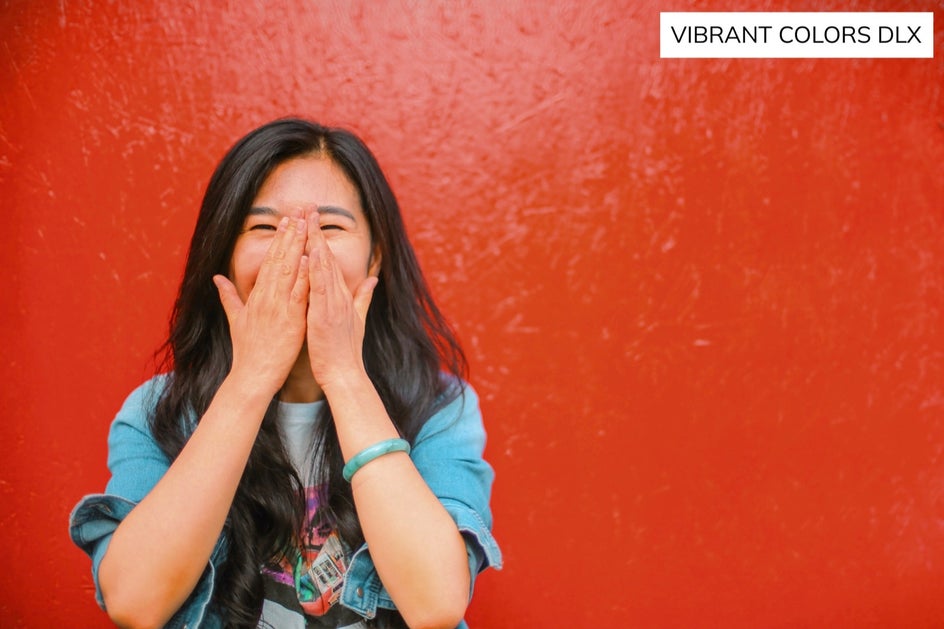
Although cameras have increased in technological advancements, still to this day a camera struggles to portray the vibrancy of what our natural eyes see. Even when taking photos of vibrant scenes like trees or sunsets, the final picture can look muddied and dull. BeFunky’s Vibrant Colors DLX offers a perfect fix. With this tool, you are able to enhance the colors in your photo without it looking overly processed or fake.
The Difference Between Saturation and Vibrance
Saturation, or ‘chroma’, refers to the intensity of color, or how bright your colors reveal themselves. Low saturation will have your photos looking dull while a high saturation will give your photo a ‘punchiness’. With most photo enhancing software, increasing the saturation slider results in the uniform boosting of every color in your photo. If certain colors are already well-saturated, this leads to color clipping, which is when a color is so far beyond its normal range that all the details in that area become lost. It is the same kind of concept when you overexpose a photo and can no longer see certain objects or details in the image.
Oversaturating a photo is easy to do and it is quite easy to spot once you gain an eye for it. One of the huge tells is that oversaturated photos do not look real; they leave skin tones looking orange, trees looking neon, and oceans looking an unrealistic shade of blue.

With BeFunky’s Vibrant Colors DLX technology, you can say goodbye to worrying about oversaturated photos. Because it is a smart Photo Enhancer, the saturation in your photo is able to be increased only in the places that need it, while the places that don’t, remain minimally processed or untouched. This brilliant tool can sense the difference between mid-tones that need a color boost and well-saturated colors that need to be left alone so that your photos come out looking realistic every time. All you need to do to begin is head to Befunky’s Photo Editor to get the effect.
When to Use Vibrant Colors DLX
The best time to use Vibrant Colors DLX is when your photo looks like it needs a pick-me-up and you want some correctly placed saturation. It makes hues look more realistic in all types of color photography, but here are four instances where it really shines:
Photos With Dull Saturation
Sometimes when taking a photo, the colors come out more muted than what was expected. This can be due to the quality of your camera or simply how the light was interpreted when capturing the image. Vibrant Colors DLX effect will wake your photo up by enhancing the overall dullness and transforming it into a photo with vibrancy and life.
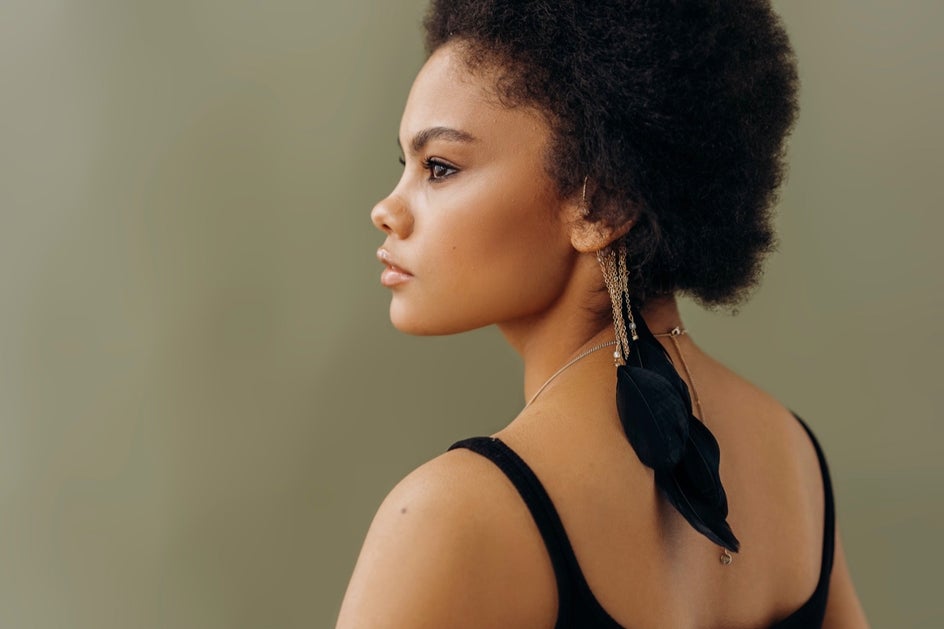
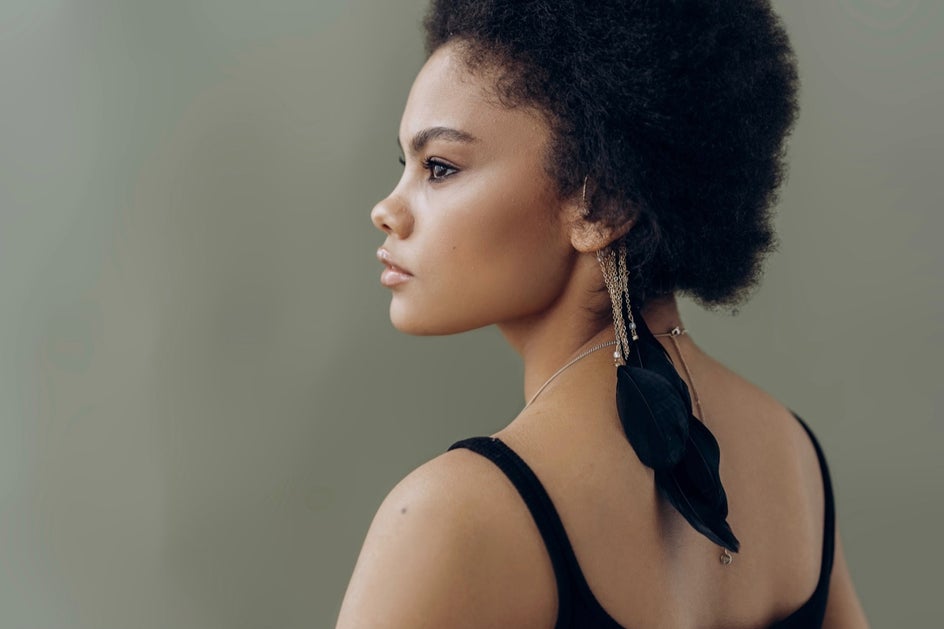
Portrait Photography
Skin tones can oftentimes fall flat in portrait photography. Skin color can look dull and lip and eye color can come out muted. Vibrant Colors DLX has built-in protection against oversaturating skin tones, so you can enhance your subject’s natural tone without making them look too orange or red.
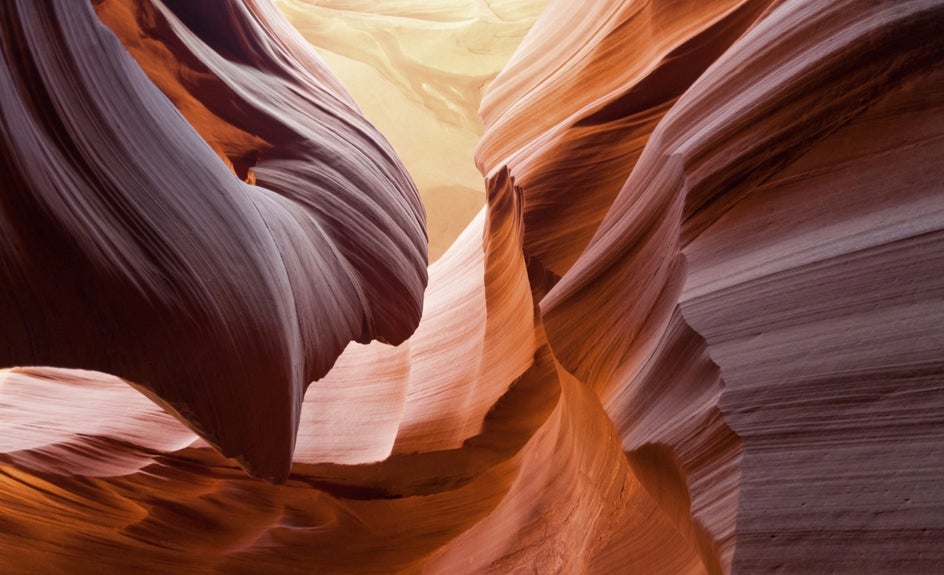
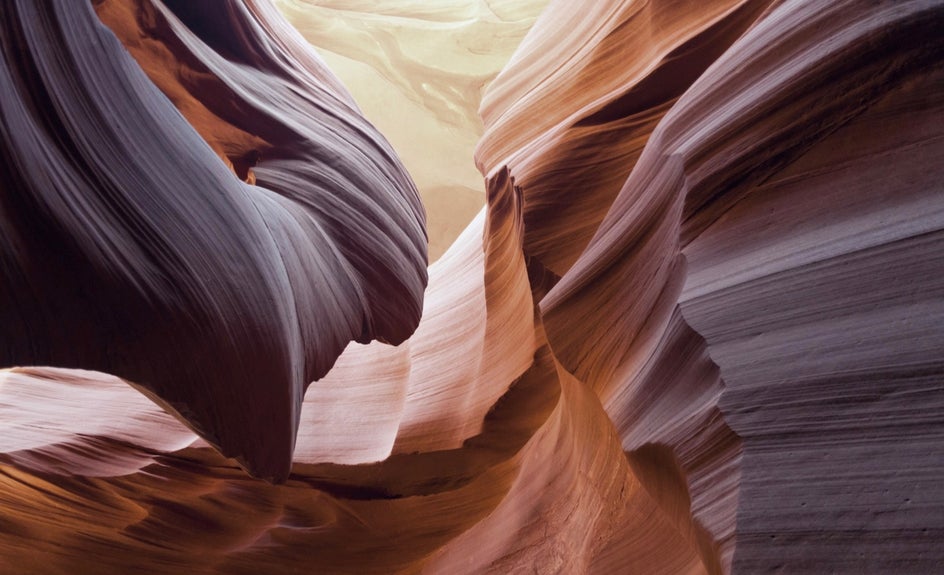
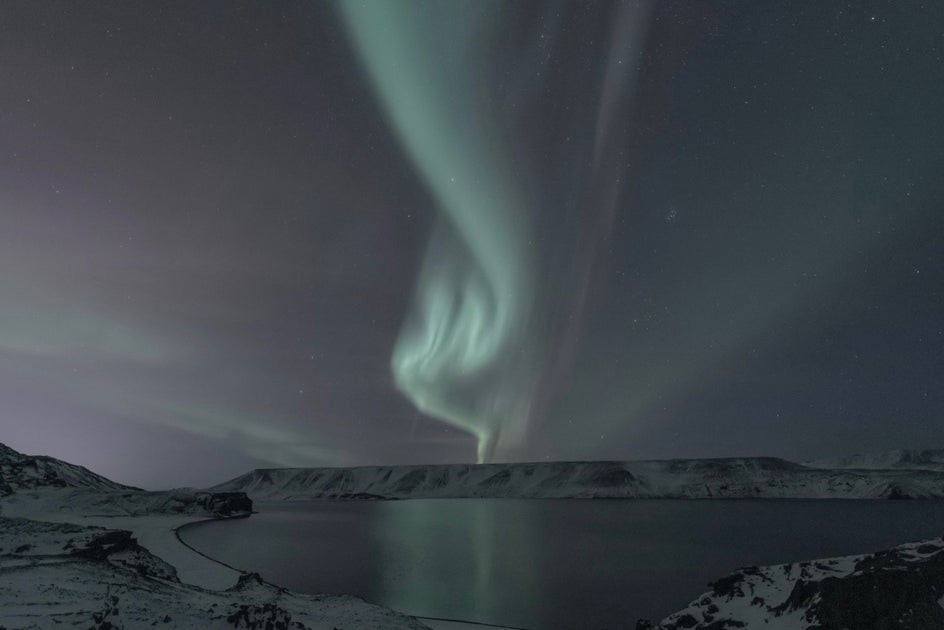
Landscape Photography
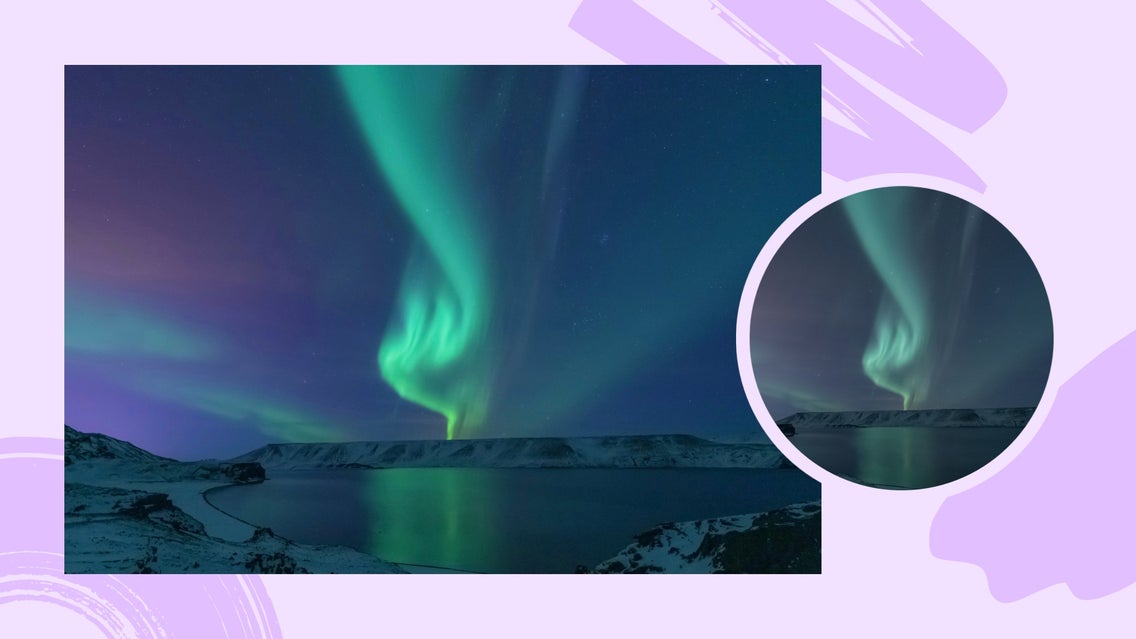
Nature is full of bright colors. If you’ve ever taken a picture of a sunset and it didn’t quite turn out the way you had experienced it, we’ve all been there. Vibrant Colors DLX can help you get your landscape photography to accurately look like what you had experienced. Whether you’ve got a sunrise, sunset, or daytime nature shot that could use a color boost, this powerful tool can take your photo to the next level.
Whether you are adjusting photos with dull saturation, portraits, or landscape photography, BeFunky’s Vibrant Colors DLX is the best tool to transform your photos from dull to vibrant. If you are wanting to know how to get these looks, follow along in the tutorial below.
How to Fix Colors in Your Photography
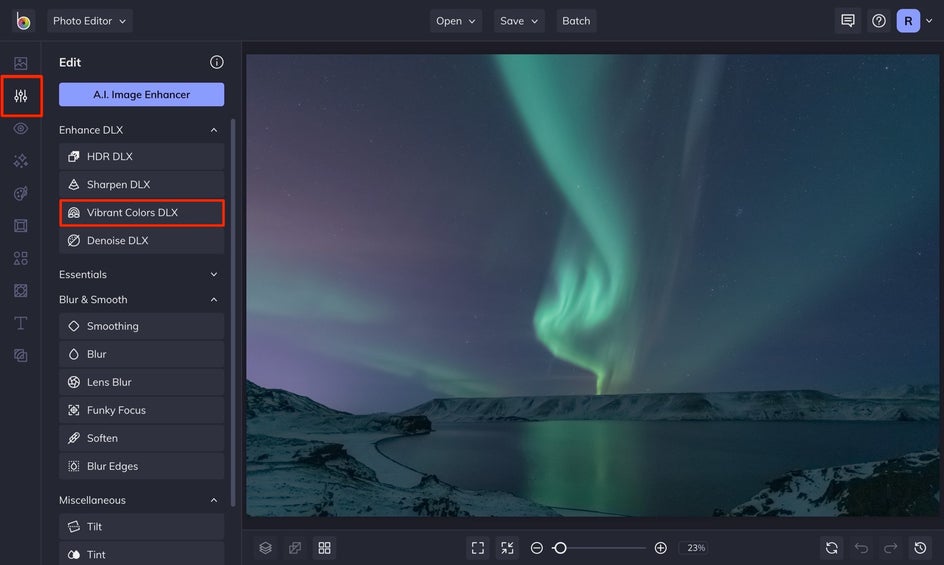
Choose a photo that is in need of a pick-me-up. Start by uploading your photo into BeFunky’s Photo Enhancer. Click on the Edit tab and open the Enhance DLX menu. You will see Vibrant Colors DLX within this menu.
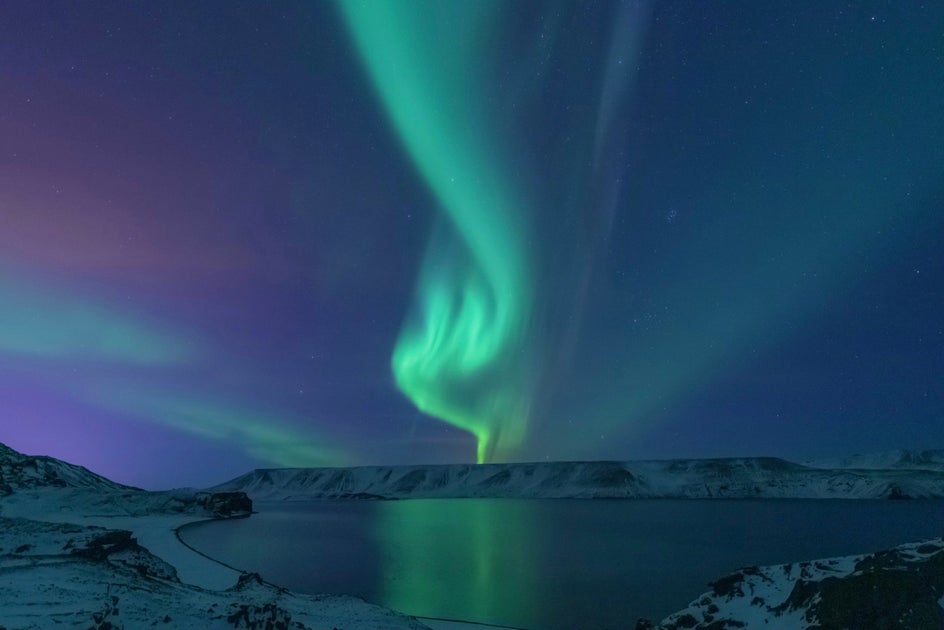
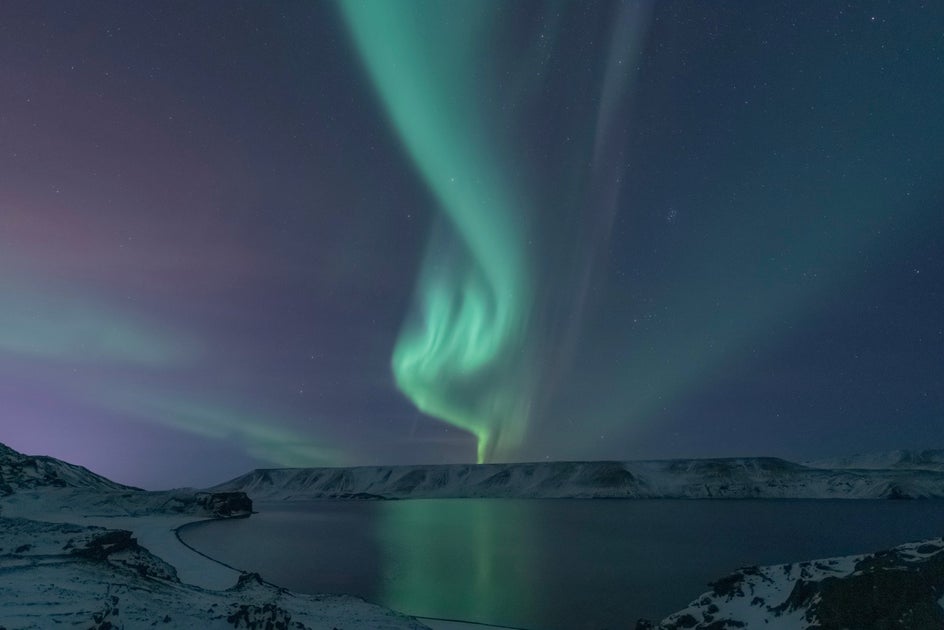
Step 1: Apply Vibrant Colors DLX to Your Photo
In just one click, Vibrant Colors DLX will sense the range of color present in your photo and enhance the mid-tone hues that need the most vibrancy.
To see your original image without any settings applied, simply press the “O” button on your keyboard. You can toggle back and forth from the original and Vibrant Colors DLX before applying the effect.
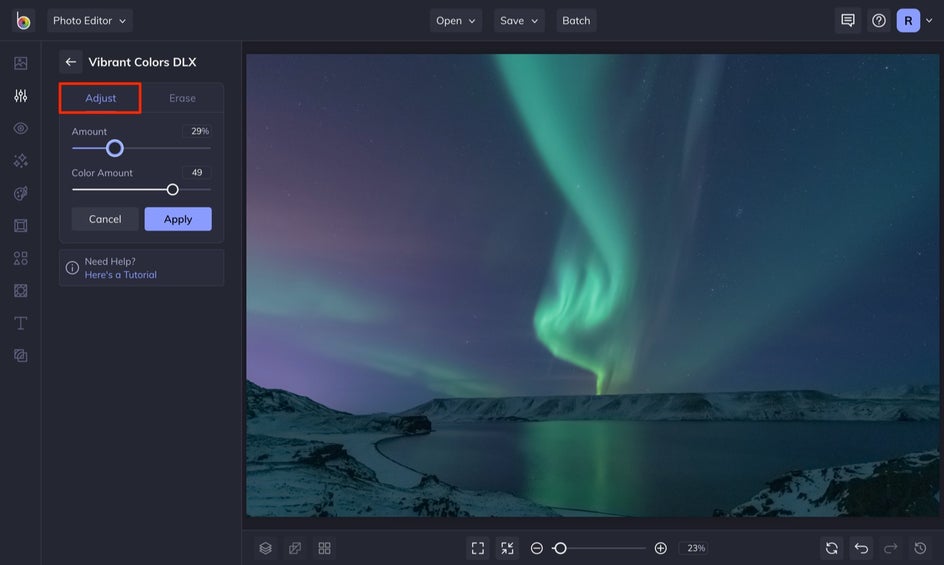
Step 2: Adjust the Vibrant Colors DLX Effect
Each of our effects is customizable by adjusting the sliders in the Adjust tab. Here, you’ll find sliders for Amount and Color Amount, as well as a tab for Erase, which will let you erase or paint the effect on select areas of your photo.
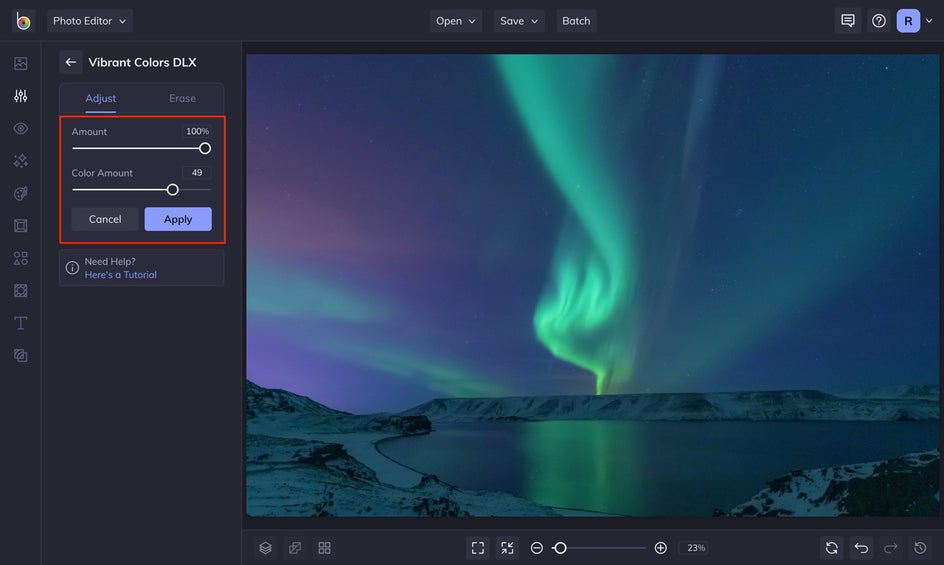
The Amount slider adjusts the amount of the effect that you want to apply to your photo. At 100% you’ll see 100% of the effect, and as you decrease this amount, your original, unedited photo will begin to make an appearance. Adjusting this is a great way to blend your original and edited photo together so that it looks seamless and natural.
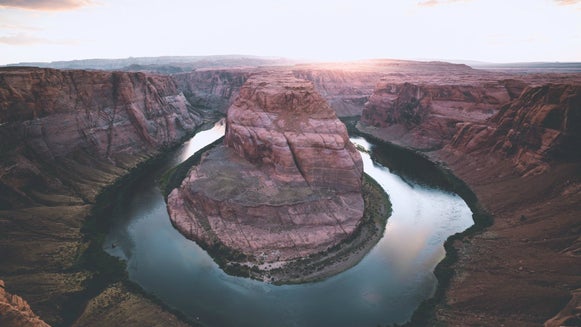
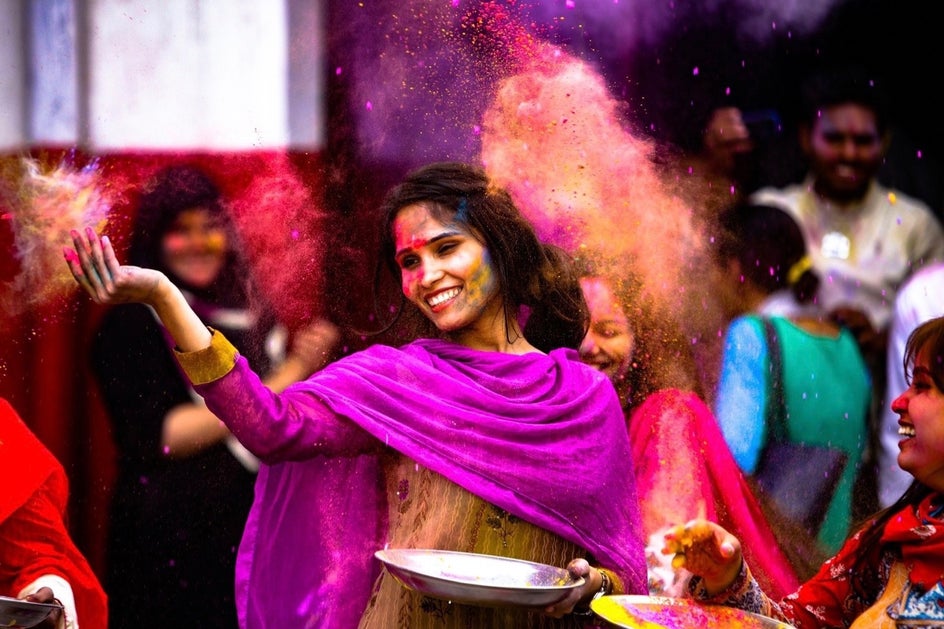
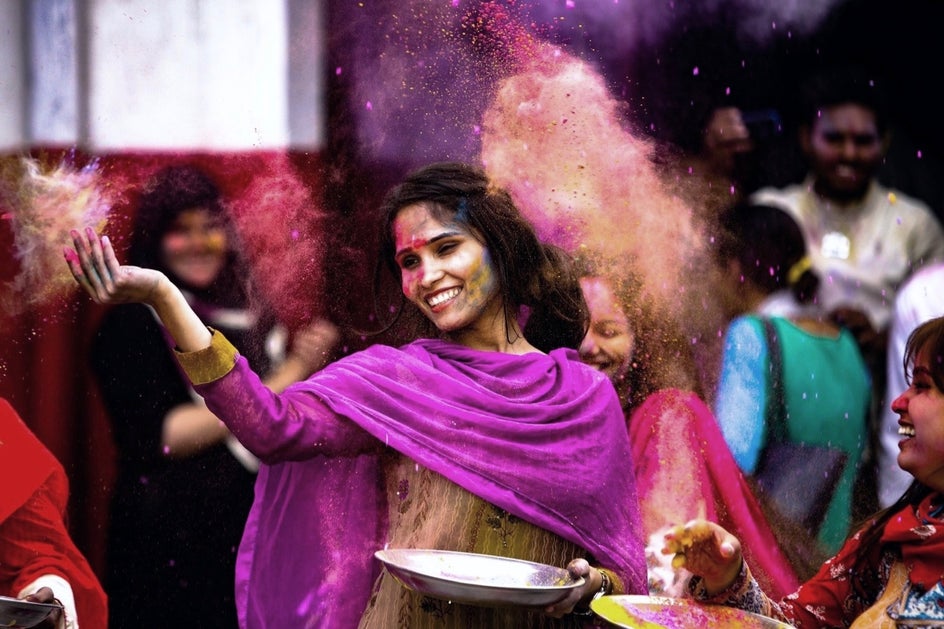
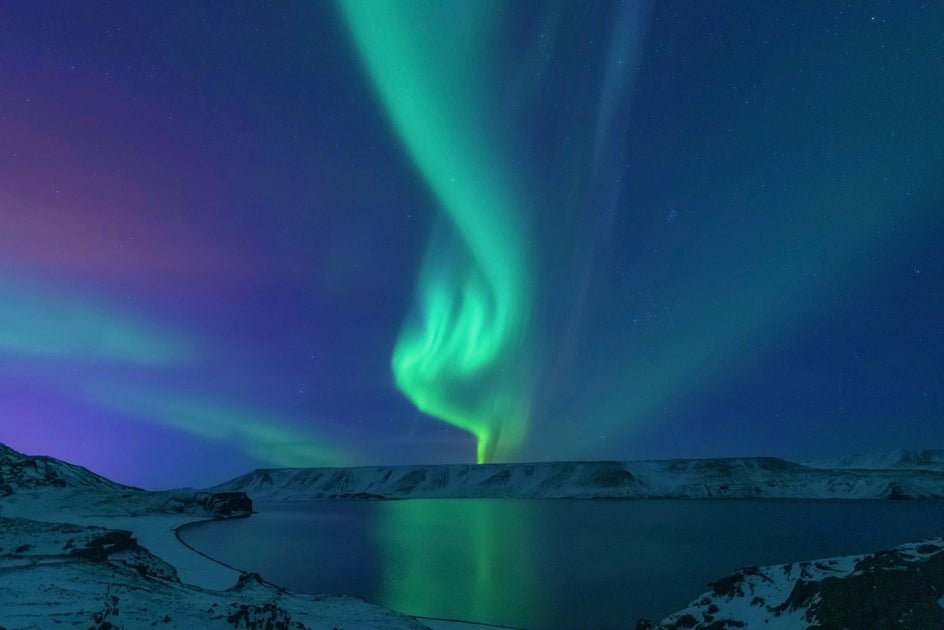
The Color Amount slider represents the saturation, or intensity, of the colors. Vibrant Colors DLX is intuitive and is able to enhance the undersaturated and mid-tone areas of your photo. The Color Amount scale is able to be decreased into the negative for a more monochromatic aesthetic. Take a look at the difference between this photo with the Color Amount set at -100% versus 100%:
If you are pleased with the results, click on the blue Apply button. But if you want to make more specific edits, head to step 3!
Step 3: Make Specific Edits With the Erase Tab (Optional)
If there’s a certain area that you want to apply Vibrant Colors DLX, while leaving the rest of the image alone, use the Erase tab. Here, you can switch between erasing or painting the effect on specific areas of your image. By selecting the Show/Hide mask, you can easily see where the effect is being applied by noticing the parts that are red.

To erase, simply use the brush, making a note to adjust the brush size, hardness, and strength to your liking. Select Invert Selection to paint the effect onto the parts of the image where the effect was erased. Once you're done making any additional adjustments, click the blue Apply button.
Use Vibrant Colors DLX to Enhance Photos
Vibrant Colors DLX photo enhancer helps give your images the vibrancy they need. Not only can it fix colors in just a few clicks, but you can have full control over editing your image by using the Erase tab. The benefit to using BeFunky’s Vibrant Colors DLX is that your dull images come out looking realistic and more like how you experienced them in the first place.