Bring Detail Out Of Shadows With The Fill Light Tool

There’s one thing that all types of photography have in common: it requires light. Without it, there would be no way to capture a photo! Most photography in nature only has one source of light, which is more often than not the Sun. But sometimes the trouble with having a single light source, especially during mid-day, is that it can create a scene with very harsh lighting (bright highlights and dark shadows). In order to expose the highlights properly while taking the photo, you need to turn the exposure down on your camera, but the tradeoff is that your shadows become very dark.
When your shadows are too dark, detail can get lost in those areas. To fix this imbalance while taking a photo, photographers often use a bounce or a prop that bounces light (like a white foam core board) onto the shadowy parts of a figure to illuminate those parts more. Bouncing light can lighten up the shadows, creating a more balanced subject or photo.


So what do you do if you do not have a prop to bounce the light and you’ve already finished your photoshoot? Thankfully, with BeFunky’s Fill Light tool in the Photo Editor, you can easily bring details out of the shadows of your image and make your photo more balanced. It’ll mimic the the quality of a professional photography setup, giving your photo that secondary light source it needs, all in the photo editing process!
What Is Fill Light Exactly?
In photography terms, Fill Light is a secondary light source, used opposite of the main (or key) light source. Shining a light on the opposite side of your subject, where the key light creates shadows, helps to illuminate the dark shadows and properly balance the overall lighting in your frame.
Normally, this is accomplished by lighting your subject with two different lights that you’d set up before your photoshoot, which is what studio photographers do. Most people do not have two lights to use, let alone one professional light source. If you are anything like us, you use the Sun or a fixed light in your house to accomplish most of your photography. So, what do you do when you need to expose the shadows more?

The Fill Light tool can be used during the photo editing process to accomplish this task. This handy tool will brighten the shadows in your image, while bringing down the highlights and keeping the midtones where they are. You can use it on any type of photography to create a more balanced image.


Keep in mind that you do not want your Fill Light to be as bright as your main light source. Fill lights should be a 2:1 or 3:1 ratio, meaning that your fill light should only light the shadows a third of the brightness of your key light. Keep this in mind when editing to get the most natural looking photo.
How To Use BeFunky’s Fill Light Tool
The cool thing about BeFunky’s Fill Light tool is that it’s incredibly easy to use - you just have to adjust a single slider and BeFunky does all the rest! When you’ve got an image in mind that could use a little more balance in the exposure department, upload it into BeFunky’s Photo Editor by selecting your file from the Open tab. For even faster uploading, simply drag-and-drop your image file into the Photo Editor’s interface and it’ll upload automatically!

Once your photo has uploaded, select the Fill Light tool from the Edit menu on the left. Fill Light was formerly part of our Exposure tool, but it was used so frequently that we decided to make it separate for more easy access! Adjust the amount of Fill Light by dragging the slider until you’ve got the perfect amount of balance. For making micro adjustments, you can click on the slider and use the arrow keys on your keyboard to adjust the slider right and left.
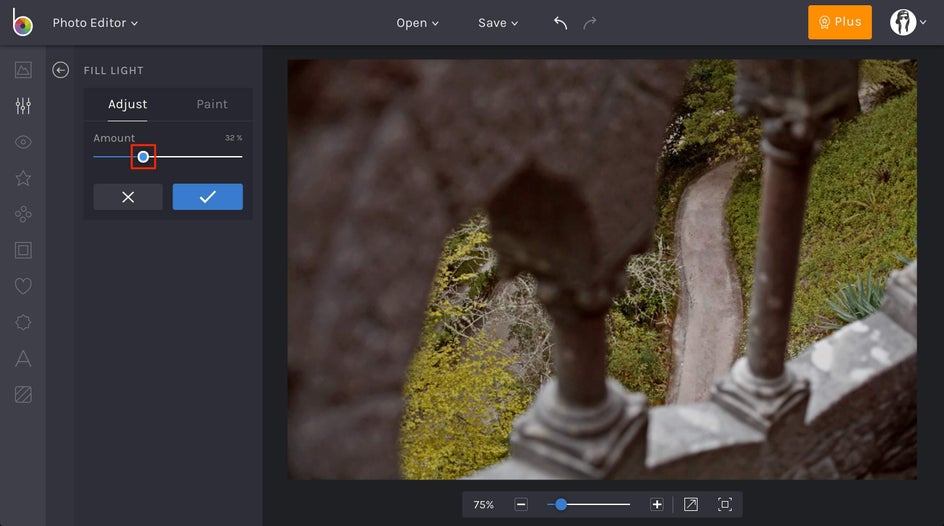
Start with a lower percentage first and increase the fill if you think it will suit the photo. Remember that you want the photo to look natural, so keeping the amount of fill light lower helps to maintain the light ratio described above (the brights should be two or three times the intensity of the fill light areas).
If you want to get a bit more precise and only adjust the Fill Light in certain areas of your image, click on the Paint Mode* tab (next to Adjust in the Fill Light tool interface) and click the Inverse icon. This will allow you to paint the Fill Light onto the portions of your photo that need it most. Simply adjust the Brush Size, Brush Hardness, and Brush Strength and paint the Fill Light where you want it. When you’re done painting, you can click back over to the Adjust tab to increase or decrease the Fill Light Amount in those chosen areas.
*Paint Mode is now Erase Mode. To get the same effect described above, go to Erase Mode, click the Invert Selection button, and select Keep.
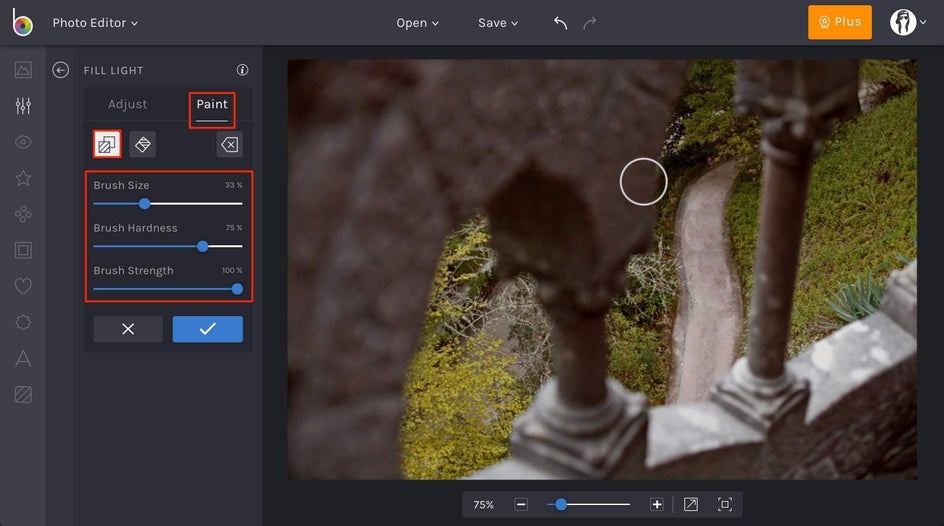
Using the Fill Light Tool in Erase Mode is a great way to have more control over editing your image.
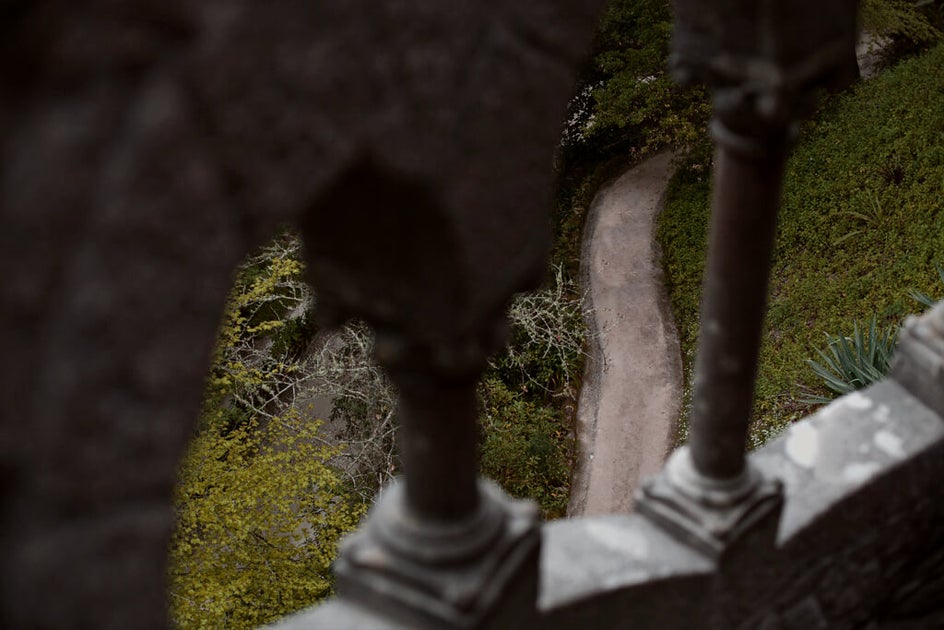
Before And After
See what a difference the Fill Light tool can create in your images? You can achieve more balanced exposure and create professional-quality photos in a matter of seconds!

Ready to get started editing your photos with the Fill Light tool? Click the link below and edit away! Knowing how to use Fill Light will seriously up your photo quality and make you look like you've got a professional photography setup, all without having to spend a dime.