How To Create Effective Email Newsletter Graphics
As a blogger or business owner, you may have spent ages building your social media platforms as a primary method of communication with your audience. But what if we told you to focus on engaging with your email list instead?
Email may have been around for a long time, but trust us, it’s here to stay. Not only is it the most reliable platform for building your audience (you can take your email list with you wherever you want, but not your Instagram following), but it’s also the most popular, with email users set to reach 2.9 billion by the end of this year.

Facebook might mean big business, but only 66% of users log into their account at least once per day, compared to the whopping 91% of email users checking their inbox daily. So, if you want to reach your target audience, engage your customers, and build your brand, you’ll certainly want to embrace email newsletters.
We know what you’re thinking though: What should I send my email list? And how can I make my emails interesting enough to open? Fear not, because we’ll be discussing all of this, along with how you can create eye-catching email graphics in the Designer with just a few clicks of your mouse!
When to Send Email Campaigns
According to Direct Marketing Association’s National Client Email report, the majority of marketers (38%) send two to three email campaigns to their list each month. Ultimately, this number would depend on the size of your company, as well as how small or large your email list is.
Some bloggers and business owners struggle with what to send their email subscribers each month, so we’ve rounded-up the most important and appropriate scenarios for sending an email below!
When You Have An Announcement To Make
Are you launching a podcast? Or have you collaborated with a big brand on something special? Perhaps your products are now being sold in a new store? Whatever your good news may be, an email newsletter to your list of fans is a great place to announce it!

Not only do announcements create excitement among your email subscribers, but they can also have high open rates as people scramble to find out the big news. As a result, if your announcement is also tied to a product or service, this can be a brilliant way to increase sales!
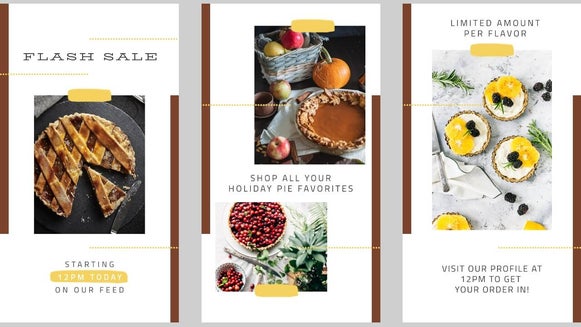
When You’re Having A Sale
Speaking of products and sales, a special offer or discount is also the perfect reason to send an email campaign to your list. Let’s face it, we all love a good sale, and we often trawl our emails daily to determine which promotional material is worth our time or not. If a subscriber has had their eyes on your product or services, they may just jump at the chance to make the move once you announce a sale. After all, who doesn’t enjoy saving money? In order to keep your reader’s attention, you’ll want your email graphics to be as eye-catching and on-brand as possible. (Don’t worry, we’ll show you how to do this below!).
When You’re Running A Giveaway
As a blogger or business, we’re sure you’ll agree with us when we say that giveaways and competitions are a great way to boost your fan base, increase engagement, and create excitement among your audience. In an inbox often filled with business-related emails and spam, it can be refreshing to give subscribers the chance of winning something awesome. Just be sure to mention all of the competition’s terms and conditions (or to link to them on your website!).
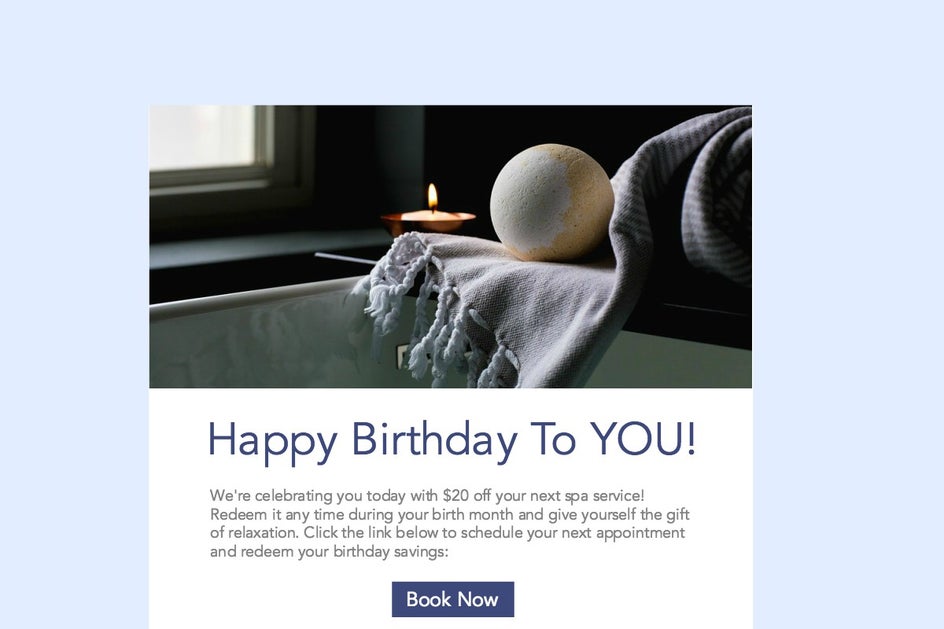
When It’s A Special Occasion Or Holiday
Whether it’s Valentine’s Day, Easter, Christmas, or Thanksgiving, these are all wonderful excuses to send a fun and festive email to your list. You can share what you’ll be getting up to over the holiday, which reinforces your personable qualities (something everyone can relate to!).
Additionally, it shows that you’re thinking about your subscribers during this special time – something which is sure to give you some extra brownie points!
When you’re offering a free resource
Email lists with higher open rates are known to supply their readers with incredible value. Think about this: if you often send emails filled with free resources and actionable advice, you train your readers to always expect something wonderful when they see your name pop up in their inbox. This doesn’t just increase excitement around your brand, but it also dramatically boosts your engagement rates too. Just some of the popular free resources you might offer include printable planners, worksheets, webinar access, or anything else you think your audience will love!
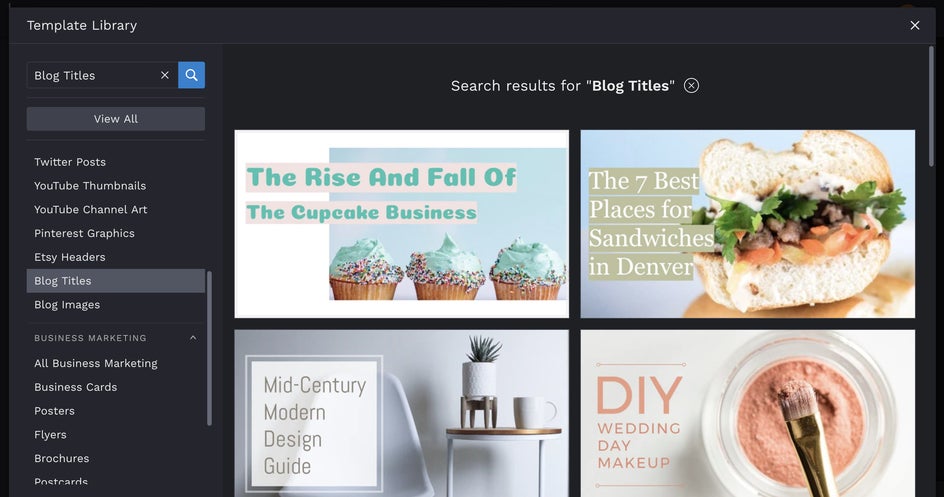
How To Design Email Newsletter Header Graphics
Once you know exactly what to send to your email subscribers, it’s time to head to BeFunky’s Designer. Begin by clicking on the Templates tab, then click Search Templates to open up the template library. Under Social Media you'll see the sub-menu for Blog Titles. Although these templates have been designed with blogs in mind, they are also the perfect width for email management platforms such as MailChimp! Select your desired template for a preview, then click the Use This Template button to populate it on your canvas.
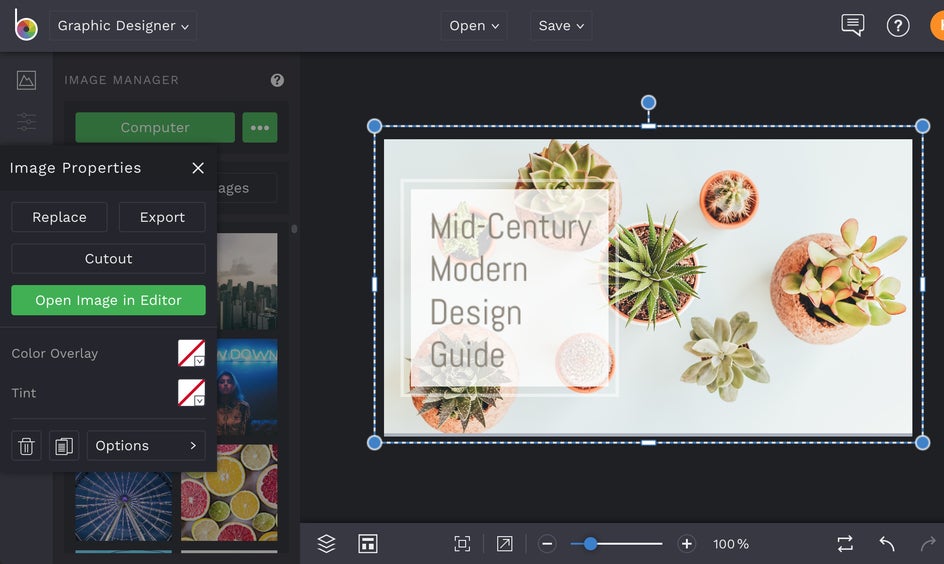
First up, you’ll want to change your template’s photo to reflect your own company or blog. To do this, click on the photo and an Image Properties toolbar will appear. Selecting Replace Image will allow you to open an image from your own files. Alternatively, you can also locate Image Manager in the menu on the left. From here, you can upload an image from multiple destinations, such as your computer, BeFunky, Facebook, or even access our extensive library of free-to-use stock photos.
Pro Tip: You can delete any unwanted elements on your template by selecting them with your mouse and hitting Delete on your keyboard.
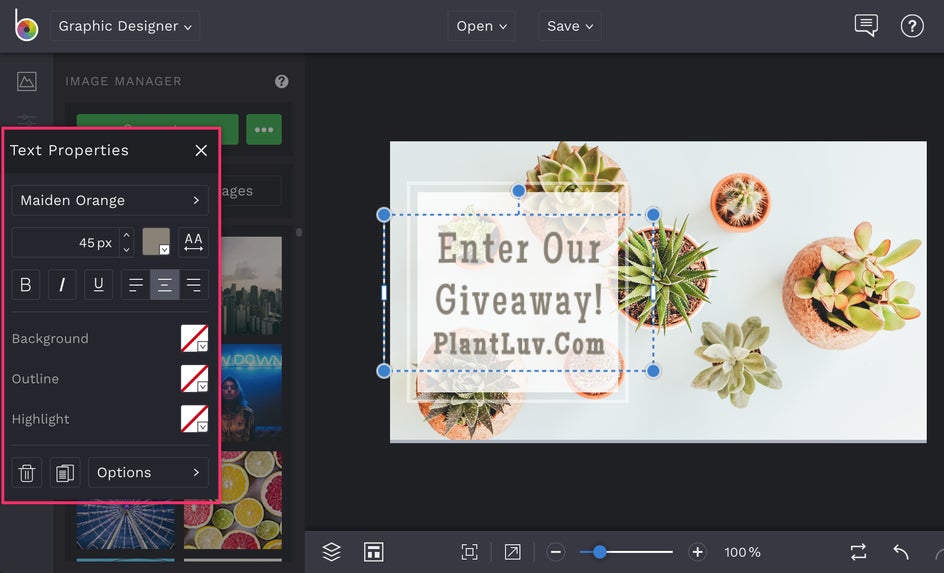
The next step is to edit the template’s existing text so it reflects the theme or message of your email campaign. In our design, for example, we designed an email newsletter header announcing a blogger’s giveaway. Start editing by clicking on the text boxes you want to change and typing. When you click on any text box, you’ll find that a Text Properties toolbar appears, where you can change elements such as Font Family, Font Size, Spacing, Paragraph, Color, and more.
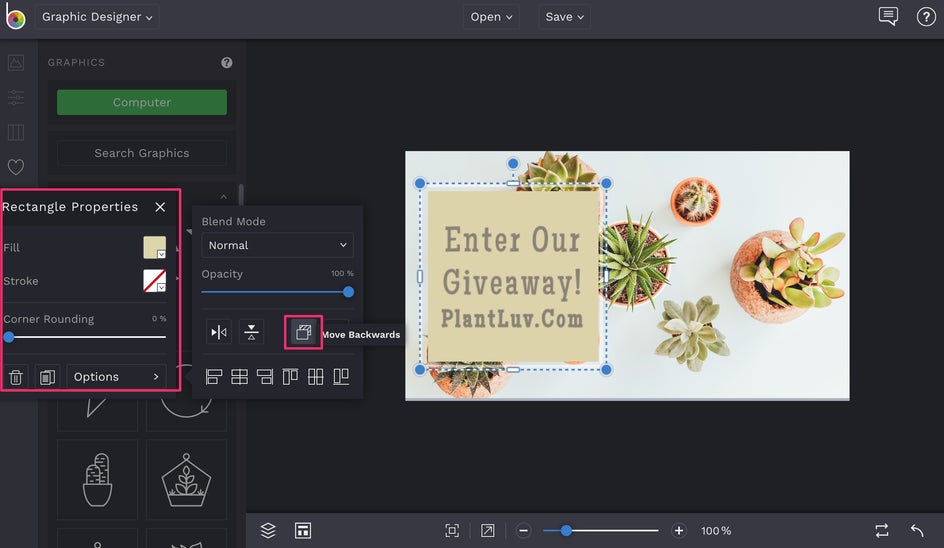
Next up, you’ll want to insert some fun Design Elements such as symbols, shapes, and more to add extra personalization to your email newsletter graphic. You’ll find heaps of these in the Graphics tab, located in the menu on the left (the heart symbol).

When you find a graphic you like, just click on it and watch it appear on your template. Want to change the color of any individual design element? Just click on the element you wish to alter and a Graphic Properties toolbar appears. Clicking on Color Overlay will bring up the Color Picker option, which lets you select a new color for your graphic. You can then change the Intensity of the color using the slider at the bottom. If you need to move the graphic behind another element, such as text, click on the Move Behind symbol under Options in the Graphic Properties toolbar.
Once you love the look of your email newsletter graphic, it’s time to save it so you can add it into your campaign! Clicking Save in the top menu will let you save your design to a destination such as your computer or Dropbox.

We also recommend the Save as Project option, as this will allow you to come back and edit your design in the future should you need to (for example, to fix a pesky typo or use it as a template for future email campaigns!).

There you have it! Who knew creating email newsletter graphics could be so fun (and easy)?
How To Send Successful Email Campaigns
Now that you’ve created your awesome new email graphic, you’ll want to learn everything you can about sending successful email campaigns. Don’t worry, we’ve got you sorted with our top tips below!
Write the perfect subject line
You shouldn’t judge a book by its cover, but recipients certainly judge an email by its subject line. In fact, 47% of email users decide if they should open an email or not based on subject line alone. You’ll want to keep it short and sweet (so they’re more likely to comprehend the subject within just one glance), plus be sure to either create urgency or pique their interest with what you write. Don’t be afraid to also add an Emoji or two to help it stand out among the sea of other emails in their inbox.
Break up your content
Similar to blog posts and articles, your audience will also be more inclined to read the entirety of your email if the text is broken up into ‘scannable’ sections. Be sure to include headings, sub-headings, and bullet lists, as well as enough graphics throughout to keep the reader entertained.
Include a call to action (CTA)
An email that ticks all of the boxes can still fall flat if it hasn’t got a call to action included in it. The purpose of email campaigns is usually to encourage your subscriber to take some form of action, whether it’s entering your giveaway, viewing your latest collaboration, or making a purchase. To come up with the perfect call to action, simply think about what you are trying to achieve in the first place by sending the email.
Schedule the email to be sent at an optimal time
Email management platforms, such as MailChimp, allow you to schedule your email to be sent at an optimal time. To determine what time of the day or night you should be reaching out to your subscribers for higher open rates, simply look at your email readership statistics or analytics.
Armed with your eye-catching email newsletter image and the actionable advice above, you’re now ready to rock your email campaigns. Thanks to Befunky’s Designer, creating awesome email graphics has never been easier!