Create Your Own Collage With BeFunky’s Collage Maker
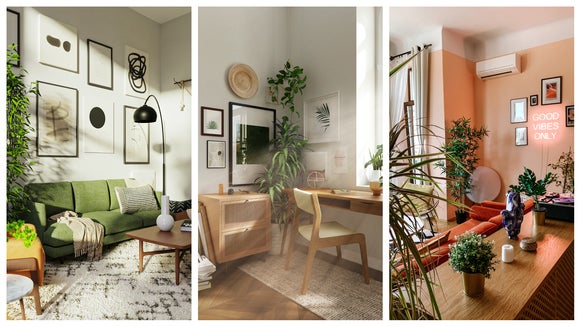
Share your moods and creativity with family, social media, and the whole wide world! Capture the stars, the ocean, your loves and passions, your crafts and art . . . anything! BeFunky's Collage Maker enables you to easily create artsy photo collages to express yourself and share your ideas. Collages can make great party invites or holiday cards too.
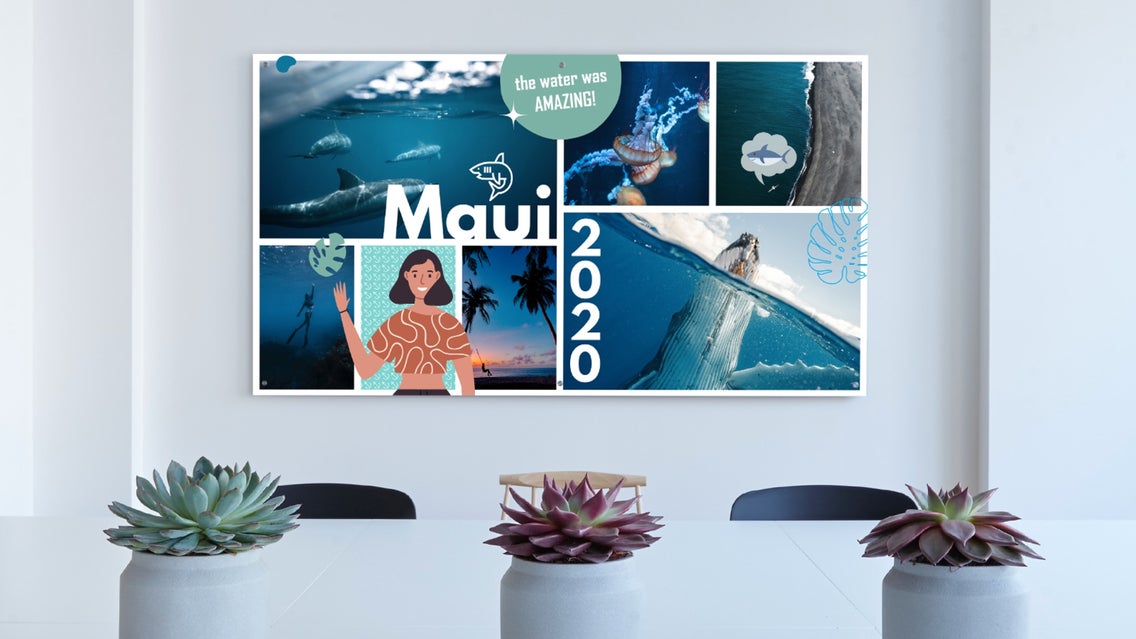
Aside from creating your own, original collage; you can also upload your photos and images to our Collage Wizard and our incredible artificial intelligence to create a clever collage just for you. Or choose a template from our selection of fully customizable layouts and graphics – there are even social media layouts designed specifically for Pinterest and Facebook, so your posts will definitely draw attention. Compose your photos and elements to tell a story and create your own signature look to stand out.
BeFunky offers a useful array of design and editing tools to enhance your images and customize your photo collage. Change the background color, use stylish patterns, add vector graphics or text in an eye-catching font. Our Online Collage Maker also integrates seamlessly with our Photo Editor so you can use over 200 special effects to make your photos unforgettable.
Make a Photo Collage in 5 Easy Steps
Head to BeFunky’s Collage Maker to get your masterpiece started!
Step 1: Select Your Photos
Use the Image Manager in the upper left corner to choose images with a similar theme to make use of the college's storytelling abilities. You can upload an image from your computer, or click on the ‘...’ button to choose from over a million free stock photos.
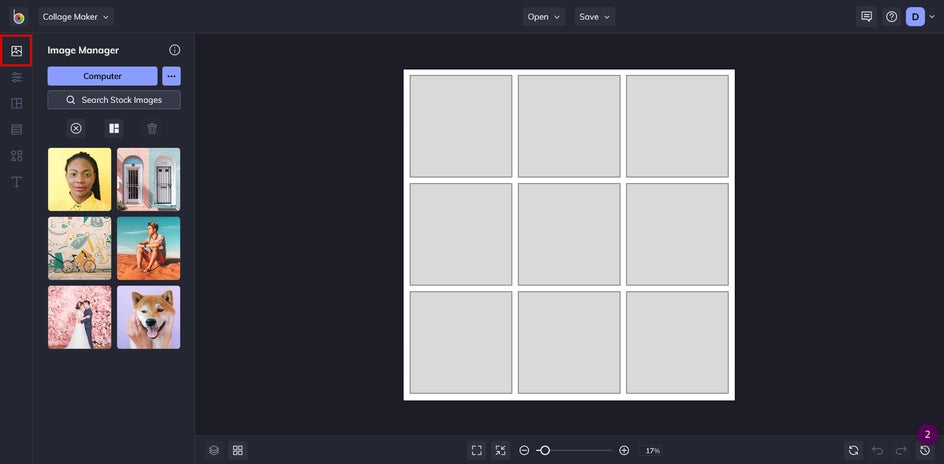
If you choose to use our collection of stock images, just enter your search term and click on any results you find intriguing. Any photos you click on will appear in your Image Manager once you exit the Library. Selected images will appear as thumbnails that you can drag and drop into the template.

Step 2: Choose Your Template
Next, select your favorite grid from the preset layouts, available in the Layouts tab on the left. Cells can be resized individually, or as a whole template. The gray bars around the template can be used to grab and dynamically resize the template to fit your needs.
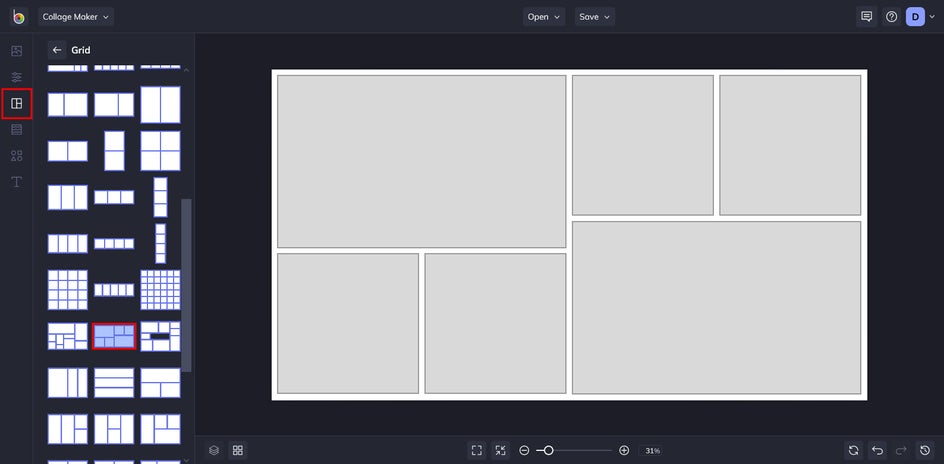
Be aware that this changes the measurements of your collage. If you make a mistake, just hit the "Back" icon on the lower right (arrow pointing to the left) as many times as you need to go back to a previous state, or Control Z on your keyboard.
Step 3: Add Your Images and Backgrounds
When you’ve selected a multi-celled layout, drag and drop your photos from the left onto the template in the cells you want them in. Try to arrange your images in a way that is visually pleasing and leads the viewer through your story.
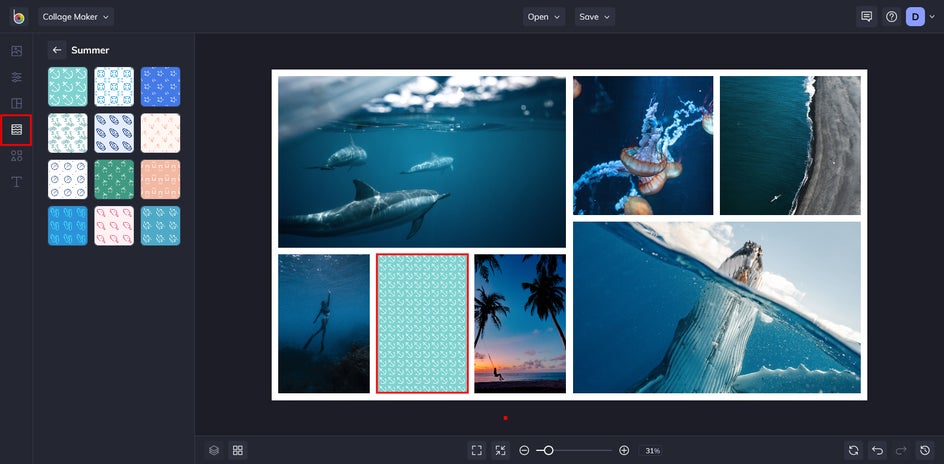
You can choose to leave a cell blank and instead add a background color, or even a pattern to really make it pop. In this example, we dropped a textured pattern between images and it shifted to add a new cell.
Step 4: Customize Graphics
Set your collage apart with personal style and ambiance. From the Graphics Library tab, choose from our vast collection, just as you would with stock images. All of your selections will appear in the Your Graphics section.
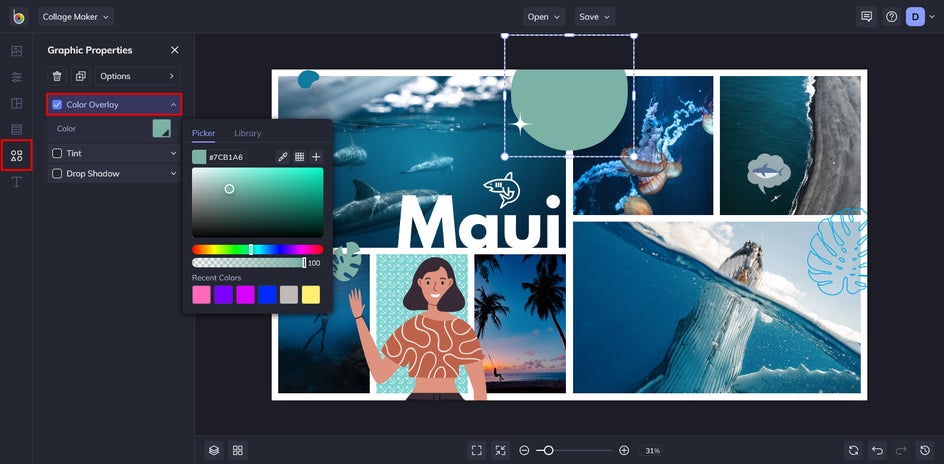
To change the color of a graphic, click on it and the Graphic Properties menu will appear. Click Color Overlay and choose your desired hue and opacity.
Step 5: Add Text
Once your images and graphics are finished, it’s time to add some text to your creation. Complete your collage with a caption, description, title, and more.
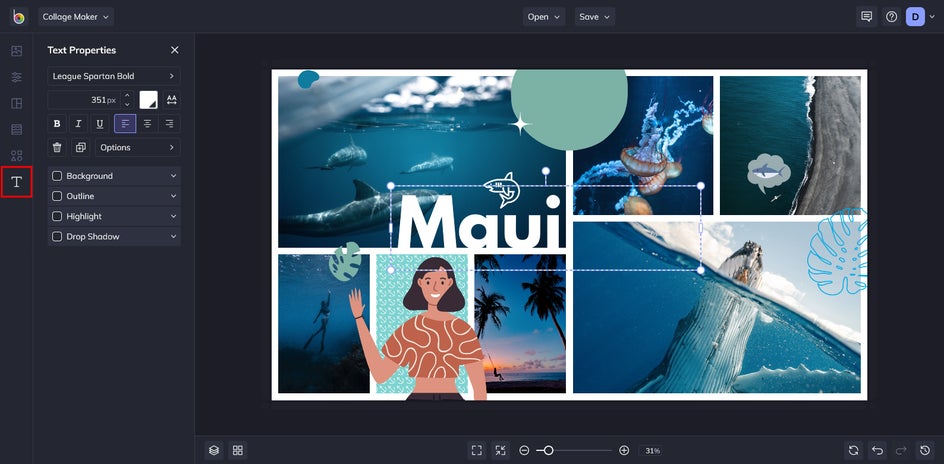
Click on the Text icon ("T") in the upper left corner. Select the text style you prefer and start typing. You’ll notice that a Text Properties toolbar appears any time you have a text box selected. From here, you can change the Font Family, Colors, Blend Mode, Opacity, and more.
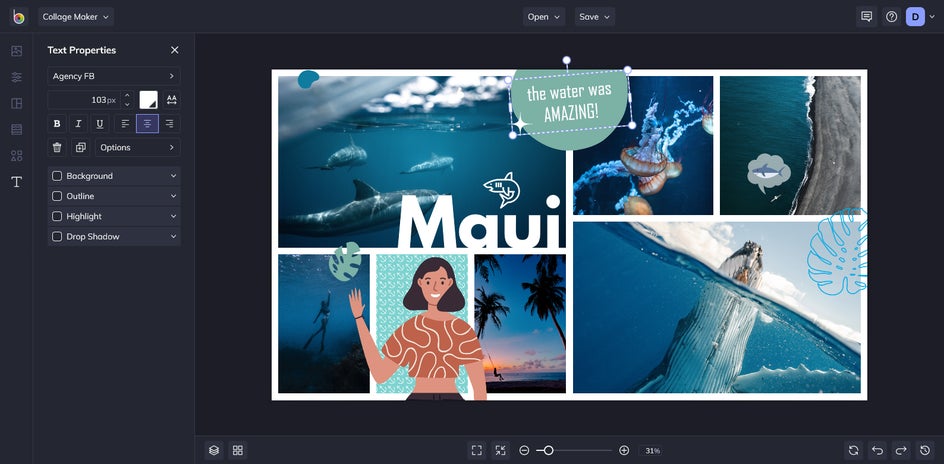
Aside from having the ability to upload your own, there are hundreds of free fonts to choose from in the Text Properties menu. And if you want to save one for later, simply click the star icon next to the font and it will appear in your Favorites. You can click and drag the text boxes to rearrange them on your template and use the blue circles around each to resize and rotate them.
Step 6: Save Your Collage
When you’ve done with your masterpiece, click the Save button at the top of the page to save it to your desktop, BeFunky account, and more.
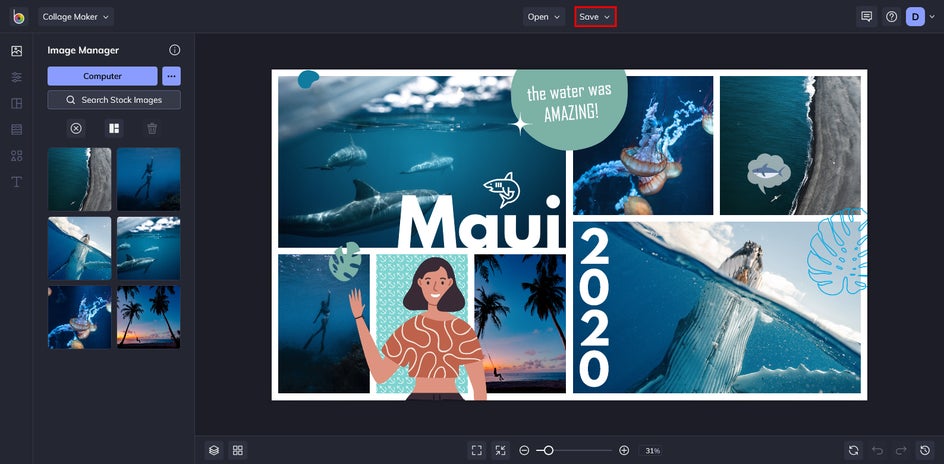
In addition, you can select the Save as Project option to save your work in an editable format, in case you want to continue editing in the future, or save it as a template for more creative collages.
Time to Start Collaging
BeFunky’s Collage Maker can help you make amazing collages on your own! Your collages can be printed as postcards, emailed as invites or thank you’s, or set as your desktop background. Share meaningful memories and more with a personalized collage!