How to Capture and Edit Cityscape Photography
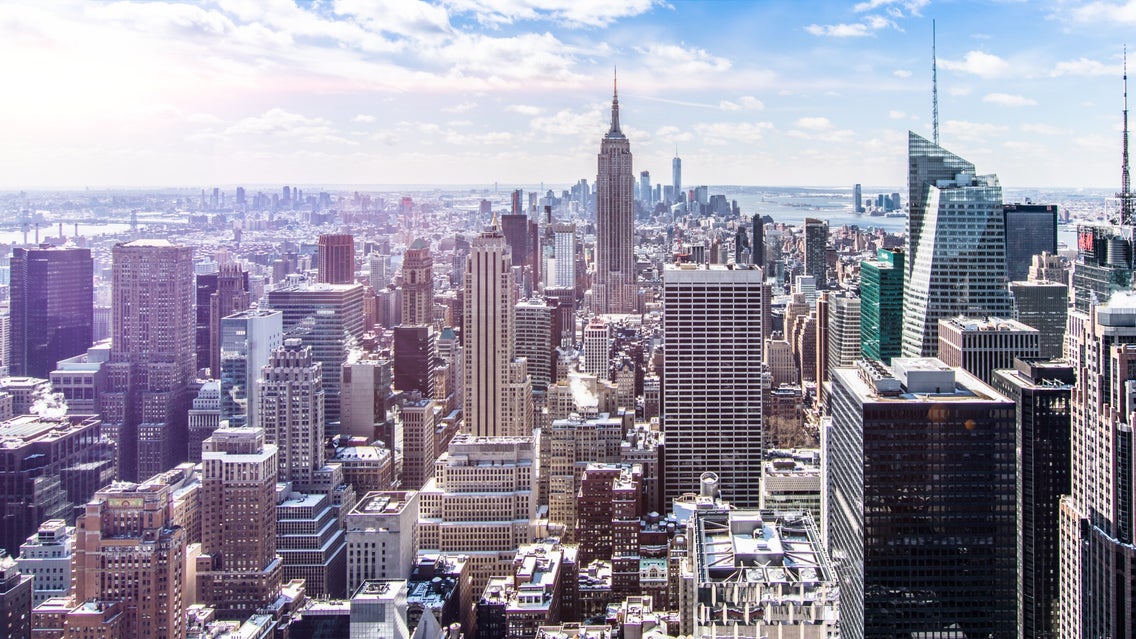
The dazzling lights, striking architecture, and sprawling buildings, cityscape photography offers a lot of lure for professionals and amateurs alike. Every city offers a new piece of art to be created, allowing a neverending supply of images to be captured. The beauty of cityscape photography is that the same city can look completely different from different angles. BeFunky has some tips on how to capture your cityscape images and a few favorite tips on editing them in the Photo Editor.
How to Capture Cityscape Photos
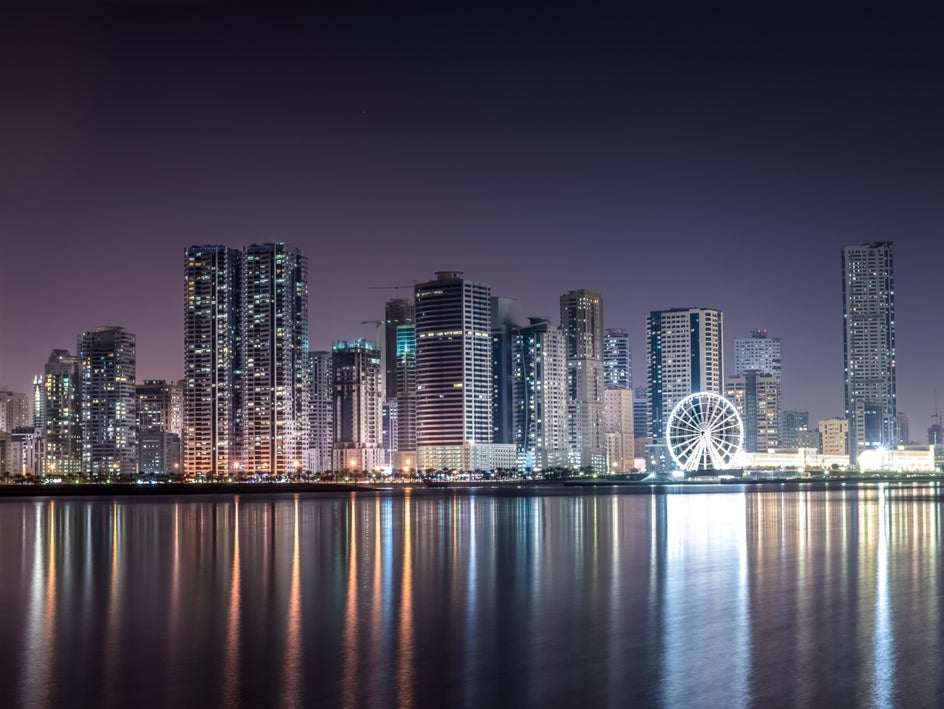
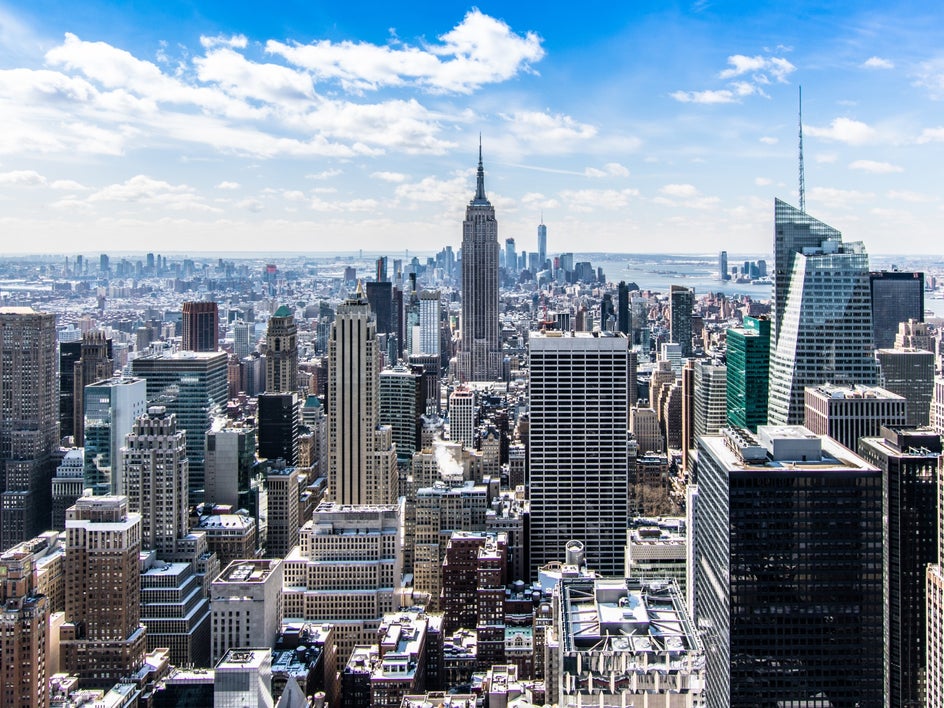
No matter how you take your photos, there are a few things that are key to making your cityscape photos shine. First, your vantage point; it may be hard to capture a complete skyline from the ground, so a higher vantage point is key to a complete photo. Climb a hill, head across a bridge, or to the roof of a parking garage to snap the perfect image. Another technique to include in your cityscape images is Reflection Photography, be sure to utilize bodies of water to double the beauty of your skyline through its reflection.
Mobile vs. DSLR
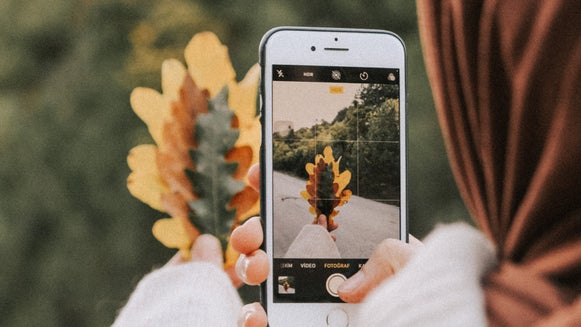
Using your mobile device to snap images of cityscapes has never been easier. All of the functions you could ever want are at the touch of your finger. Find the focus by tapping on your screen where you want that focal point to be. To adjust the lighting of your image, drag your finger up or down depending on what you want your final outcome to look like. You can edit the outcome in minutes with the BeFunky Mobile app.
You'll want a wide-angle lens with a Digital single-lens reflex camera, more commonly known as a DSLR camera. A 24 mm lens is considered a wide angle, but you can go as low as 10 mm for an ultra-wide angle. Another setting to pay attention to is what your camera’s aperture is set to, switching it over to aperture priority mode will allow you to manually set the aperture to let in as much light as possible. Try not to use the widest aperture setting as this will reduce the sharpness of your image, instead shoot using an aperture between f/2.8 and f/11.
Daytime Cityscapes vs. Nighttime Cityscapes
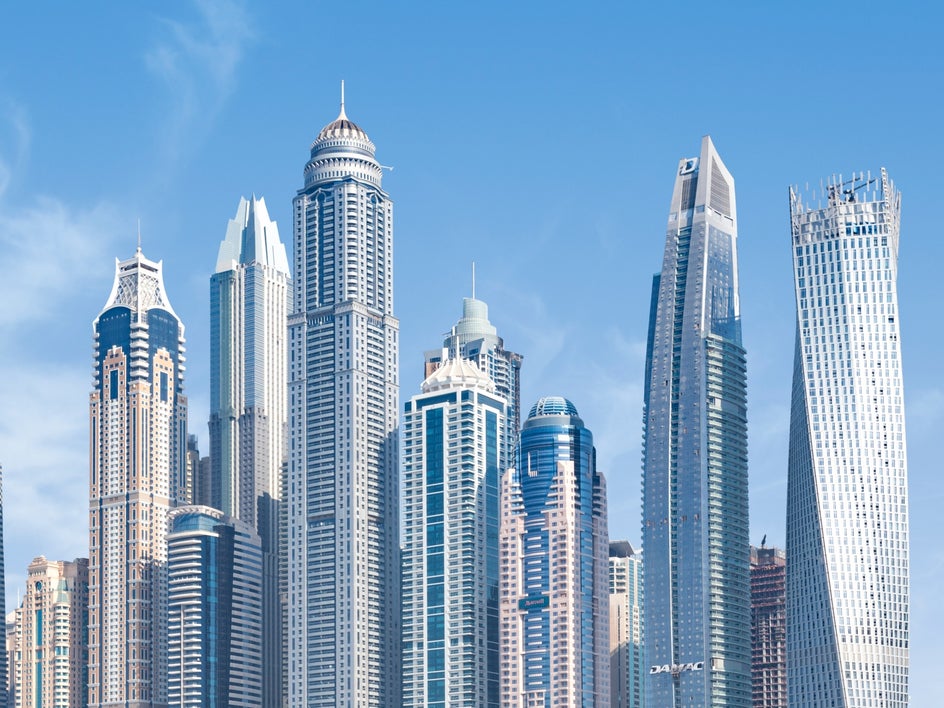
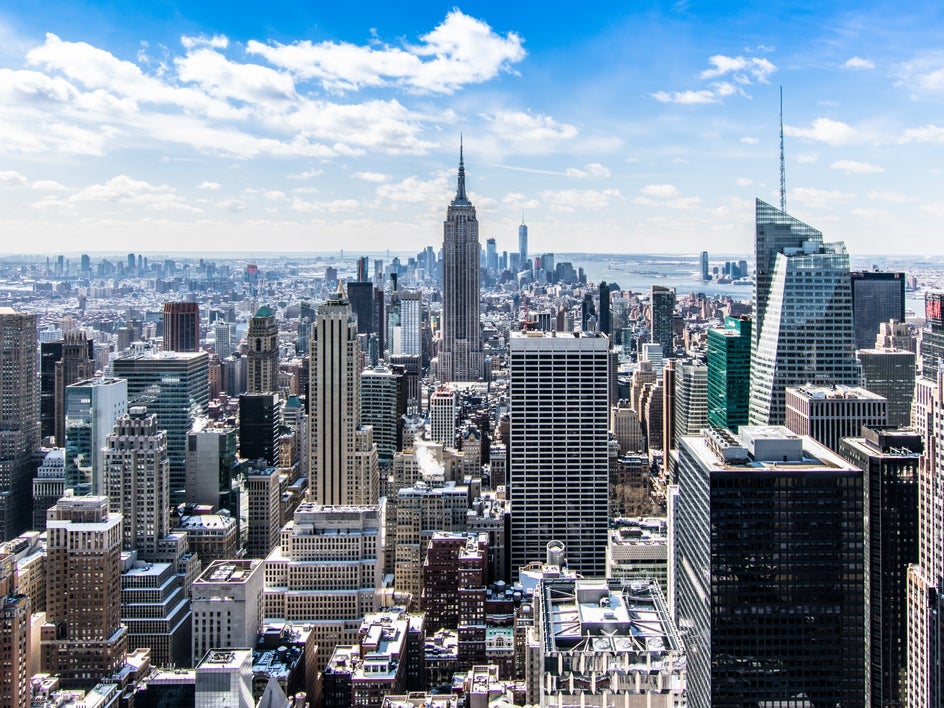
Daytime cityscapes are a great opportunity to capture the bustling city. Focus on capturing the sharpness of the architecture surrounding you. Shooting at golden hour, either just after sunrise or just before sunset, will allow you to capture the gorgeous glowing light that is hitting the buildings.
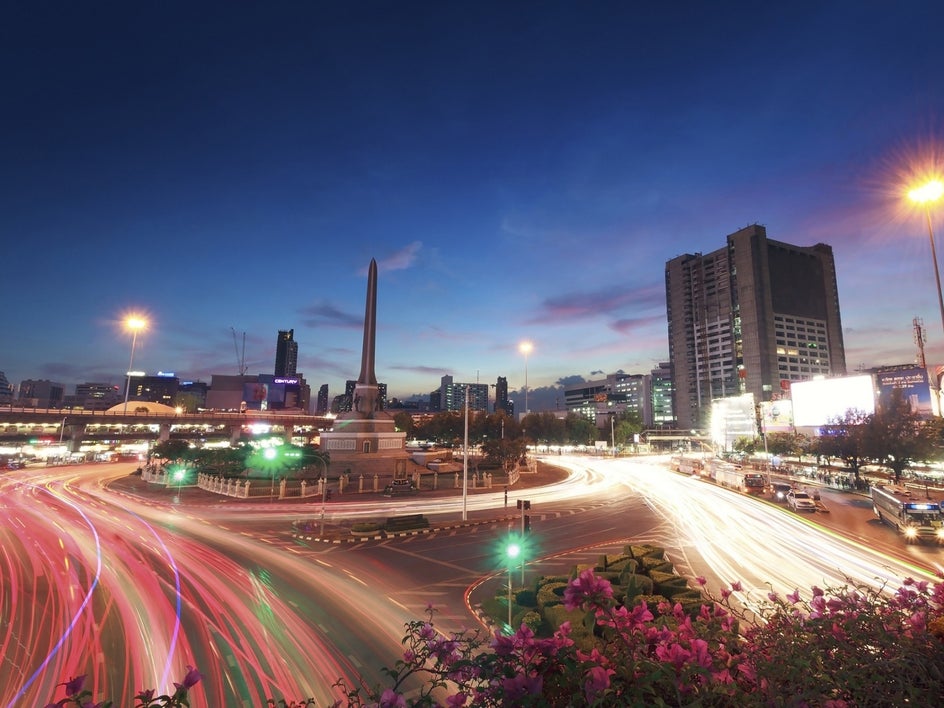
For nighttime cityscapes, you will be more focused on the lights that are coming from the city. This is a really fun time to play with the shutter speed on a DSLR. A faster shutter speed will keep all the lights and structures well-defined. A slower shutter speed will make any lights that are moving, like cars and trains, blurry while keeping the structures sharp. It is important to use a tripod for slow shutter speed photos so that the only thing moving is found within the image. You can do this on mobile devices as well with Live photos and converting them into long-exposure images, or edit them in with BeFunky!
How to Edit Your Cityscape Photos
Found within the Edit tab within BeFunky’s Photo Editor on the left side of your interface, these are our favorite tools for editing your cityscape photos.
Straighten Out Your Shots With the Rotate Tools
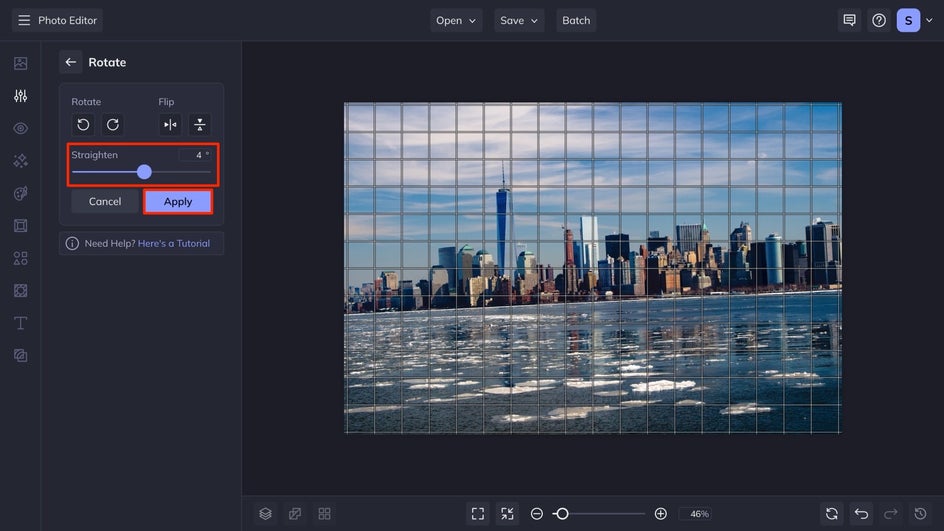
When your cityscape isn’t lined up perfectly with your image, the Straighten tool within the Rotate tab is a great option. Use the slider and guidelines on the image to level out your photo so the horizon is expertly placed. This helps your image feel ideally composed and makes for a better final product.
Enhance Your Colors With the Beautify Tool
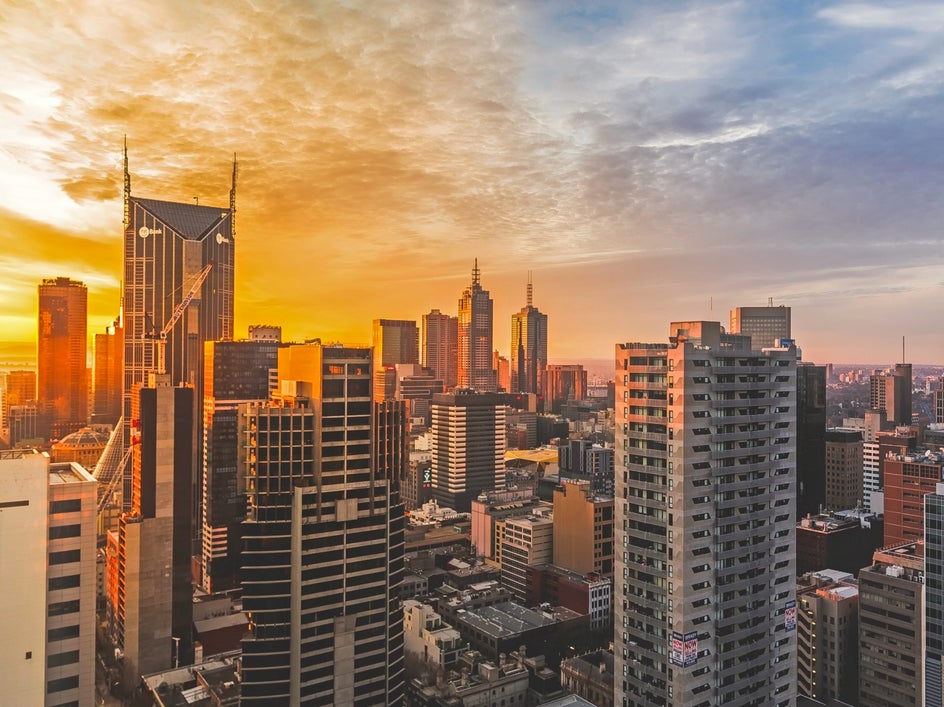
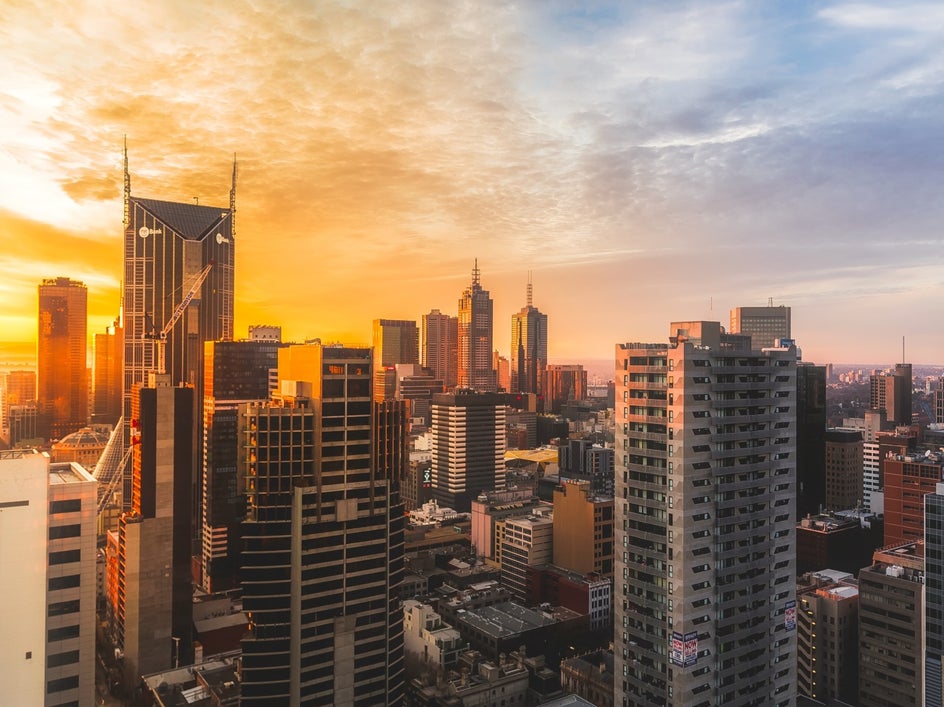
Beautify is a simple solution to all your color balancing needs. It color corrects, sharpens, adds fill light, improves the saturation, and adjusts the contrast in seconds with one click. Found under the essentials section, you can adjust how much or how little you want the tool to change in your photo with the slider. Less is more with beautify, too much and it will leave your image looking overly edited. Adjust in small increments to find your perfect balance.
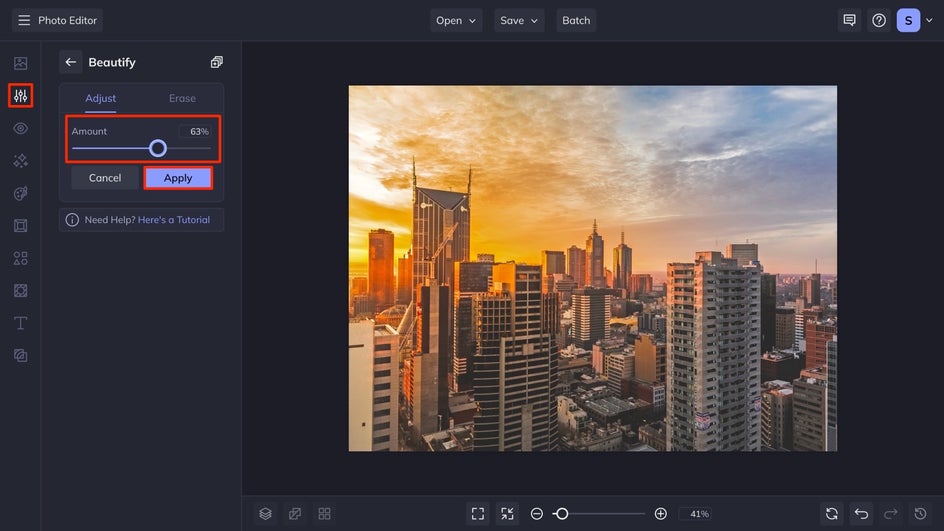
Take a look at how Beautify enhanced the colors in this cityscape. With a click of a button, you can find color balance and sharpness.
Adding Effects to Your Cityscapes
Found within the Effects tab on the left side of your interface, these are our top three effects to use on your cityscape photos.
Create Golden Hour With Lens Flare
Lens Flare is a wonderful effect to use for a subtle change in your picture with a big impact. This works best with cityscape images taken during the day when you missed that perfect time frame of golden hour. With several types of flares, there is one for every image. Select the one that fits your photo the best, and position the targets at the appropriate positions within your image.
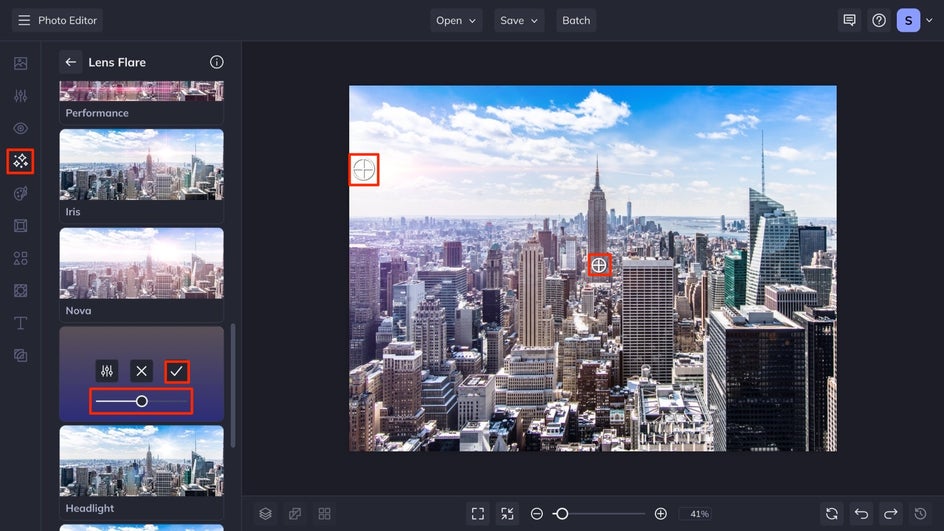
With just one effect, this photo looks like it was expertly taken at the perfect time. It is subtle, without overpowering the main subject of your image, the city.
Go Vintage With Chromatic
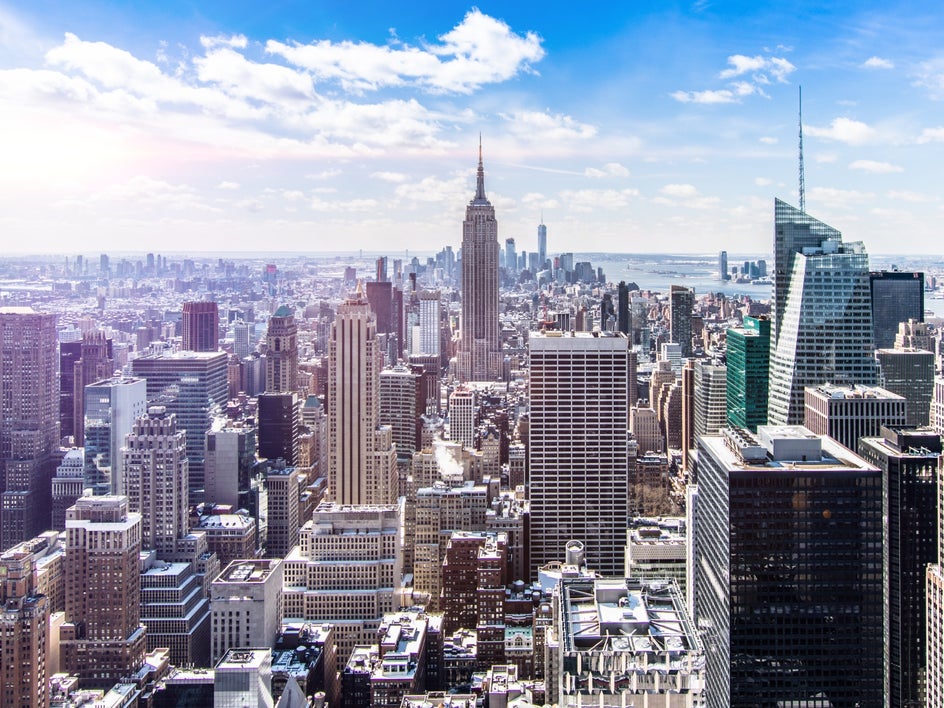
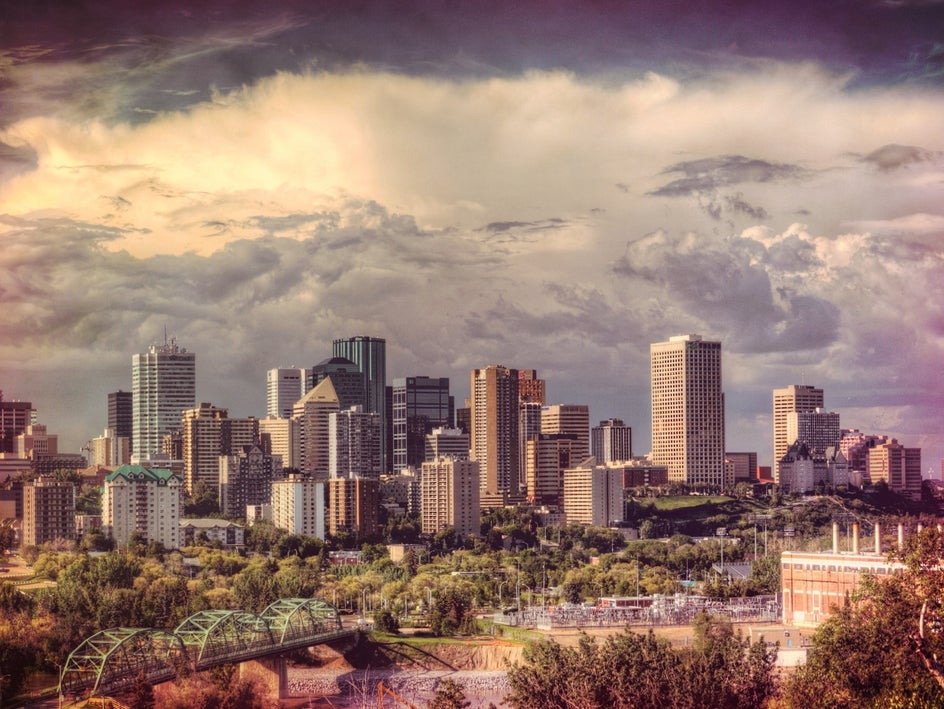
To add a vintage feel to your images without reducing the quality, use a Chromatic effect to your photo. These effects have the ability to slightly tint the image, as well as adjust the overall temperature of the photo in seconds. There are several Chromatic effects to choose from, simply select the one that looks best on your cityscape and adjust the power of the effect with the slider.
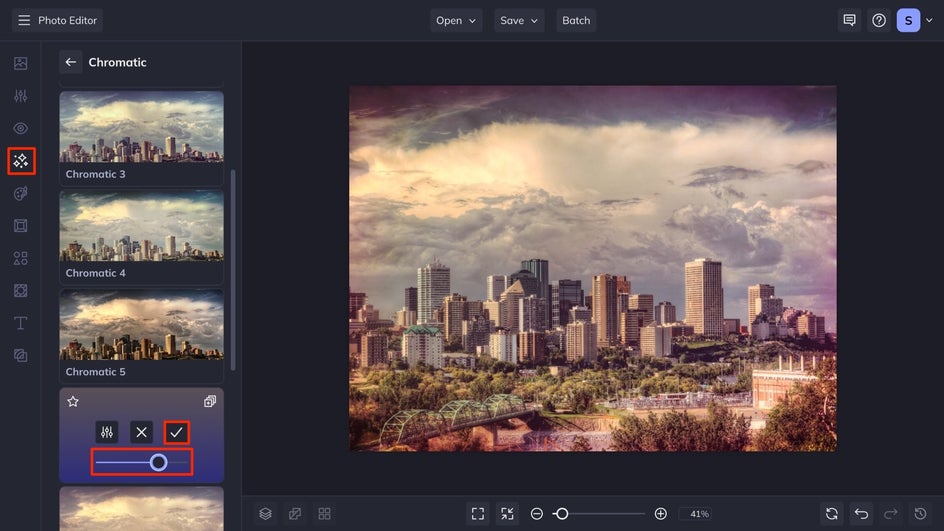
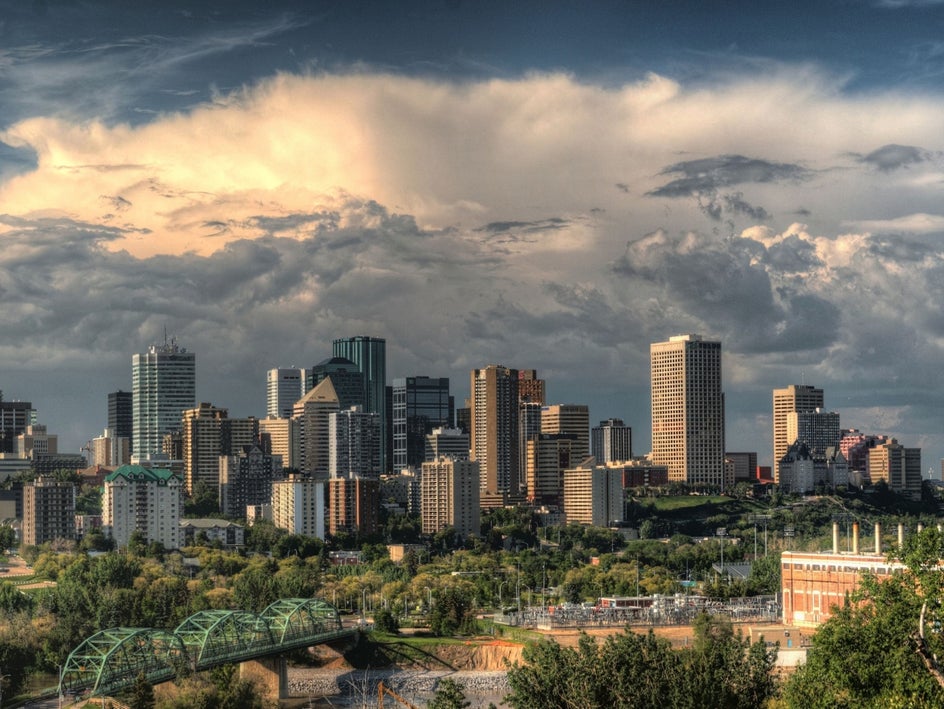
This Chromatic effect changed the mood of this photo to something lighter and breezier in minutes. Take a look at the transformation, and try it for yourself.
Capture and Edit Your Own Cityscape Scenes!
Now you are equipped with our favorite ways to edit your cityscapes, and which effects to add to them you can try your hand at creating a cityscape masterpiece of your own. Get started creating your own masterpiece here!
