How to Personalize Your Collage Layout

The Collage Maker is home to a whole suite of preset layouts. But what makes it truly unique, is the ability to customize every aspect of a layout to fit your creative vision. We have layouts for Facebook, Pinterest, and more – with the ability to customize them to your liking.
In this article, we're going to go over some of the changes you can make to a basic layout to really call it your own! For our example, we're going to create a collage to memorialize our most favorite trips of 2021.
How to Choose a Layout
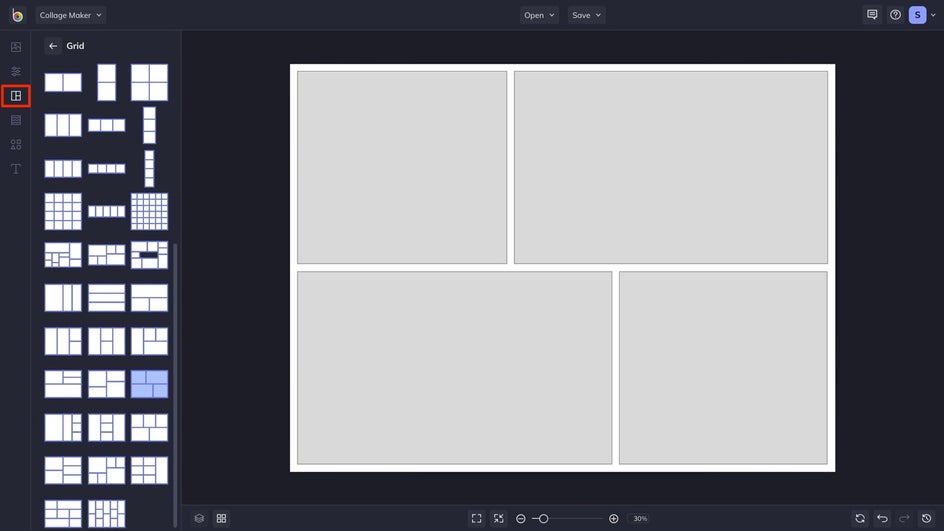
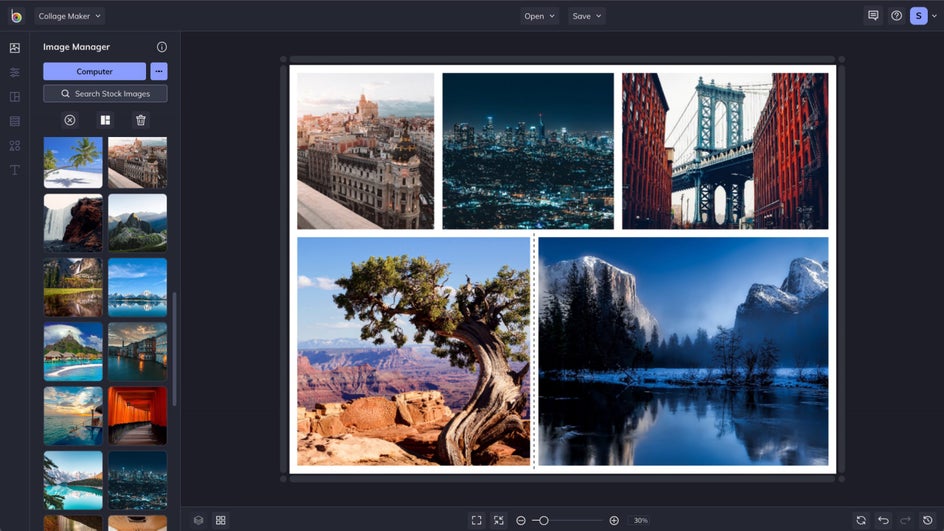
Before you can start customizing, you need to choose a base layout. To do this, head to the Collage Maker and click on the Layouts tab. You can click on the Collage Wizard to have one made for you, or head to one of the Layout Presets. Once you've made your selection, we can get to business. For our purposes, we like the four-cell option below to give our scenic photos lots of space.
How to Adjust Your Collage Cells
Now that you have a layout, let's go over some of the ways you can customize the pre-existing collage cells, as well as how to add more.
Add Cells
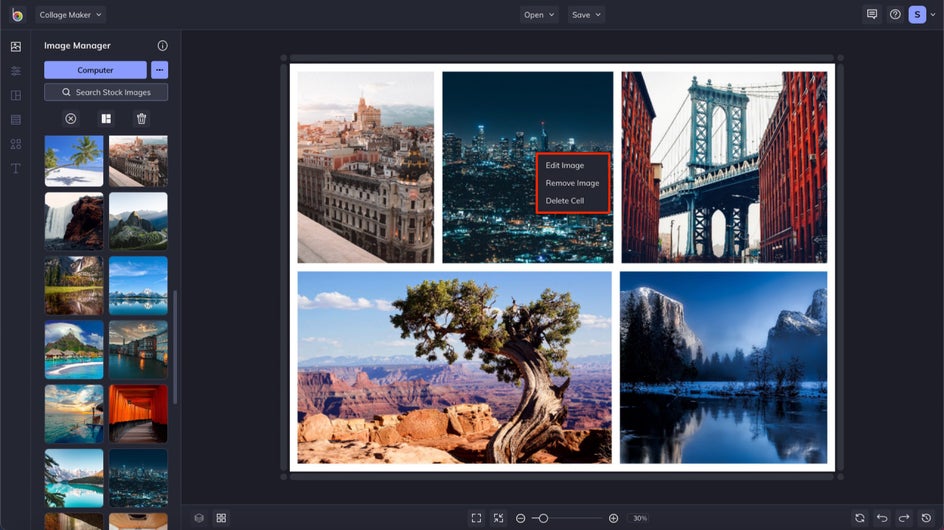
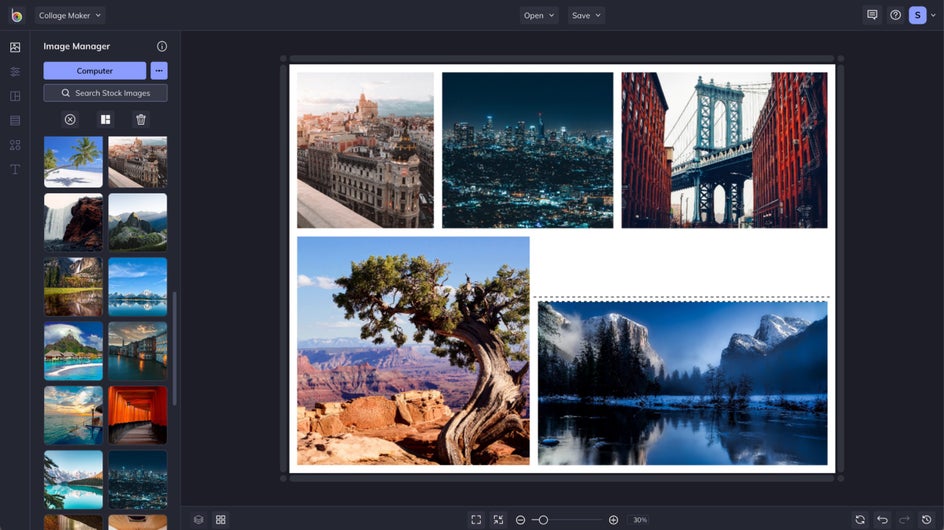
You can easily fill your collage cells by dragging-and-dropping images into them. And if you find the need to add more cells, you don't need to select a new layout. Turns out, we have an extra city we'd like to feature. So we're going to squeeze in another. Add cells to your collage by dragging an image thumbnail from the Image Manager tab, hovering it in between cells until you see two dashed lines appear, and dropping it in.
Delete Cells
You can also delete collage cells at any time by clicking on the cell you want to remove and selecting Delete Cell from the dropdown menu. But we're not going to delete the scenic skyline that we just added.
Resize Cells
To resize your collage cells, hover in between them until a dashed line appears and drag the cells to resize them. You can resize entire rows, or hold the Shift key to adjust two neighboring cells at a time. We gave our water scene a bit more space to shine.
Make Blank Space
Later on in our process, we already know that we want to add some blank space to this layout to make room for text. To make room for text, graphics, or other elements, hold Command or Control while dragging at the edge of a cell to disconnect it from the layout.
How to Customize Your Collage Even More
For even more customization options for your photo collage, the Customize tab in the main menu on the left has everything you need.
Change the Background Color
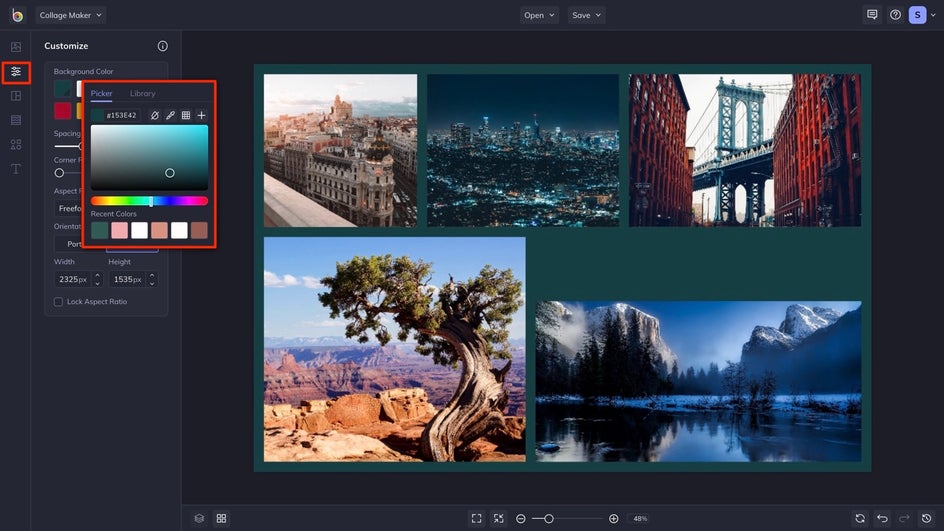
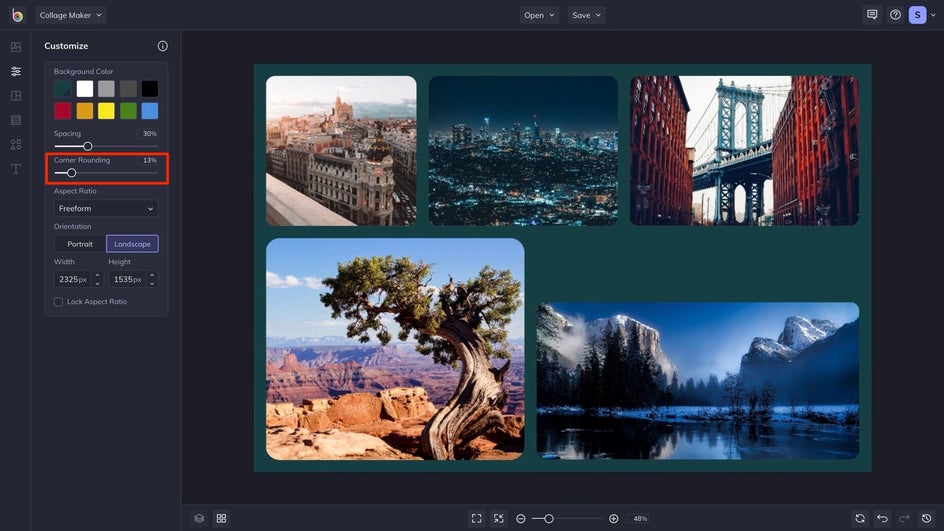
Use the color swatches under Background Color to change the background color of the collage. You can either choose from the color presets, or click on the top-left swatch to open the Color Picker. We added a nice, deep green to allow the vibrant colors of our photos to really pop.
Adjust Cell Spacing
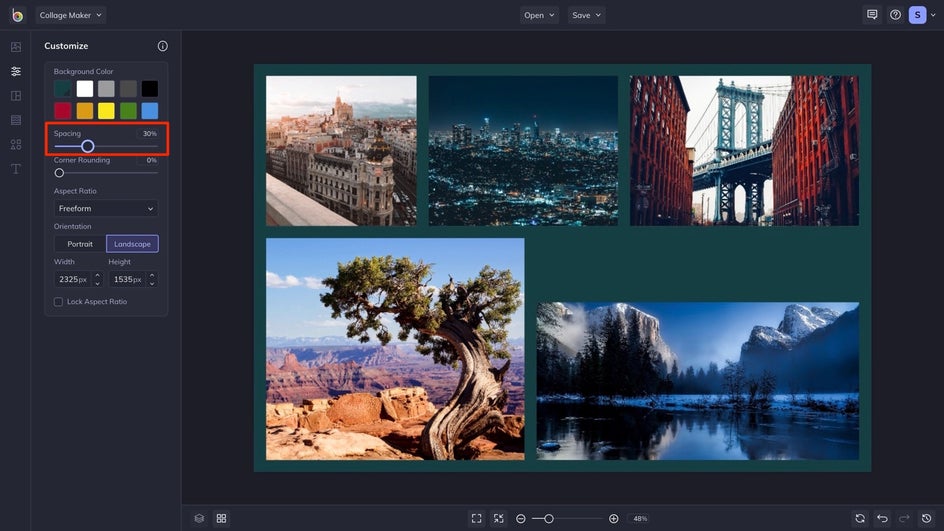
Adjusting the Spacing slider lets you increase and decrease the size of the spaces between your photos. Just drag the slider to the right for more space and to the left for less space.
Adjust Cell Corner Rounding
You even have control over the shape of your photos with the Corner Rounding slider. If you’d rather have rounded edges or completely circular photos, drag the slider to the right. And if you’d rather keep those edges sharp, keep the Corner Rounding slider all the way to the left. We softened our collage just a bit at 13%.
Resize Your Layout
And finally, the Width and Height boxes in the Customize tab allow you to resize your photo collage to the perfect dimensions. Just type your ideal size in pixels, press the Enter key on your keyboard, and you’re set.
You can also choose one of our preset aspect ratios, and change the layout orientation with a single click. We decided to lock the aspect ratio to assure that none of our imagery gets distorted when making a change to the width.

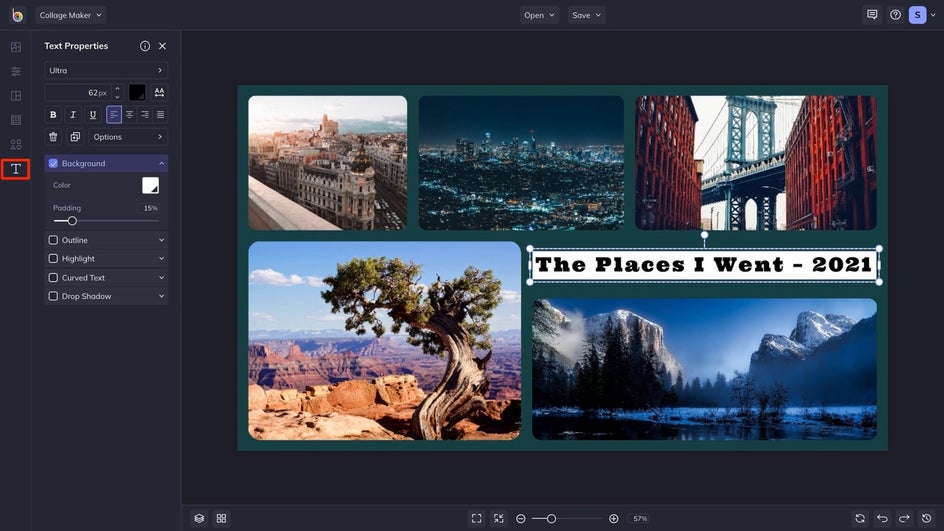
Add Some Text
Don't forget that you can also add text to whatever blank space you've made by heading to the Text tab. From there, select your favorite font, add any additional text features, and you're done! Here, we wrote some descriptive text that summarizes the imagery, and added a white background to make sure that it stands out against the dark background.
Customize Your Collage Layout
BeFunky has an extensive collection of preset collage layouts. But the possibilities are truly endless with a little customization. Find the perfect combination for your creative vision. Get started today in the Collage Maker.