How to Make Your Food Photos Pop

‘Tis the season for beautiful and delicious dishes! We know you’re busy trying to capture the perfect photos of your fall favorites, from pumpkin pie to latte art and everything in-between!
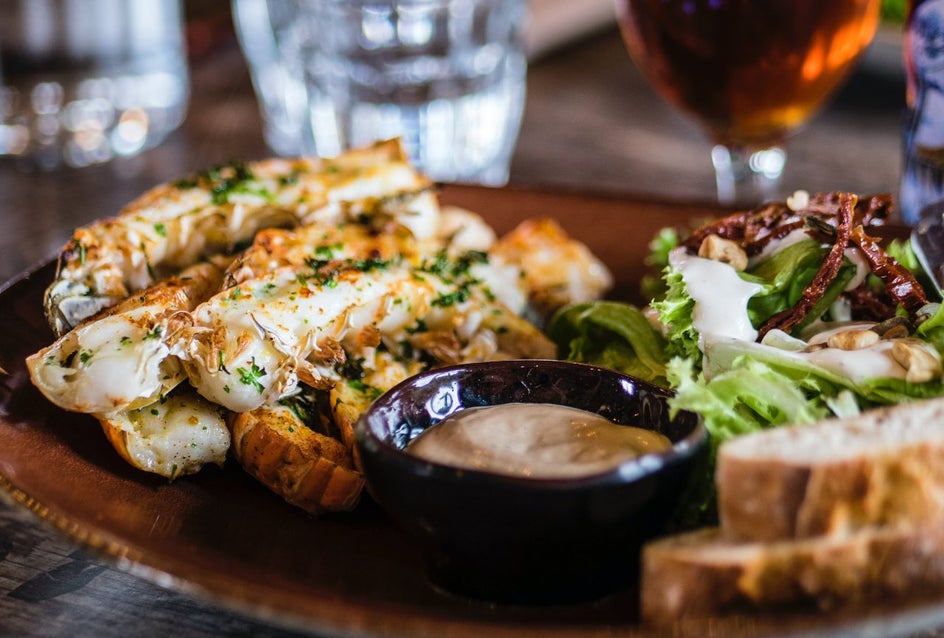
People love food photography, especially when the images look good and evoke feelings that go beyond the dish or drink in the frame! Helping to capture the emotional connection that people have with their favorite foods and drinks is an easy art to master using the Photo Editor and some of our favorite tips and tricks we’re sharing below.
Tips for Capturing Food on Camera
If you want to make your dishes stand out on camera, there are a couple of easy things to remember when you get behind the camera.
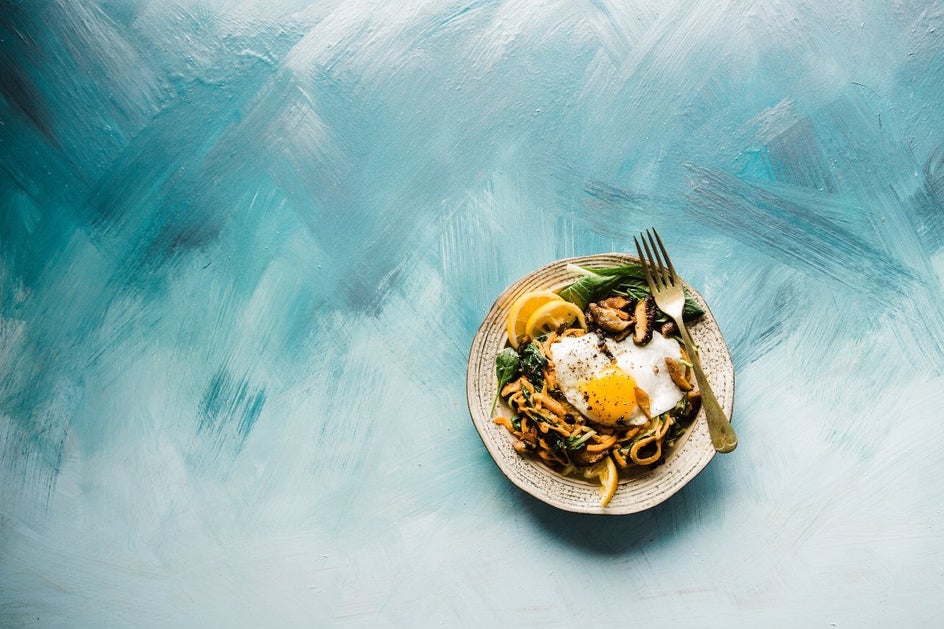
Keep Your Background Simple
While it may be tempting to add extra background props or many colors and patterns to the background of your food photographs, a good rule of thumb is to keep your backgrounds simple. Utilize solid colors and only add additional props to your photos if you can prove that they add a new level of dimension to your photographs.
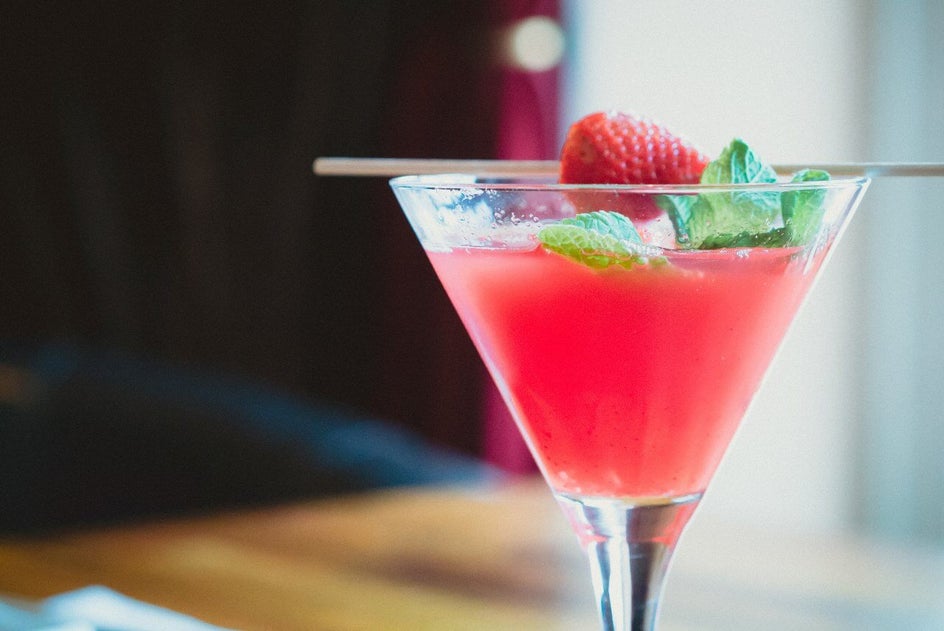
Use Natural Light
Those warm overhead lights may help make the ambiance of your favorite restaurant look good, but they might not have the same effect on your plate! Grab your dish and take those photos near a natural light source outside or by a window. This will help your colors to look more balanced and vibrant, the way the chef intended.
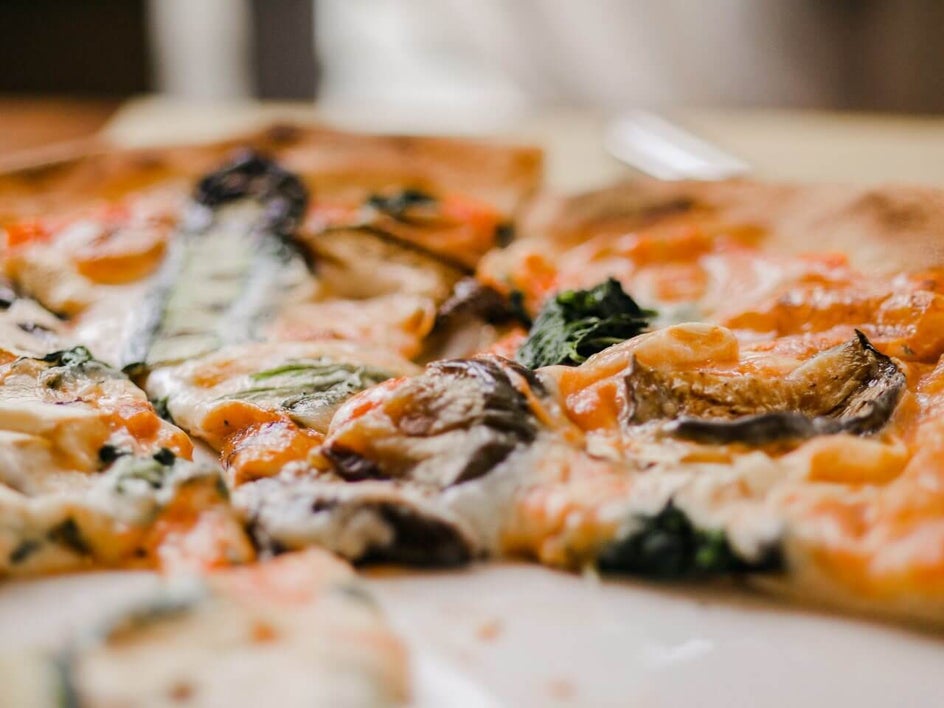
Change Up The Angles
It’s tempting to try and make all your food photographs into the perfect flat-lay photography, but with this in mind, you’re missing out on so many other interesting ways to photograph your meal! Try shooting from a low angle at the side of the plate or focusing on the fine details by getting closer. Say goodbye to basic table shots!
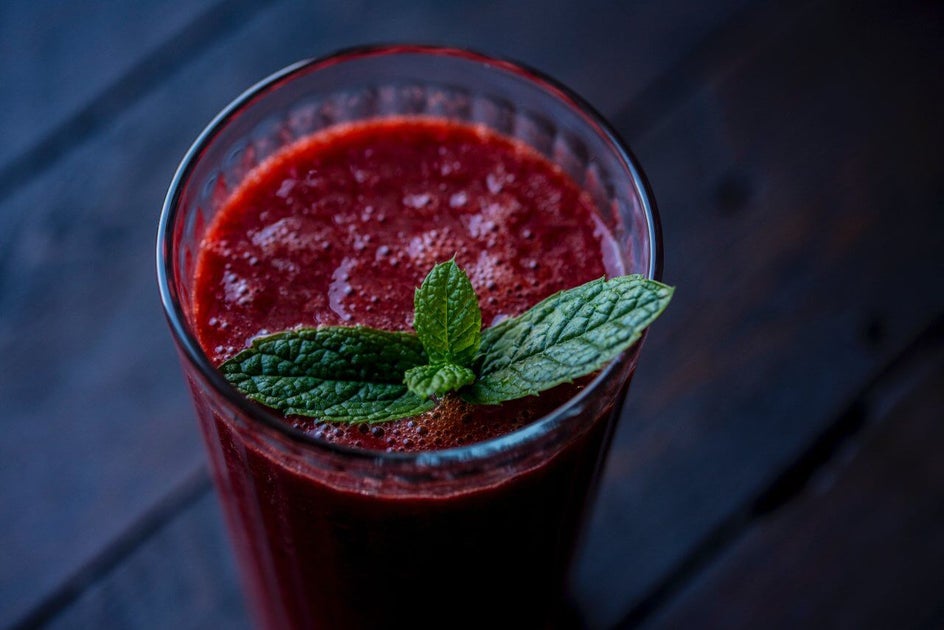
Think About Color
You can easily create beautiful and harmonious food photographs if you use color correctly! Keep in mind tones that compliment each other and may compliment your dish, and don’t be afraid to set up complementary or contrasting tones in your scene to help make elements pop.
How to Edit Your Food Photos
After you’ve finished your photoshoot and have the photos you like, it’s time to make them look even more delectable with photo editing! To start, head to the Photo Editor and upload one of your favorite photos from the shoot.
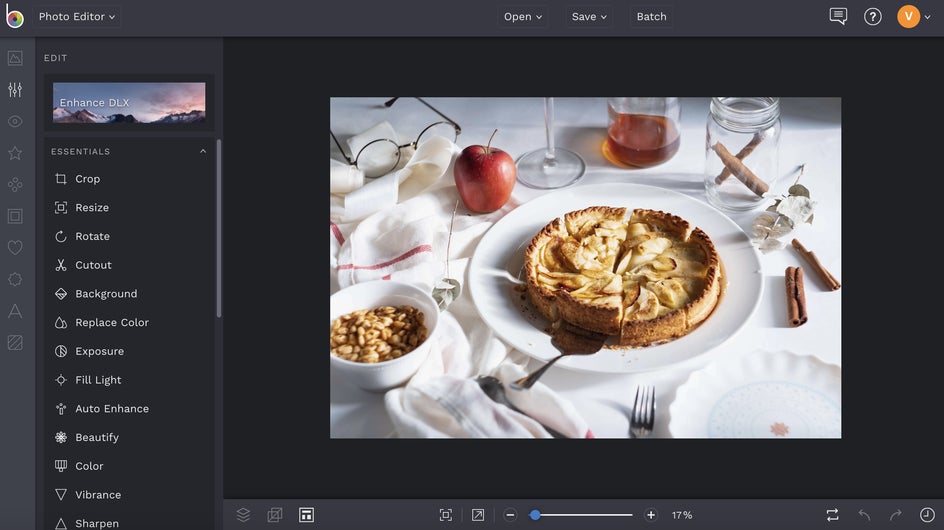
We’re going to start by amping up the colors in the photo. We’re going to use the Vibrant Colors DLX to enhance the photo’s colors to make the food pop! Click on Enhance DLX and then Vibrant Colors DLX. These tools are exclusively yours with a BeFunky Plus account.
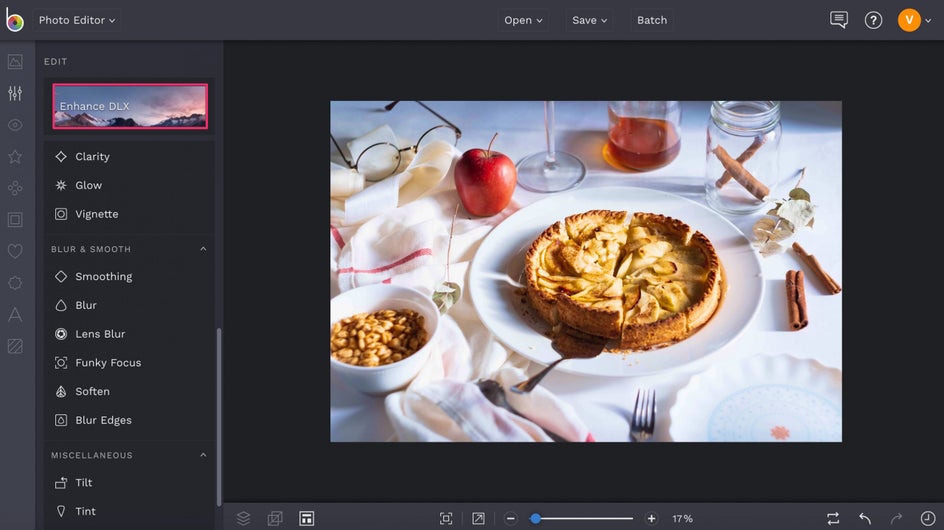
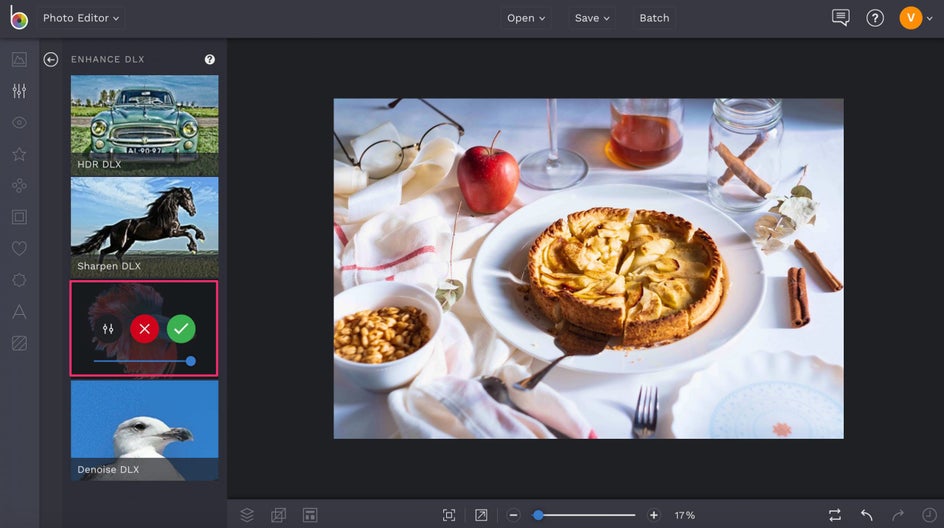
Once the effect is in place, you can pull them up or down to change the intensity. Once you’re satisfied with the changes, click the blue checkbox to accept the changes.
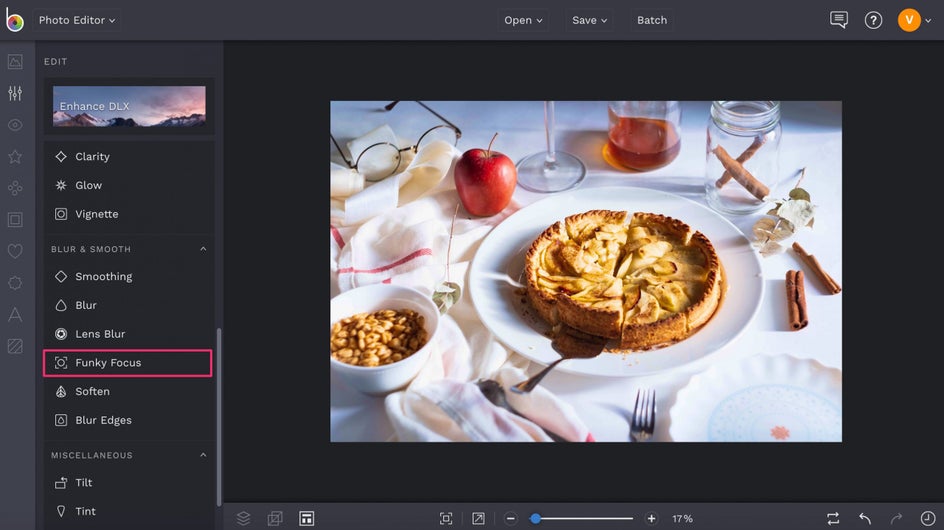
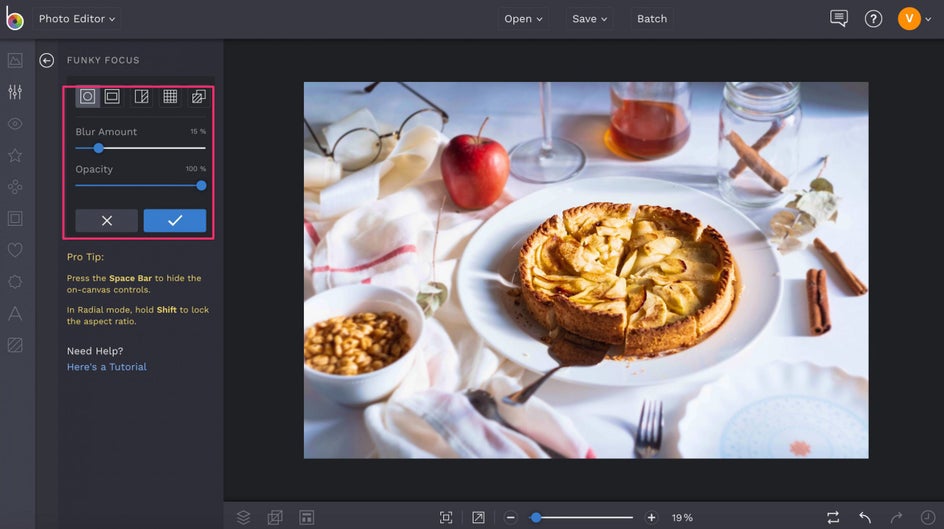
Now we want to draw attention to the focal point of the shot with the Funky Focus tool. In the Edit panel, you’ll find Funky Focus under the category called Blur & Smooth. This will help the subject of your photo stand out against your backdrop.
Move the Funky Focus target over the part of the photo you want to remain in focus, and feel free to use the white circles and squares to resize the target. Sliding the Blur Amount scale to the right will increase the amount of blur in the portion of the photo that’s not inside the target.
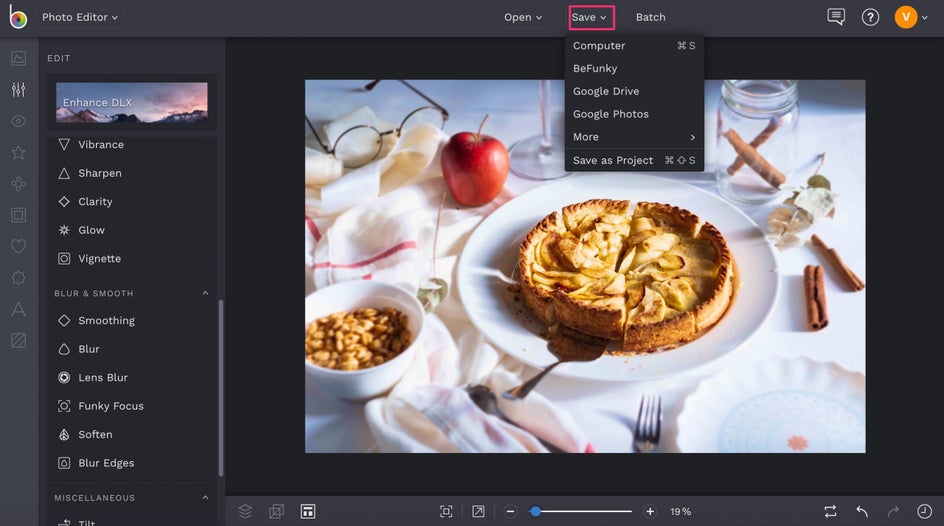
And just like that, you’re done! Click Save and choose your desired location.
Before and After
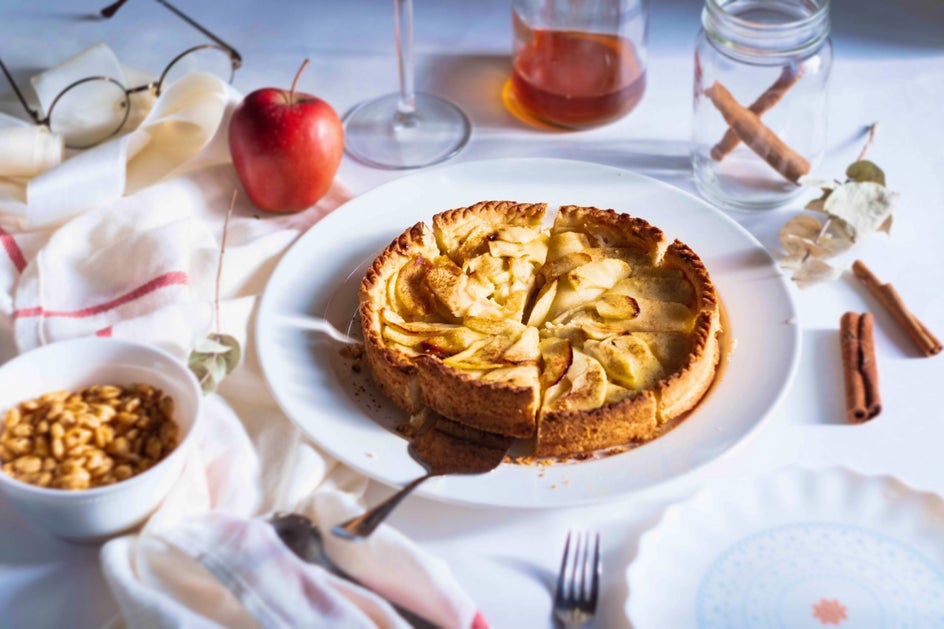
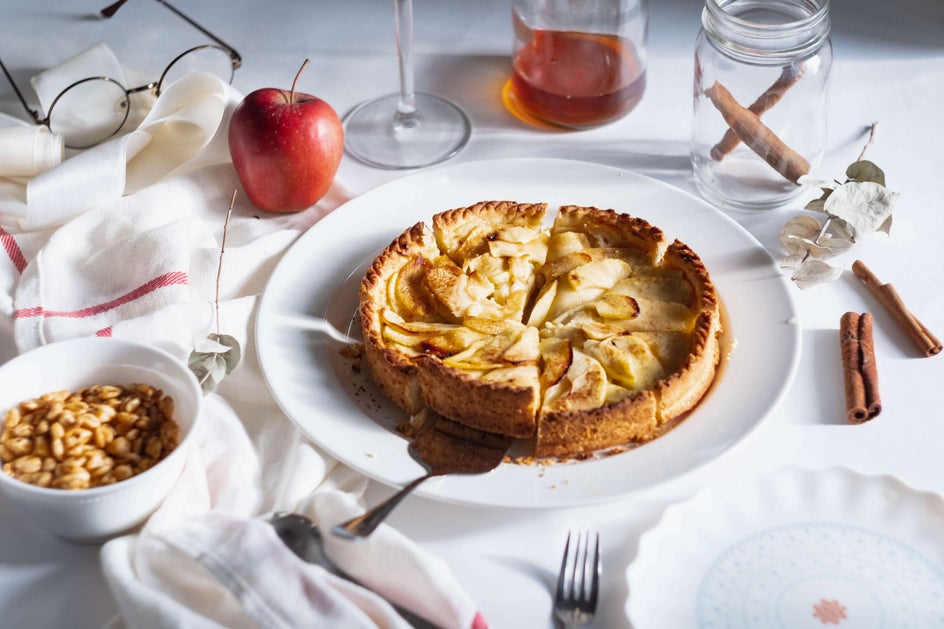
Are you hungry yet? Following these easy tips is sure to help your next food photoshoot standout. Get creative with your food photography below!
