5 Most Frequently Asked Questions, Answered

There is A LOT you can do with BeFunky, but sometimes it's hard to know which tool is the right one for the job. Here's answers to the 5 questions we get asked the most.
1. How do I erase something from my photo?
A: You can accomplish this with the Clone tool. You'll find it in the Touch Up section under Skin. You use this tool to essentially 'paint' over the unwanted object in your photo with another part of the photo.
- Find an area of the photo with a similar background to the thing you want to remove
- Ctrl + click (⌘ + click for Mac) to select your clone source
- Paint over the item you want to remove
Confused? Don't be, all you need is a visual. If you need more help, click here for a full tutorial.
In this example I want to remove window covering but keep the window:
Pro Tip: You may need to select multiple sources for a full cover up. Once it's covered up you can do some detail work to get rid of any duplicate textures.
2. How do I add someone to a photo who's not in it?
A: You'll use the Cutout tool for this. Just FYI before you start, there are quite a few steps but I assure you it's super easy to do. Due to lighting, angles, photo quality, and a few other factors, the challenge lies in making it look natural. Here's a great tutorial, with lots of photos, on how to add something from Photo A to Photo B. If you don't need/want the extra visual help, here's the steps:
- Open Photo A, then select the Cutout tool from the Edits section
- Choose a Shape Selection tool - for people, I suggest using the Lasso or Polygonal Lasso tools
- Use the Shape Selection tool to carefully trace around the person, try not to include too much of the surroundings
- Adjust your feathering, this will make it easier for you to blend your selection into Photo B
- Once you've selected the person, click Export As Layer
- Open Photo B
- Select Layer Manager, then drag the person into Photo B
- Make any adjustments needed to correct for size, color, and exposure
- Click Flatten Layers
- Use the Clone tool to blend the edges of your new addition
3. How do I make a collage with 50 photos?
A: The Easiest way create a collage with any number of photos is to use our Collage Wizard, here's how you do it:
- Open the Collage Maker and Import your images
- Open Layouts and select Collage Wizard
- Click Select All, then click Use Images
- Shuffle the images using the arrow button, when you're satisfied click Select This Collage
Now, you can customize it the same way as our other templates! If you need more help, here's a great Collage Wizard tutorial!
4. How do I add another photo to my collage?
A: This one's easy, you just grab your photo from the Image Manager then drag and drop it wherever you want it in your collage. Once you see the black line appear drop your photo.
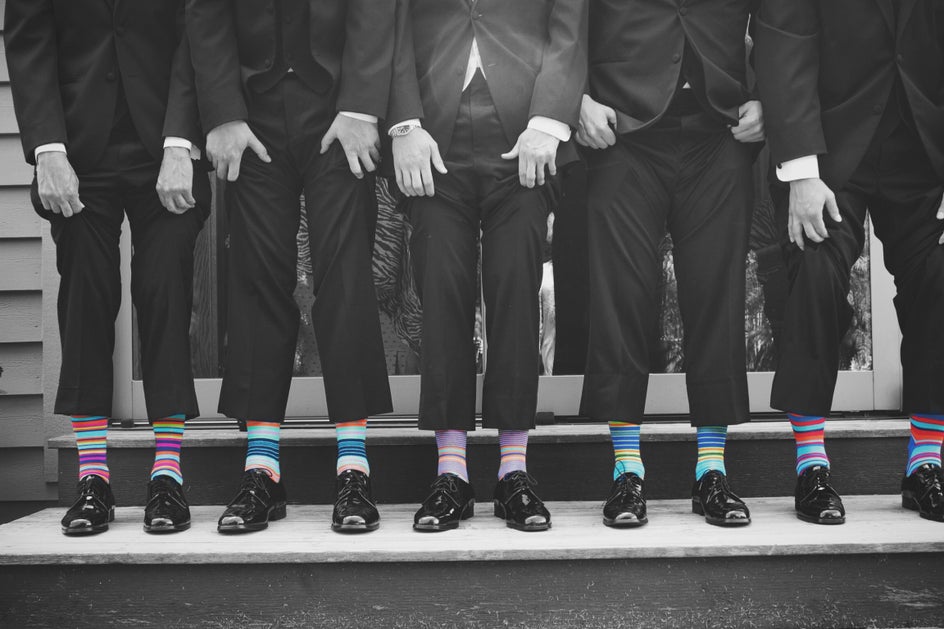
5. How can I get colored objects in my black and white photos?
A: There's a few ways to do this, here's the 2 most common:
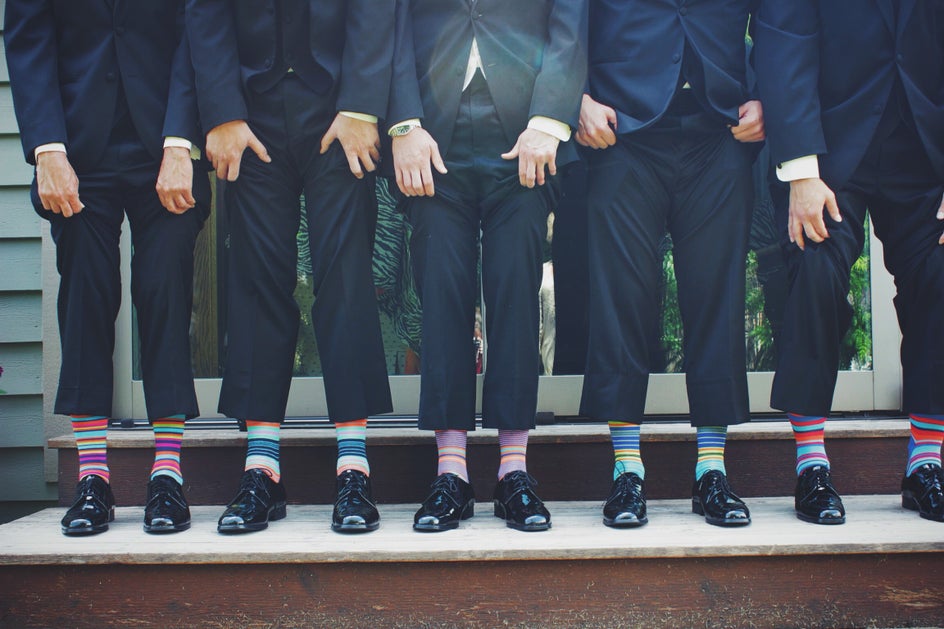
Starting with a color photo (easiest method, example below):
- Using one of our B/W effects, change your photo to B/W (don't click 'Apply' yet)
- Select Paint Mode
- 'Paint' over the item you want to remain in color


Starting with a B/W photo (more difficult method):
- Open the Paint Brush tool in the Touch Up section
- Select your color
- Paint over the item you want to color
Pro Tip: With the 2nd method, adjust Brush Strength prior to painting, then adjust Opacity to reveal texture and detail.


