How to Remove Flashspots and Create Flawless Portraits

Have you ever looked at a photo of yourself, only to notice a great big flashspot in the center of your face? Sadly, flashspots aren’t uncommon, as they’re often caused by uneven lighting or a flash reflecting off a shiny surface (such as your skin). The real problem with flashspots, however, is that they make a subject’s face look oily and unflattering – something no one should have to deal with if they can help it.

The good news? Flashspots can easily be a thing of the past, thanks to BeFunky’s Flashspot remover in the Touch Up tools section of the Photo Editor. Within just a few clicks, your skin can achieve matte perfection!
How To Remove Flash Spots In BeFunky’s Photo Editor
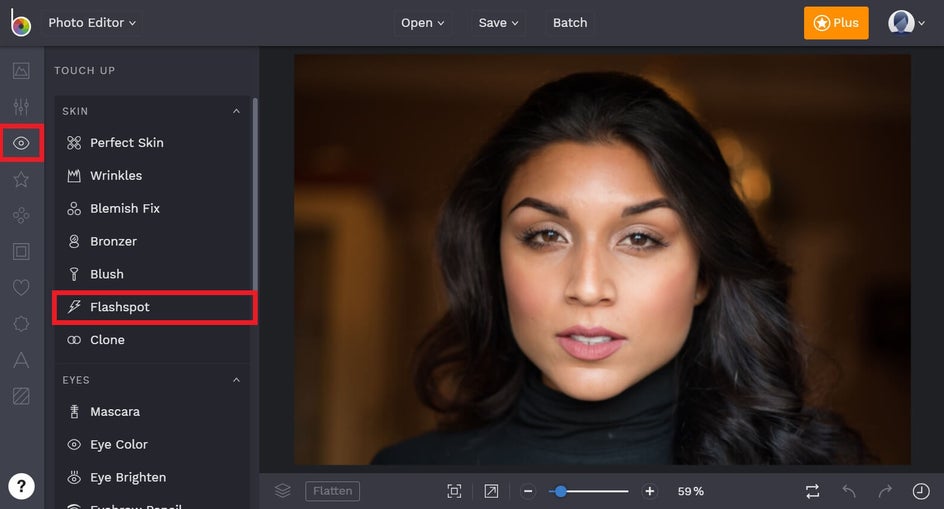
Ready to put the Flashspot tool to the test? Head to BeFunky’s Photo Editor before uploading an image of your choice using the Open tab at the top or by dragging-and-dropping your image file into the interface. Then, click on the Touch Up tab (the eyeball icon) in the main menu on the left and select the Flashspot tool.
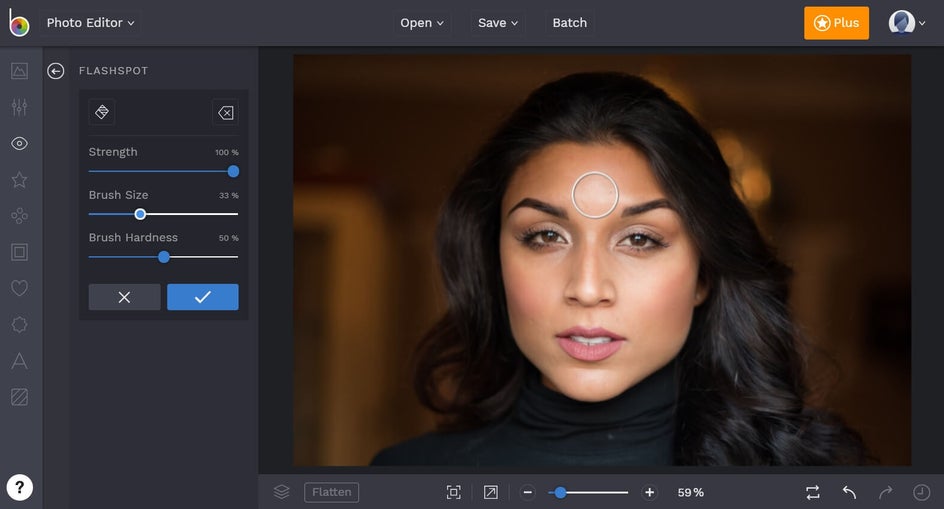
When you click on Flashspot, a toolbar opens containing three main options: Strength, Brush Size, and Brush Hardness. Strength refers to the strength of your effect, whereas Brush Size allows you to increase or decrease the size of your brush that applies the effect. Finally, Brush Hardness refers to how hard or soft you want the effect to be. Simply drag the sliders left or right to decrease or increase.
Pro Tip: Accidentally applied the Flashspot remover to the wrong part of your image? Just select the Erase tool and apply it to this area to remove the effect.
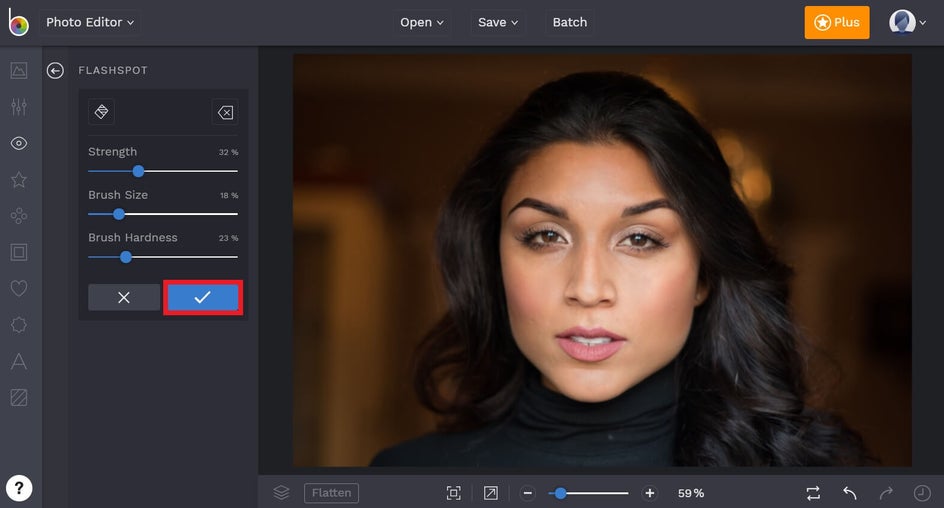
To begin removing the Flashspot from your photo, use your mouse and click over any flashspots in your photo to apply it. From here, you can increase or decrease the Strength slider to achieve matte perfection. Once you’re happy with how it looks, click the blue checkmark button to apply the effect.
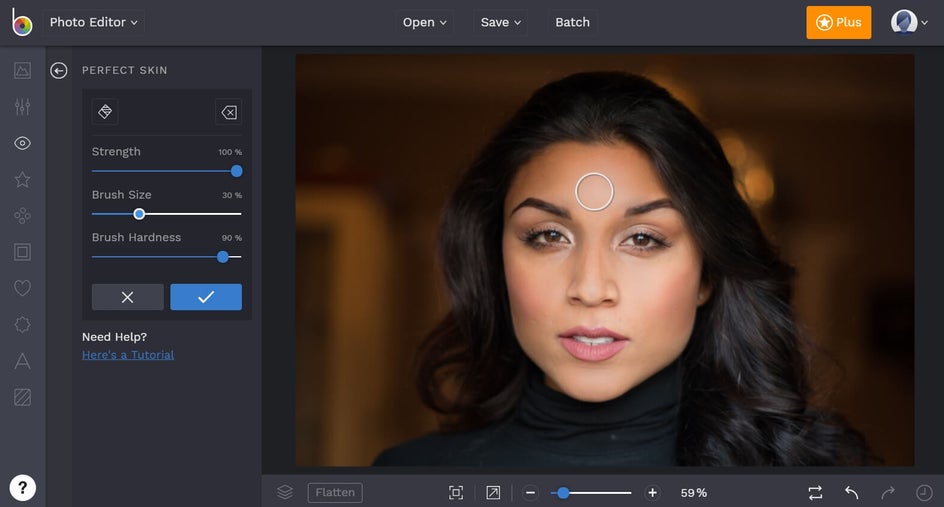
Now that you’ve successfully removed that unsightly flashspot, there’s just one more thing left to do. We recommend using the Perfect Skin Tool (also located in the Touch Up tools menu) to blend everything together for a perfect portrait! It’s one of our super smart tools that can sense your true skin tone for color correcting, blending imperfections and blemishes as it smooths your complexion.

Once you click on the Perfect Skin tool, you can adjust elements such as Strength, Brush Size, and Brush Hardness using their corresponding sliders, then simply apply the effect by brushing it on with your mouse. Once you’re happy with the results, click the blue checkmark to apply. Ta-da!
Now that your skin is looking flawless and flashspot-free, you can continue editing with other Touch Tools and photo editing effects, or save your image by clicking the Save button at the top of your screen. From there, you have the option of saving your image straight to your Computer, as well as Facebook, Dropbox, and more!
Before and After
When it comes to the Flashspot Remover tool, we think the results really speak for themselves:


Ready to eradicate pesky flashspots and achieve the much-loved matte look instead? Get started below!