How to Create Metallic Graphic Design Elements

One of our favorite graphic design trends for this year is the use of metallics in design elements like text, icons, and patterns. There is a reason this look is trending. By using metallics in your designs, you naturally create elements that catch the eye with both pattern, light, and color. It is a surefire way to draw people’s eyes to the most important parts of your design.
Intrigued by shiny designs? Yeah, us too! The cool thing is that with BeFunky’s Clipping Mask tool, making any design element metallic is possible with a simple drag and drop! All you need is the perfect metallic texture to use as a mask (there are tons in our totally free Stock Image library). We’ll show you how it’s done!
Metallic Graphic Design Inspiration
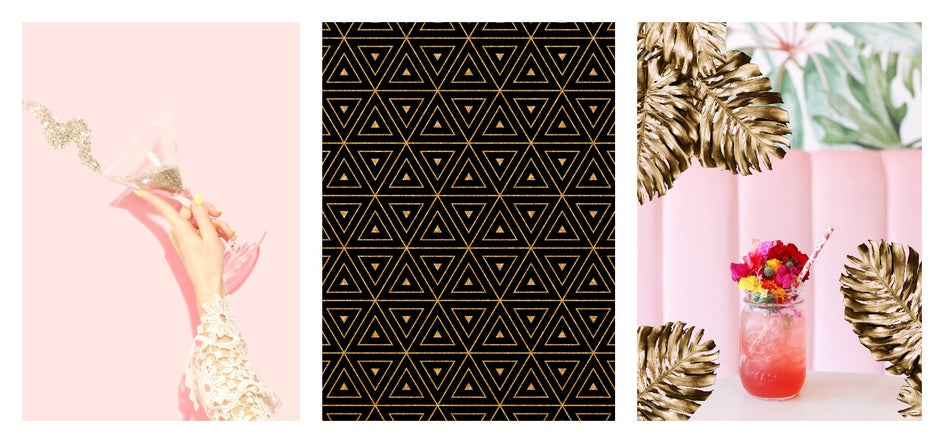
Great designs stem from using shapes, colors, and shades to catch the eye and tell a story. Designing with metallics incorporates all three of those facets, then adds texture, to call even more attention to the story you’re telling. Whether you’re wanting a hard and grungy look, an elegant aesthetic, or something in between, the possibilities are truly endless with this technique. Here are some of our favorite ways to use metallics in graphic design:
Metallic Patterns
Incorporating metallic patterns into the background of your designs can take it from flat and ordinary to shiny and extraordinary! It’s a great way to add in extra texture and make it more eye-catching.
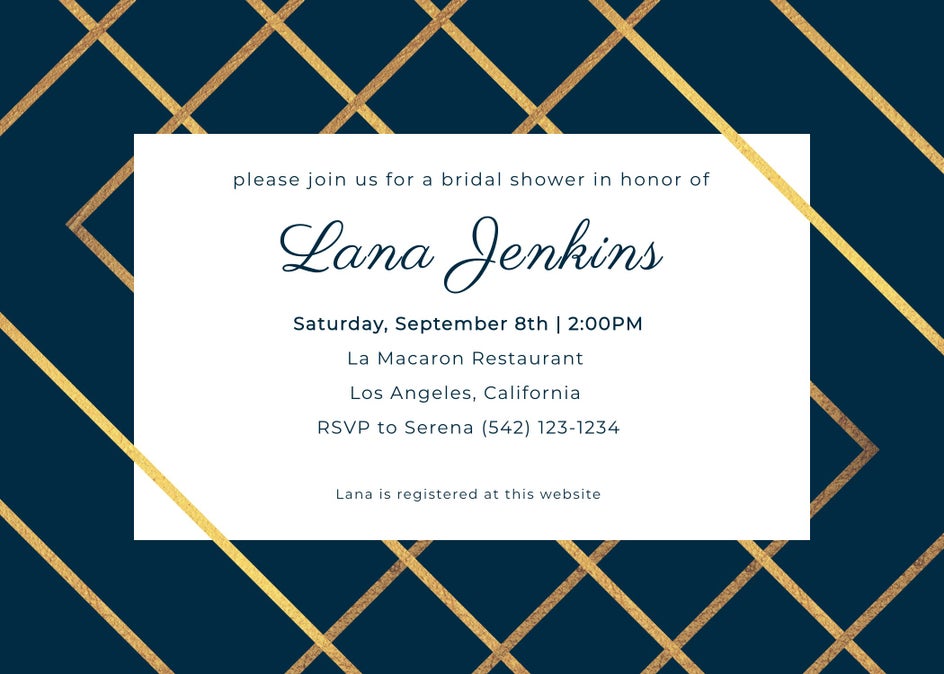
To get the look in BeFunky, you can use the Graphics tab to find the perfect vector graphics and icons to turn into a patterned background. From criss-crossed lines (like in the example above) to repeating icons, you’ll find everything you need to get the pattern you want. Then, add a metallic texture and see how it shines!
Metallic Text
Incorporating metallics into the text of your designs makes it truly stand out. If you’re wanting to highlight a specific message, try adding a metallic touch to your textboxes! It’s such a bold move that your audience won’t be able to look away.

BeFunky has hundreds of free fonts available to use in your graphic designs, and any one of them can be made metallic. And if you’ve got a specific font in mind that’s not in our library, you can easily add it and start designing with it right away!
Metallic Icons and Graphics
Adding metallic details to the supporting graphics in your design is a quick way to add extra flair to your creations. Our Graphic Library has thousands of vector graphics and icons to choose from, so no matter what kind of design you’re working on, you’re sure to find the perfect graphics for enhancing it!

From stars and basic shapes to ultra-specific graphics (think mid-century modern furniture, monstera plant leaves, an artistic rendition of a pineapple, and truly so much more), we’ve got it all. Just type your search term into our Graphics Library Search and you’ll find what you’re looking for.
How to Create Metallic Design Elements
When you’re ready to get started, head to BeFunky’s Designer. You’ll be prompted to start a design with either a blank canvas or one of our pre-designed templates, so choose whatever you’d like as a starting point. We’re going with a design template for this tutorial.
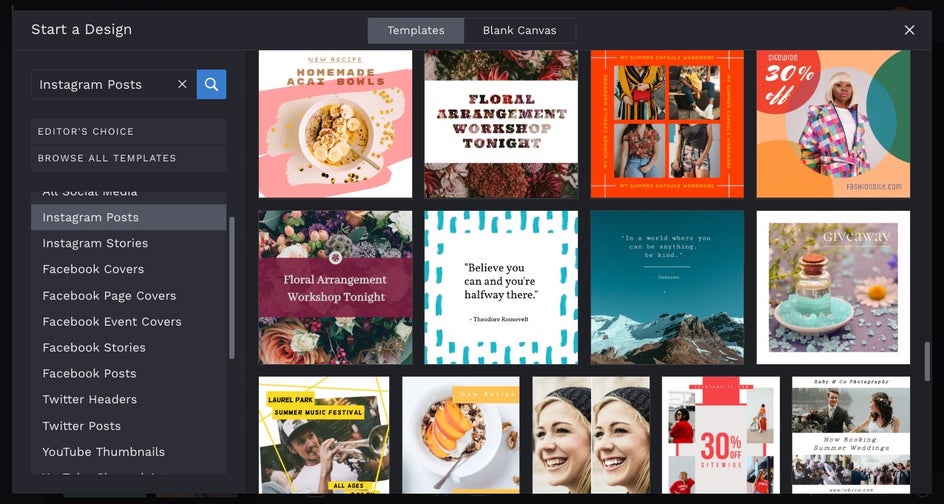
First, we’ll update the text in our design template to reflect our own event. Double click any textbox to type something new, and you’ll notice that each time you’ve got a textbox selected, a Text Properties toolbar appears, allowing you to change the Font, typographical emphasis, and more.

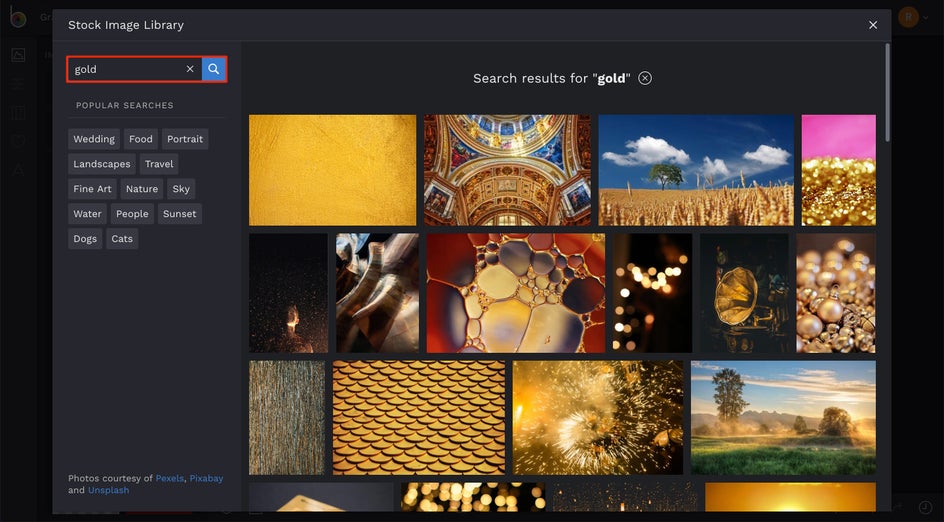
With your text ready to go, it’s time to make some magic happen and give your design elements a metallic shine! It all starts by clicking on the Image Manager in the menu on the left (the top icon). Once there, select the Search Stock Images button and type a metallic search term of your choice (like “gold” or “glitter”) into the search bar. Click on any results you love, and they’ll automatically be added to your Image Manager.
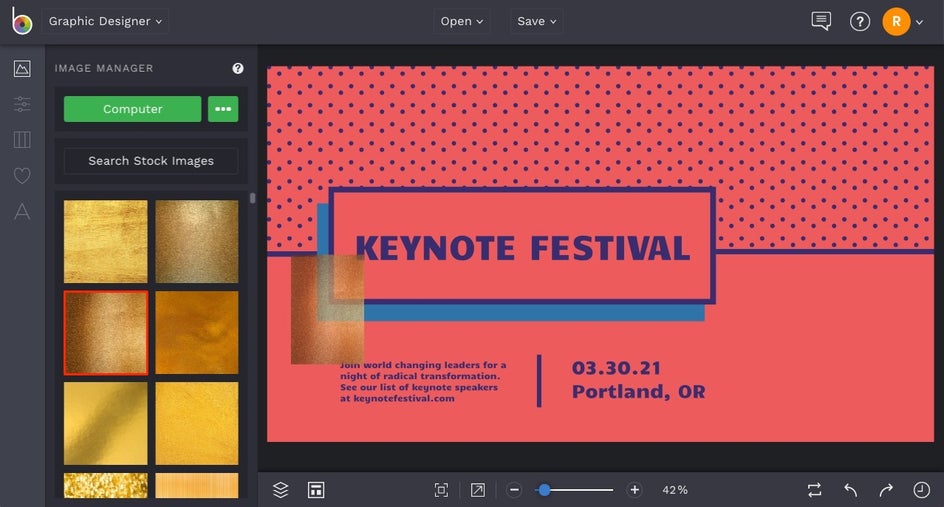
You’ll be able to see all of the stock photos you selected once you close out of the Stock Image Library. To add one as a texture to your design, simply drag and drop it onto the element of your design you want to have a metallic finish. When you drag it over a selection, the selection will turn blue to indicate that it is the part where the texture will be overlayed.
You can drag metallic textures over patterns, graphics, text, and more! Repeat this for any text or graphics you want to have a metallic finish.
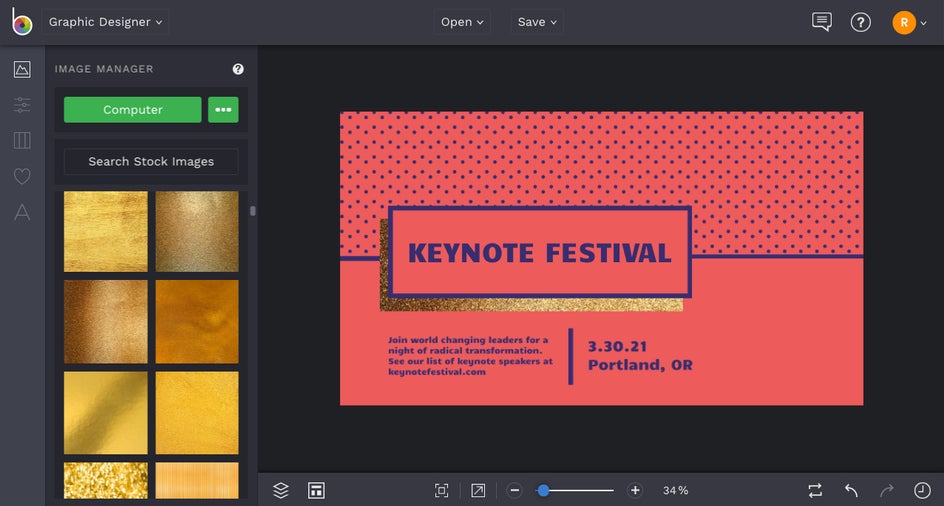
To adjust your metallic textures, after dragging them onto the desired section, double click to enter into edit mode, where you can stretch and manipulate the metallic texture. I find that this is a good way to line up the correct lighting if your texture has some darker spots than in other areas. Simply hover your cursor over a corner point, and while holding down SHIFT, click and drag any corner point to stretch your image.
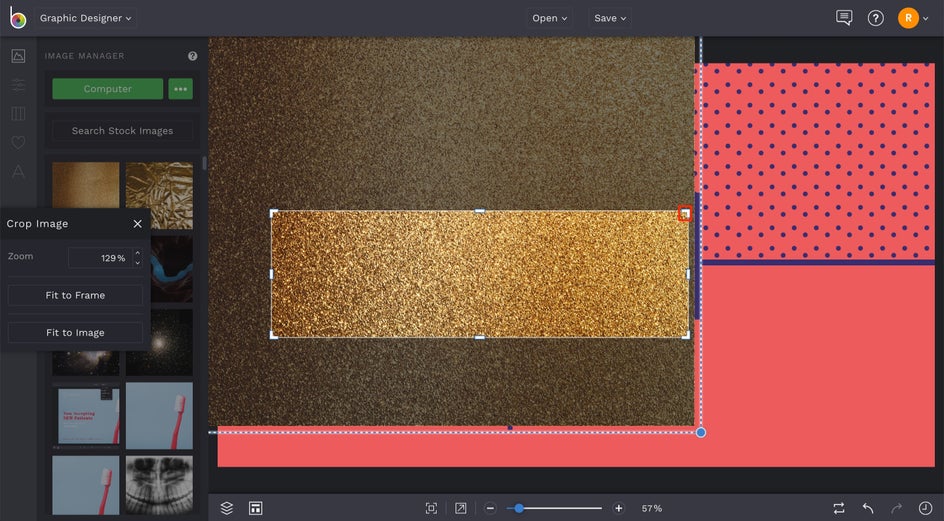
Note that this masking technique works with any text, pattern, or graphic you add to your template. You can add more text by clicking on the Text tab (the A icon) on the left, and add more graphics or create patterns by clicking the Graphics tab (the heart icon). Then, repeat the above steps to drag-and-drop metallic textures for masking them.
Metallic design elements really stand out on certain background colors. To change the color scheme of your template, click on the Customize tab in the menu on the left (the mixing board icon). Select the first color tile under Background Color and test out different colors until you find the perfect one. We think this deep burgundy really makes these glittery design elements pop!
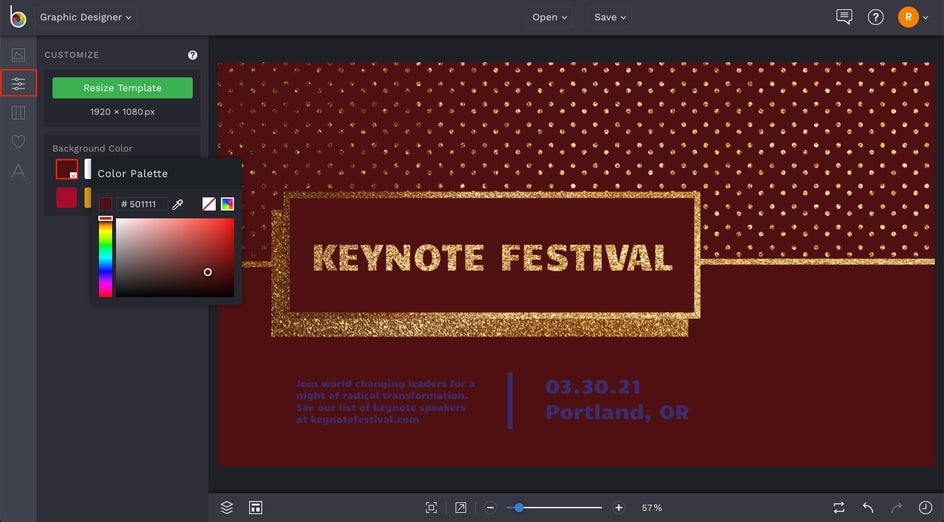
Continue tweaking your color scheme, fonts, and more until you've got your design looking just right.
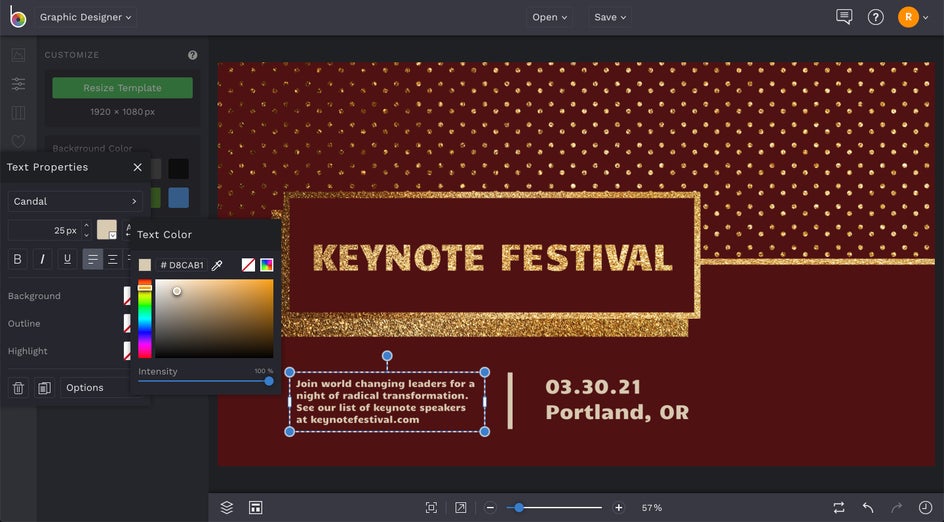
When you’re finished creating, head up to the top of the Designer and click the Save button to save your work to the destination of your choice.

If you wish to print your design, be sure to choose the Computer option in the Save menu, followed by .PDF. Choose Print under quality to save it in the highest resolution for printing.
Final Results
Just look at how this design pops with the addition of metallics:

So shiny and eye-catching! Be sure to experiment with adding metallic textures to text, graphics, and patterns in your next BeFunky sesh. It’s so much fun and a great way to add intrigue to your graphic designs. Click the link below to get started!

