Adding A Matte Photo Effect With The Levels Tool
The matte photography effect has taken the editing industry by storm over the last decade. The reason for this is that it mimics real film in a way that is unlike any other technique. There are so many trends that have come and go, (hello, over-saturated brights!), but matte photography is different in that it creates a timeless effect that remains beautiful throughout the years.
The best news is that a matte effect is really simple to achieve with BeFunky’s Levels tool. As in, adjust a few sliders simple. And once you get the technique down, you’ll be hooked on the aesthetic. We’ll show you our favorite matte looks and how to master the technique below.
Matte Photo Effect Inspiration
Adding a matte effect is a great idea for all types of photography. It helps evoke emotional depth, effortlessly. Here are some of our favorite matte looks that you can use for inspiration:
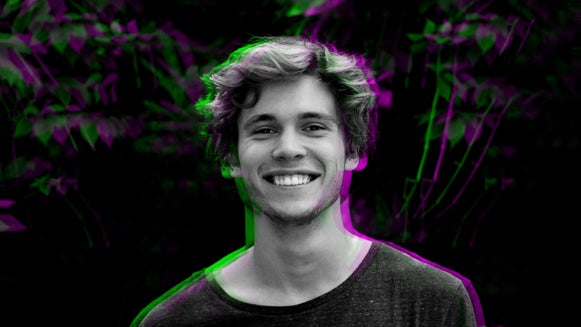
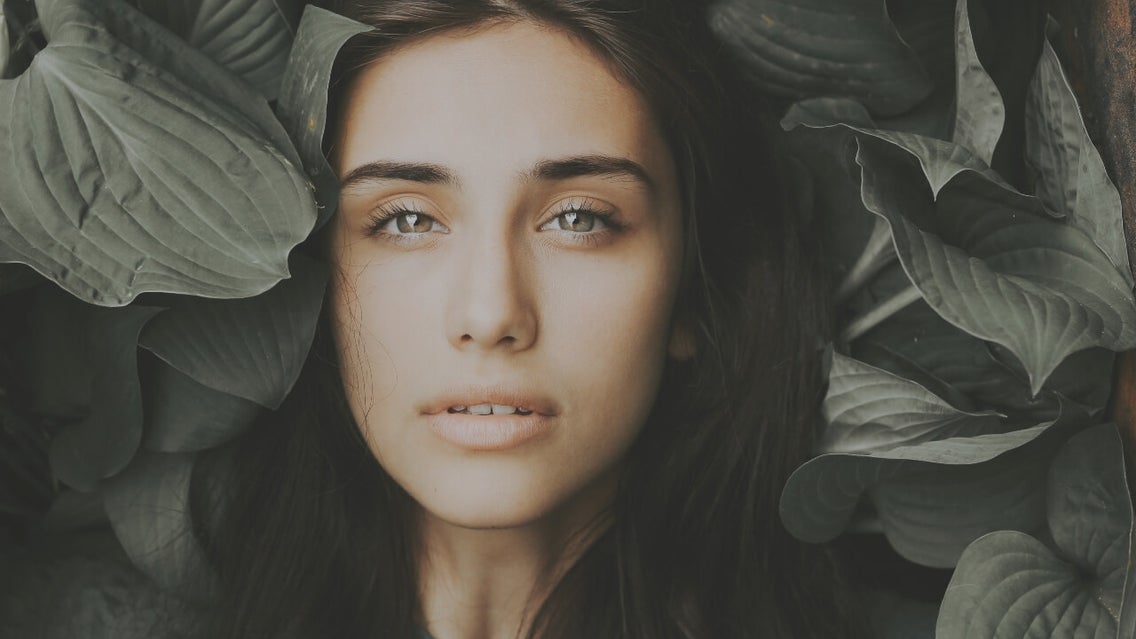
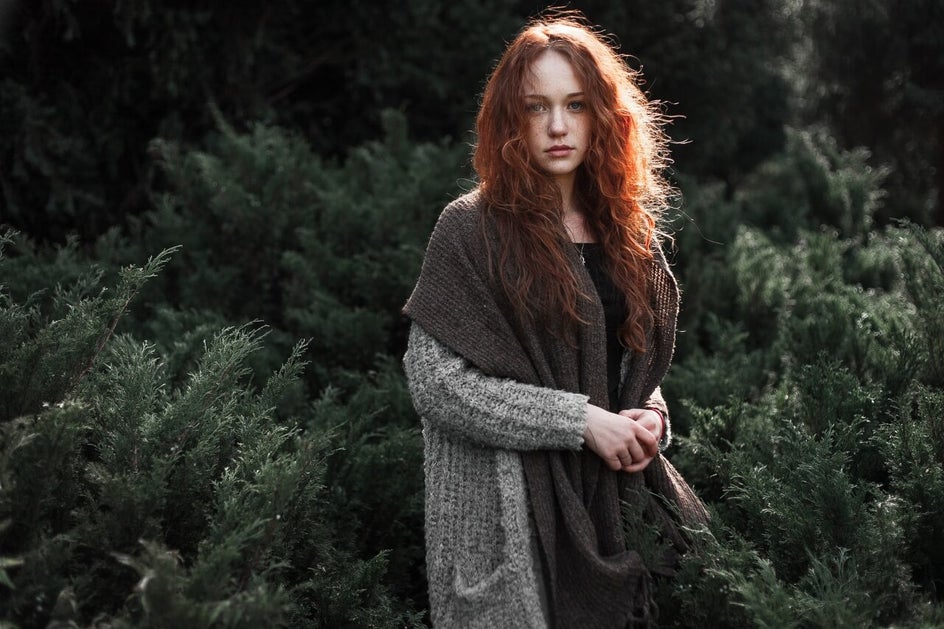
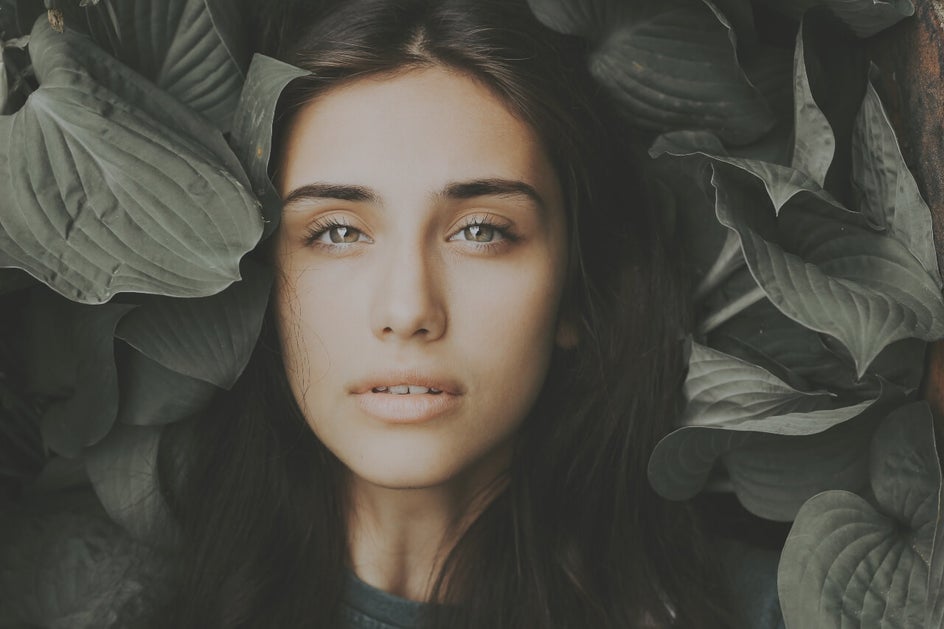
Portrait Photography
The matte effect is beautiful for portrait photography. By neutralizing the shadows, you are able to create a smoothing effect that looks great with different skin tones and presets. This is a quick way to add a sense of moodiness to your portraits.
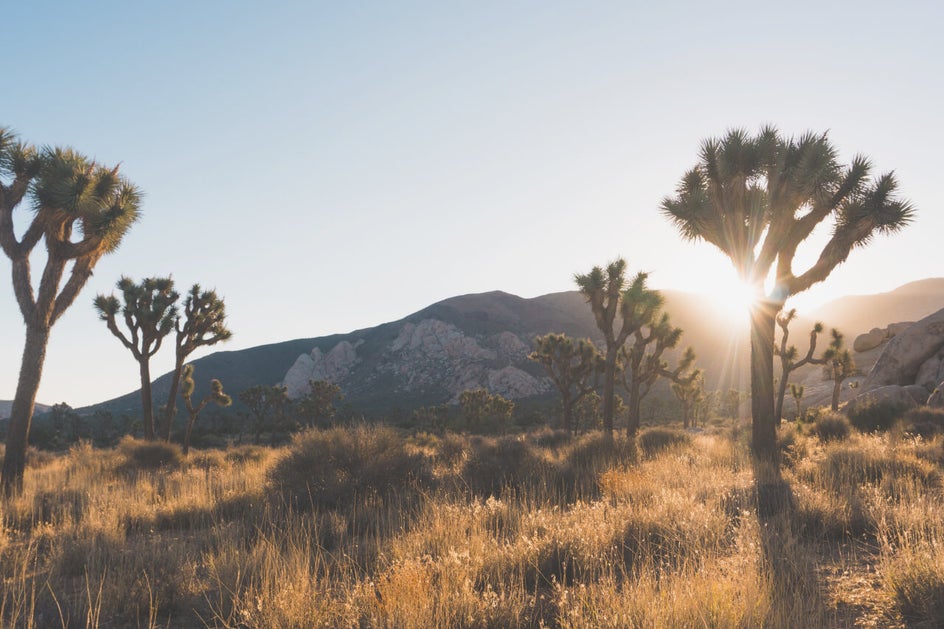
Landscape Photography
Using a matte effect on landscape photography shifts the aesthetic to look otherworldly. It enhances the texture and tone by neutralizing any distractions in the shadows.
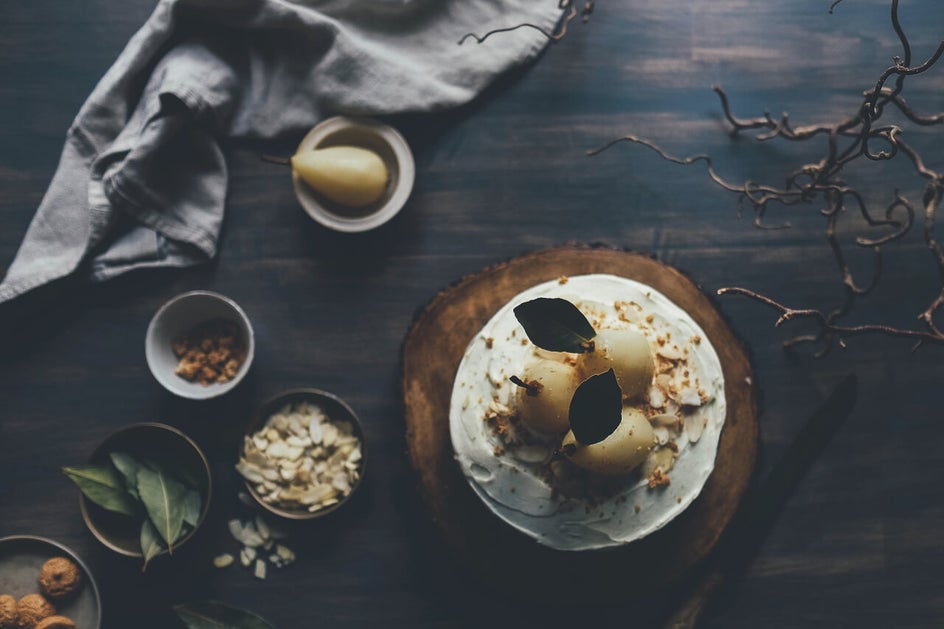
Food Photography
There are so many aesthetics used for food photography editing. By pairing down the highlights and shadows, you are able to bring all of the textures out in your images. We eat with our eyes and using this technique allows people to visually see and feel the food come alive in the image.
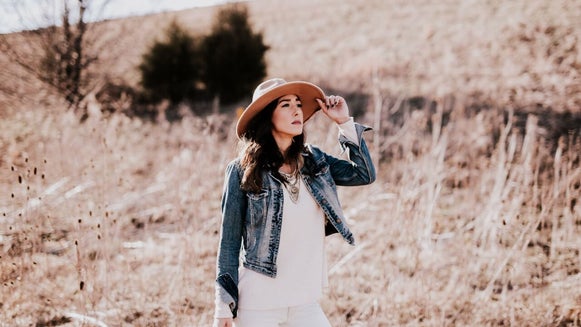
Lifestyle Photography
Lifestyle photography often uses bright whites with little areas of contrast. There is a sense of ease mixed with a richness that is added to photos by adding a matte effect. For these reasons, it makes the effect highly desirable for lifestyle photographers.
Like we mentioned before, a matte effect looks great on any type of photo. It’s perfect for adding some emotion to your photography and giving it that shot-on-film look. If you’re ready to give it a try, just pick your favorite photo and follow along below!
How To Create A Matte Photo Effect
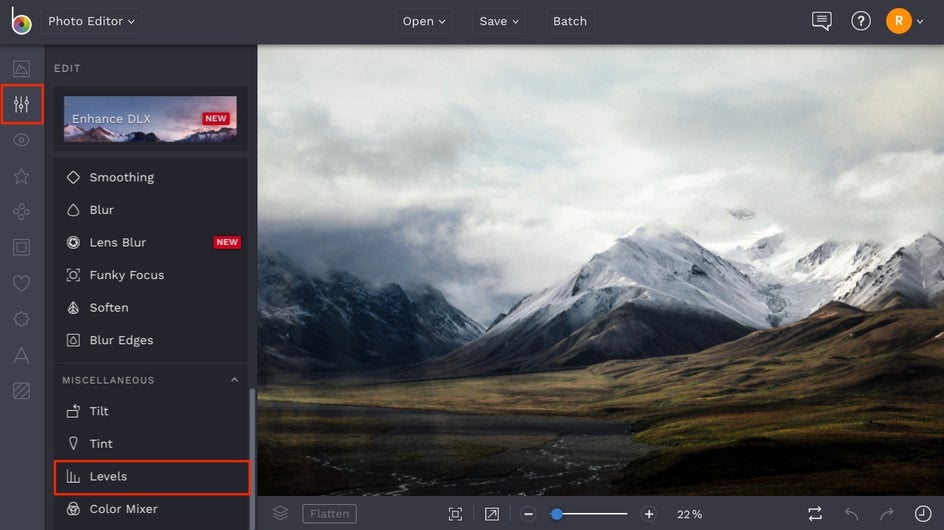
To add a matte photo effect, head to BeFunky’s Photo Editor and upload a photo using the Open button at the top of the page. Alternatively, you can drag-and-drop an image file into the interface, or use the Image Manager tab (the top icon in the left side menu) to search for a beautiful, free stock photo from our gigantic library. Once your image is uploaded onto the canvas, click on the Edit tab in the menu on the left, and scroll down to select the Levels tool. This is where the matte magic begins!
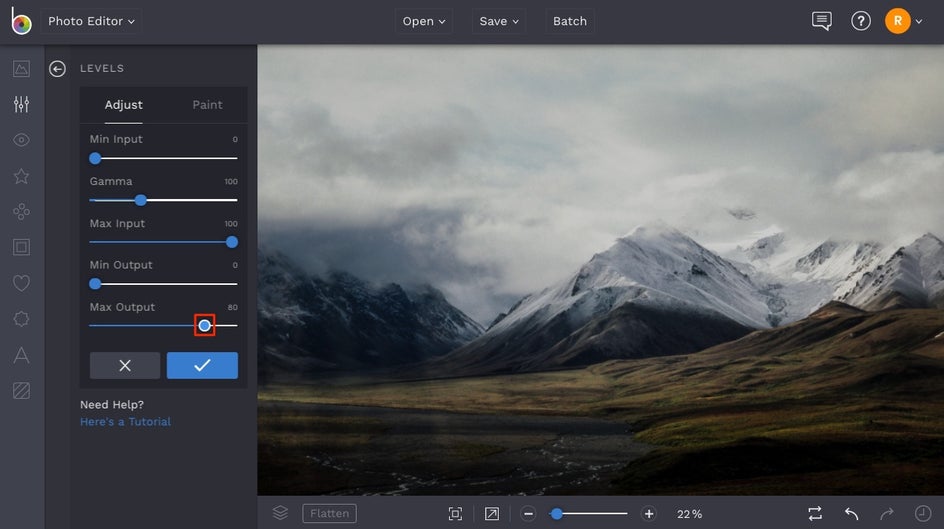
The Levels tool menu is composed of five sliders: Min Input, Gamma, Max Input, Min Output, and Max Output. The top three sliders control the exposure of your image (you can learn about how amazing they are for editing exposure in this blog post), but for adding a matte effect, you’ll want to focus on the last two: Min Output and Max Output.
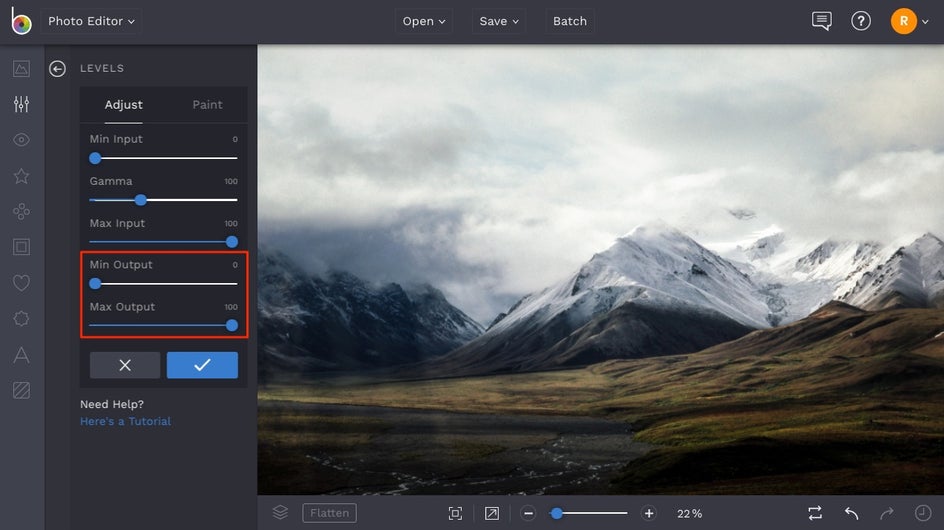
The Min Output and Max Output sliders help adjust the shadows and highlights in your image in a matte-fying kind of way. For example, if you slide the Min Output slider all the way to 100 while keeping Max Output at 100, your image will be totally white. The opposite is true too - keeping the Min Output at 0 and sliding the Max Output to 0 will result in a completely black image. By using them in balance though, you are able to create a strong matte or a soft matte effect, depending on the intensity of your adjustments in relation to one another.
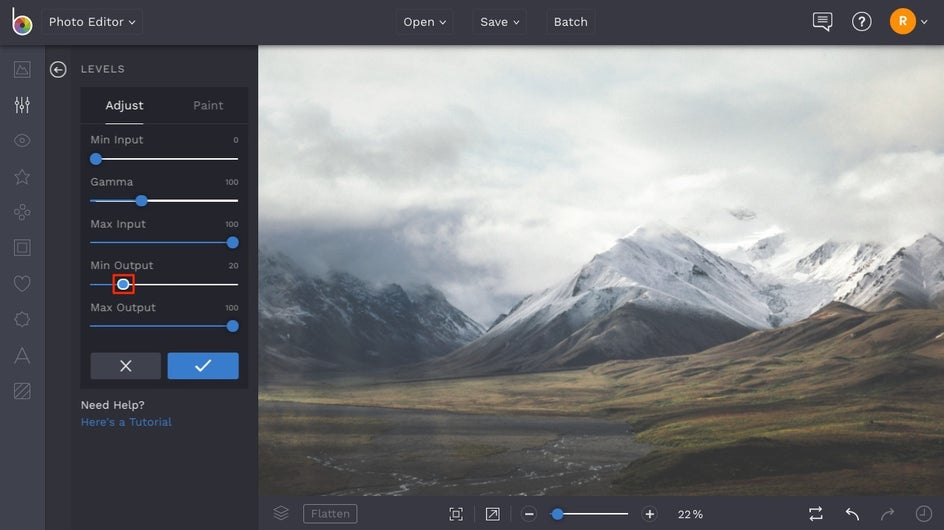
Let’s use some micro adjustments on this image. Keeping the Max Output at 100 and sliding the Min Output slider to 20, you’ll get a soft matte on your image that’s more white in tone - almost like adding a subtle white overlay to the image.
Now let’s keep the Min Output slider at 0 and slide the Max Output to 80. Here, you’ll get a matte look that’s darker in nature, almost like adding a black overlay to the image.
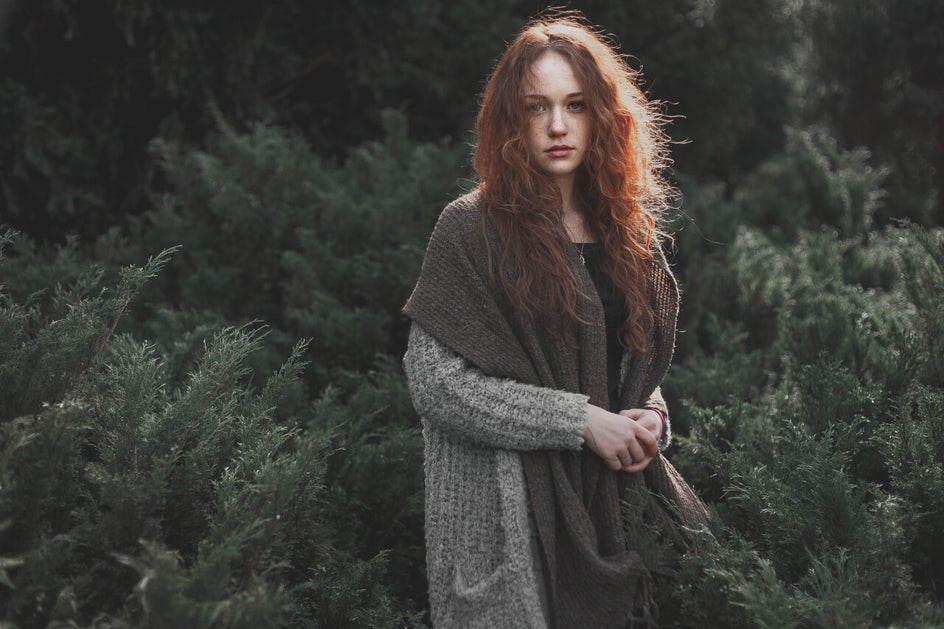
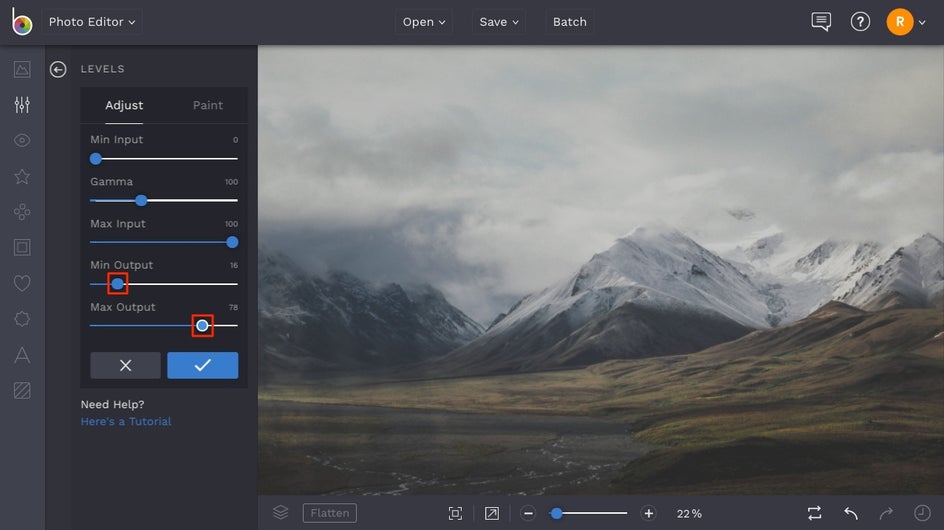
Using the sliders together, you’ll be able to achieve a strong matte effect. We’ve used slight adjustments, placing the Min Output slider at 16 and the Max Output slider at 78. This adds more of a grey overlay to the image, resulting in a nice matte effect where the shadows are softened and the highlights don’t provide much contrast. The matte effect gives this photo a cool, stormy aesthetic that’s packed with emotion.
Be sure to play around with the Min Output and Max Output sliders on your image until you get the perfect matte effect! Once you’re finished, click the blue checkmark to apply the edit. You can feel free to continue your photo editing session from here, and once you’re finished, click the Save button at the top of the page to save your photo to your Computer or other chosen destination.
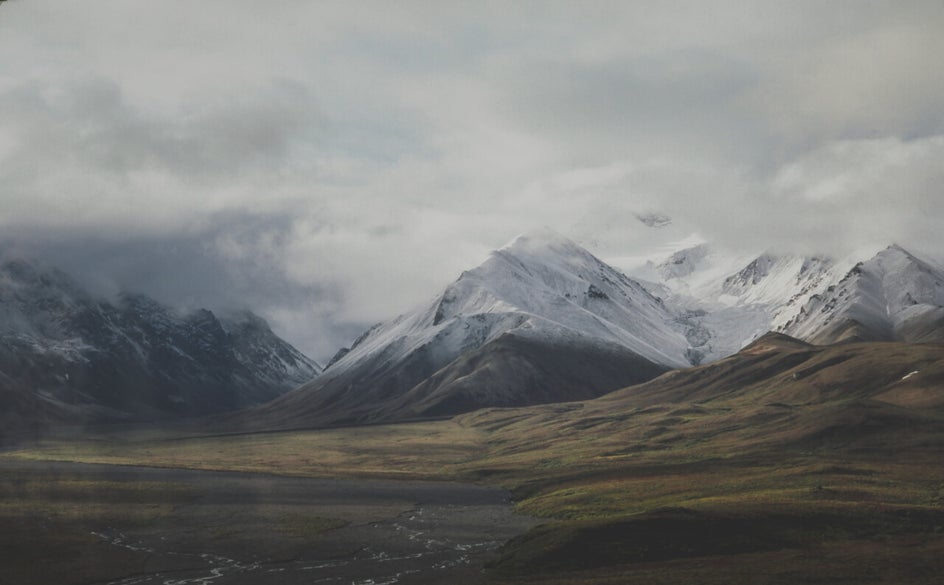
Before and After
Matte photo effects are a great way to add moodiness and enhance the texture of your images. Just look at how this matte effect transforms this photo:
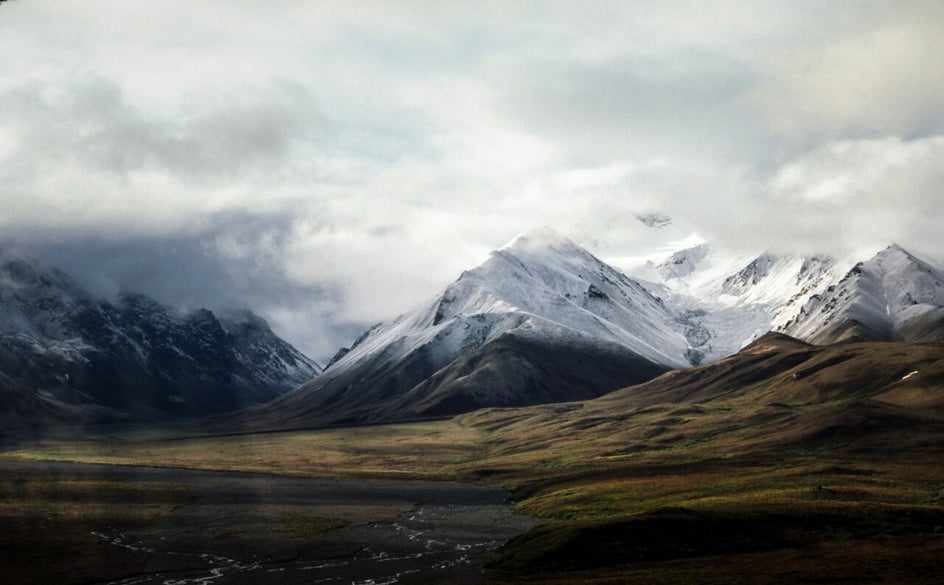
Whether you are editing portraits, landscapes, food, or lifestyle photos, you’ll be able to add some extra emotion and unique aesthetic to your imagery with a matte effect. It couldn’t be easier than with our Levels tool! Click the link below to start experimenting with matte effects on your own photography: