5 Photo Effects to Enhance Winter Photography
When you hear the words “winter weather,” what do you think of? Maybe you live in a place where it means tons of snow and picturesque landscapes, or maybe your Winters are a little more like ours (cold and rainy). You might live in a place where there’s only sun and warm temperatures year-round! No matter what your Winter weather scenario is like, there is one thing that’s for sure: a blanket of snow and flurries in the air are a true sight to behold and ideal for capturing endearing Winter photography!
Whether your city looks like a snow globe or you just want to enhance the Winter photography you’re working with, we’ve gathered our favorite Photo Effects for the job! Not only are they perfect for enhancing inclement weather, they also come in handy for adding Winter weather (like snow and frost!) to your photos. Just head to the Photo Editor, upload your shot, and read on to learn how to create some frosty photo edits:
Add Snow to Photos
Found in the Winter category, the Winter 2 effect is perfect for those days where you wished you had your camera as the snow was falling or to simply fool everyone into thinking you had a snow day. To add it to your photo, click on the Effects tab (the Star icon) in the main menu on the left and scroll down to click on the Winter category.
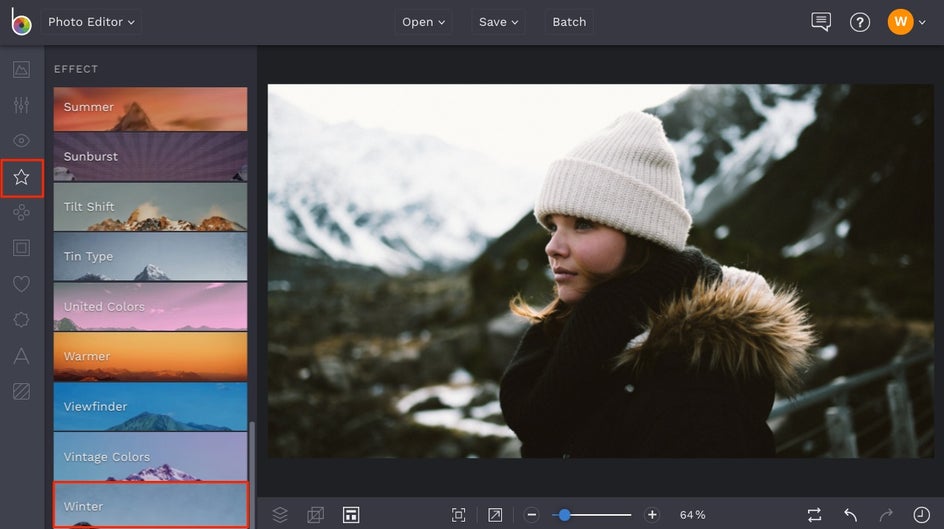
Select the Winter 2 effect and immediately, you’ll see a snowfall overlay appear on your image. You can use the slider on the effect thumbnail to adjust the Amount, or click the Settings menu (the mixing board icon) for even more options like controlling Opacity and using the effect in Paint Mode.
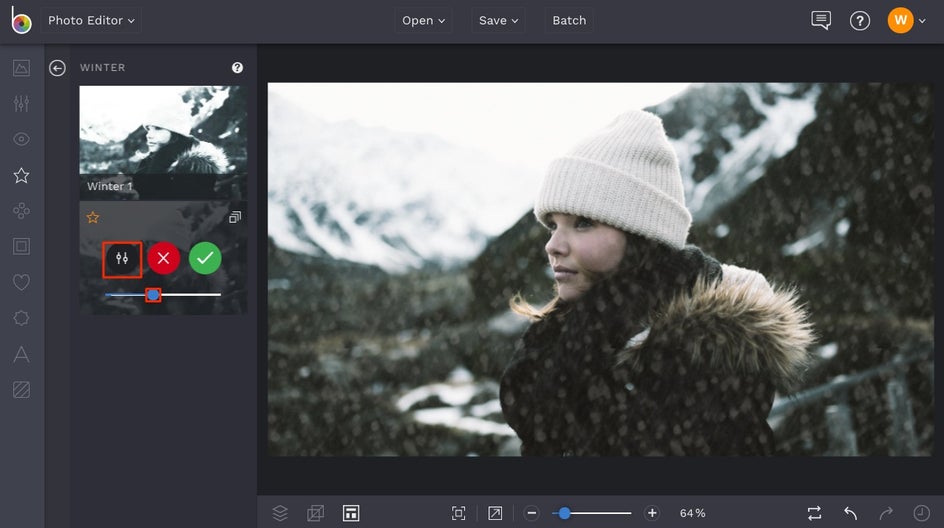
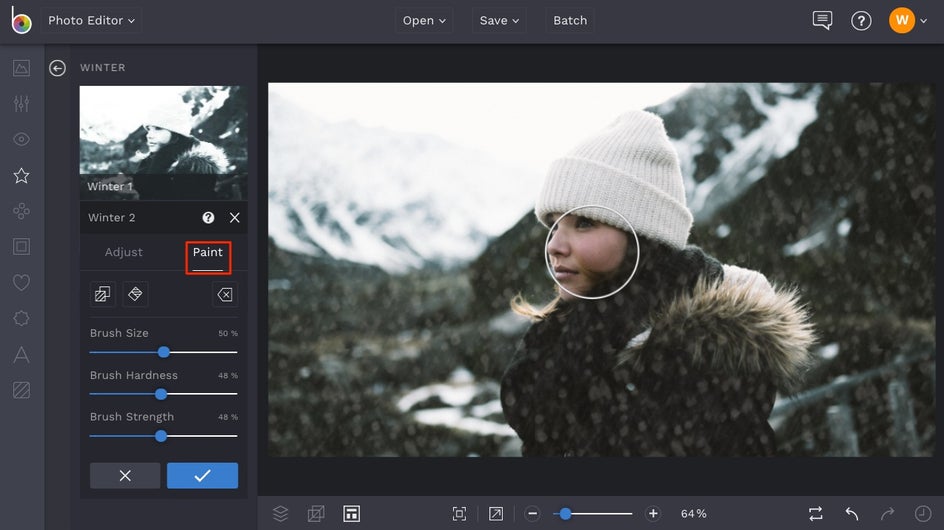
Sometimes it’s helpful to paint over certain areas of your image (in this case, our subject’s face) to make the snowfall look even more realistic and preserve detail. To do this, click the Paint tab in the Settings menu, adjust the Brush Size accordingly, then decrease the Brush Hardness and Brush Strength down to about 50%. Use your mouse to paint over the areas in your image where you want less intensity of the effect.
When you’re finished adding the perfect amount of snow to your image, click the blue checkmark to apply the effect. How intriguing is this photo now with the added snowfall?
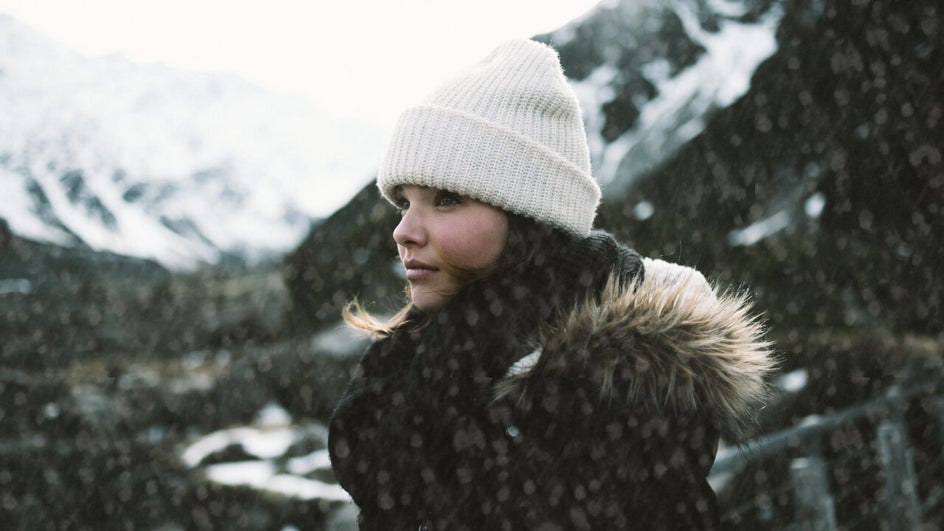
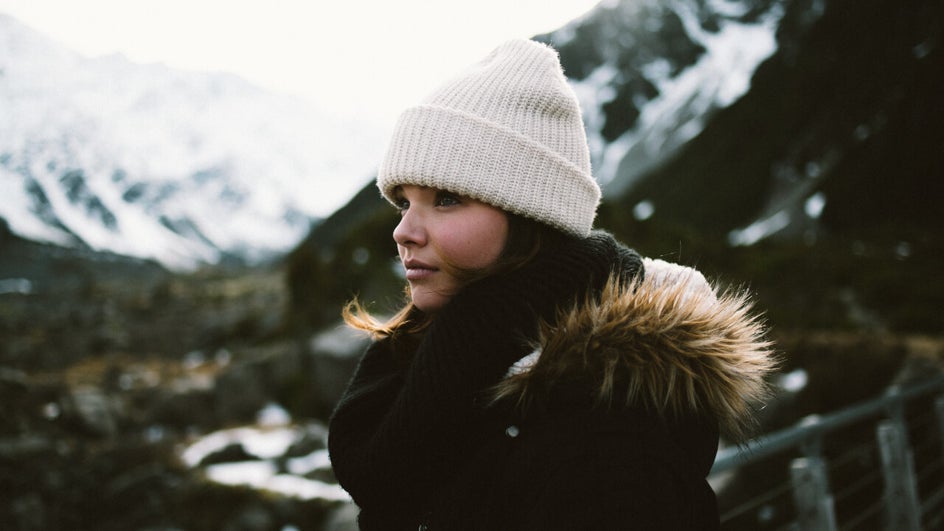
Perfect way to fake a snow day or enhance the flurries that you couldn’t capture with your camera.
Add a Frosted Photo Effect
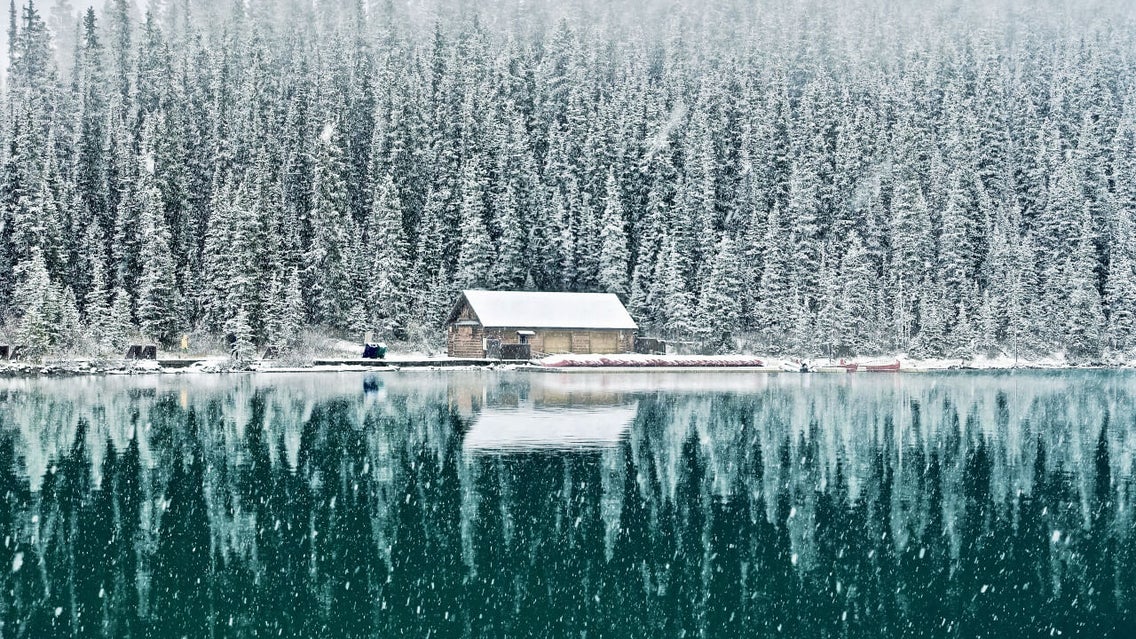
Also in the Winter category of the Effects tab, the Winter 1 effect is perfect for adding a frosted overlay to your photos. Simply click on Winter 1 and adjust the Amount slider on the thumbnail to increase or decrease the amount of frost. For even more customization options, you can also click the Settings menu (looks like a mixing board icon) on the thumbnail.
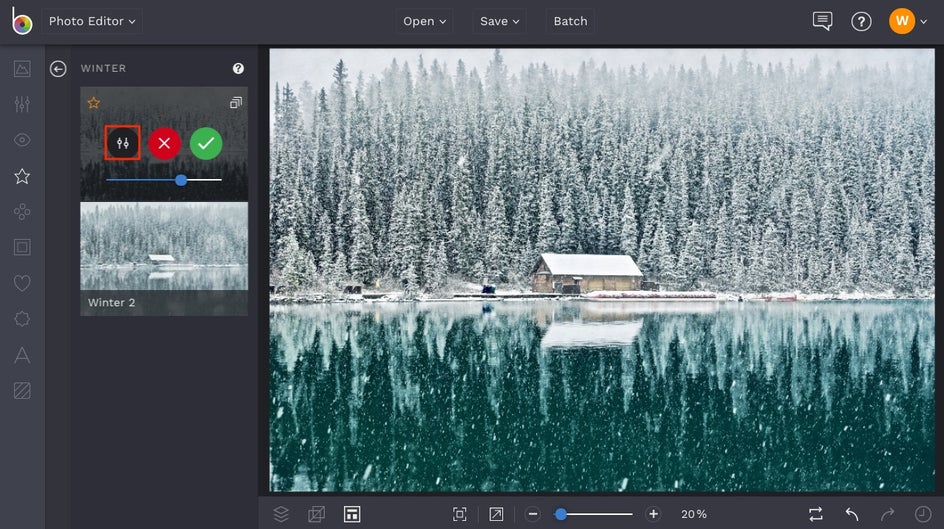
Once in the Settings menu, you can also adjust the Frost Amount. We chose to increase the Frost Amount to make this photo even more chilly.
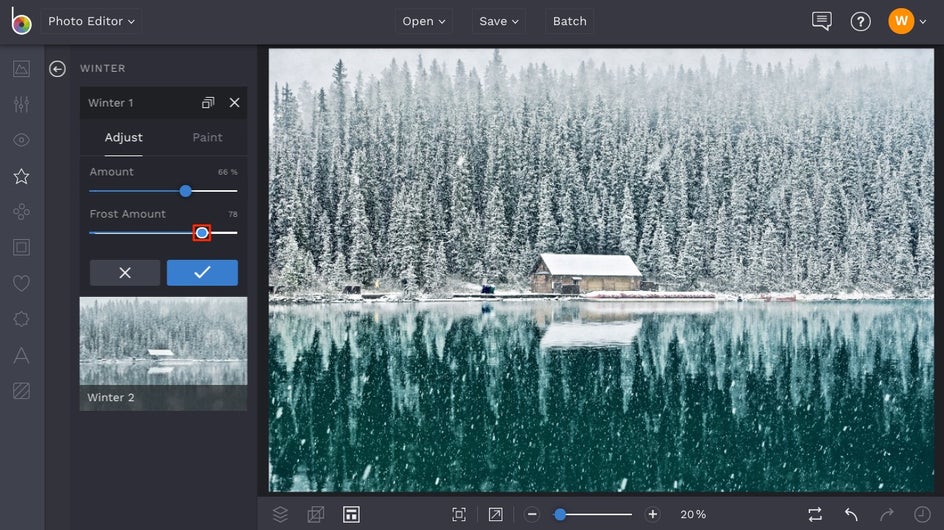
We love how the snowflakes and reflection of the lake are enhanced with this photo effect!
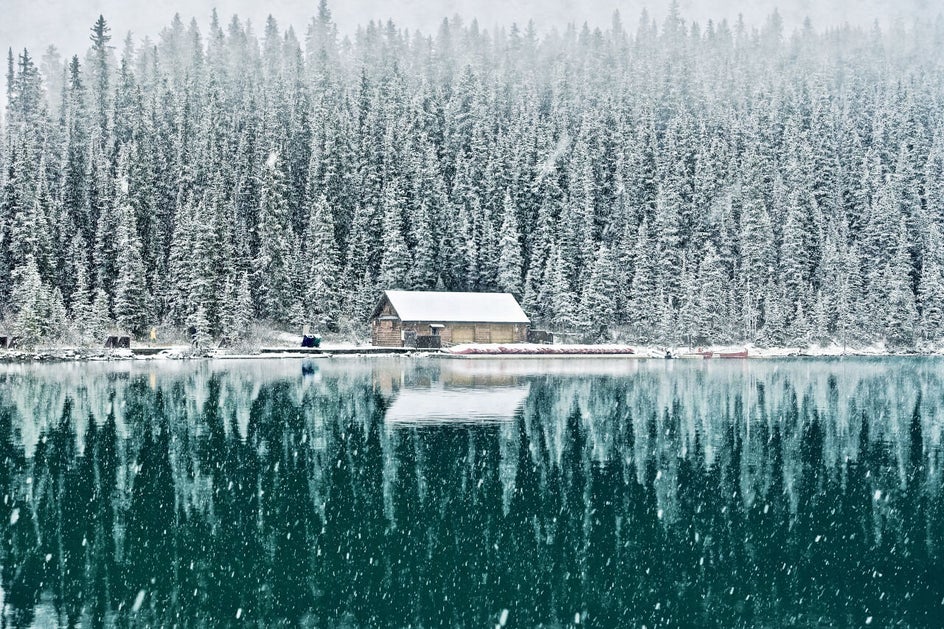
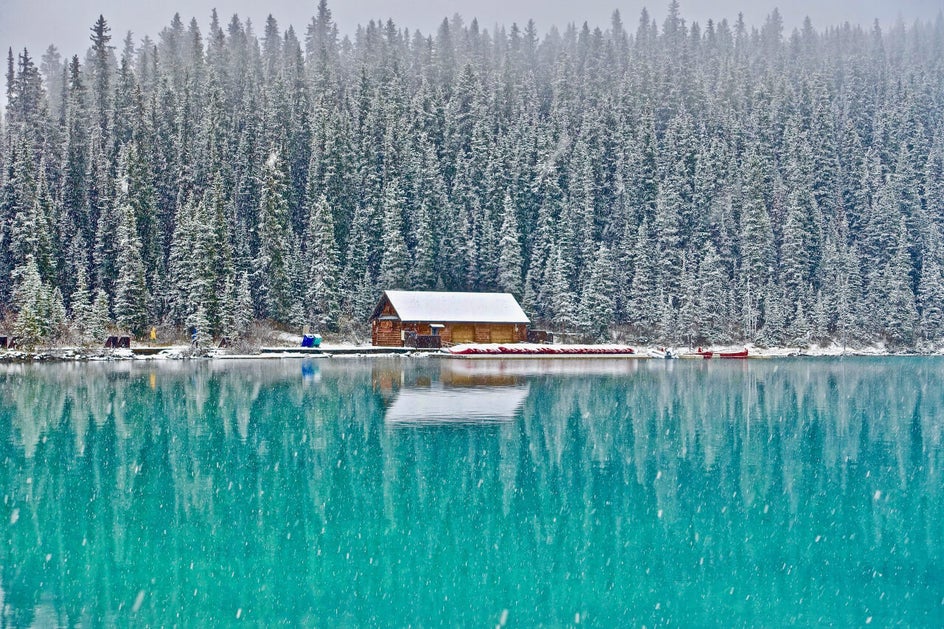
Perfect for taking your Winter photography to the next level in just a few clicks!
Add Drama with Black & White Effects
One way to really enhance the look of a snow blanketed landscape is to add a simple Black & White photo effect. It can really enhance the whiteness of the snow and the contrast of all the other objects in the image, thus creating a sense of drama. You’ll find a large variety to choose from in the Black & White category of the Effects tab.
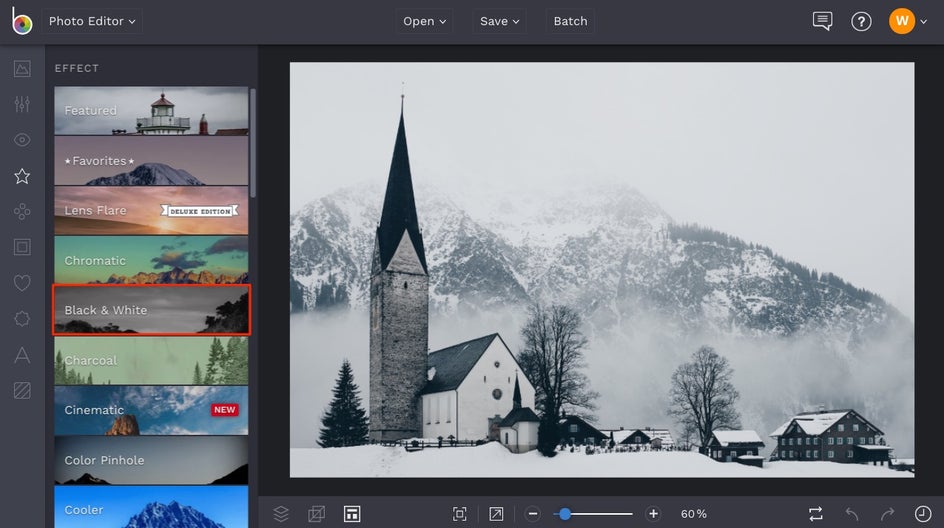
Once you’re there, click on the different Black & White effects to preview them on your image. We went with Black & White 4 to add tons of contrast to this image.
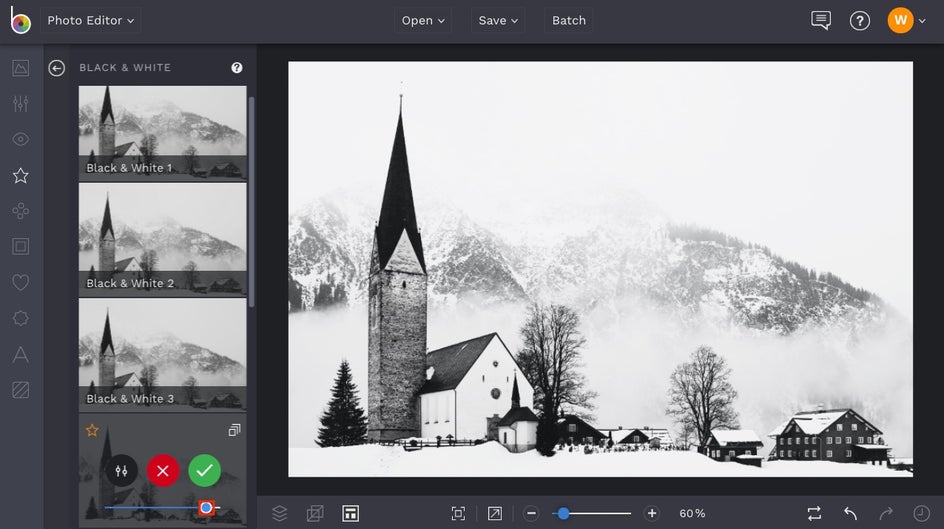
After adjusting the Amount slider on the effect thumbnail, click the blue checkmark to apply the effect.
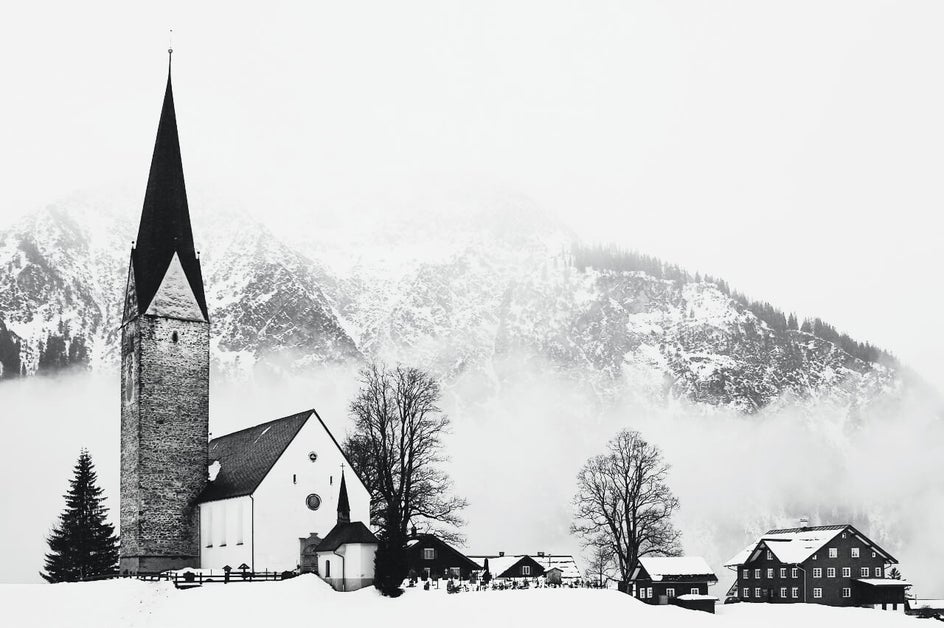
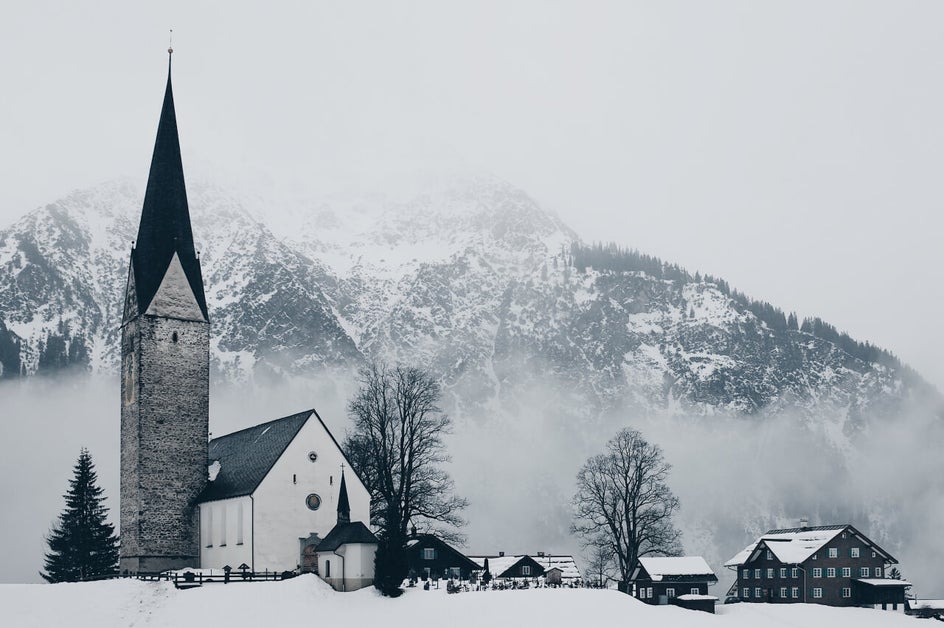
We love how crisp and detailed this image becomes after adding Black & White 4, but be sure to try all of the Black & White effects to see which one works best for your image!
Add Warm Chromatic Effects for Extra Coziness
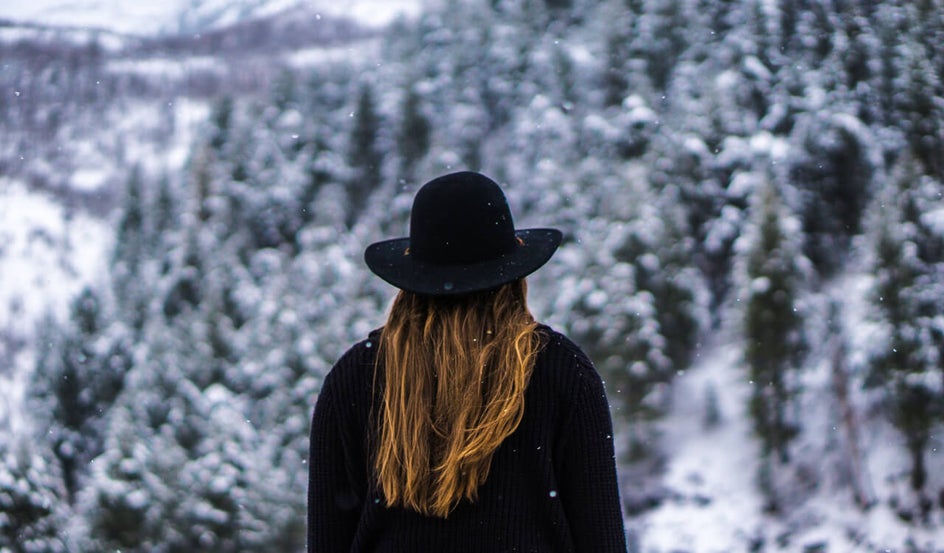
Even though Winter weather tends to be cold, adding a little warmth to it creates a beautiful colorscape and contrast. One of the best ways to do this is with a warm-toned Chromatic effect. You’ll find a great collection in the Chromatic category of the Effects tab.
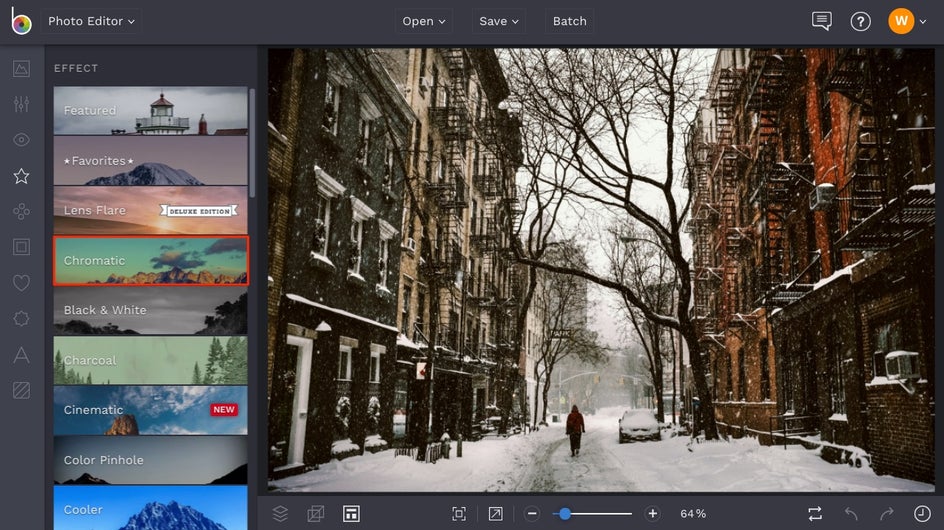
The Chromatic 5 effect is ideal for adding warm tones to your Wintery scene, but be sure to click on the other Chromatic effects to see what works best for your own image.
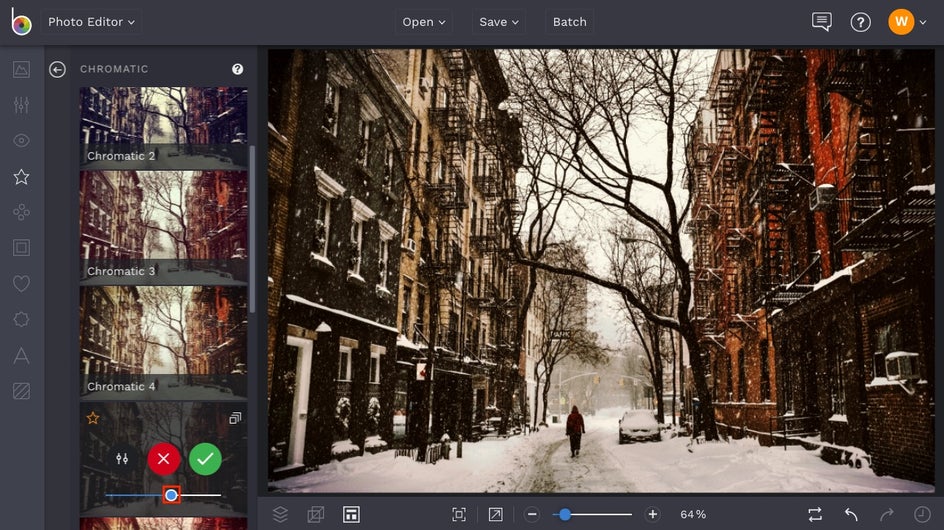
Use the slider on the thumbnail to adjust the Amount, then click the blue checkmark to apply the effect when you’ve got it just right.
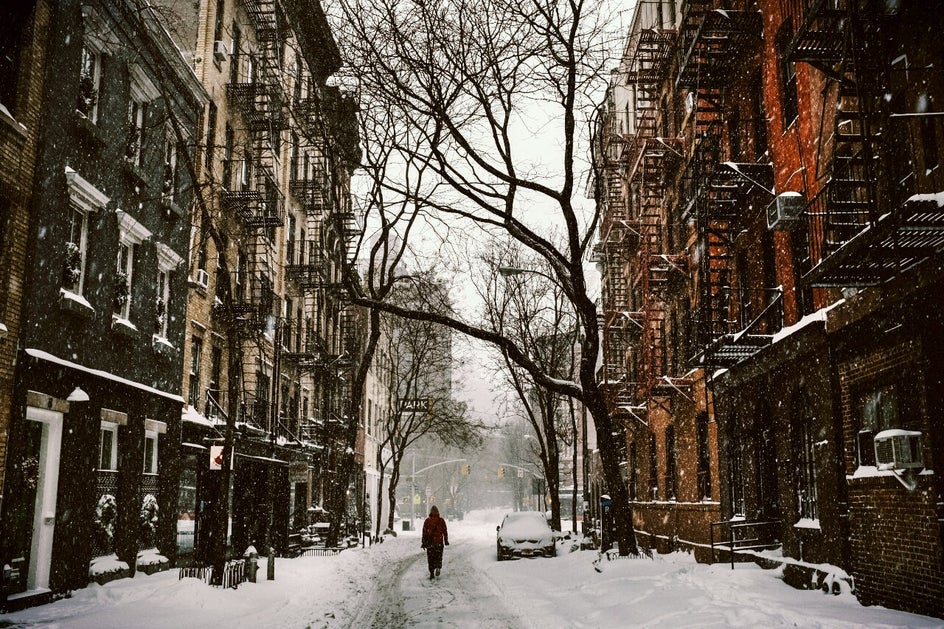
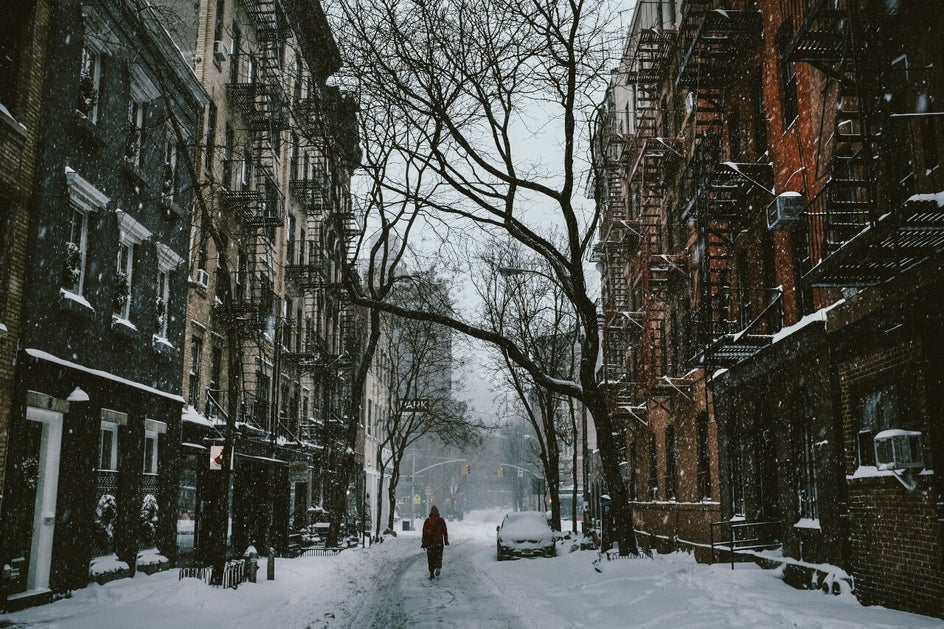
We love how Chromatic 5 enhances the warm, earthy reds and browns in this image and perfectly contrasts them with the white snow.
Add Cooler Effects for Extra Chill
Want to turn down the temperature of your image instead? We’ve got a category in the Effects tab called Cooler that will do just that!
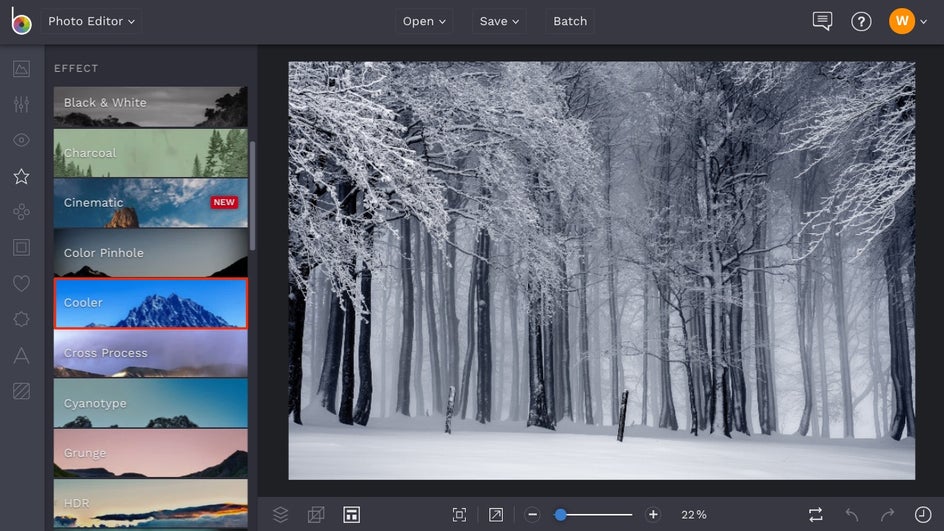
Click on each of the Cooler effects to preview them on your image. Note that there are more customization options in the Settings menu (the mixing board icon) of each Cooler effect, like the ability to control the Highlights, Shadows, and overall Amount of the effect.
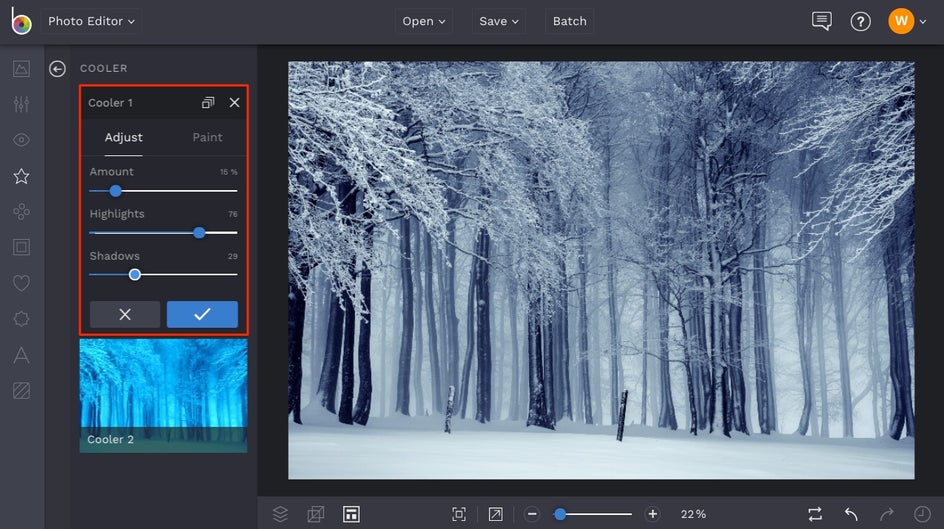
These effects are best used subtly, so be sure to keep the Amount towards the left (decreased) if you want a realistic amount of chill in your images.
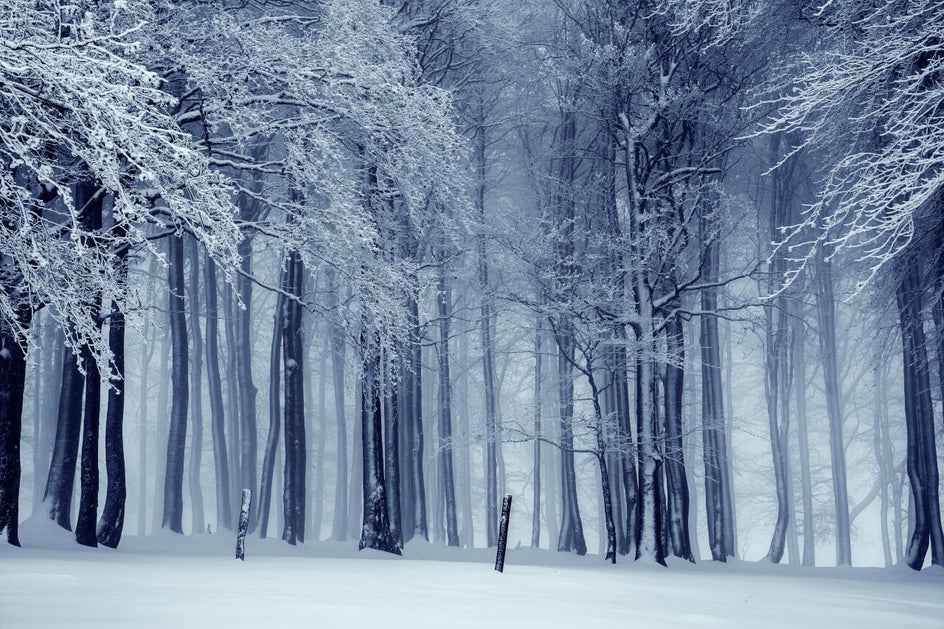
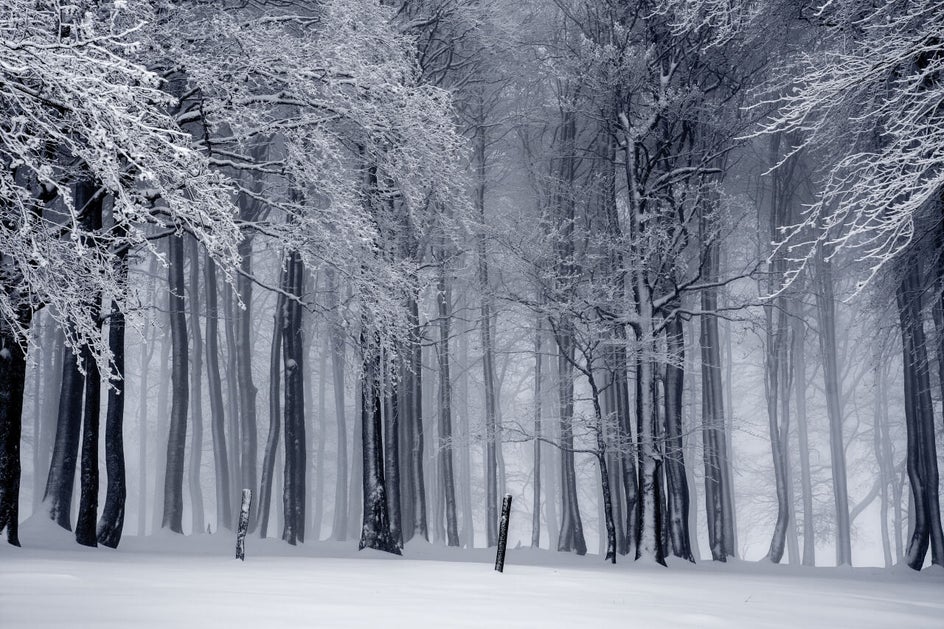
Whether the weather gets frightful, delightful, or it doesn’t look like Winter at all, be sure to grab your camera and capture it all regardless. BeFunky’s Winter photo effects are always here to enhance what you’ve got! Click the link below to get started:
