How to Go From Photo to Ink Wash
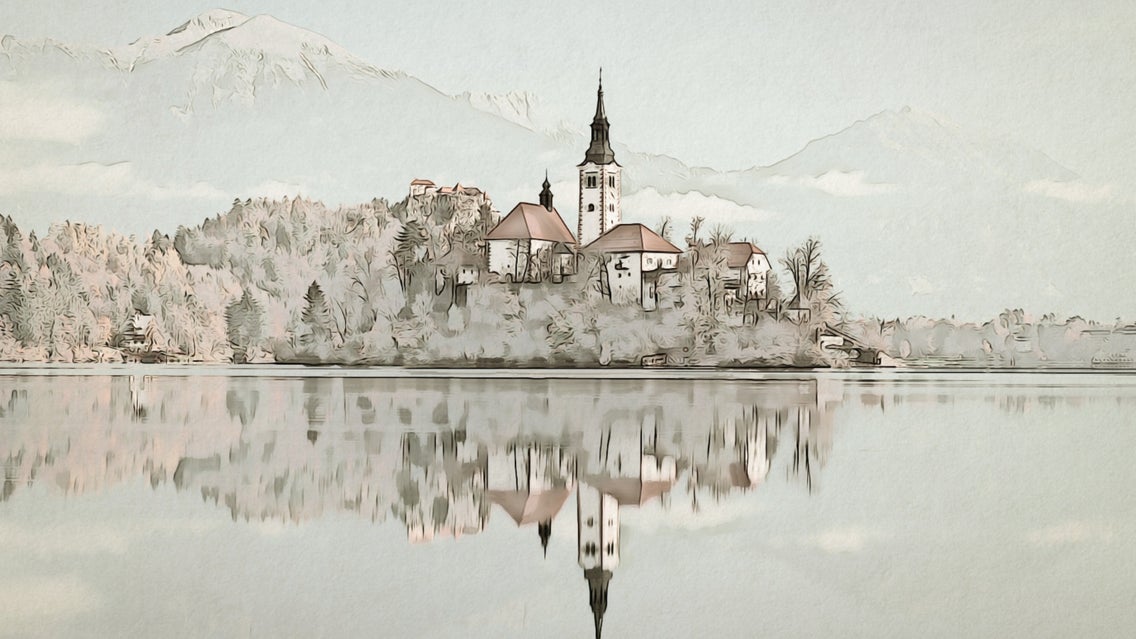
Traditional ink wash art originated in China during the Tang dynasty. It marked a shift away from realistic painting and focused on capturing the essence of the subject instead. Ink wash artwork was completed on rolled scrolls – reserved for the artist's patrons in the upper echelons of society. It was regarded as a fine art form that art aficionados still treasure today.
While you might not be painting traditional ink wash at home, read on to find out how you can use BeFunky's Digital Art effects to create your own ink wash sketch.
How to Make an Ink Wash Photo
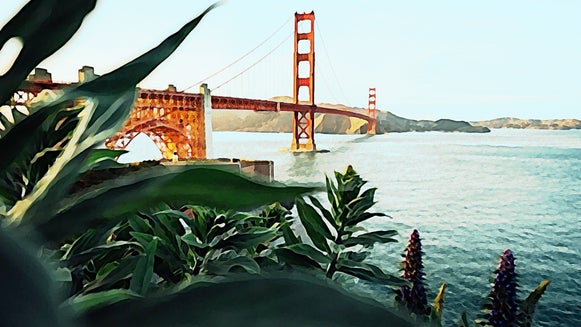
BeFunky’s Ink Wash DLX effect allows you to make your photos look like an ink wash sketch from China’s Tang dynasty era. Use it on everything from photos of mountain ranges or portraits of people and animals. Below, we'll show you how to create your own ink wash photo.
Step 1: Choose Your Photo
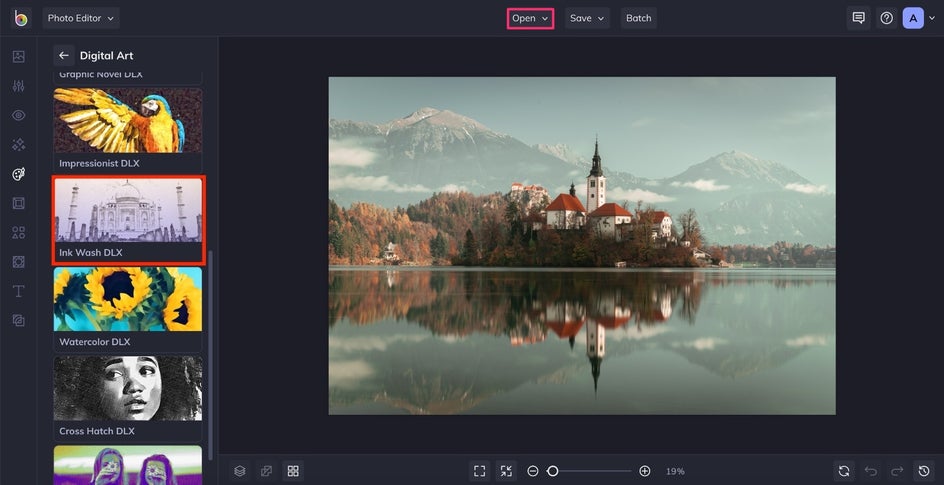
First, you need to upload your photo into the photo editor. Open BeFunky’s Photo Editor and navigate to the Open dropdown menu located at the top of the screen. From here, you can choose to upload your own photo by selecting Computer. Once you choose your photo, you will be brought to the Digital Art category of the Artsy tab.
Step 2: Ink Wash Your Photo
Now for the exciting part. There are several different options within Digital Art, each bringing unique characteristics to your photo. Scroll down to the Ink Wash DLX, the sixth option from the top. Click into the ink wash effect you want to use and watch your photo transform. Notice how the shapes and texture of your photo change to look like a piece of ink wash artwork.
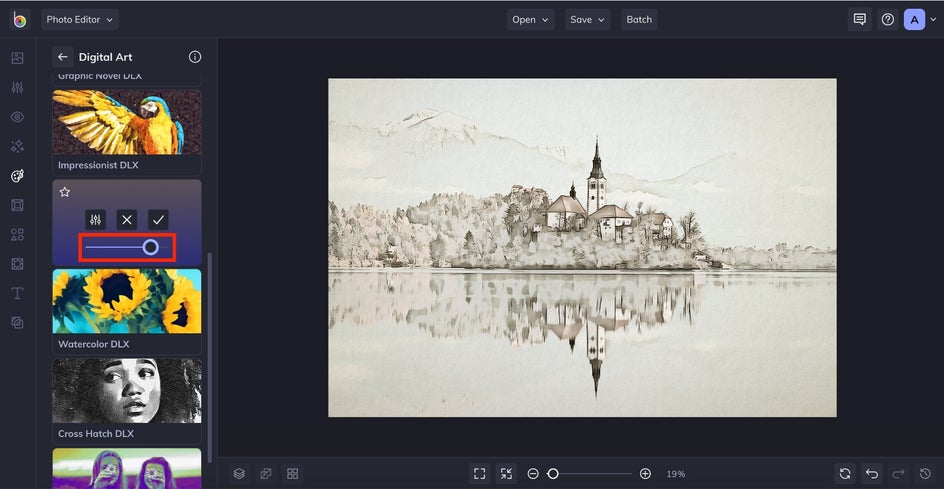
Once you’ve selected Ink Wash DLX, there are additional settings to make it exactly to your liking. The box of the effect you chose is now greyed out with three buttons and a sliding scale. The first button is Settings, where you can further adjust how the effect is impacting your photo. Next is Cancel, which will remove the effect and take you back to your original image. The third button is Apply, click this to save your edits. Use the sliding scale to adjust how intense the ink wash effect is on your photo.
Step 3: Save It
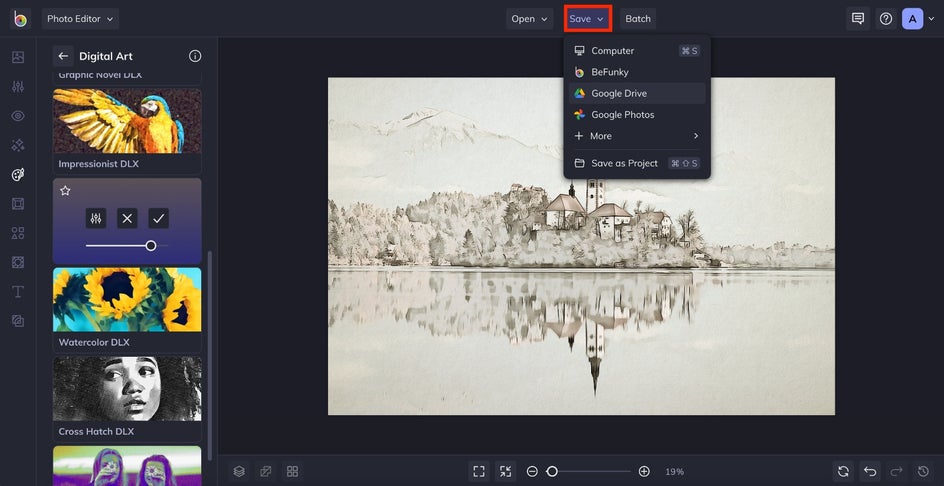
Make sure to save your photo by using the Save dropdown menu at the top of the editor.
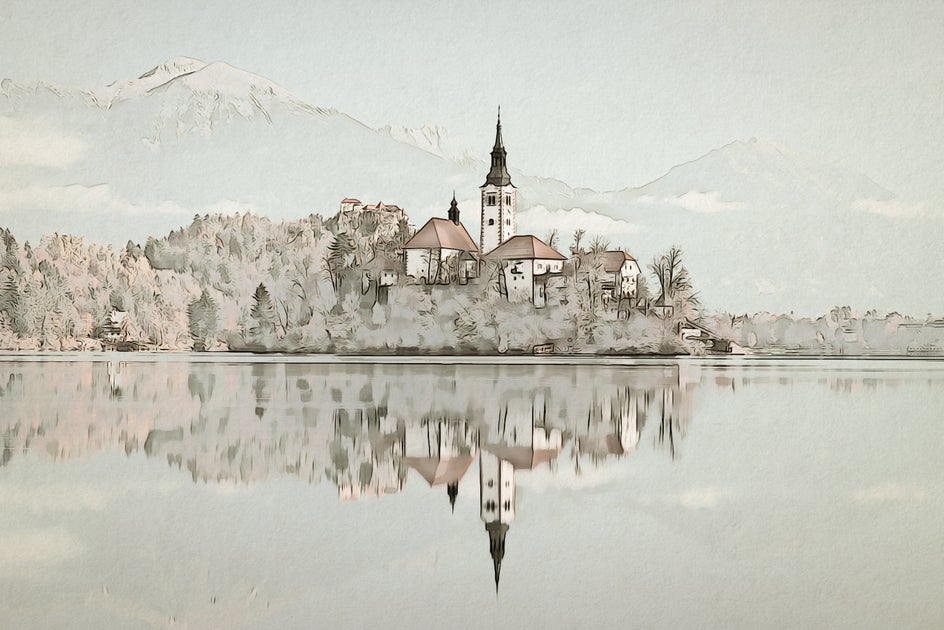
Well done! You’ve just created an ink wash sketch, without ever needing to pick up a brush.
Ink Wash Inspiration
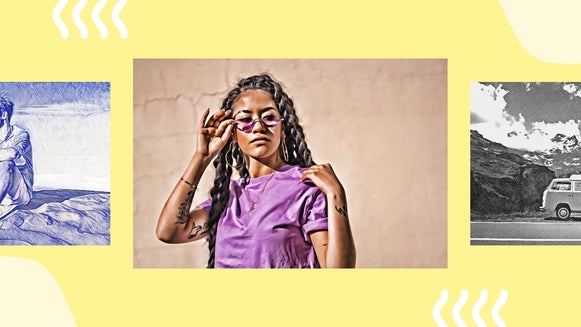
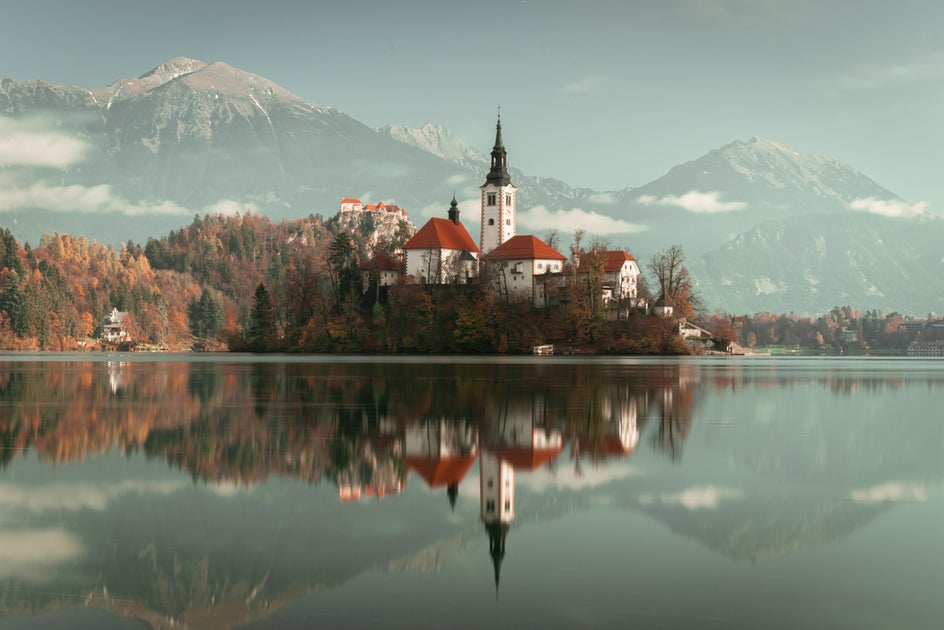
By using sliders or adjusting exposure, you can customize the Ink Wash effect to suit your needs. Check out a few of the many things you can do with this DLX effect:
Keep It Classic
It’s hard to beat a classic monochrome photo. But if you add an ink wash effect, you can take advantage of the sharp contrast to create bold lines where it counts. This further enhances the minimalist look of a monochrome photo.
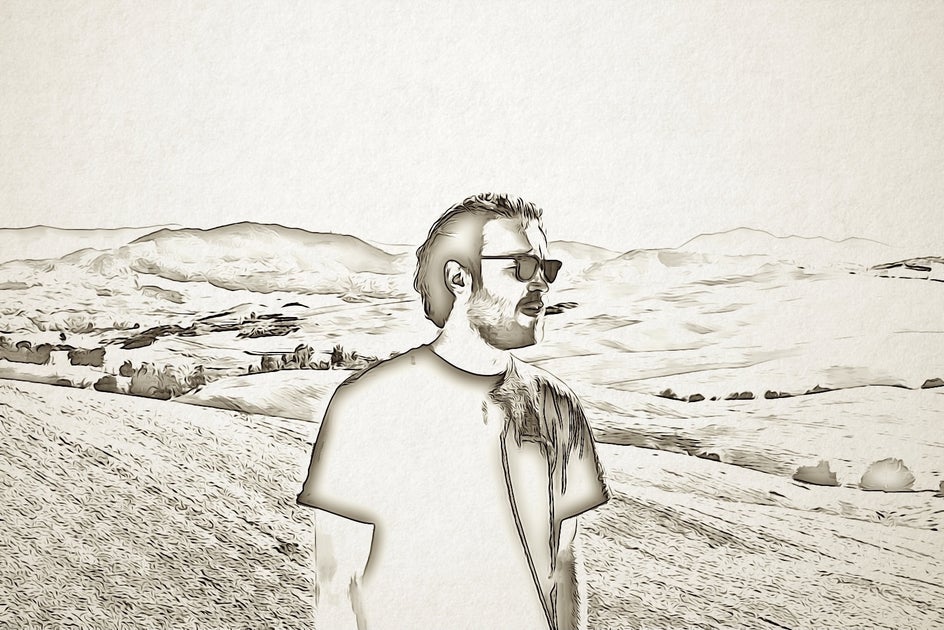

Create a Lasting Memory
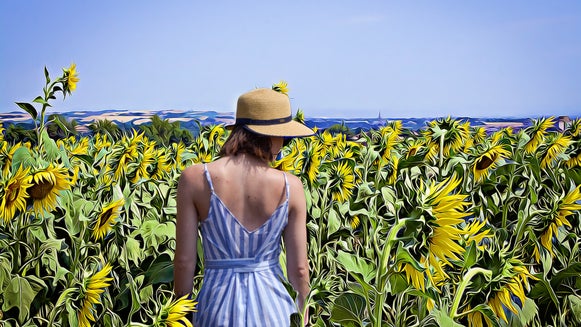
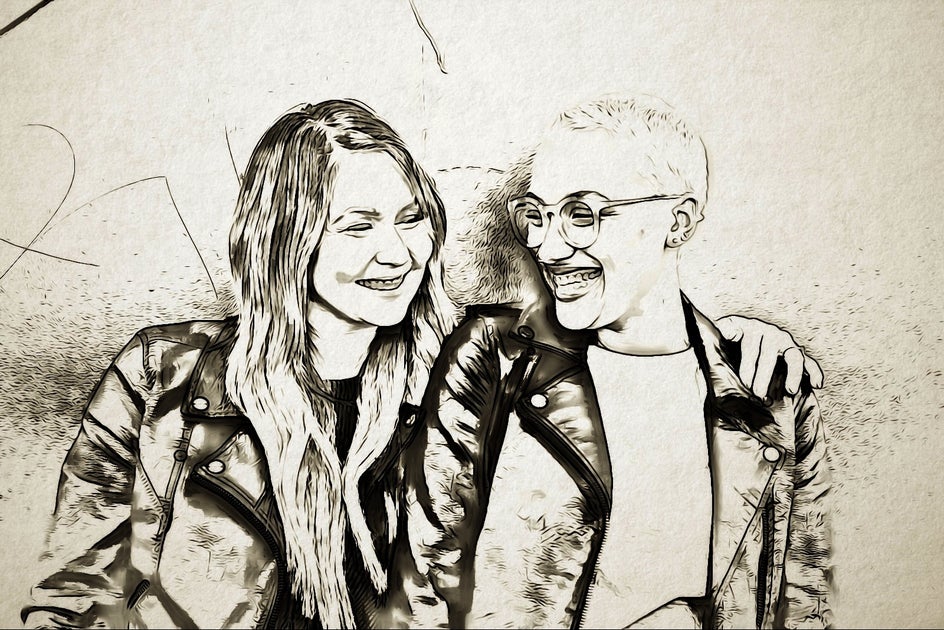
The most popular ink wash works are of landscapes. However, maybe you want to experiment and try something a little different. Use a photo of friends, family members, or even yourself. Play with the sliding scale bar and adjust the exposure to create both a standout image and a lasting memory.

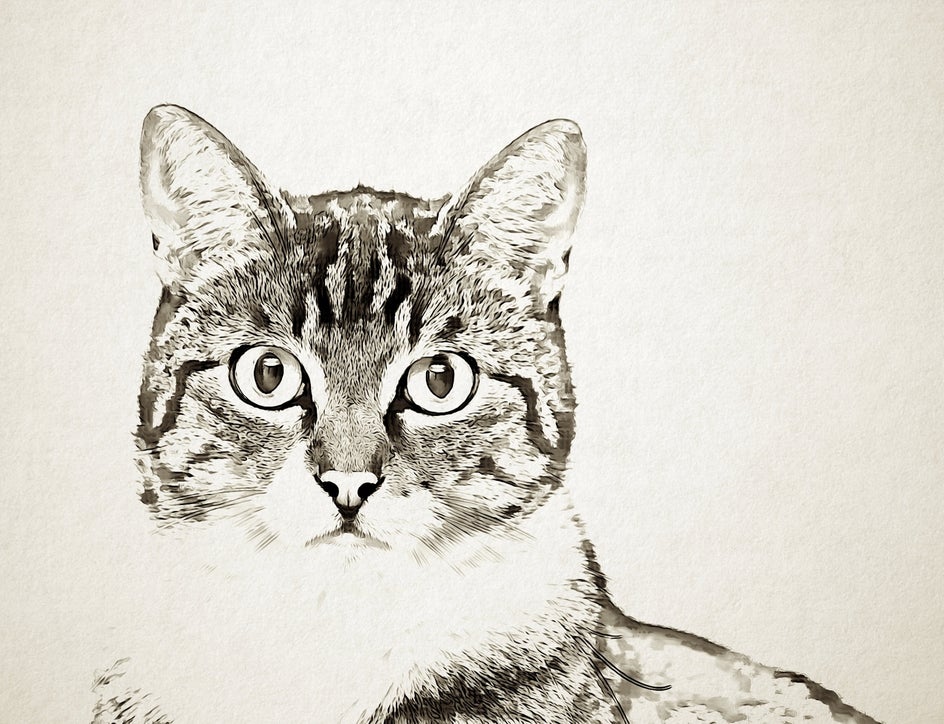
Give Your Pet a Makeover
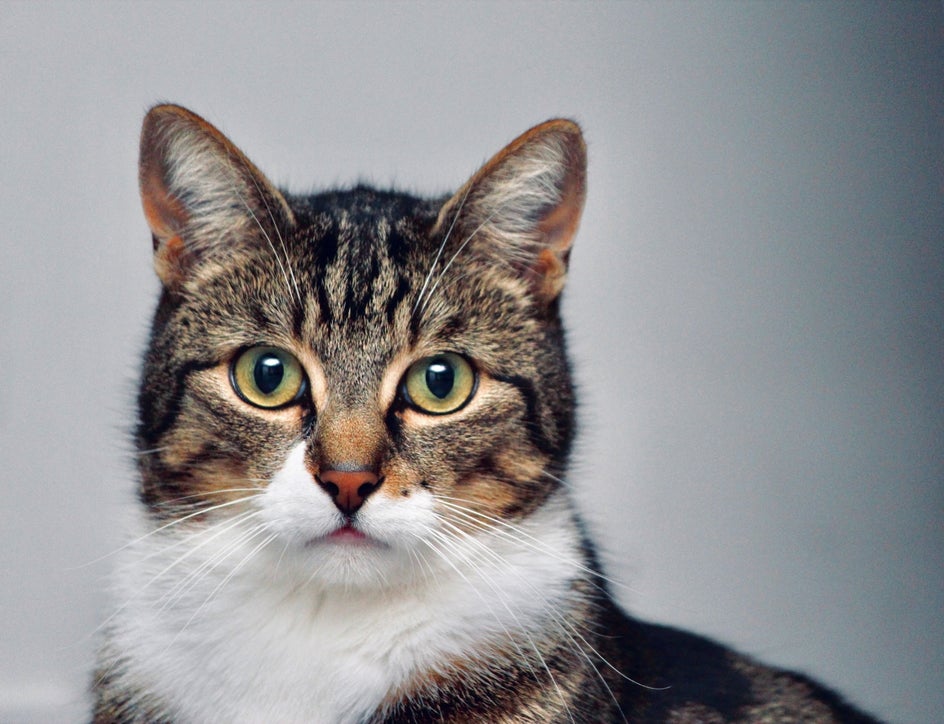
Ink washing photos of your pet is an eye-catching editing tactic, as it brings out the minute details of fur and other unique textures. Make it heavy and bold or light and detailed, depending on how much of the effect you use.
Create Ink Wash Art From a Photo
Ink wash painting revolutionized how people recorded their surroundings, and you can recreate the style with your own photos in just a few steps. Feel free to get creative with how much ink wash and other effects you apply to make it uniquely yours. Follow these simple steps to transform your photo into an ink wash sketch.
