How to Design Custom Instagram Reel Covers
Instagram Reels have become an important part of any social media marketing strategy. Since Reels were introduced as a feature on the Instagram app, more users than ever are sharing their own videos, from tutorials to OOTDS, the Reels feature is incredibly versatile and expected to continue growing in popularity.
If you want to take your Instagram Reels to the next level and draw additional attention to them, we’ve got a tutorial for you! Now you can use BeFunky’s Graphic Designer to create your own covers to help your video content stand out!
How to Design a Custom Instagram Reel Cover
Designing a custom Instagram Reel cover is easy. Keep reading for a step-by-step on how to design your posts.
Step 1: Choose a Template
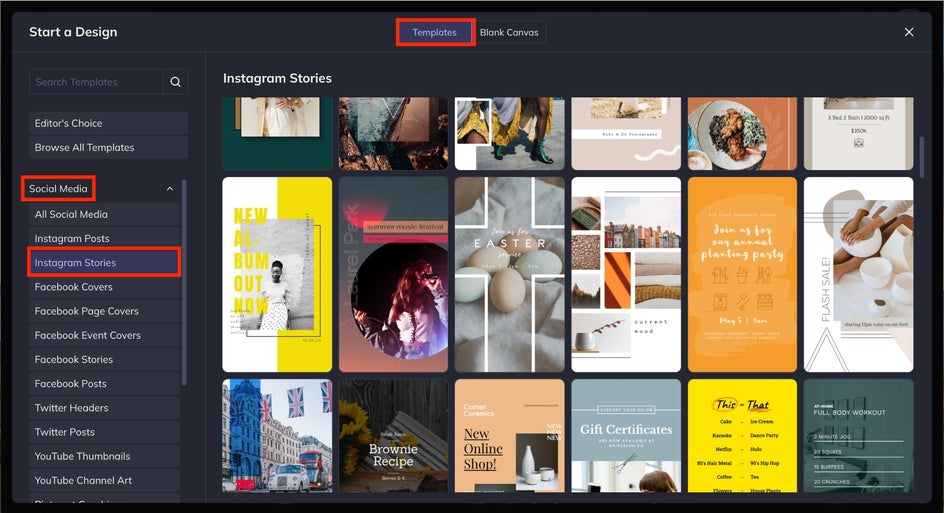
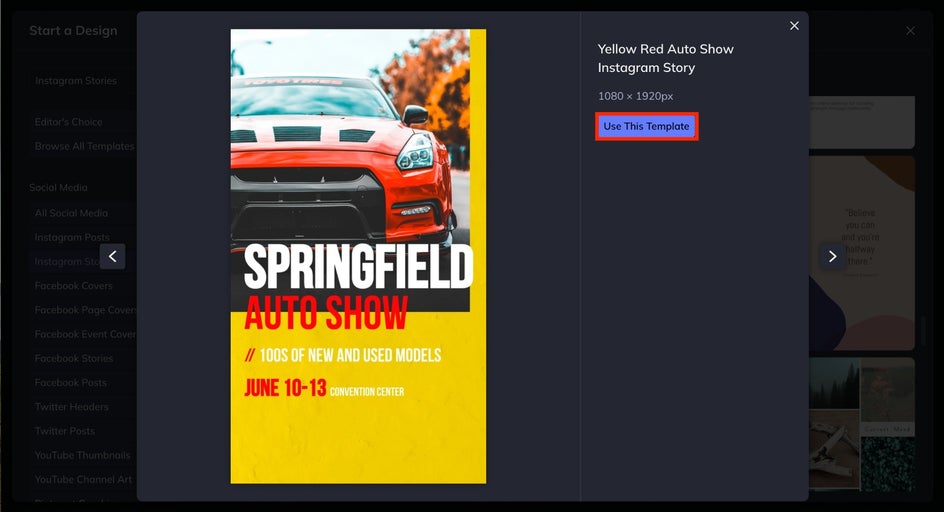
To create your own custom Instagram Reel thumbnail, start by opening the Designer. By Clicking on the link, you'll be brought to the Instagram Stories section of the Social Media templates. From here, you can scroll through several template options. You can also select Blank Template and size it at 1920 x 1080 if you'd rather start from scratch.
Once you've found a template that you like, click the blue Use This Template button.
Step 2: Customize the Template Colors and Images
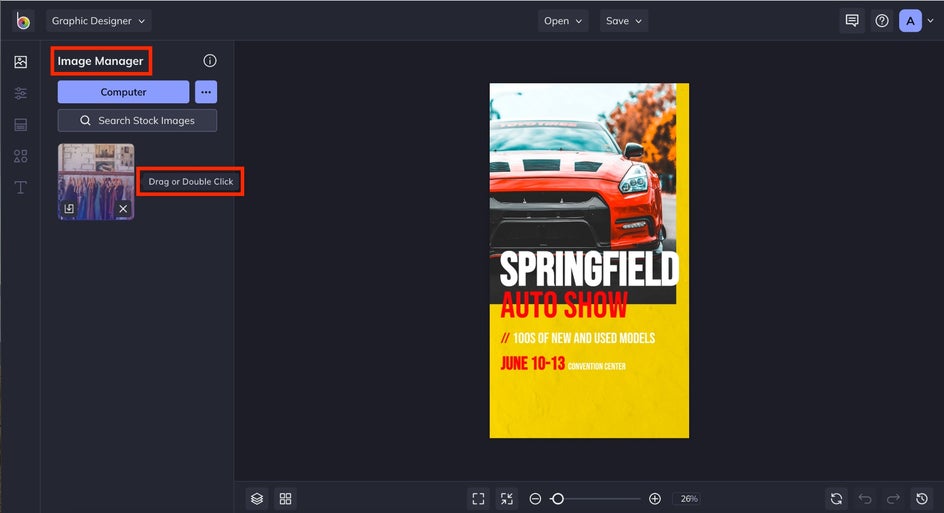
Next, you can start to customize the template to your liking. Navigate to Image Manager from the left sidebar menu. You can upload an image of your own by clicking the blue Computer button, or choose from BeFunky’s image library by clicking Search Stock Images. You can also drag an image directly onto the canvas.

For this example, we’ve chosen an image from BeFunky’s Stock Image Library. The image you upload will appear to the left of the screen. Double click or click and drag the image for it to appear in the template.
When the image is selected, the Image Properties menu will appear on the left. Use this to customize various features of the image. The white circles that appear around the selected image will adjust its size and angle.
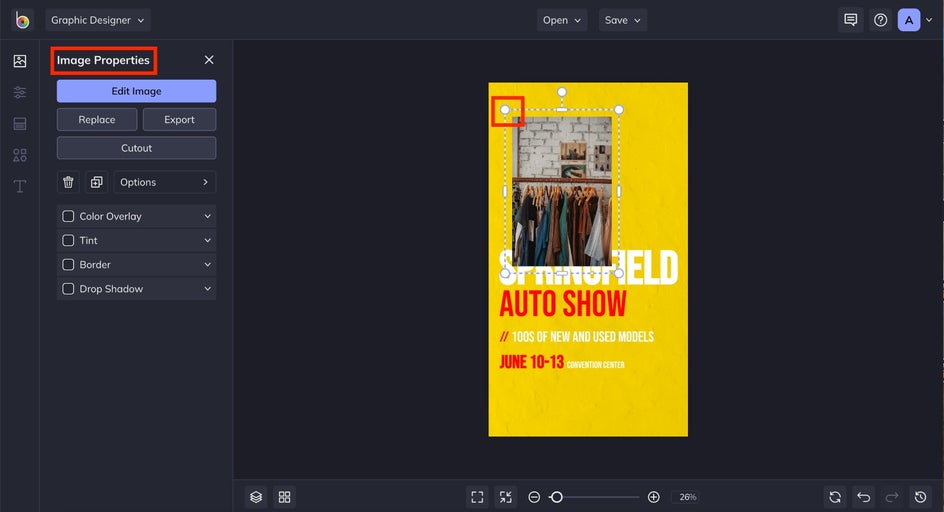
Then, if you want to change the background color, navigate to the Customize menu and change the background color using the menu on the left.

Try using the Eye Dropper tool to make a color from your image the background of the post. This is the perfect way to stick to a minimal color scheme and make your post look professional.

Step 3: Update the Text
Next, we’re adding text to the image. Either click Text from the left sidebar icon menu or double click on the text to open Text Properties. Here, you can edit the text on the template. You can change the color, size, and font in this menu.
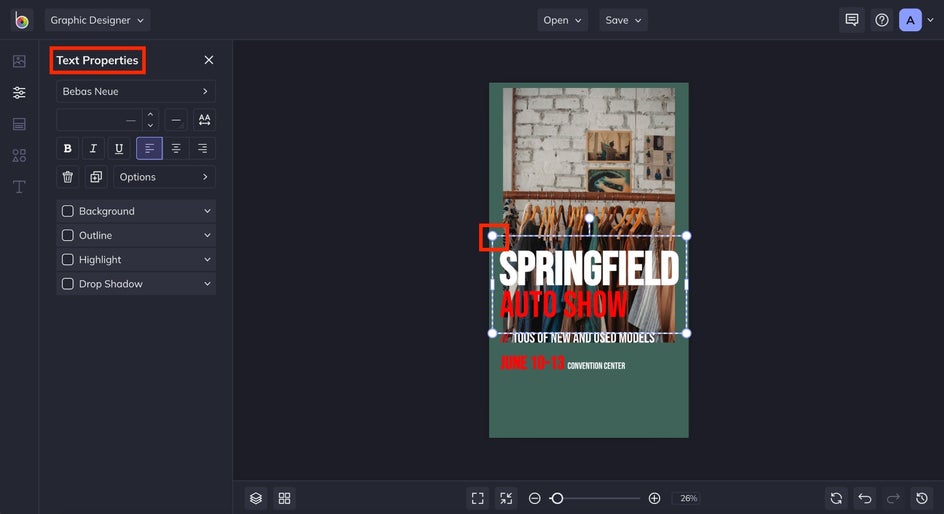
Again, we used the Eye Dropper tool to match the color of the font to the colors in the image. We changed the font to keep the image eye-catching and easy to read.
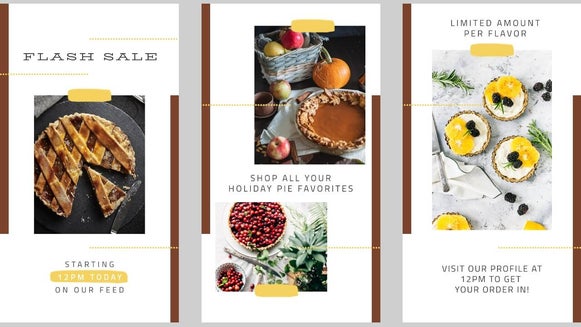
Pro Tip: Make sure you include all the information someone might need to know on your Reel. If you’re having a sale, include the dates and any promotions. If you’re a blogger, make sure to include your blog name so viewers can easily find more of your work.
We also move the text down closer to the center of the image to comply within the "safe" areas, which we will discuss towards the end of the article.
Step 4: Add Graphics
Finally, we’re gonna add some fun graphics to the design! Navigate to the Graphics tab by clicking on the icon on the left menu. Click Search Graphics to explore our expansive graphics library. It has plenty of options for every Reels theme possible.
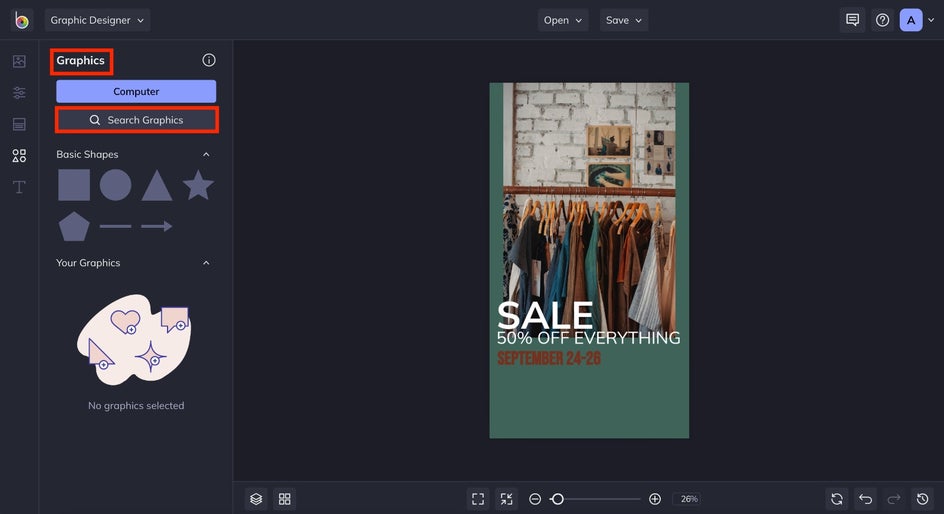
Select the graphics you want to add to your design and then close the menu. They will appear in the Your Graphics menu, where you can drag and drop them onto your design. Make sure to keep that safe area reminder in mind as you place the graphics on your design!
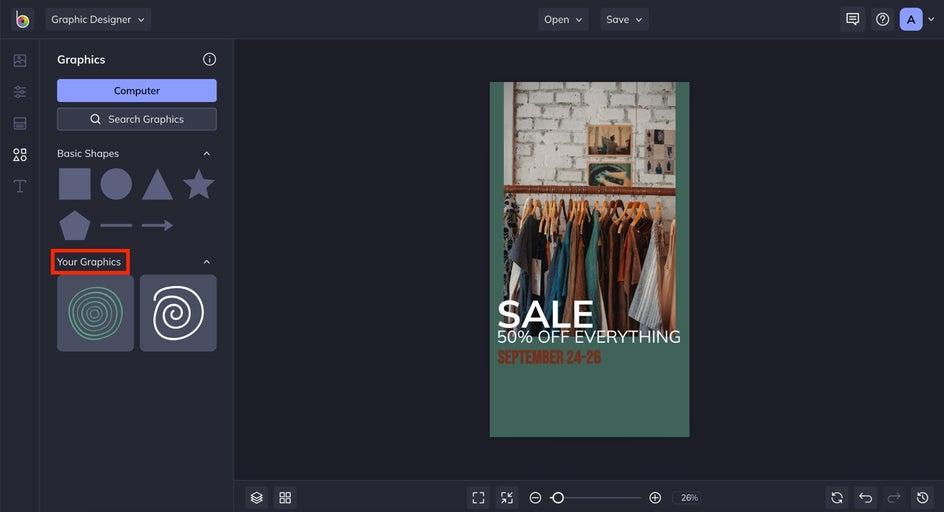
Just like when you added an image to the template, you can double click or click and drag the graphic for it to appear. Use the white circles at the corners of the selected graphic to adjust its size, shape, and angle.
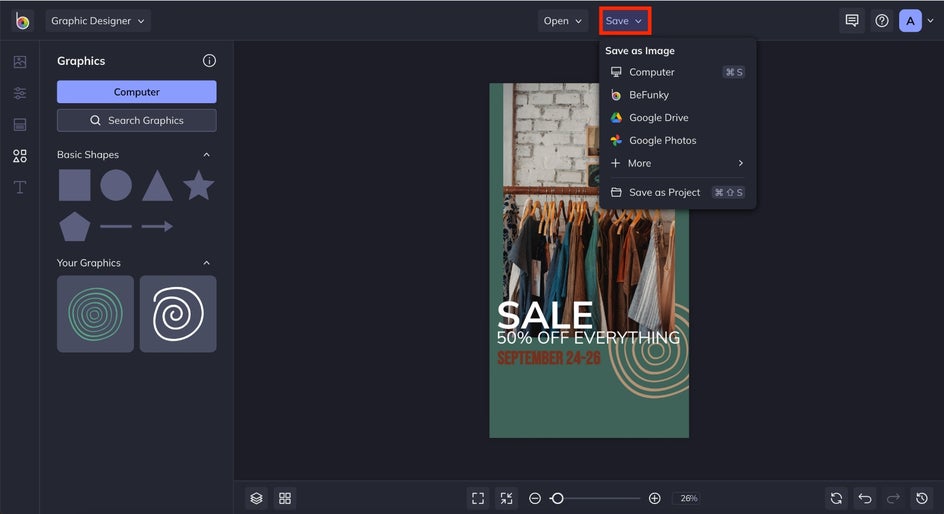
Step 5: Save Your Reel
Finally, navigate to the Save dropdown menu at the top of your screen to save your design to your computer.
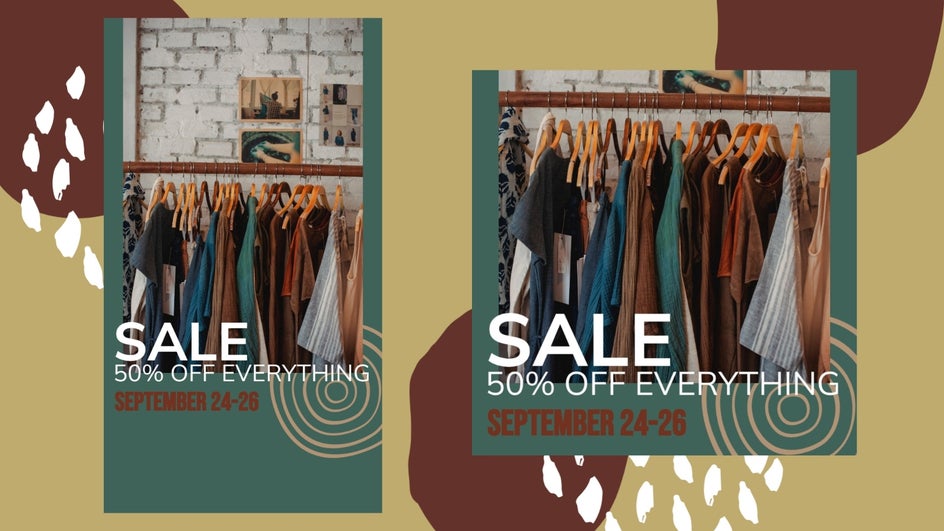
Final Results
Now that you've created an Instagram Reel cover thumbnail, you can reuse and repurpose it as much as you want. Read on for some tips to help you gain traction on the platform and expand your follower base.
Top 4 Tips for Creating Instagram Reels Covers
While Instagram Reels covers are an excellent opportunity to be creative, there are also a couple of essential things to keep in mind as you’re putting your designs together. Here are four important features you should consider:
1. Keep the "Safe" Area in Mind
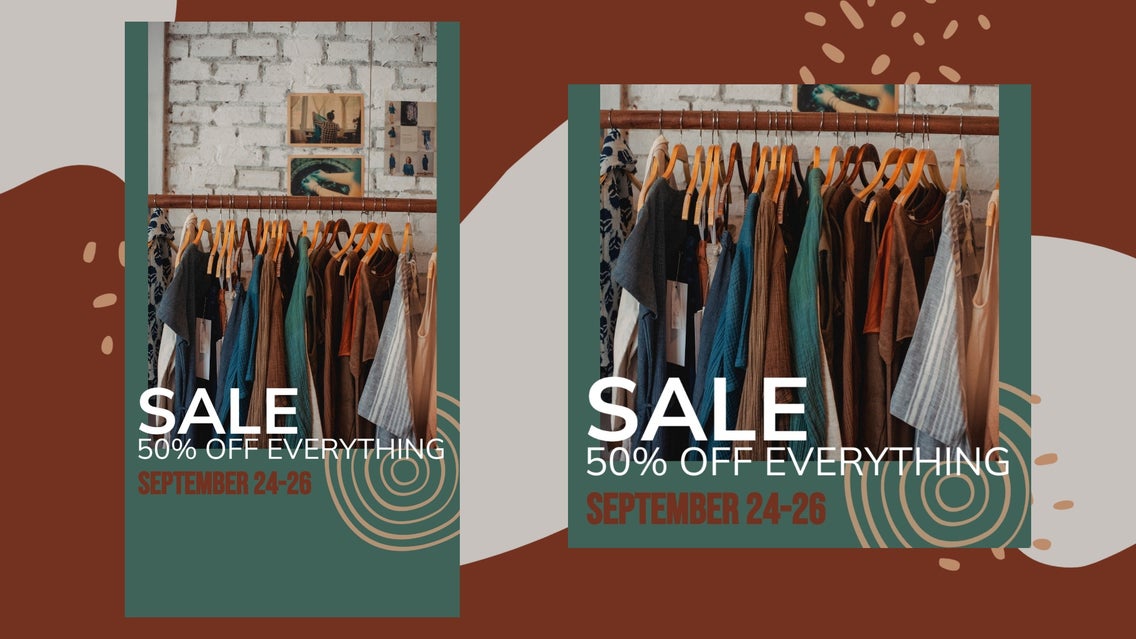
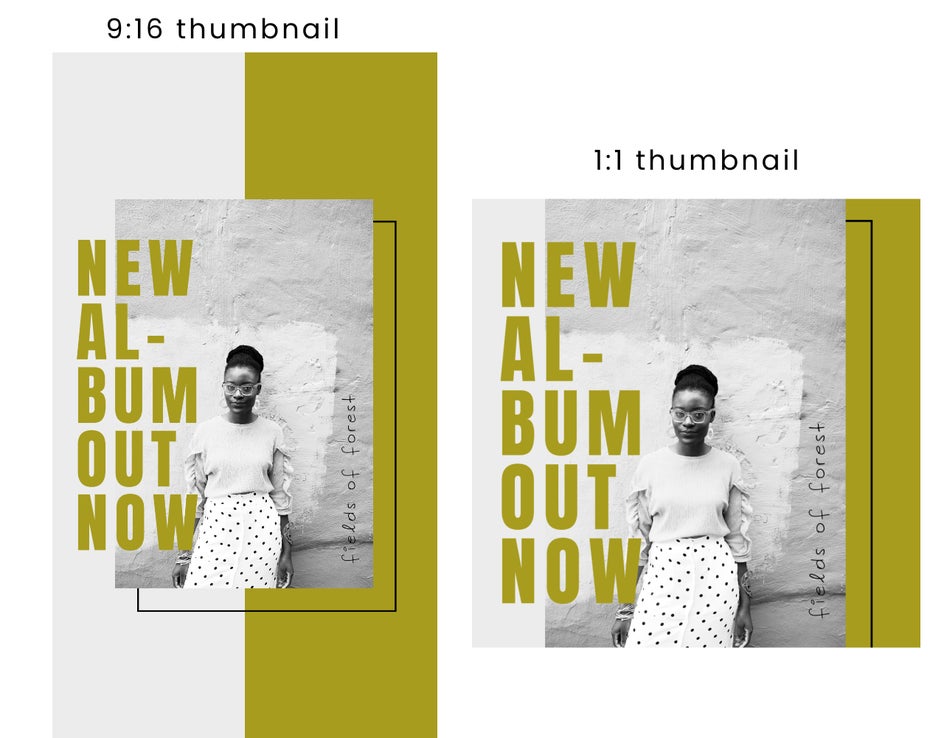
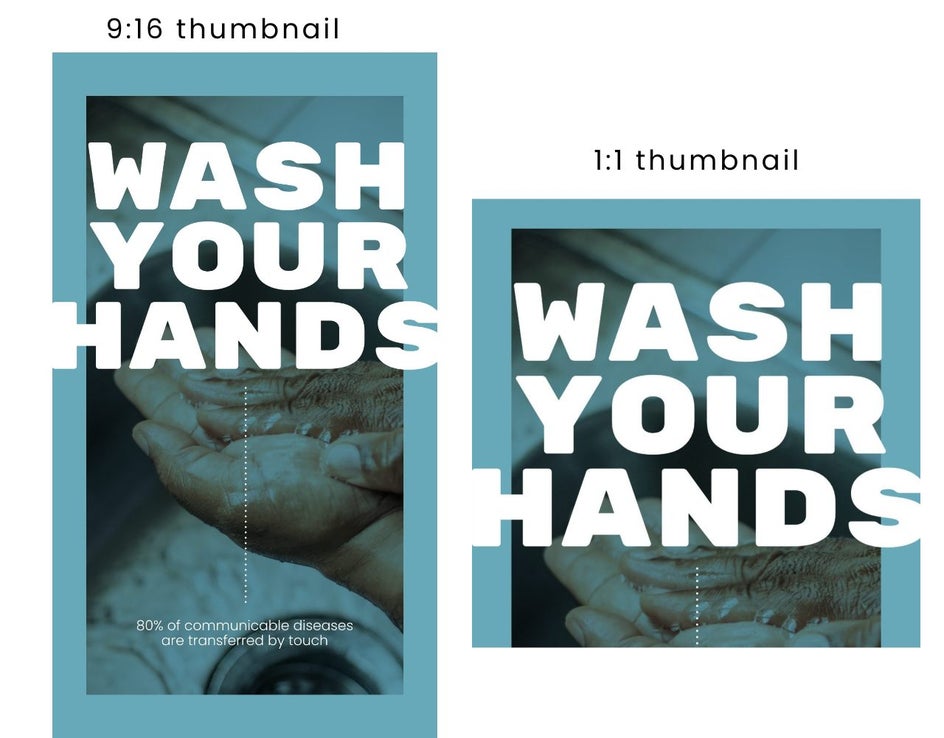
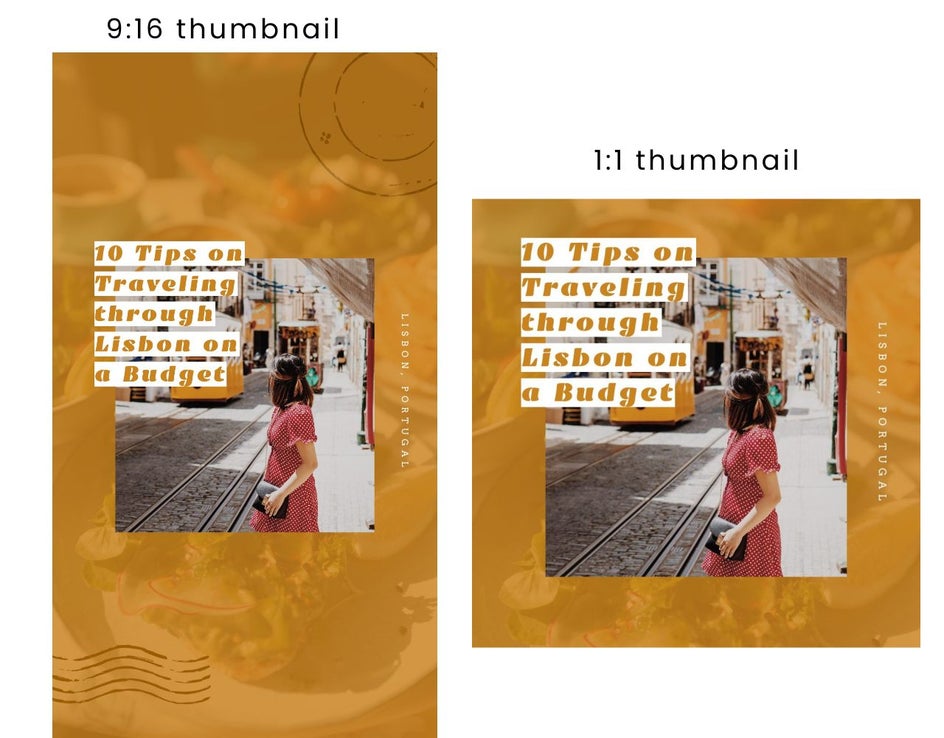
First up, and perhaps the most important factor, is the layout of your Instagram Reels cover. Instagram Reels appear in two sizes depending on where they show up on Instagram. The first is a 1:1 thumbnail view if the Reel is posted to your feed. The other is the 16:9 view, which is the traditional Instagram Story size. This is used if the reel is discovered on your profile or within the Explore tab. Make sure when you are designing your cover, the design you create at 16:9 doesn’t get lost in the 1:1 thumbnail view. Try strategically placing your text or any important visuals in a place on the design where it will be easily seen in both views – your design should be versatile enough to fit both. The edges get cropped for some views, so be aware of the safe area.
2. Simple Is Often Better
While you may think that creating an Instagram Reel cover using lots of bright colors and bold fonts to catch the attention of your audience, it is often better to create covers that are easy to read with minimal colors. That way, people that come across your video can quickly discern what the video is about. Sticking to a color pallet is often a good idea. Choose two or three complementary colors that represent your video or brand and use them to send your message.
3. Use Legible Fonts
Nothing is worse than coming across a text post on Instagram that requires you to squint in order to read it. Keep the font easy to read so the viewer doesn’t have to do any guesswork to determine what your video includes. By making it easy for your audience to read what you’re talking about, you are more likely to capture their attention and draw them further into your Instagram profile.

4. Make Sure the Imagery Matches the Content
This one is pretty straightforward! If your Reel video is about traveling, don’t put a baking thumbnail on the cover! Making sure you have high-quality supporting images on your Reels cover instills professionalism and authenticity with your audience. Take it a step further and consider what kind of image would resonate with your audience. Do they want to see an image of beautiful scenery? Or would they rather see an image of a person doing something exciting in a foreign city? Think about what will catch the attention of your audience and use it in your post.
Create Your Own Instagram Reel Covers
Head to our Graphic Designer to customize your own Reel covers. Refine your grid and represent your reels with an original, on-brand graphic.