Lens Flares: An Easy Way To Enlighten Your Photos
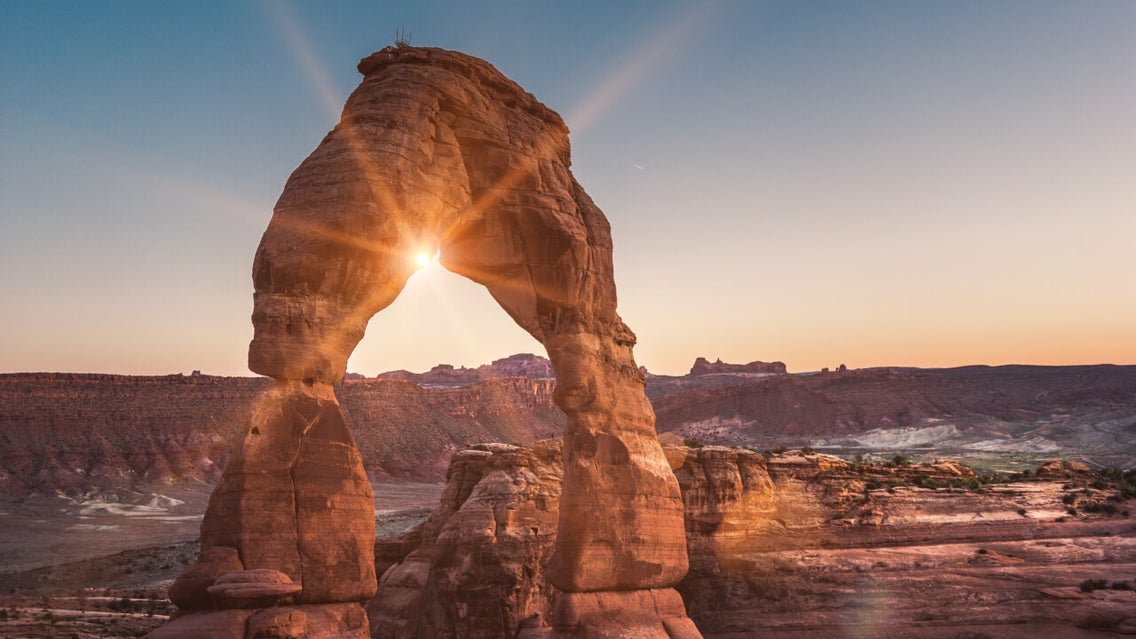
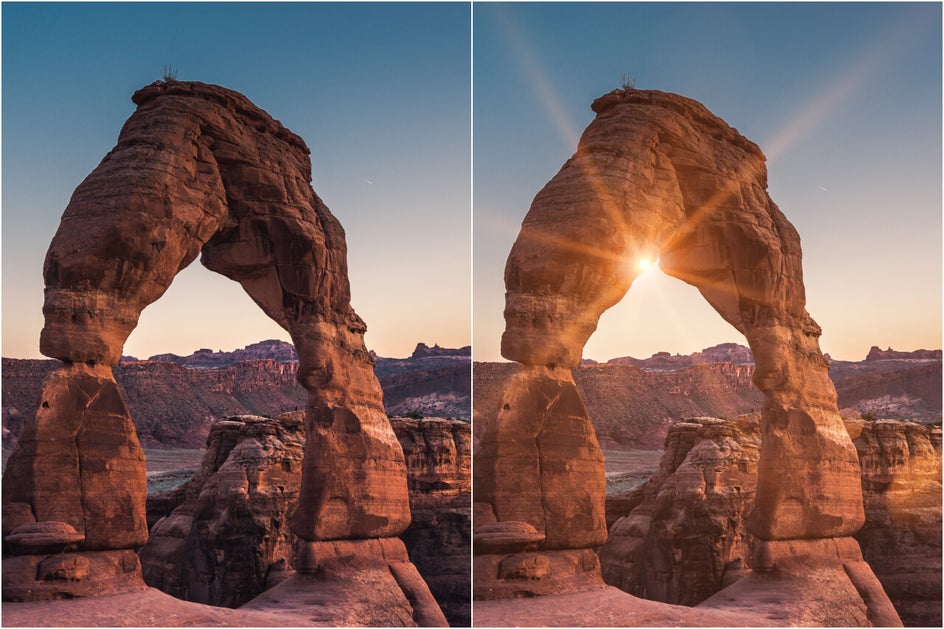
Lens flares are an art form of their own. Although sometimes undesired, they can create beautiful effects in your photos. Just like the name sounds, they occur when light bounces off of the camera lens, creating a flare of sun rays, glints, and sometimes sci-fi effects (think of any JJ Abrams movie you've ever seen!).
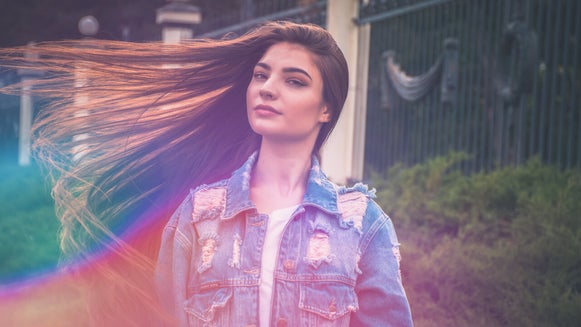
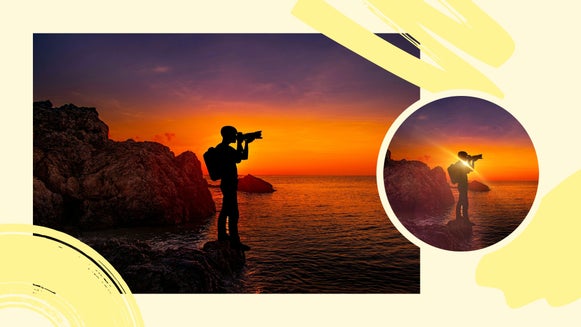
The cool thing is, BeFunky's Photo Editor has plenty of Lens Flare effects to help you get the look, even when you couldn't capture an actual lens flare with your camera! Try using them to evoke drama by enhancing sunsets and setting golden horizons aflame in color. Harness rays of light to emphasize a sun-drenched appearance. Or, bring a sense of realism to your photography and add beautiful streaks of light, bright orbs and other naturally occurring photo effects to create an “in the moment” style. With our Lens Flares, available exclusively with your BeFunky Plus account, you’ll find countless ways to easily amplify the beauty and creativity of your photography.
Where Imagination Meets Reality
You can use our Lens Flares to create unique effects, capable of bringing out the drama within your photography. But, you can also use them to create a sense of realism. By replicating the true effects of light entering and reflecting off a lens, they give your viewers a glimpse of what it’s like to be the one standing behind the camera. To create either of these effects in your photos, first open BeFunky’s Photo Editor and choose Lens Flares from the Effects section.
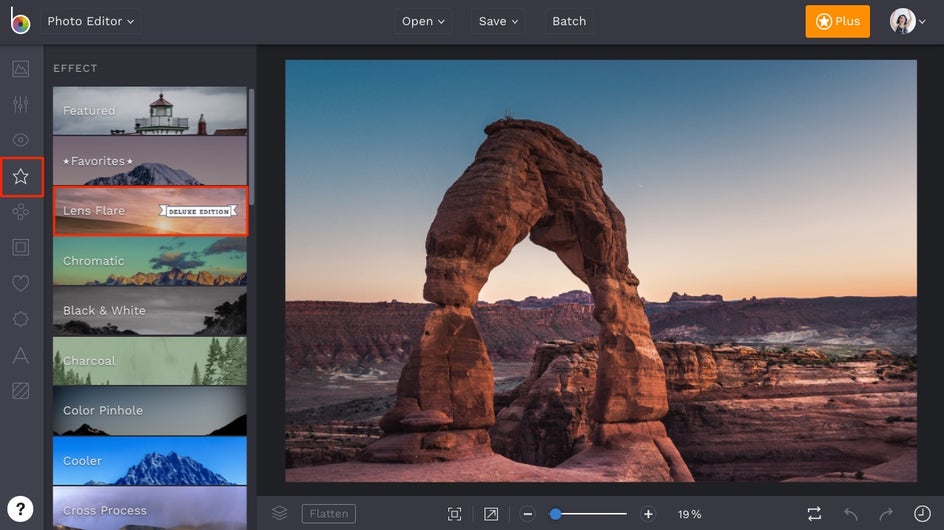
Pro Tip: Our Lens Flares are a part of our Deluxe Edition Effects, so you won’t find them anywhere else!
Creative, Innovative and Exclusive
Next, select one of our many Lens Flares. Try our Simple, Warm Sun, Sun Beam, Sunset and Sunny Day Lens Flares to enhance the natural elements in your image. Use Nova, Elysium, Xenon, Laser, Flash and Strobe to transform everyday landscapes into surreal dreamscapes. Or, use Spotlight, Headlight, Performance, Glint and Iris to create incredibly powerful lens flares and photographs.
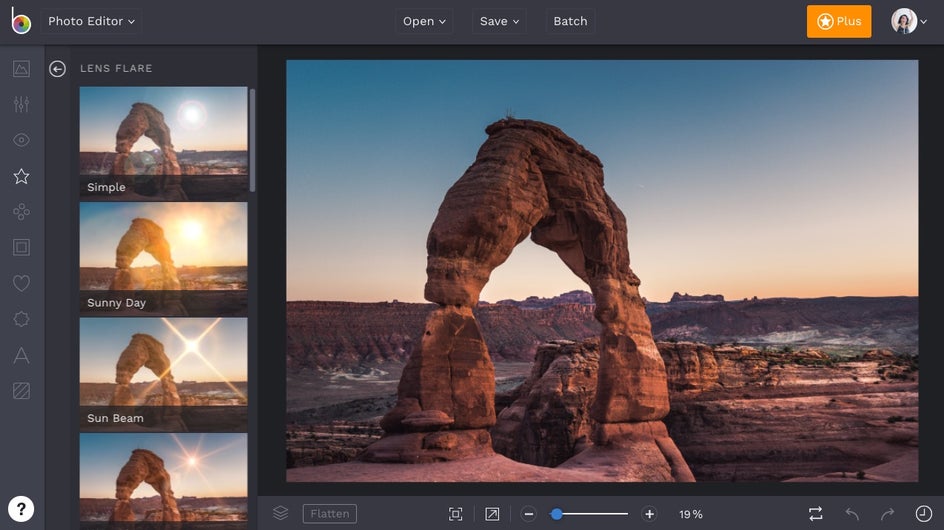
Pro Tip: You can always combine different Lens Flares to create a unique look that’s all your own!
Harness the Power of Light
Now, you must decide where to place your Lens Flare on your image. Once you've chosen a Lens Flare, two circular targets will appear on your image. The larger one controls the source of light in your lens flare, and the smaller one controls the effects that radiate from the source. First, click on the large target to move it, then place it where you'd like on your image. It’s best to choose a location where a light source would naturally occur. Next, click on the smaller target and drag it to your desired location. As you move it, the effects of the Lens Flare will grow, shrink, rotate and adapt to the placement of the target.

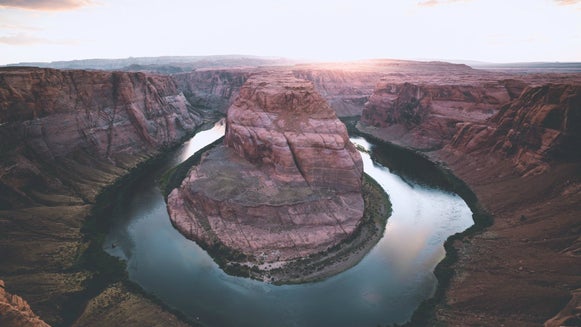
Pro Tip: For the best results, put your Lens Flares over horizons, on water reflections and in distant skylines.
Spark Your Creativity
Now, you’re going to want to change the intensity of the Lens Flare. Click on the sliding scale of your chosen Lens Flare, and adjust accordingly. Turn the Amount higher to enlighten your photography with unique, artistic effects. Or, reduce the Amount to enhance the sense of realism in your image, and provide your viewers a “real life” style of photography. If you go overboard, you can always find balance with the Exposure tool. When you’re satisfied with the results, click Apply.
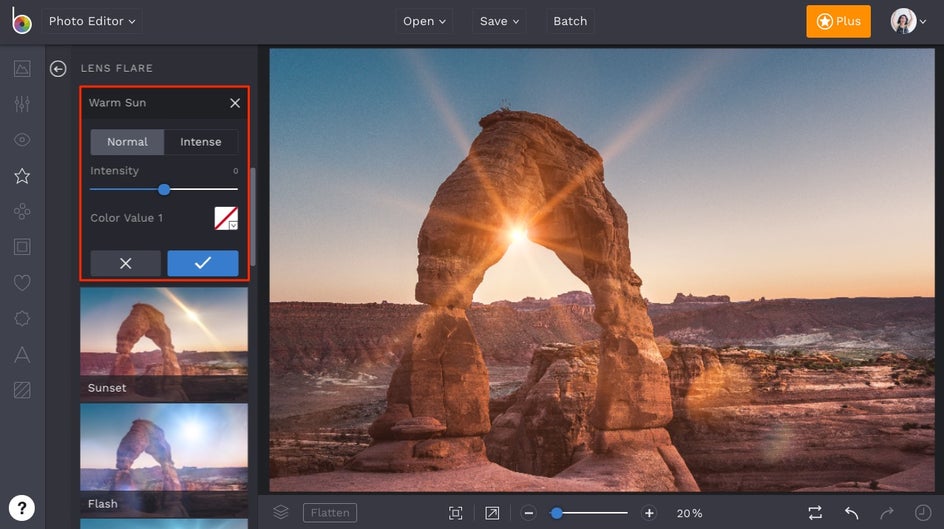
Pro Tip: To enhance the intensity of the Lens Flares in your photos even more, try using our Warmer and Summer effects.
Final Results
Master the art of the lens flare and bring a new level of enlightenment to your photography!
