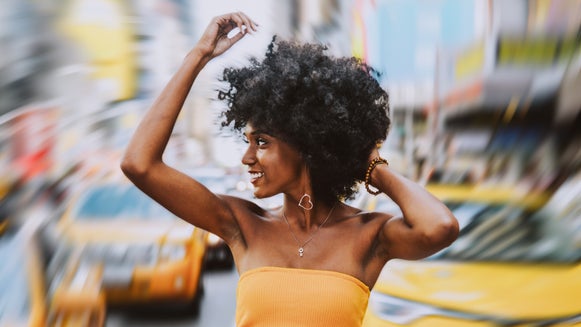
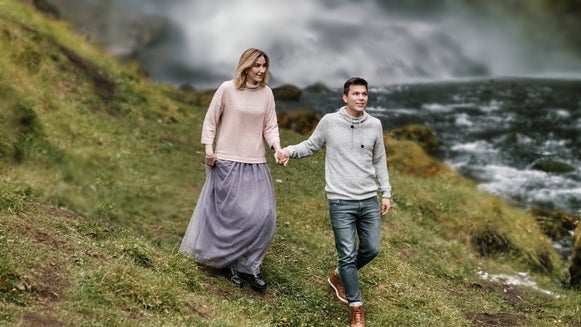
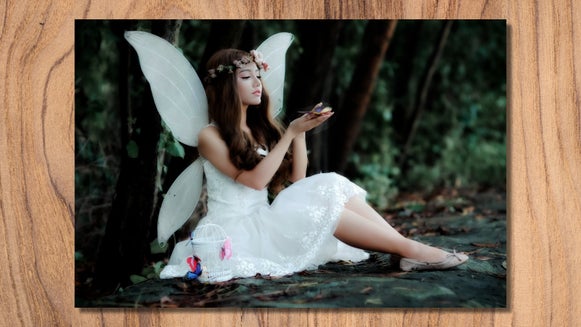
5 Tools To Blur Images The Way You Want
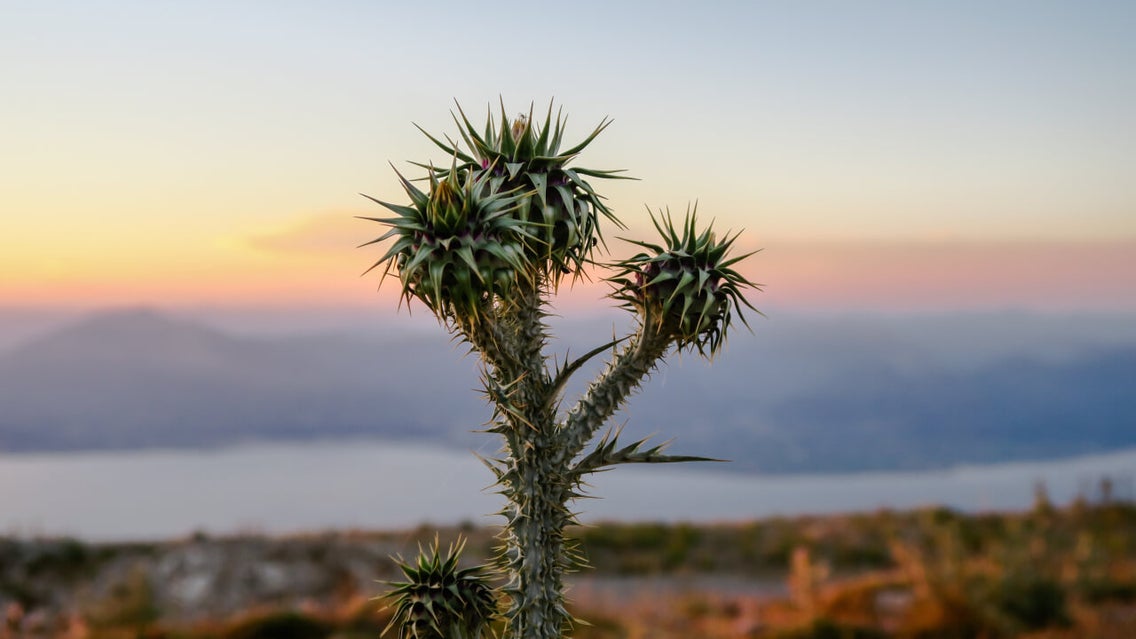
Without even knowing it, the ability to blur parts of our focus plays an important role in our everyday lives. Whether we are looking for someone in a crowd, driving, or taking in the view after a hike, we are constantly focusing and blurring parts of our viewpoint so that we don’t get overwhelmed with everything vying for our attention. If you apply this same reality to your photography, you’ll be able to choose the main focal point of your image and blur less important details. This way, you can manipulate what your audience notices first about your photo!
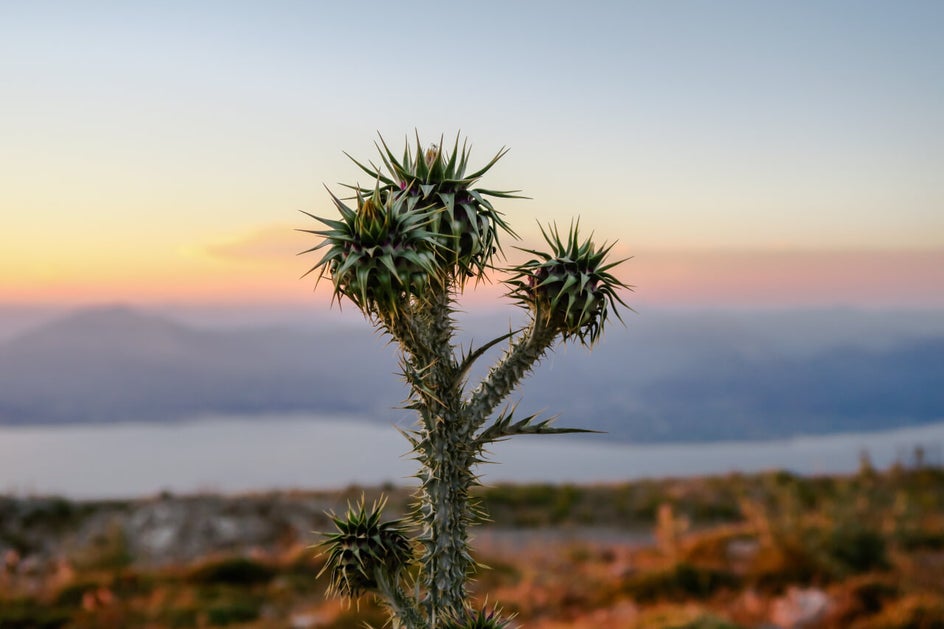
There are many different tools and techniques you can use to blur photos with intentionality. These techniques include the ability to add depth of field to your photos, applying a soft focus over your entire photo for a whimsical look, and using concentrated blur to give the effect of movement. Usually, these techniques call for using specialty camera lenses, but let’s be real - lenses are expensive! That’s why BeFunky’s Photo Editor equips you with five amazing tools to help you easily blur photos and get the look you’re going for in the editing process, all without having to cash in on expensive equipment!
Top 5 Tools To Blur Photos
In BeFunky’s Photo Editor, there are five powerful tools to help you achieve a tasteful amount of blur in your photos: Smoothing, Blur, Funky Focus, Soften, and Blur Edges. They can all be found under the Blur & Smooth section of the Edit tab. We’ll show you how each of these tools can help you achieve a different type of blur in your images:
The Smoothing Tool
The Smoothing tool does just what it sounds like: smooths objects in your photos. It’s a great option to use when you want to make textured objects look more smooth.
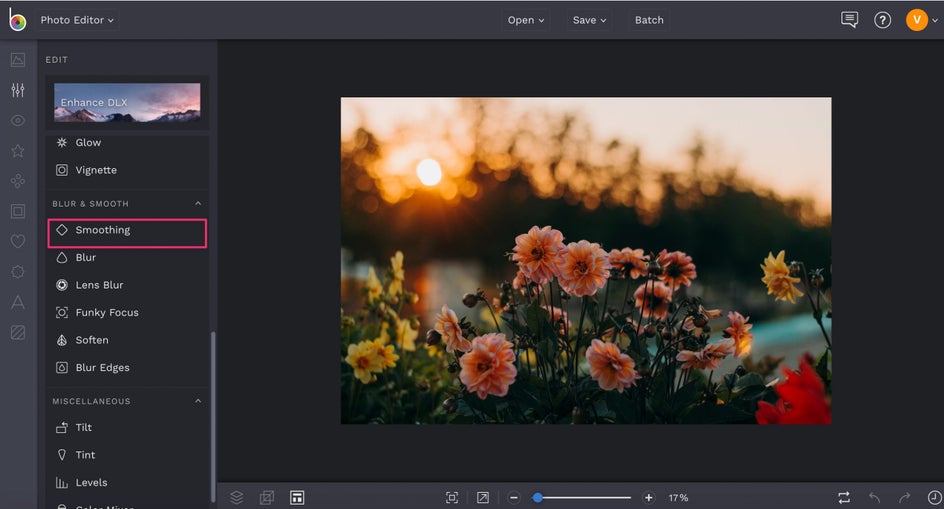
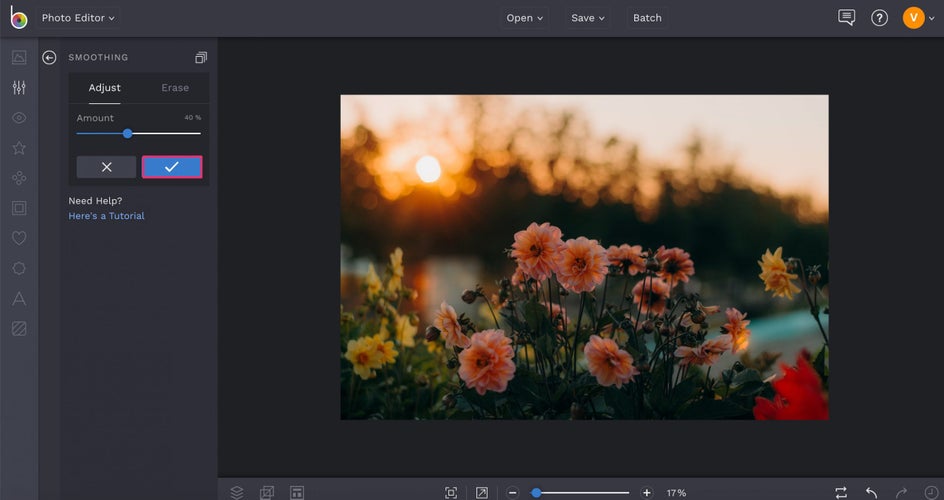
After clicking on the Smoothing tool, you’ll find that your entire image is smoother and less defined. For more smoothness, you can adjust the Amount slider to the right, or slide it to the left for less smoothness.
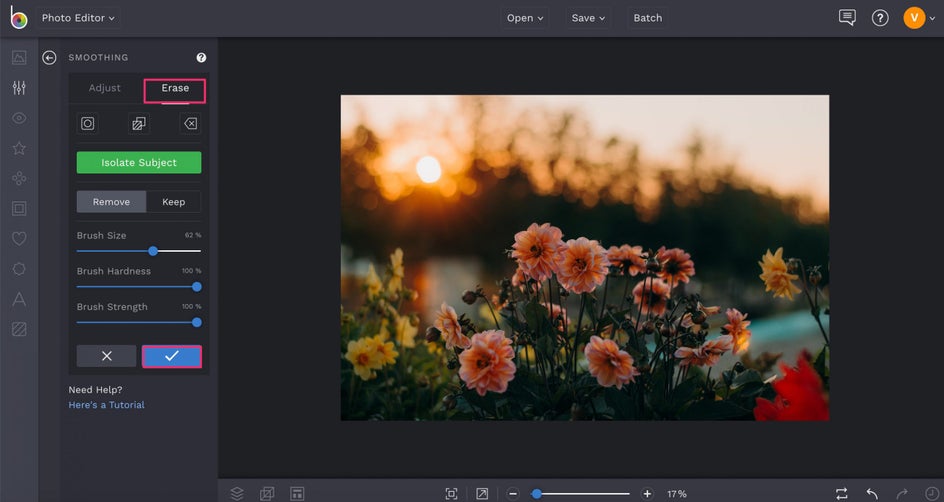
If you want to remove the smoothness from a specific part of your photo, simply click on the Erase tab to paint over your selected area. This way, you can keep an object in the foreground very detailed, while smoothing objects in the background.
Tip: If you are wanting a subtle feel to your photo in the areas you are smoothing, layer small amounts of this technique on top of one another rather than increase the intensity in one go. To do this, add 25% intensity and select the blue button to apply. Repeat 2-3 times, decreasing the intensity each time.
The Blur tool
The Blur tool gives you the ability to blur an entire photo or selectively blur photos by painting the effect exactly where you want it. This is the perfect tool to use when you are wanting to create depth of field in your frame. After clicking on the Blur tool, you’ll find that the entire image becomes blurred, which is great if you’re going for a whimsical look or you’re needing to blur photo details before adding text to photos. You can adjust the amount of Blur using the slider.
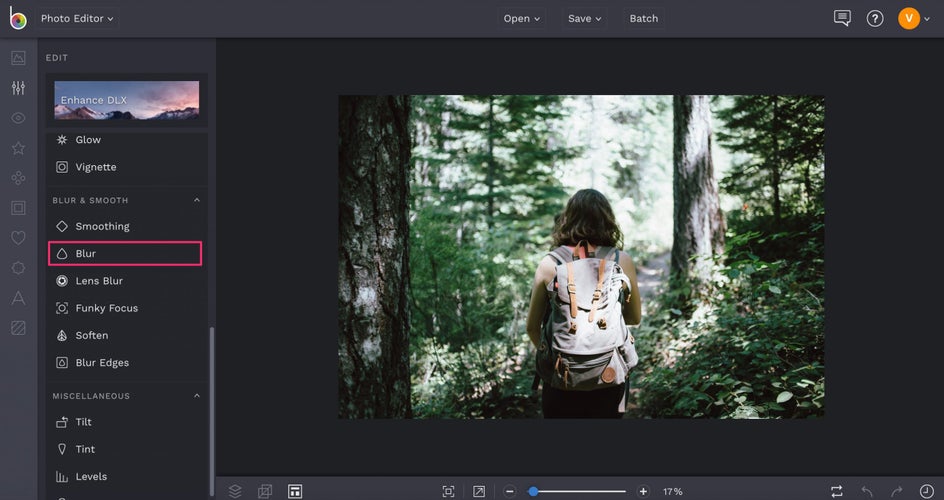
To create amazing depth of field, click on the Erase tab (next to Adjust). Adjust your Brush Size and paint the portion of your photo that you want to be your focal point. All of your painted areas will be crisp and clear.
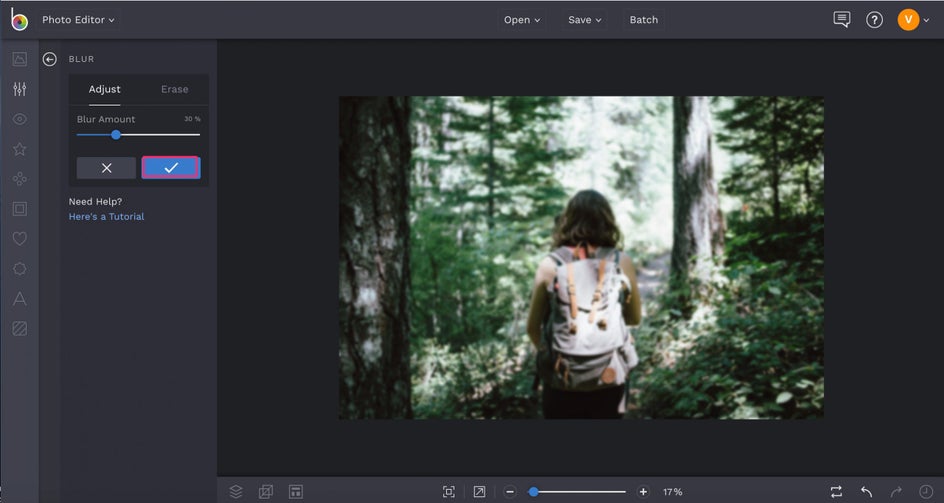
From here, you can click back over to the Adjust tab to increase or decrease the amount of Blur you’ve painted onto the image. When you’re finished, click the blue checkmark to apply the blur.
The Funky Focus tool
The Funky Focus tool is the most versatile of all the blur tools. You can use it to create a tilt-shift effect, enhance depth of field, and add photo effects like pixelation and black and white to the blurred areas. When you click on Funky Focus, you’ll be presented with a circular target that you can move around your image and resize using the blue circles. Just make sure the center of the target is over your focal point, and the rest of the image will fade into a blur.
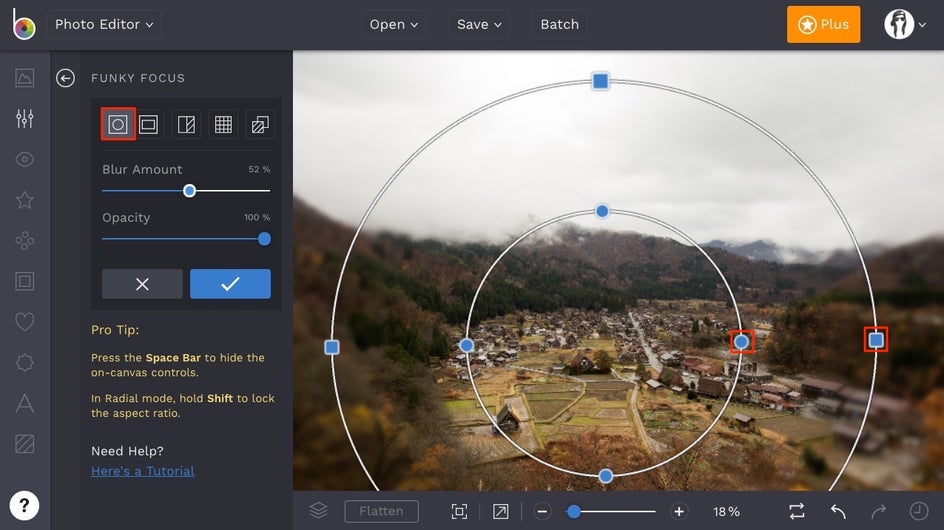
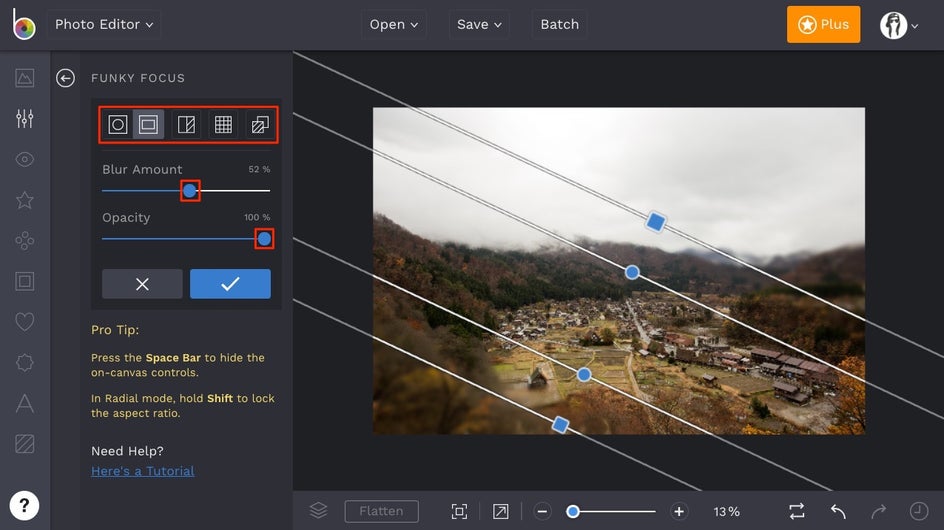
If you’d rather have a different shape or effect for your Funky Focus target, click each on the tiles to select a Linear target, add Black And White, Pixelation, and more! Use the Blur Amount and Opacity sliders to adjust the blur to your liking and you’re good to go.
The Soften tool
The Soften tool softens the edges of the objects in your photo. If you are trying to give your photo a dreamy, ethereal effect, this is the tool to use! You will notice that when you apply this effect to your image, any highlighted area will blend with the immediate colors surrounding it.
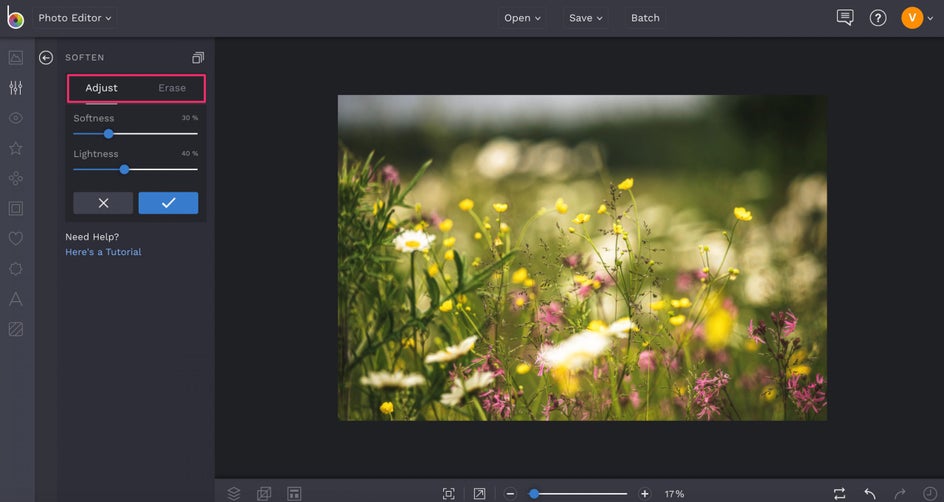
The two adjustments within this tool are Softness and Lightness. If you like high contrast photos, increase the lightness. To make the look subtle, keep the Lightness slider low and boost the Softness up to its maximum level.
Blur Edges
If you only want to blur the edges of your photo, the Blur Edges tool is the perfect tool to use! Adjusting the sliders for Size, Blur Amount, Shift Vertical and Horizontal is almost like finding the perfect balance and rhythm for your image; once you find the perfect relationship between all four, the results are beautiful!
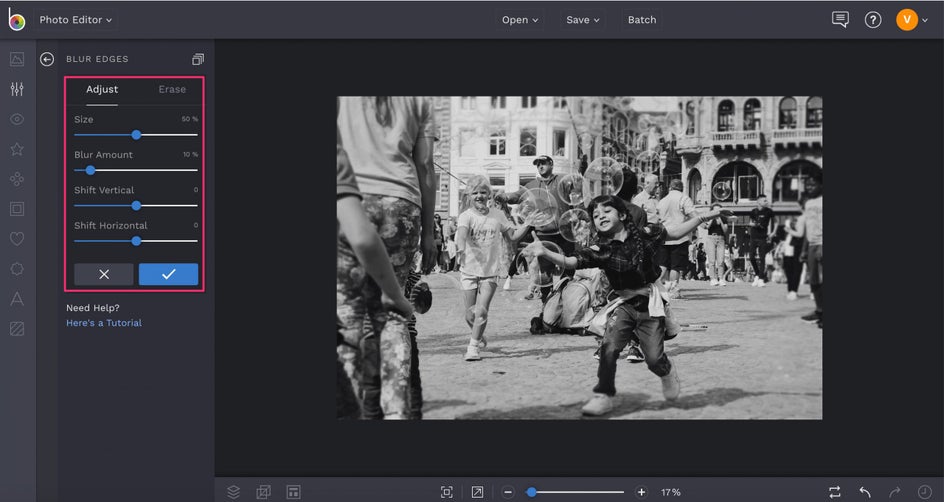
Play around with these sliders to get your desired look. The blur on this allows you to adjust the circumference of blur around your entire photo. If you are wanting to just blur the outer area of your image, decrease the size; if you want a very concentrated focus, increase the size.
Final Results
Blurring photos can give you the ability to make your photos stand out and add a layer of interest to your photos. Elements that can get lost are able to come front and center when applying any of the tools above.
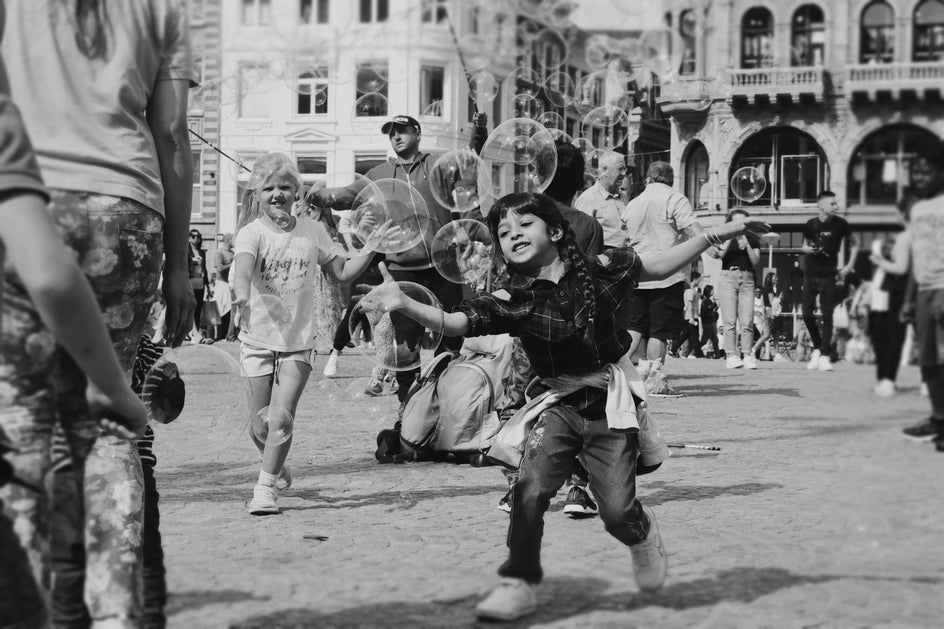
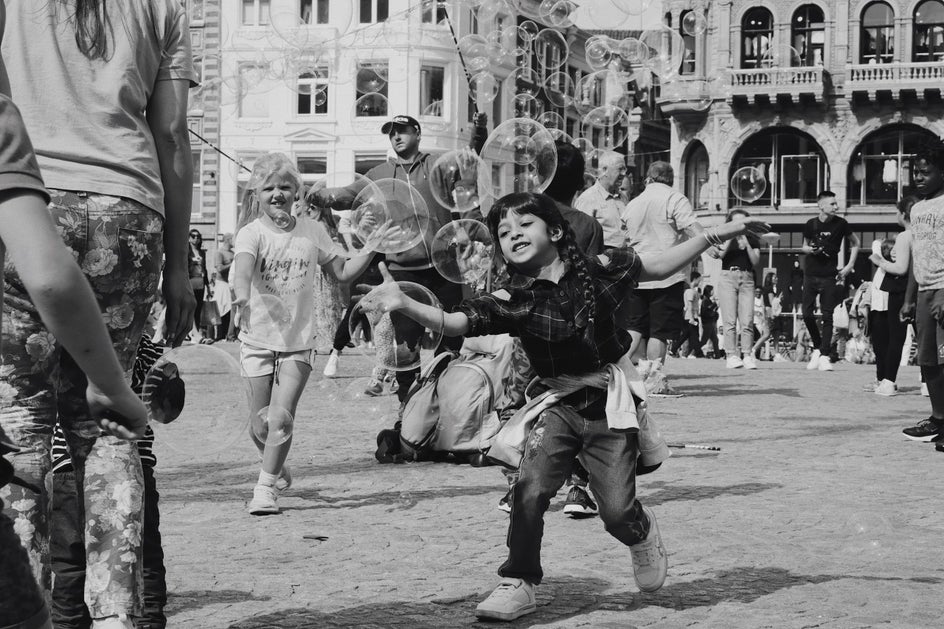
Try adding blur to photos that you’ve already taken. This is a great way to experiment and see the benefit of these tools in full effect. Ready to start blurring photos intentionally? Click the link below to experiment!
