How To Add A Matte Photo Border

When you move into a new place, one of the first things you want to do is adorn your walls with your favorite photos. Whether it’s images of your pet, loved ones, or past travels, having these on display each day can fill you with a sense of joy and inspiration. One of the most effective ways to display photos is to frame them with a stylish matte border, helping the image to truly ‘pop’. But what if the photo frames you have at home don’t come with a matte insert? Should you simply settle for second-best?
Thankfully, you can get the look of a matte border in your BeFunky photo editing sessions, no matter what size you need. All it takes is a few clicks of your mouse and voila – creating on-trend, matte bordered photos has never been so easy!
How To Add A Matte Photo Border
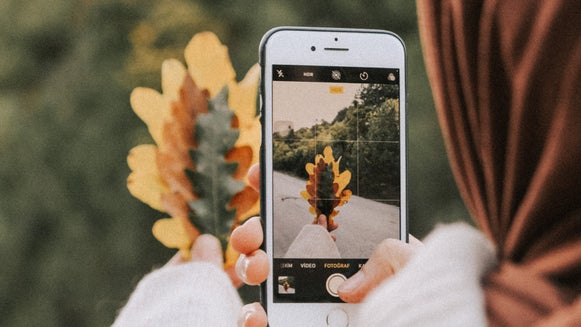
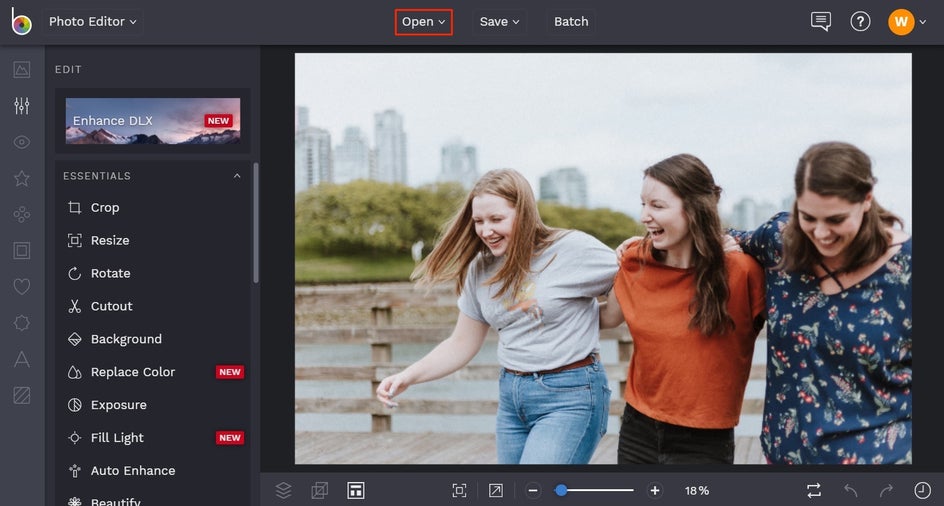
Ready to add some matte perfection to your photos? To get started, go to the Photo Editor and open your desired photo. Before we add a matte frame, now is a great time to make any edits to your image, including effects.
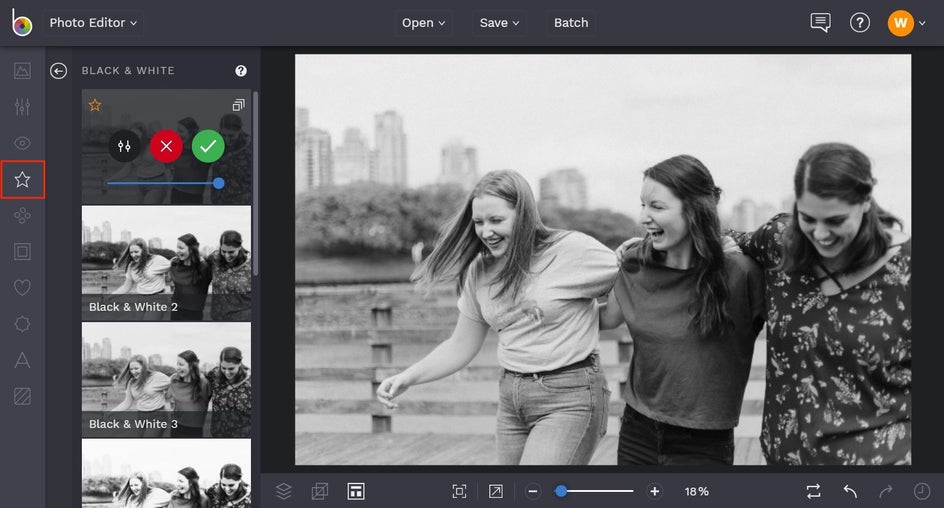
For this image, we’re going to add a simple black and white effect. To find this, navigate to the Effects tab (the star icon in the left menu), followed by Black & White. There are also tons of other effects within this menu. To further adjust your desired effect, click the Settings icon, or click the green checkmark button to Apply.
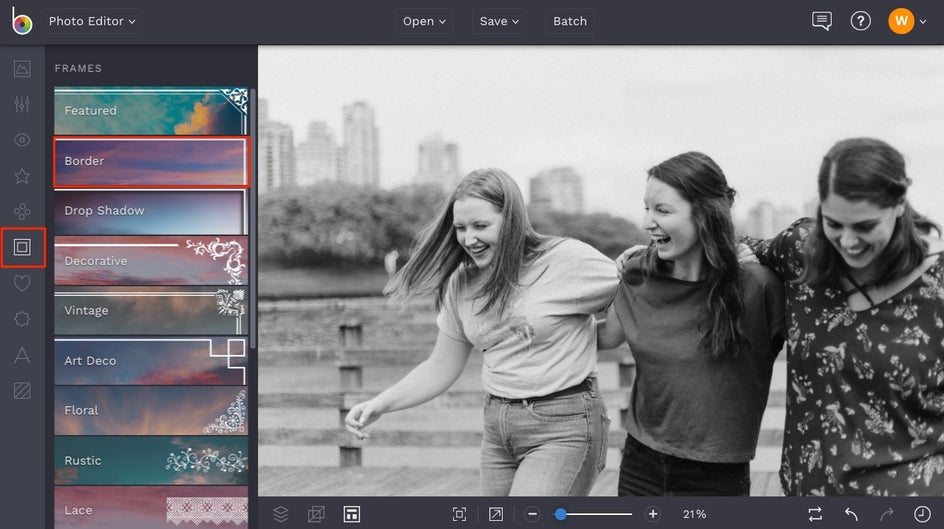
Now that our photo is looking on-point, it’s time to add our matte border. To begin, navigate to the Frames tab in the left menu and select Border.
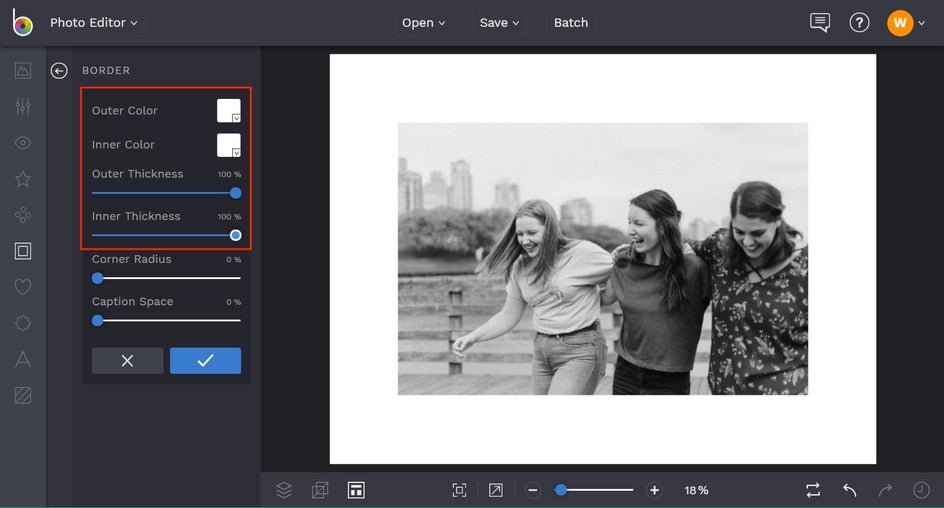
You will notice that your border automatically contains two colors: black and white. Change the Outer Color to white, then increase the Outer Thickness and Inner Thickness sliders to create a large matte border. Click the blue checkmark button to apply.
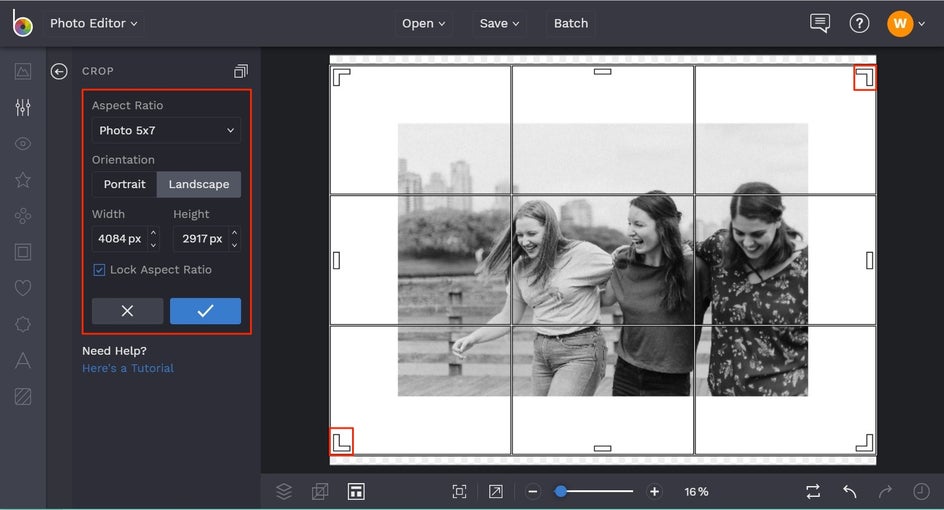
Next up, it’s important to crop and resize your photo so it’s the perfect ratio for your frame. To crop, go to the Edit tab on the left, then Crop. Using the Aspect Ratio dropdown menu, select the photo frame size (4x6, 5x7, etc.) Make sure the Lock Aspect Ratio box is checked, then drag the upper left corner of the crop target until you reach the left edge and drag the bottom right corner of the crop target until you reach the right edge. This should make the crop perfectly centered. Click apply.
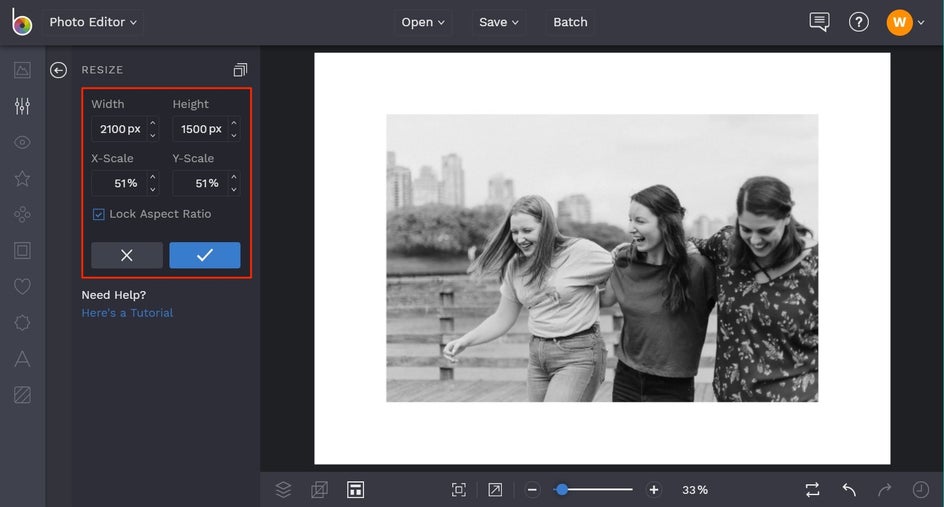
Now it’s time to resize your photo to the chosen crop dimensions for perfect printing settings. Check out our handy Pixels to Inches Chart to determine your ideal size. Because we cropped our photo to 5x7, our ideal size in pixels is 1500 x 2100. Locate Resize in the Edit tab, then enter your desired measurements in the Width and Height sections. Then, just click apply. Too easy!
All that’s left to do is to save your photo so it’s ready to print, frame, and hang on your wall! Click on Save at the top of your screen to save your work to your Computer, as well as Facebook, Dropbox, and more! If you want to come back to your project at a later date (i.e. to add extra effects), then we also recommend the Save as Project option (which lets you save it as an editable BeFunky Project file to your BeFunky account or Computer).

Now that your photo has been perfectly bordered, you can print the file at your local Walmart, Office Depot, or anywhere else that takes your fancy. There are also many websites that allow you to submit your photo online and have the printed version delivered straight to your door. Then, it’s as easy as placing your printed photo in a frame and displaying it somewhere in your home.
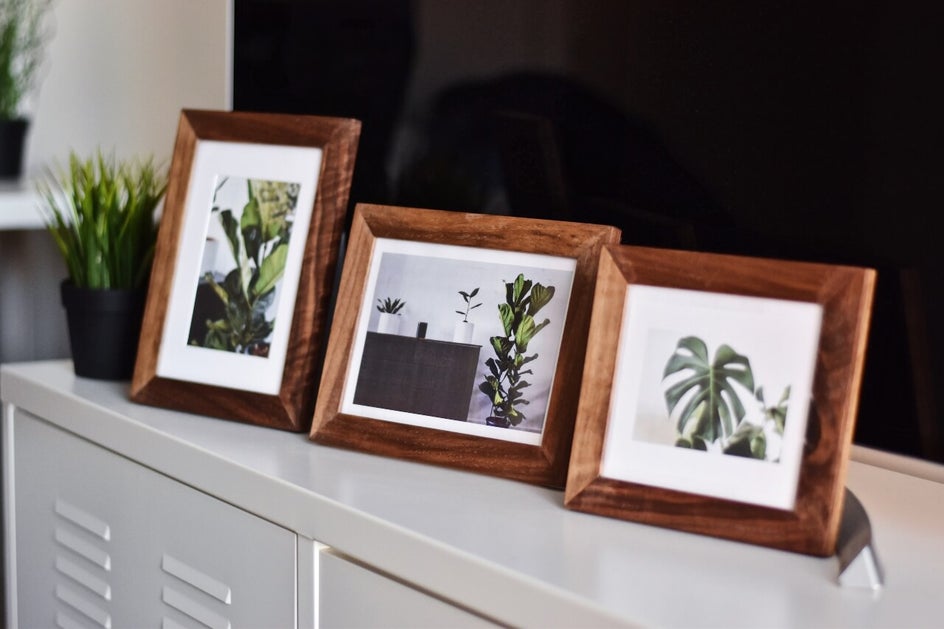
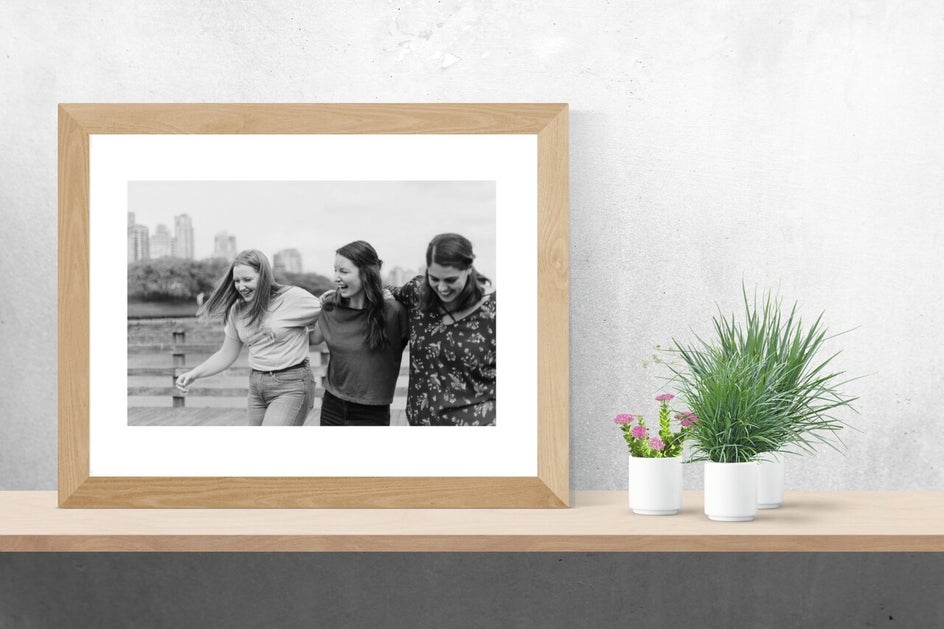
Final Results
Ta-da! This beautifully framed photo is sure to bring a smile to your face every time you walk past it.
If you’re ready to turn your favorite photos into framed perfection, then now is the time! Click the link below to start experimenting with matte borders: