How to Create Spooky “Damaged” Vintage Photos
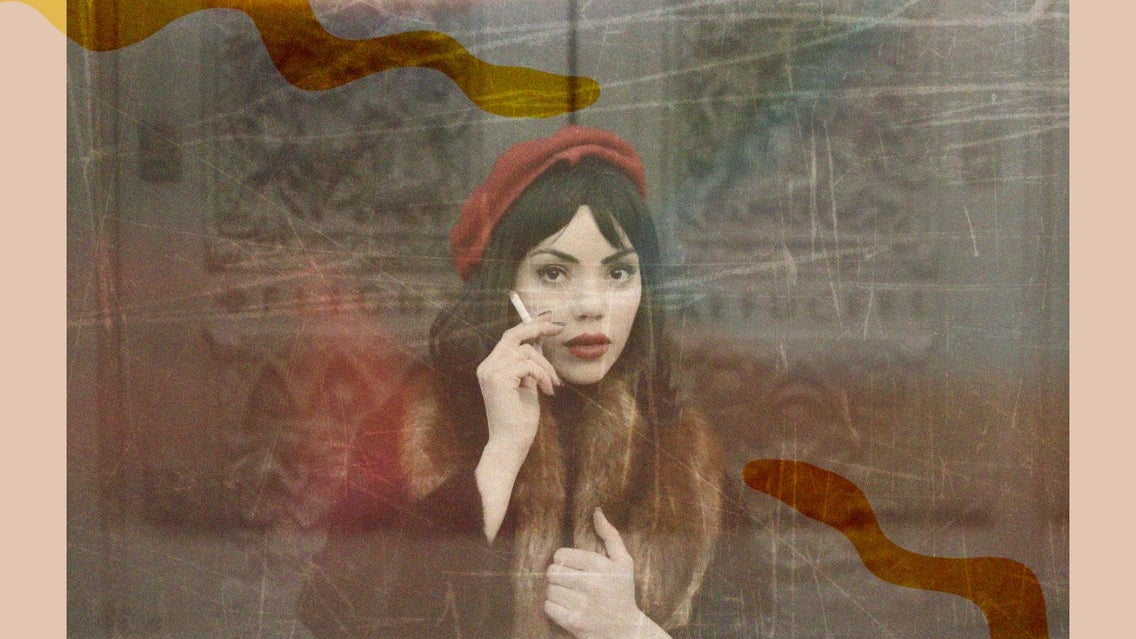
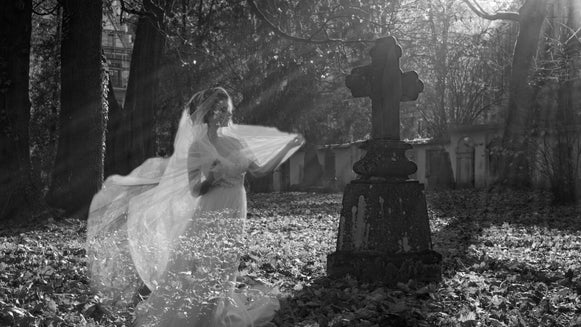
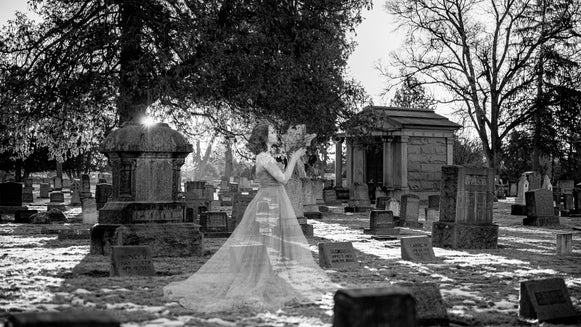
‘Tis the season for all things ghostly. Halloween is right around the corner, and that means it’s time to create some spooky decorations and photos. From old haunted paintings to scary portraits, it’s the time of year where creepy and creativity meet. Are you looking to give your social media feed or decorations a haunting, personal touch? You can create damaged, vintage-style photos, right in time for Halloween using the Photo Editor.
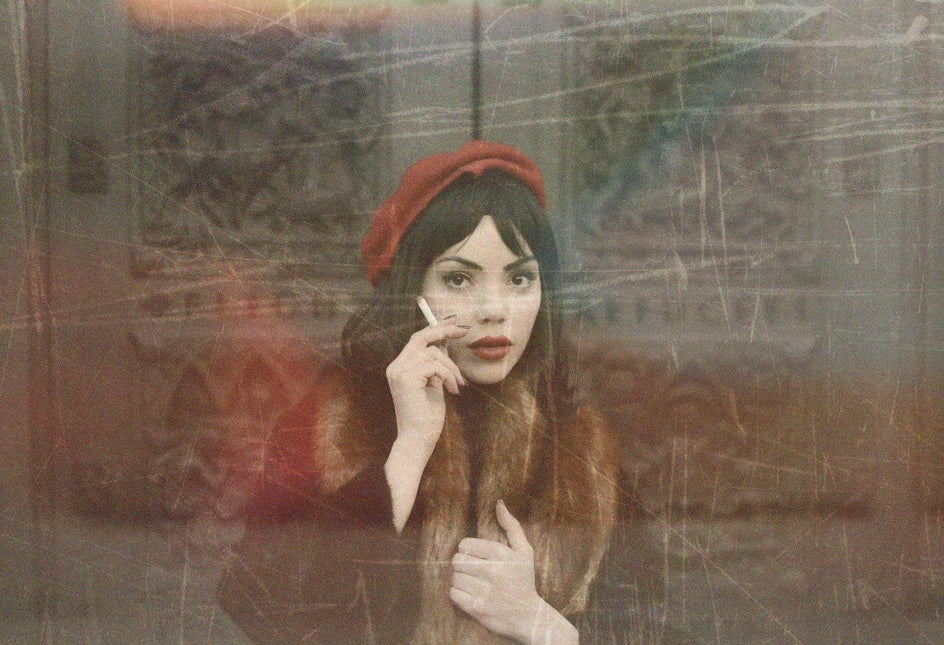
These haunted vintage photos are sure to take your Halloween aesthetics to the next level in an ultra-creative and unique way. Whether you use these photos to spook your friends on social media, as decor for your virtual Halloween party, or just for the fun of it, get ready to create something spooktacular.
How to Create a “Damaged” Vintage Photo
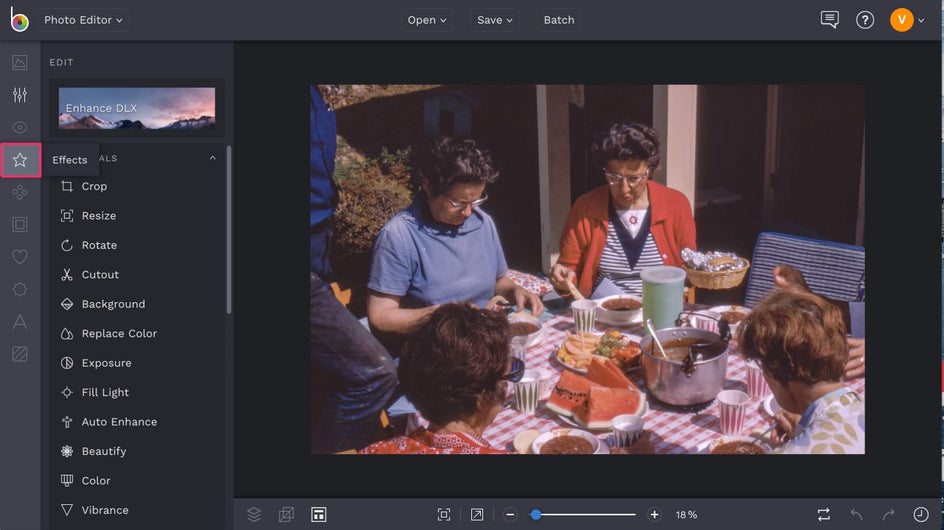
When you’ve got the perfect photo to “spookify” (we’re using a vintage style photograph), upload it into the Photo Editor and click on Effects.
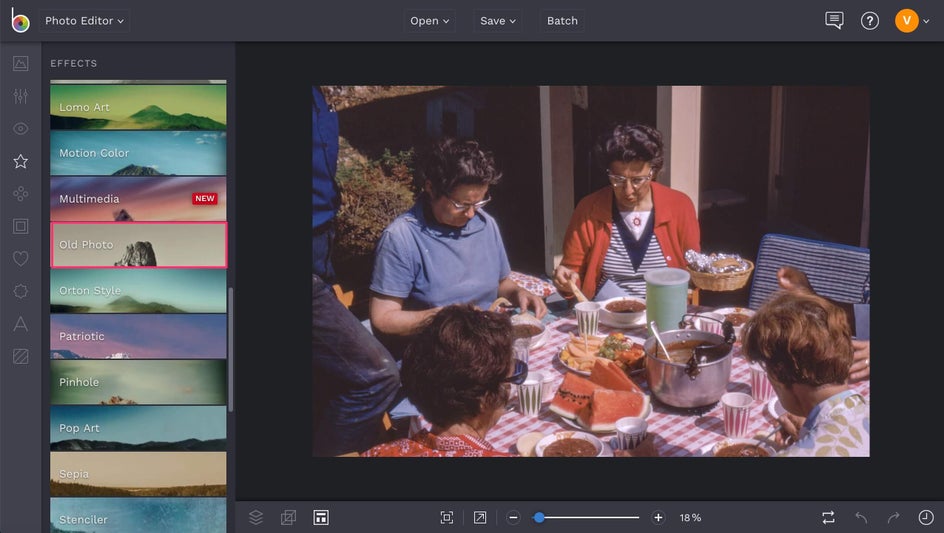
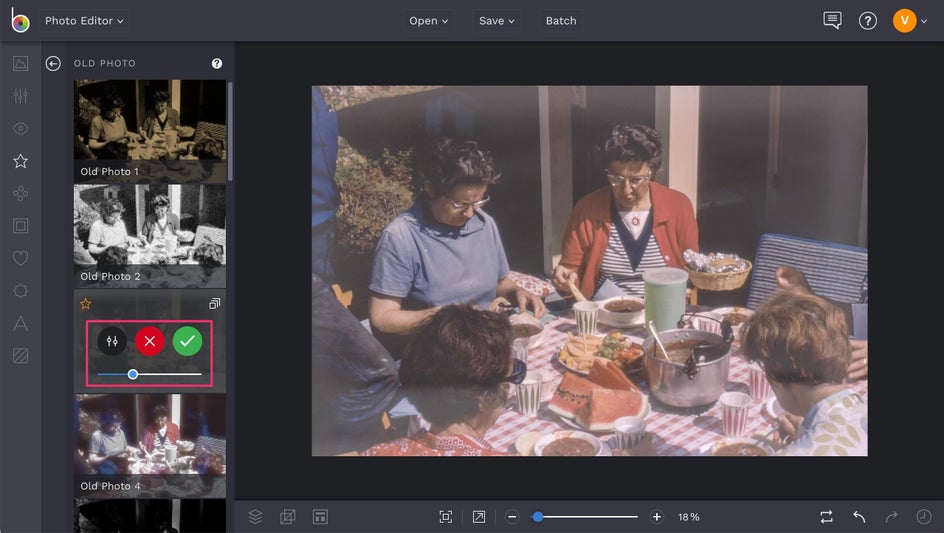
Scroll down through the Effects menu until you find Old Photo. Under this tab, you’ll find various filters that when applied to your photo, will help it to look like it belongs in another generation. For this tutorial, we’re going to use Old Photo 3. You can use the slider to increase or decrease the strength of the effect. Click the green checkmark when you’re satisfied with the effect.
Go back to the Effects menu and click on Cinematic. At the top of the menu, click on Film Grain. This effect will help your photo look like it was taken, you guessed it, on a film camera. This effect is super versatile, especially when you’re trying to make your photos look vintage. Click on the green checkbox to apply the effect.
Now, go back to the Effects menu again and scroll down to Sepia. Use the slider to make the effect more or less intense, depending on what you want your photo to look like and then click the green checkbox.
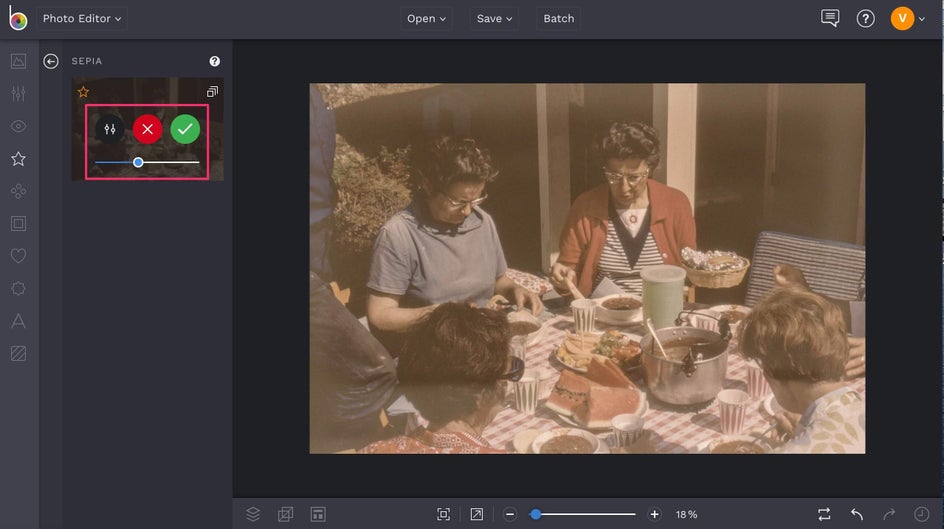
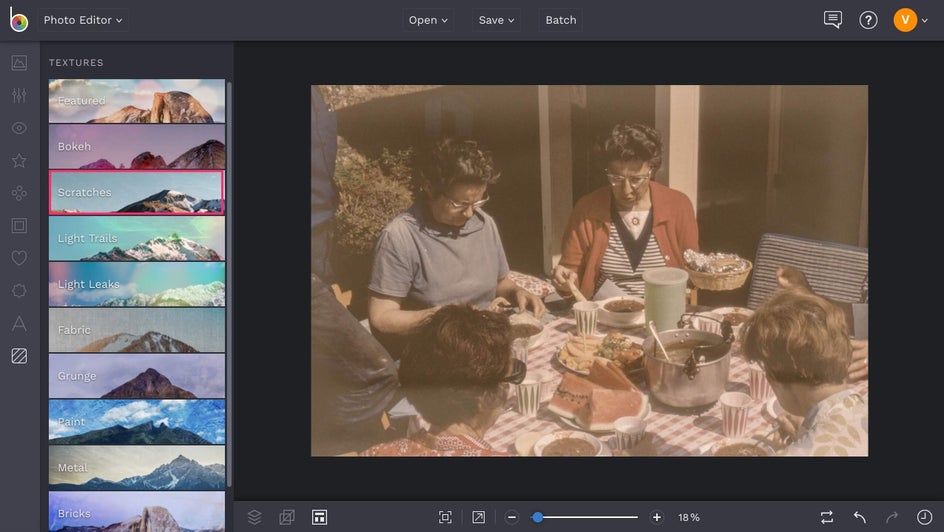
Moving out of the Effects menu, find the Textures menu, and find the Scratches category. The Scratches category offers plenty of texture backgrounds to make your photo look more antique by digitally distressing it. By clicking on each texture, you're able to preview each option on your photo until you find one you love.
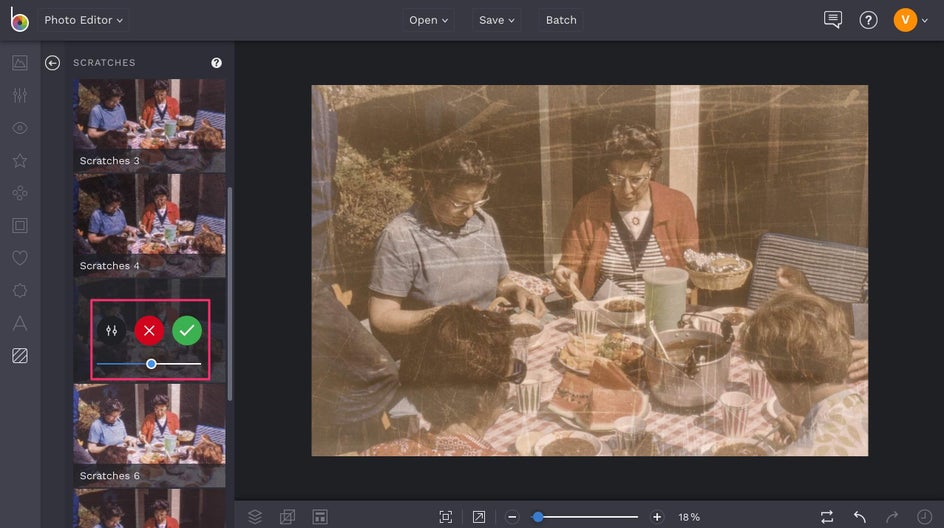
We’re going to use Scratches 5 for this photo. When you're satisfied, click on the green checkmark to confirm.
Back on the Textures menu, find Light Leaks. On this menu, there are a variety of different light leaks that can help your photo look aged and damaged.
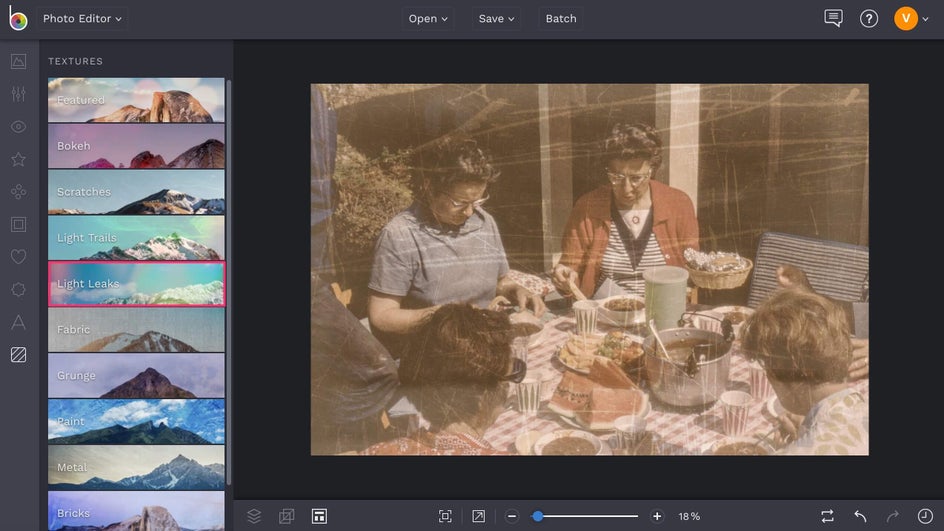
For this tutorial, we’re going to use Light Leaks 3. Click the green checkbox when you’re satisfied with the effect!
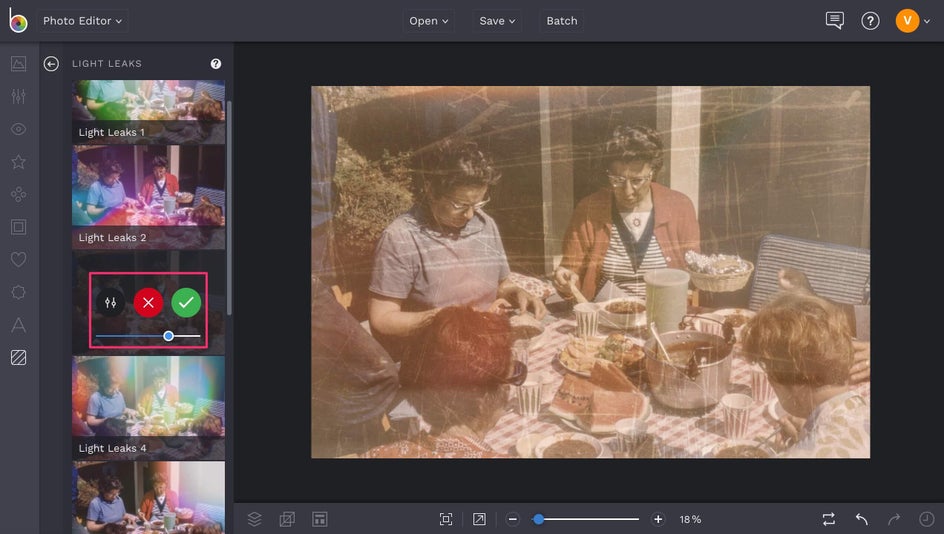
Feel free to add more Textures to your photos to make them look even more haunting. Once you are all finished, you can print these photos out and frame them for some quick and easy Halloween decor or share digitally with your friends on social media!
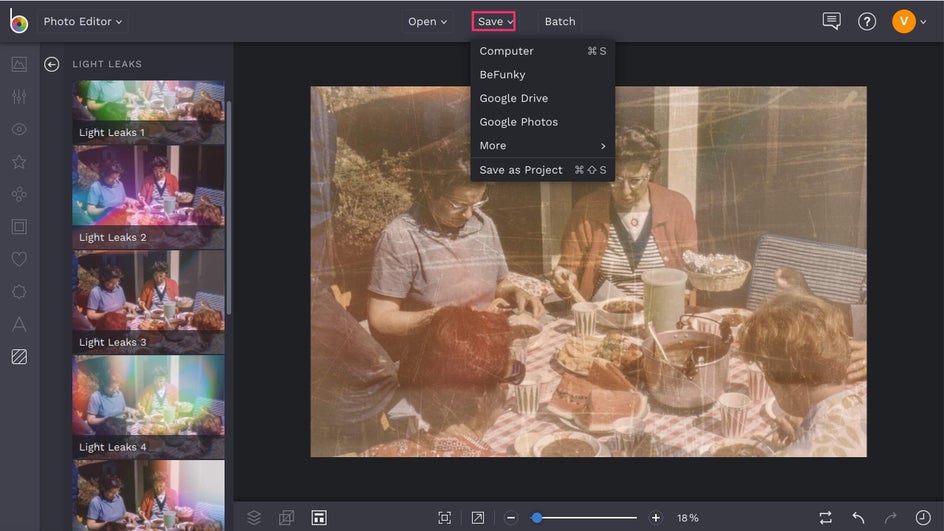
Once your edit is perfected, click on Save at the top of the screen and select which destination you wish to save your image to, including your Computer, Facebook, Dropbox, and more.
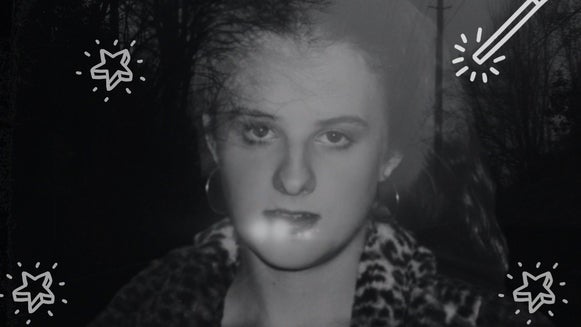
Final Result
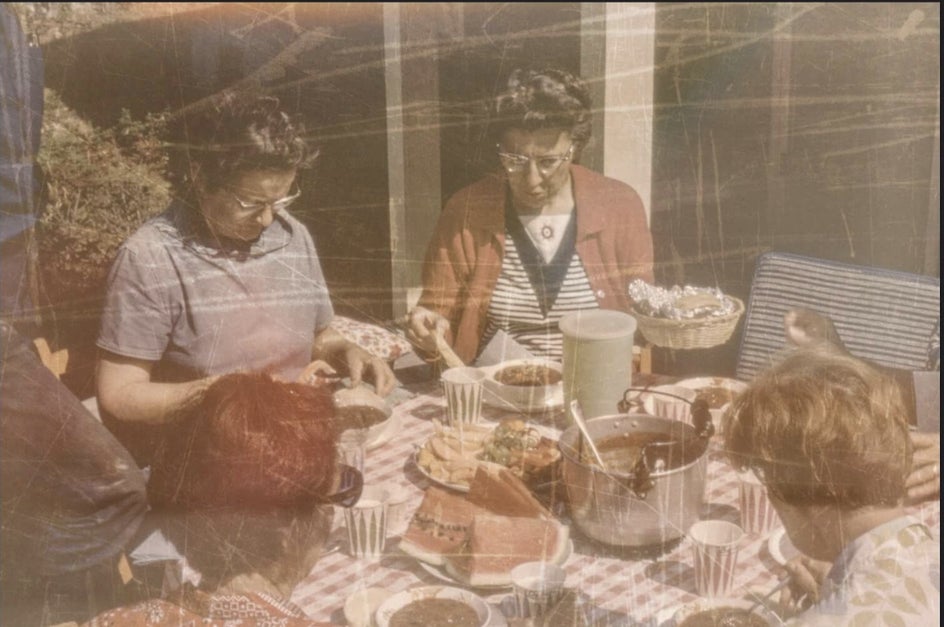
If you want to get your photos into the spirit of the season, you can make it happen in BeFunky. And don’t forget the spookier, the better! Start channeling your creativity below!
