DIY Halloween Party Invitations for Your Spooky Soirèe
The Halloween festivities don’t stop as we become adults. Creative costumes, fun games, and tasty snacks are all still on the table. Bring on the tricks and treats by hosting your own Halloween party!
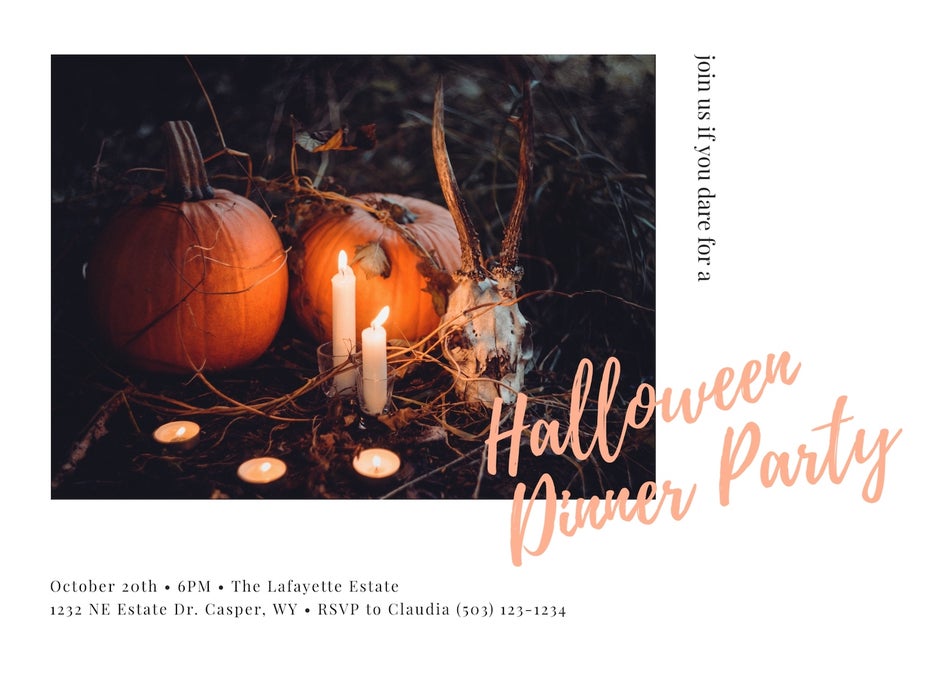
Instead of sending your friends a text message to invite them to your spooky soirèe, take your Halloween party to the next level by designing a custom Halloween party invitation! Use the invitation to set the tone for your Halloween party. Is it a costume contest? Is there a theme that guests should dress up to match? Will there be games and activities? Let the creativity flow when designing your party invitation.
With the right tools and tips, you can design the best Halloween invitation. BeFunky’s Graphic Designer offers plenty of creative templates and features that will help make your Halloween party one guest will never forget.
A Great Halloween Party Starts With a Great Invitation
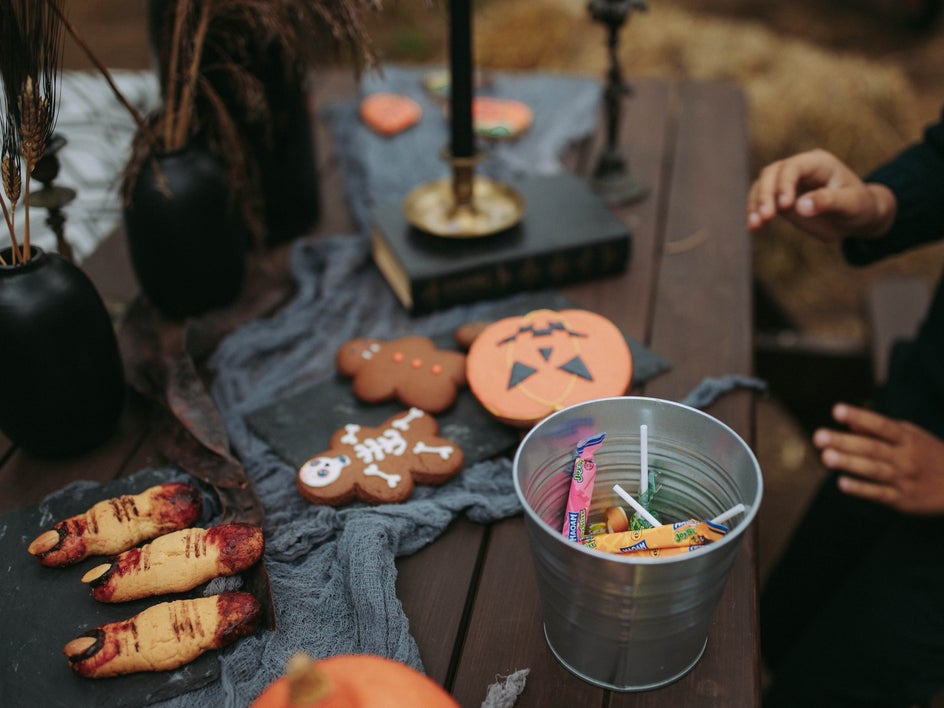
The best way to make your Halloween party one to remember is to think out of the box. Challenge your friends with a costume theme or competition. Plan unique games and tasty snacks with creepy names. Decorate the party space like a haunted house. There is no limit to your creativity here and this excitement can translate over to your invitation design.
After you’ve figured out all the fun details, it’s time to spread the word and invite your friends. Design a Halloween invitation that reflects the tone of your party. The colors, font, and visual elements are a glimpse into what guests can expect from your epic Halloween party.
Thankfully, BeFunky’s Halloween templates make it easy for you to choose from plenty of invitation templates that you can easily customize to match the theme of your party. Using the invitation templates as a design guide, you’ll be able to make an invite so amazing, your friends will marvel at your creative skills (even if you don’t consider yourself creative).
How to Create Halloween Invites With BeFunky
Once you have your theme picked out and all the necessary information like the event time and place, it’s time to start on an invitation. In this tutorial, we're going to utilize one of our custom Halloween Party templates to make the process easier than ever.
Step 1: Choose a Template
The first step of creating your spooky invite is to select a template from BeFunky’s vast library. Navigate to the Designer by clicking on this link. You'll be brought to the Halloween templates section, located under the All Events and Cards section.
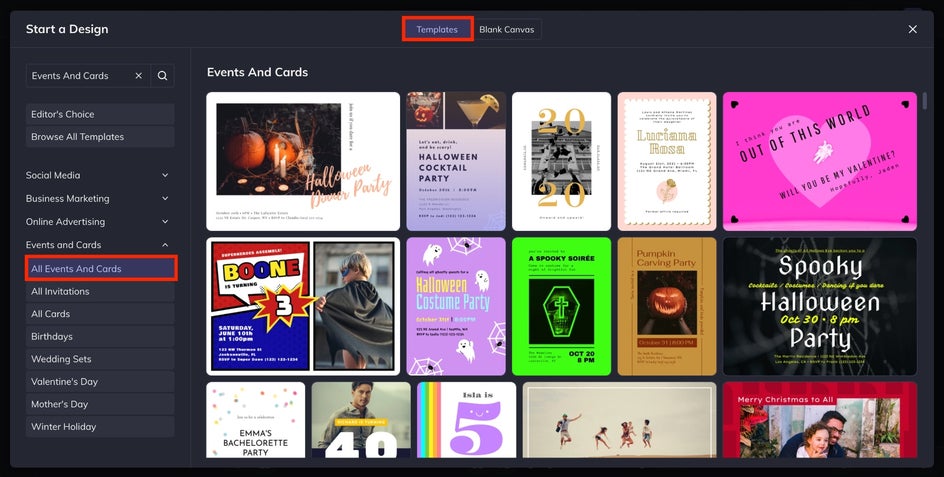
Click the template you want to use. On the next screen, select the blue Use This Template button to load the template in BeFunky’s Graphic Designer. Now, it’s time to get editing!

Step 2: Add a Background Photo
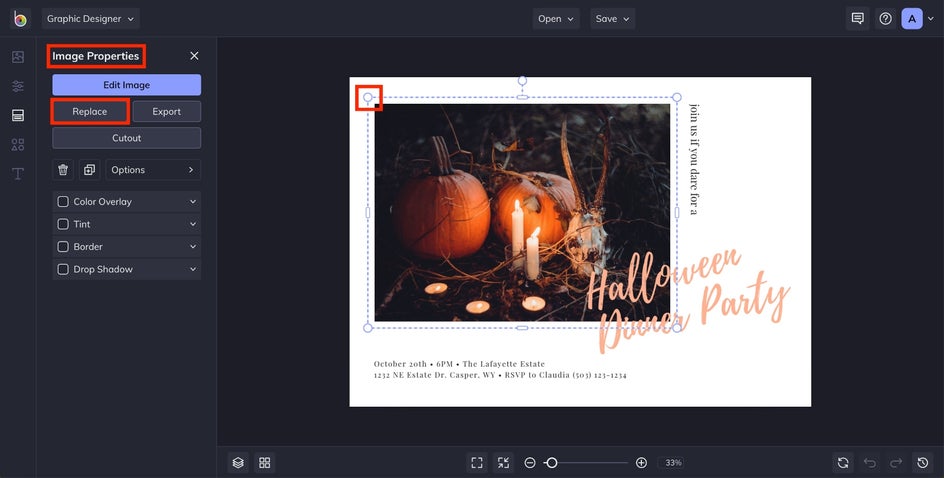
The right background photo will set the tone for your Halloween party invite. Click on the image in the template and notice that an Image Properties menu appears to the left. In this menu, you can click on Replace to choose a photo that’s stored on your computer.
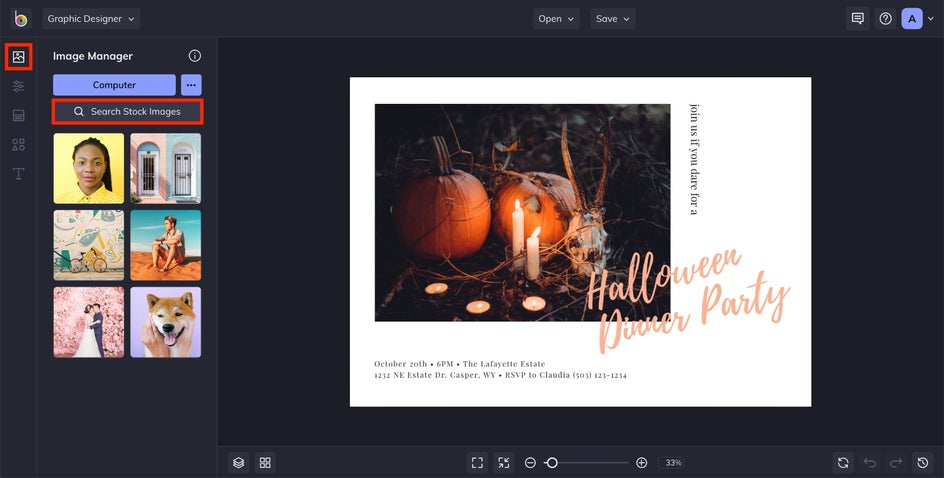
Alternatively, if you don’t have an image already stored on your computer, you can click on the Image Manager in the left toolbar. It’s the first icon at the top of the toolbar, and it’s here that you can search BeFunky’s huge library of over one million FREE stock photos to use in your project. First, click Search Stock Images.
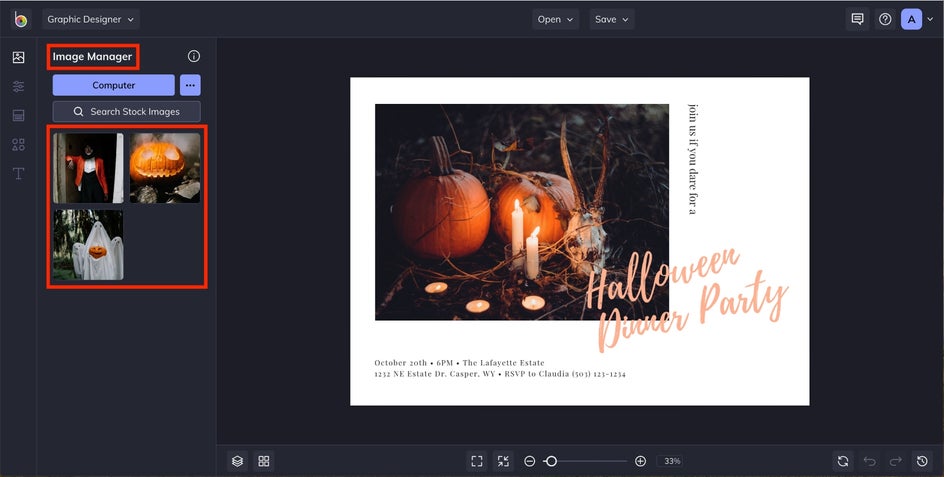
Next, type whatever kind of image you’re looking for into the search bar, and press the search button. You’ll be presented with plenty of Halloween-inspired photos to use as your background photo!

Select the photo you want to use and close out of the image library by clicking the “x” in the top right corner. Once you’ve closed out, the selected photos will appear to the left of the screen in Image Manager. For this example, we’ve chosen three photos to try.
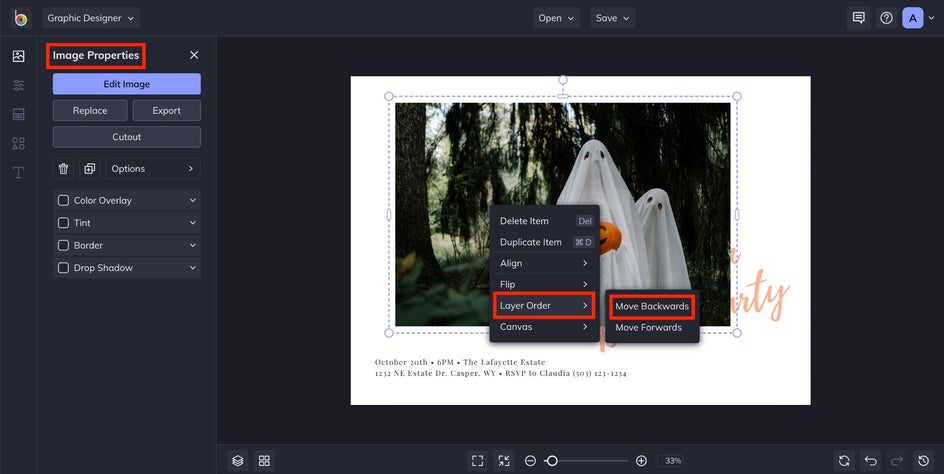
You can add the new photo to the template by double-clicking it or clicking and dragging it to the template. Use the white circles that appear at the corner of the selected image to resize it to fit your template. You can also right-click the image, navigate down to Layer Order, and click Move Backward to have the image appear under any existing text or graphics.
Now that your background image is looking good, it’s time to move on to the text.
Step 3: Edit the Text
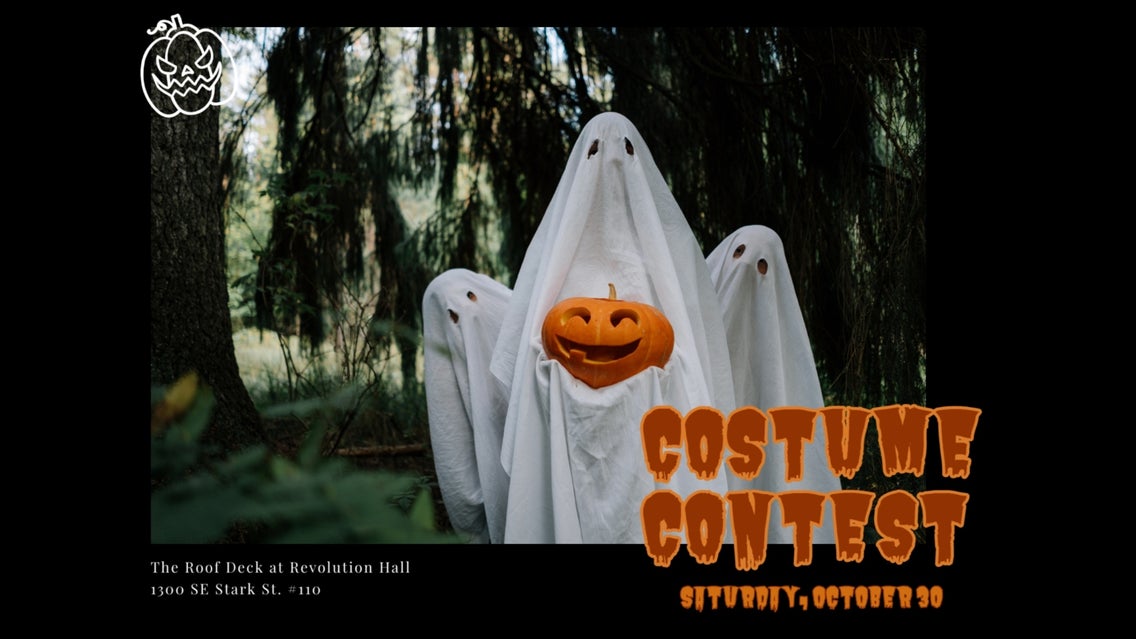
Next, it’s time to change out the information to reflect the details of your Halloween party. We started by dragging all the text to the left, so they don’t obstruct the view of our ghosts and pumpkin. Click a text box to have Text Properties appear on the left. Double click the text in the text box so it’s highlighted.
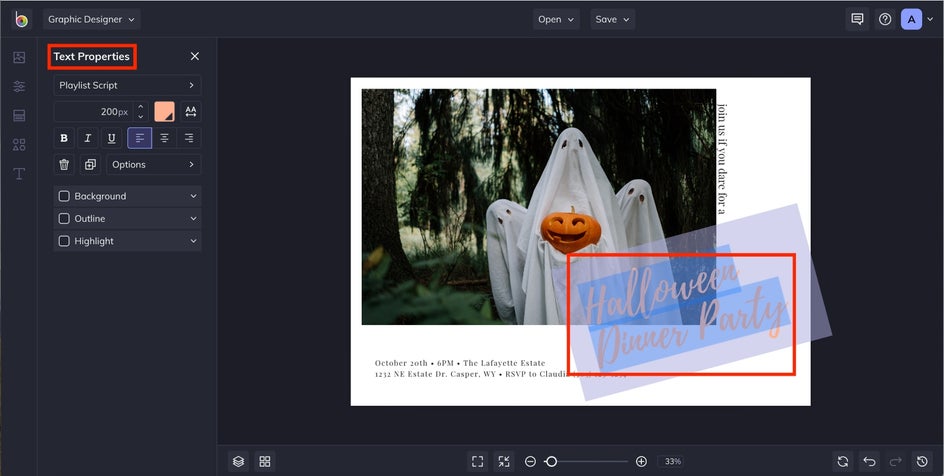
Start typing whatever you want your Halloween invitation to say. Keep the text highlighted and navigate over to the font dropdown menu.
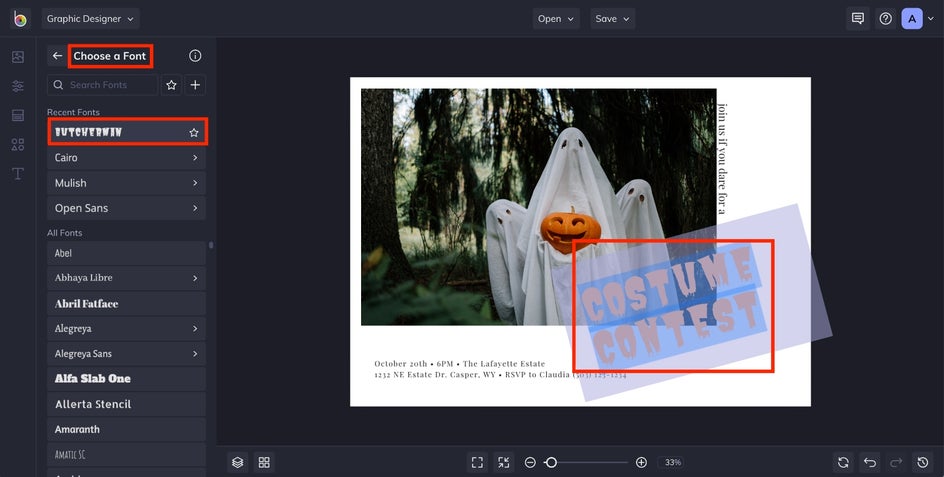
From here, choose a fitting font. If you know the name of a specific font you want, you can also search for it in the search box at the top of Choose a Font.
Pro Tip: Stick with one or two fonts on your Halloween invitation. Using too many fonts can become distracting and difficult to read.
After selecting a font, exit the menu and return to Text Properties. Here, you can change the color, font, size, opacity, and pretty much anything regarding the way your text is presented. We chose to change the font size and color. Again, make sure the text is highlighted. Click the small colored box with a black triangle in the corner. This opens the color picker. If you want to use a color from the image in your invite, use the Eye Dropper Tool.
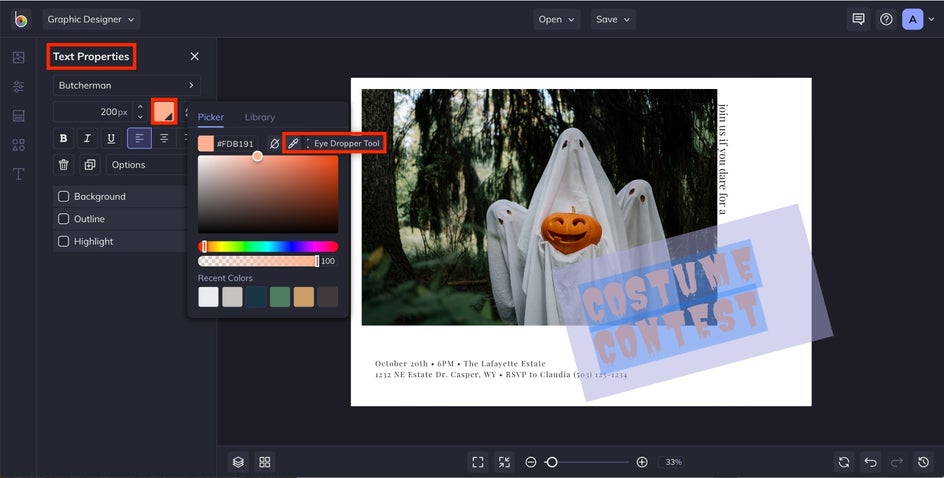
In this example, we used the Eye Dropper Tool to make the text the same color as the pumpkin in the image. Choosing colors that already exist on your invitation template will help keep your design cohesive.
Add more text boxes by selecting the blue Add Text button on the Text menu. This will allow you to add more details about your party like time, date, and location.
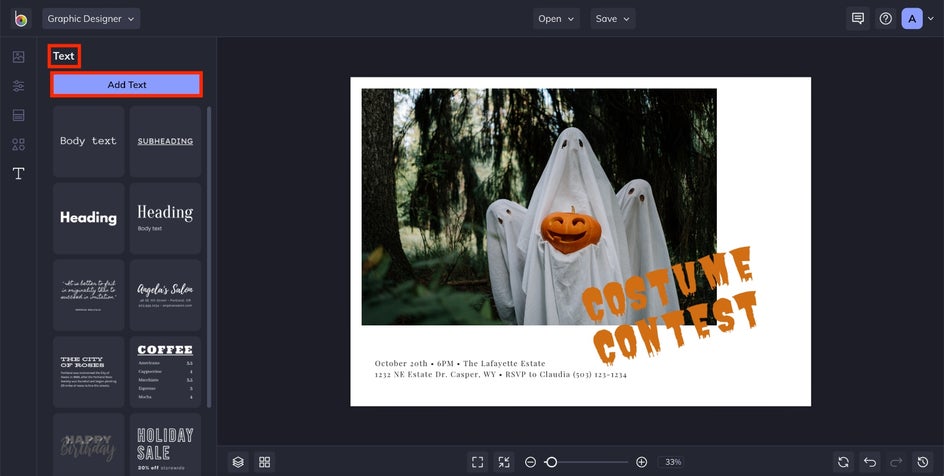
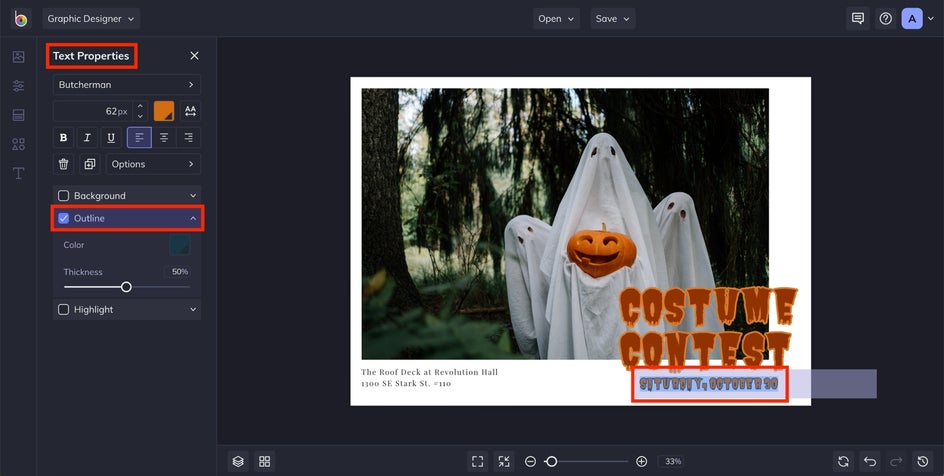
Feel free to get creative with how you use different fonts and sizes. Little variations here can add a lot of character to your final invitation. Here we use the outline feature to make some of the text stand out against the background image. Use the small triangle on the right of Outline to open and collapse the editing submenu.
Step 4: Change the Background Color
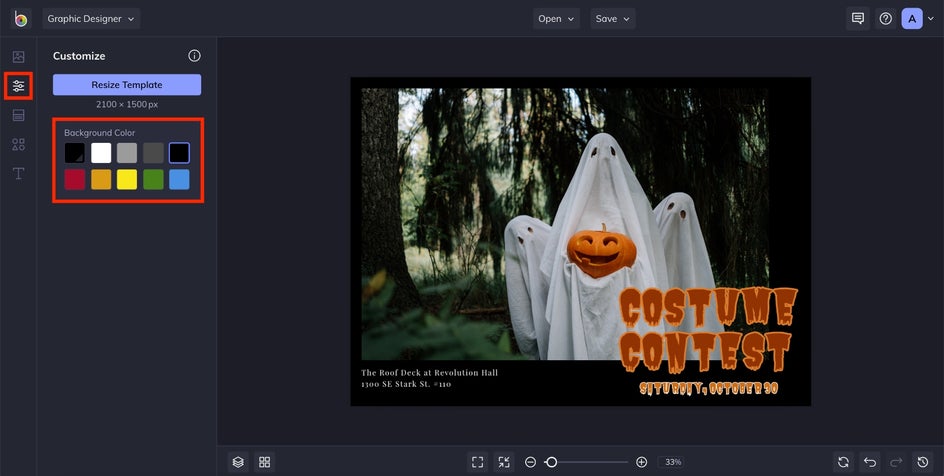
If you want to change the background color to add a little extra creepiness to your Halloween invitation, click on Customize in the icon menu. From here you can change the color from a provided color pallet or click the black triangle in the first color square for a dropdown menu of more options. For this example, we chose to keep the background color simple by making it black.
Step 5: Add the Finishing Touches
Your Halloween invitation is almost complete. There are just a few finishing touches to make it ready for guests. It needs graphics.
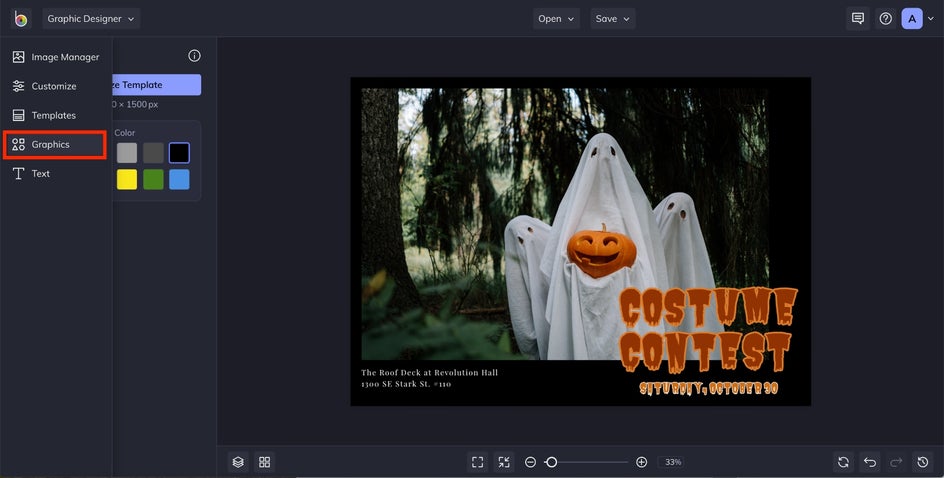
Navigate to the left icon menu and hover over the icons until the menu opens. Click Graphics.
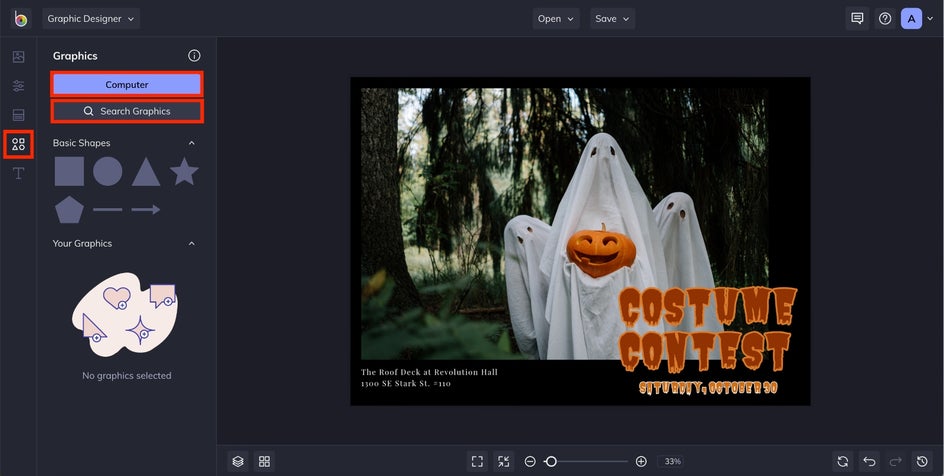
You can upload graphics from your computer by clicking the blue Computer button or browse BeFunky’s expansive library of graphics by selecting Search Graphics. For this example, we’re going to choose from BeFunky’s library.
Here, you can use the search bar if you have a particular graphic in mind or browse via the Popular Tags or Styles sections on the left side of the library.
Graphics can be a great addition to your invitation, whether you want to enhance the theme, make certain elements stand out, or break up the text with some lines. For our invitation, we’re adding a curly line graphic to place between lines of text. When you click the graphic you want to use, a blue line will appear around the graphic’s perimeter along with a blue checkmark in the bottom left corner.
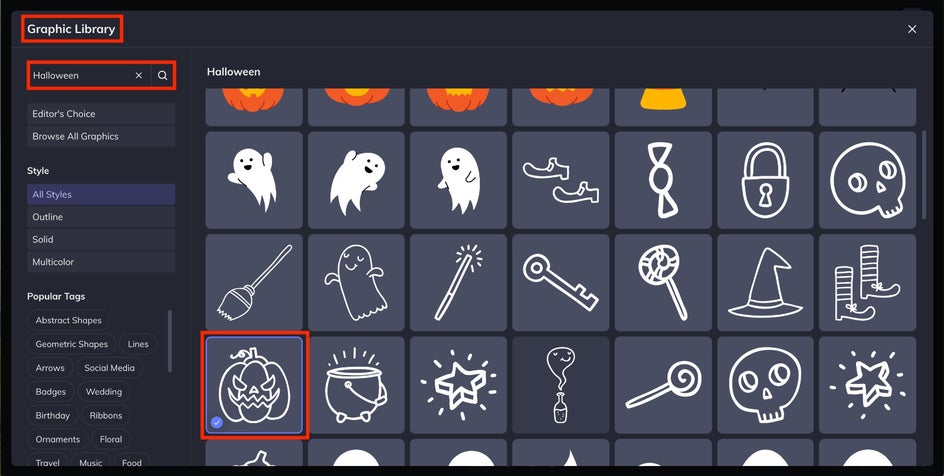
Exit the Graphics Library and your select graphic will appear under Your Graphics. Just like you did before, double click or click and drag the graphic for it to appear in the invitation.
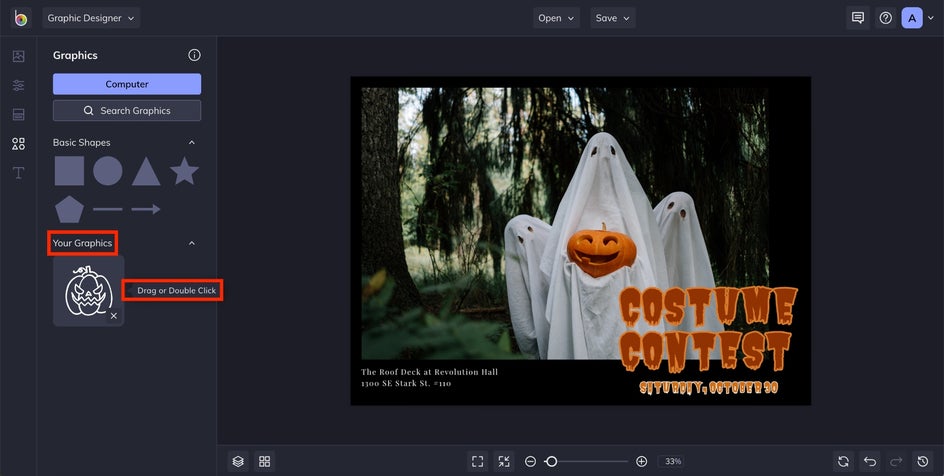
When the graphic is selected, the Graphic Properties menu will appear on the left. Here, you can change the color overlay and add a tint or drop shadow. Use the white circles in the corner of the selected graphic to change its size.

Step 6: Save Your Halloween Invite
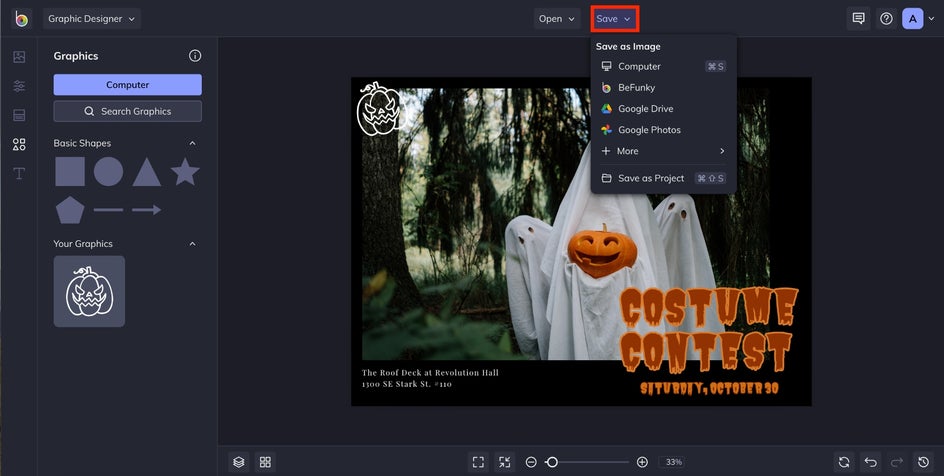
Once you’ve got your Halloween invitation looking exactly how you want it, use the Save button at the top of the Designer to save it to your computer. You can print it out to give to your guests in person, or use the digital version.
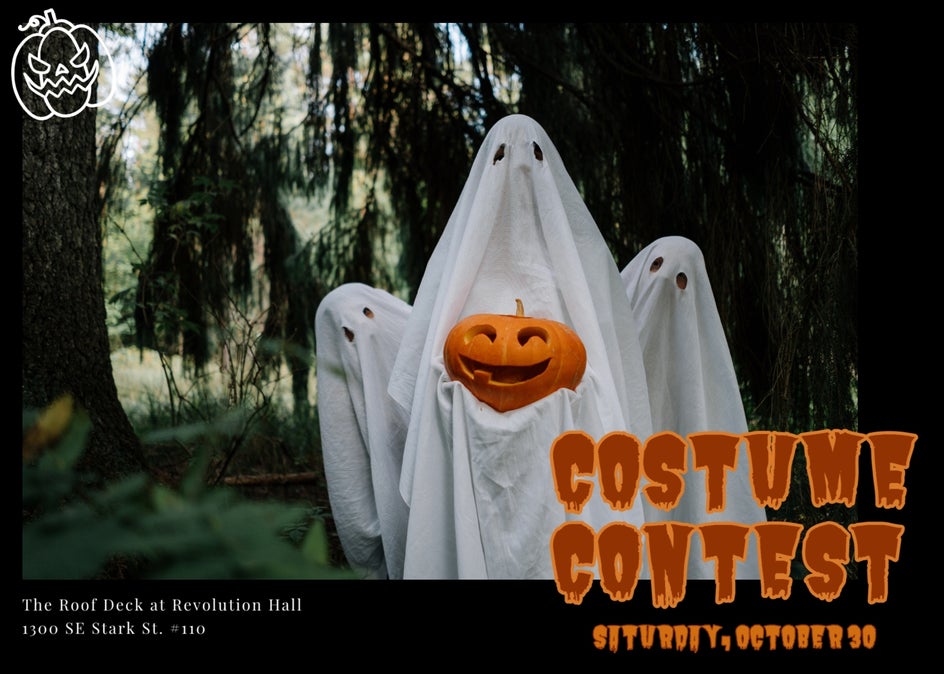
Well done! You’ve created a unique Halloween invitation that your guests will love.
Start Planning Your Spooky Soirée
After your invitations are sent out, it’s time to get back to planning your costume, party decorations, drinks, and food. The good news is, BeFunky’s Graphic Designer can help you create even more amazing things to compliment your party – menus, wall decor, and more!
