How to Create First Birthday Party Invitations for Any Theme
First birthday parties are so much fun to throw. It’s typically the first time you get to see your baby’s reaction to cake and probably the first big party you’ve thrown in an entire year (or longer). Before you get to planning every last detail, creating the perfect first birthday party invitations to send out to loved ones is key to getting the party started. Whether you’ve got a theme in mind or not, BeFunky’s Birthday Invitation Maker has all the customizable templates you need to design what you’re imagining.
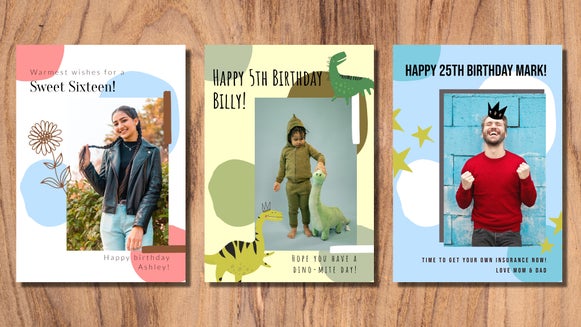
There’s a huge variety in BeFunky’s collection of Birthday Party Templates, and you’ll find beautiful designs for whatever age you’re celebrating. There are First Birthday Party Invitation templates specifically, but since each template is fully customizable, you could choose any invitation design as your starting point. We’ll show you how it all works next.
How to Create a First Birthday Party Invitation
When you’re feeling inspired to start designing a First Birthday Party Invitation in BeFunky, head to the Birthday Invitation Maker templates and follow the steps below:
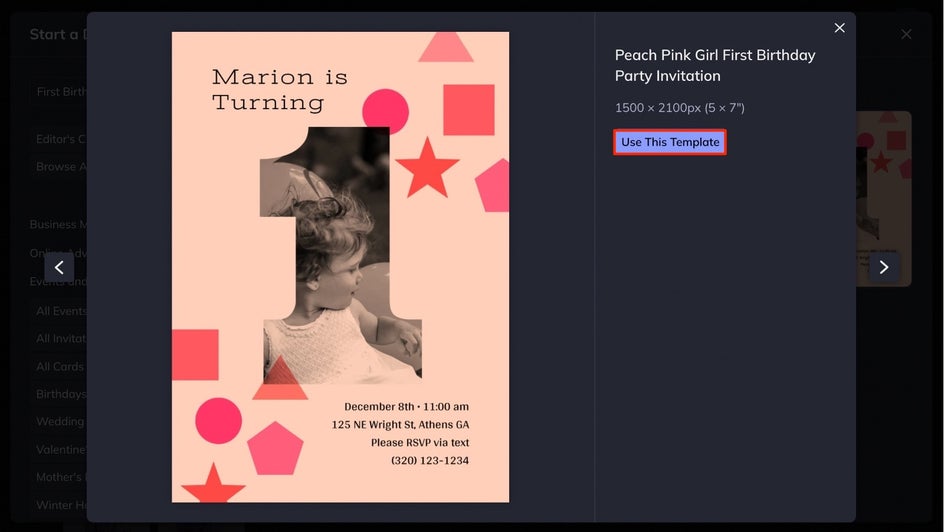
Step 1: Choose a Birthday Invitation Template
When you click this link, you’ll be directed to BeFunky’s Birthday Invitation Templates. If you’d like to narrow your search down to first birthday templates, type “first birthday” into the search bar.
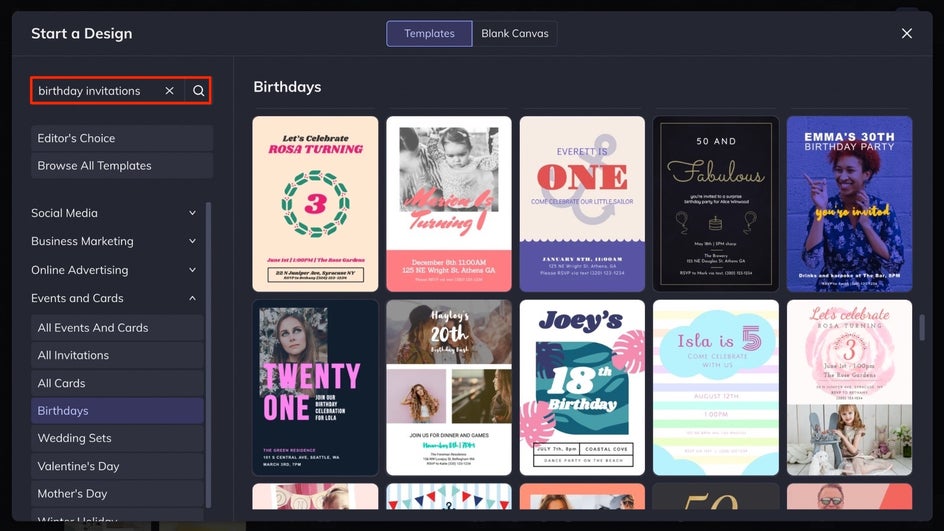
Click through each of the templates to see an up-close preview. When you find one you love, select Use This Template.
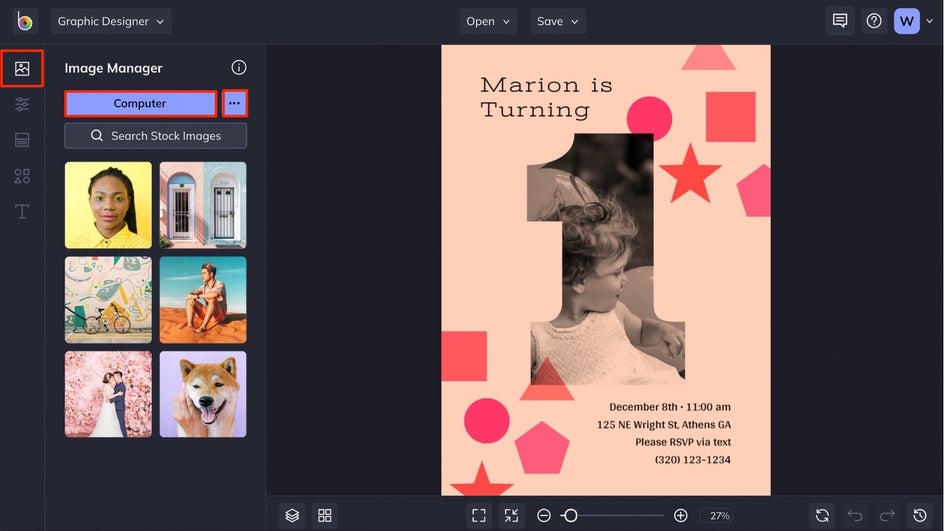
Step 2: Add a Photo
First, swap out the photo on your first birthday party invitation template with a cute photo of your baby. Click on the Image Manager tab in the menu on the left. Use the Computer button to upload photos from your Computer or the … button to choose photos from your BeFunky account, Facebook, Google Photos, and more.
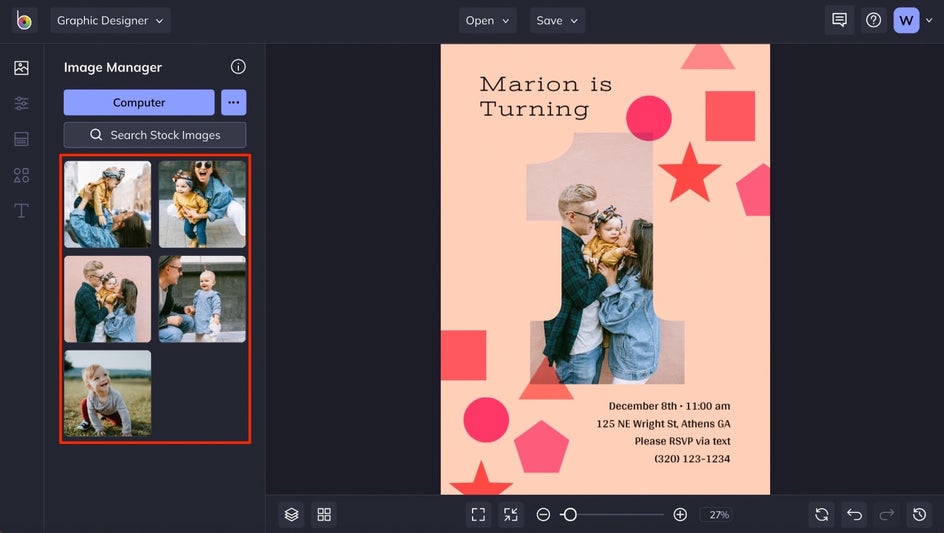
When your photos are uploaded, you’ll see them as thumbnails in the Image Manager. Drag and hover a thumbnail over the existing photo in the template, then drop it in to replace it.
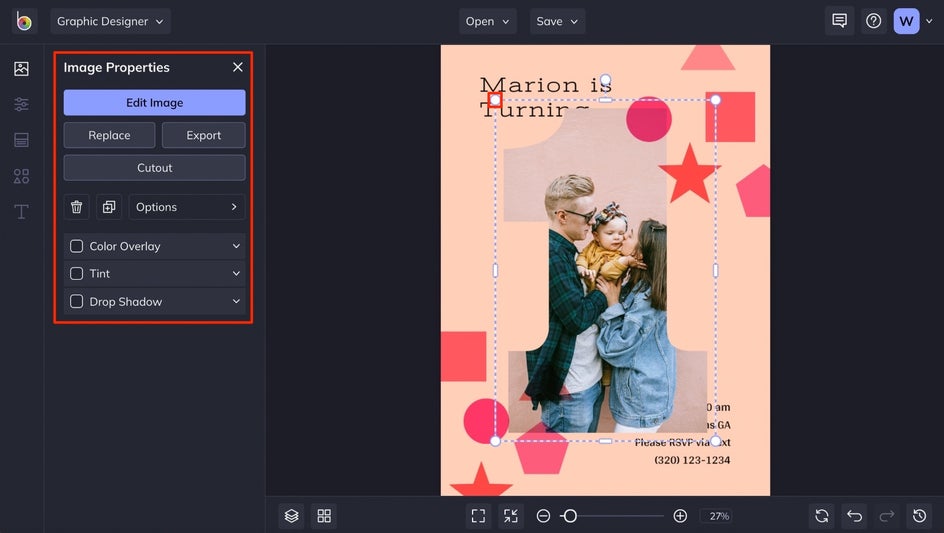
From here, you can resize the image using the circles around it once selected and move it around the template by dragging it to a new position. You can also use the Image Properties menu to get creative with Color Overlays, Tints, edit the photo with BeFunky’s Photo Editor, and more.
If your template doesn’t have a photo, you can still add one by uploading the photo to the Image Manager and dragging it onto your template. Or, move on to step three if you don’t plan on adding any photos.
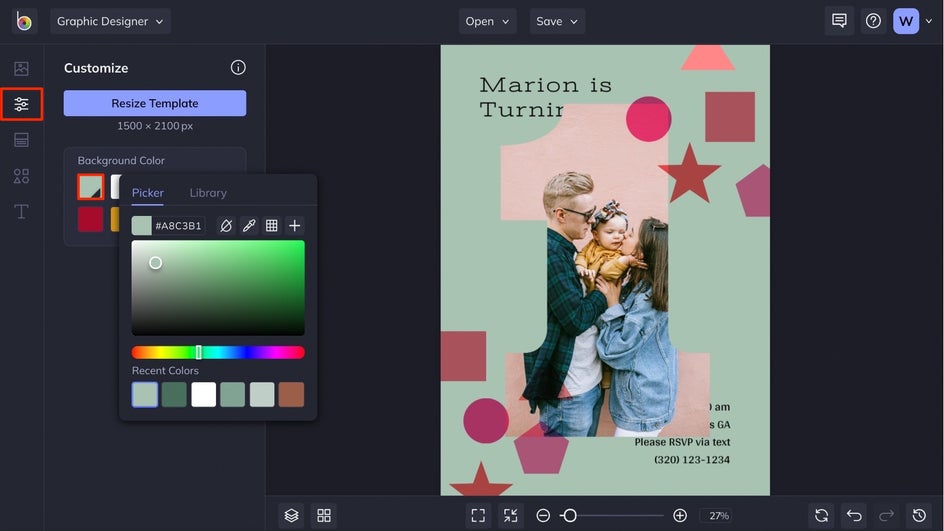
Step 3: Customize the Background Color
To change the background color, click on the Customize tab in the menu on the left. Choose the first color tile and browse different color options in the Color Picker menu that appears.
Step 3: Change and Customize the Text
Next, double-click on any text box and type something new. In this case, you’ll want to type out all the party details and swap out the name on the template with the name of your baby.
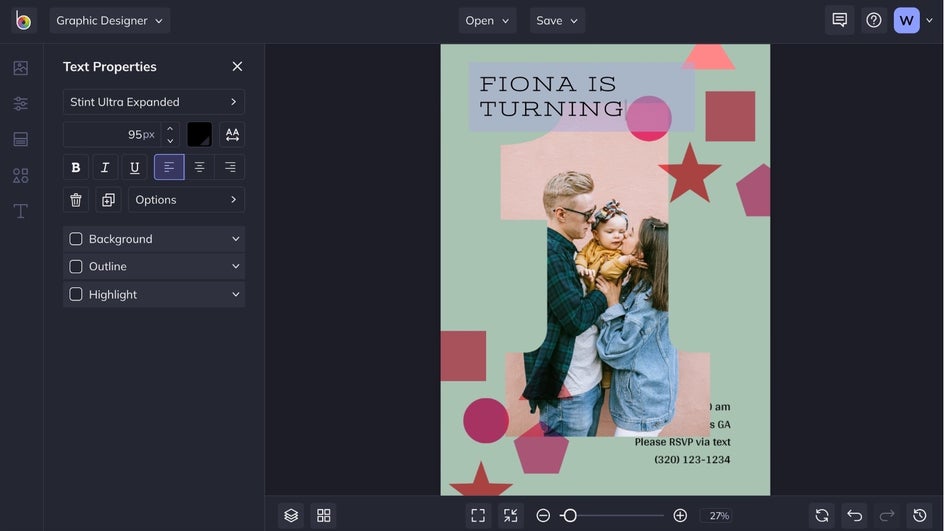
To change the font, select any text box and click on the font name in the Text Properties menu that appears on the left. Choose from BeFunky’s huge library of free fonts or add your own fonts if you have some favorites stored on your computer.

To move the text forward if it’s stuck behind another layer, click the Options button in the Text Properties menu and select the Move Forward icon.
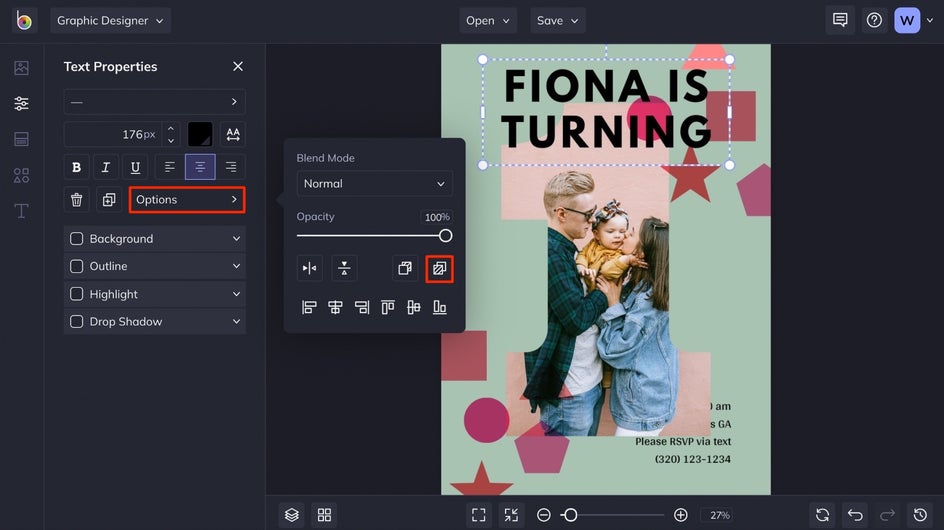
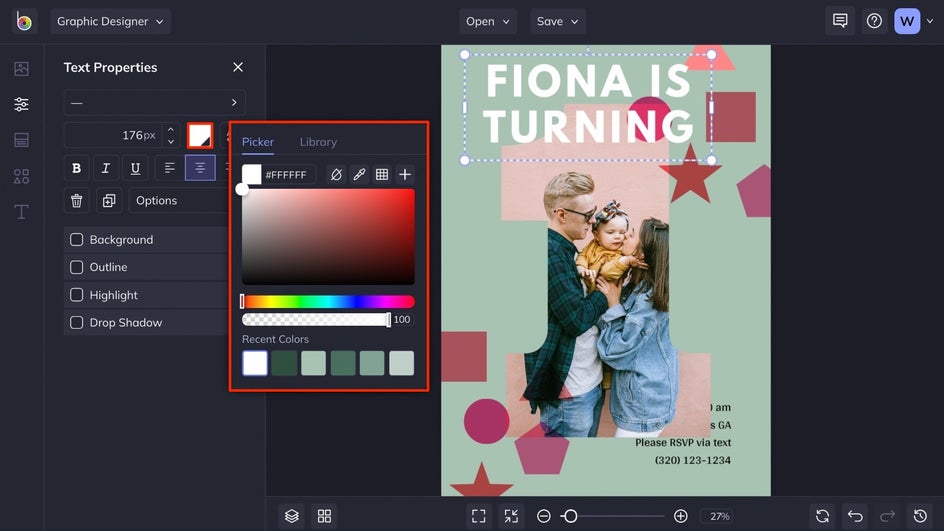
The Text Properties menu is full of other customization options as well. Change the text color by clicking on the color tile and choose a new hue, add typographical emphasis, add a drop shadow, and so much more. Play around with the options until the text looks just right.
Repeat the customization steps for any additional text boxes on your template. Note that you can move text boxes around by dragging them to a new position.
Step 5: Add Graphics
To add new graphics and play around with the first birthday invitation theme, click on the Graphics tab in the main menu on the left. In the case of this invitation, we deleted all of the existing graphics by selecting each one and pressing the delete button on the keyboard. Click the Search Graphics button to open BeFunky’s Graphic Library and find the perfect graphics for your invite.

Once you’re in the Graphic Library, use the search options on the left to narrow down your search. Select any graphics you might want to add, then click the x button in the top left corner to close the Graphic Library. When you close out of the Graphic Library, you’ll see all of the graphics you selected in the Your Graphics section.
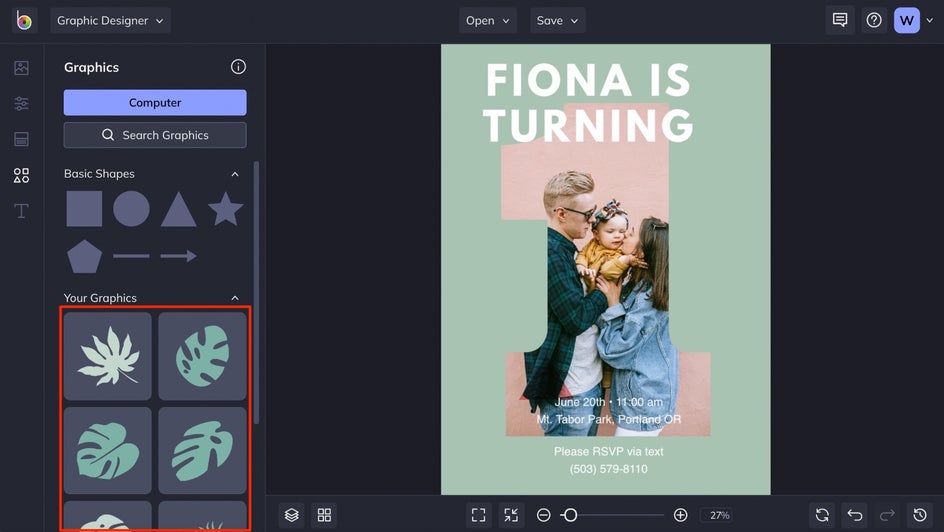
Double click any of the graphics to add them to your template. From there, you can drag it to any new position on your template, then use the circles around the graphic to resize and rotate it. Use the Graphic Properties menu that appears on the left to customize the color overlay, add a tint, drop shadow, and more.
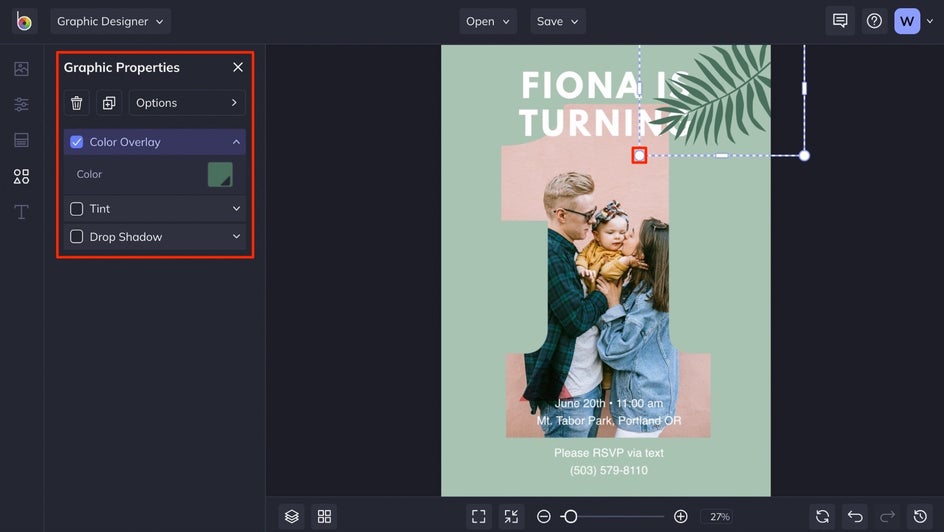
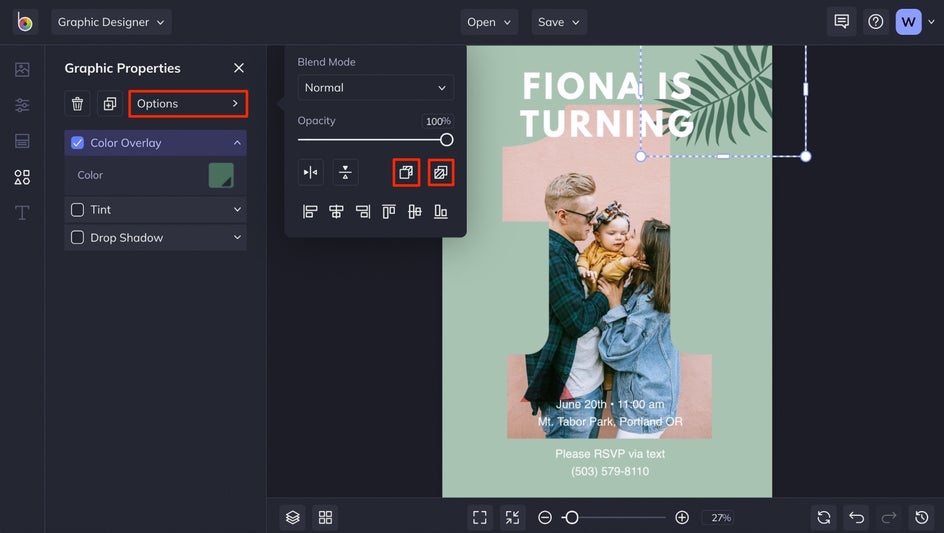
To move a graphic behind or in front of other layers, click the Options button in the Graphic Properties menu, then choose the Move Backward or Move Forward icons. To duplicate a graphic and keep all the graphic properties intact, select any graphic and press the D button on your keyboard. Then, move and rotate the graphic to a new position on your template.
Repeat the process of adding and customizing graphics until your first birthday party invitation looks just how you imagined.
Step 6: Save It
When you’re ready to save your work, click the Save button at the top of the page. You’ll be presented with plenty of options for saving your First Birthday Party Invitation, whether you want to send it as a text to friends or print them out.
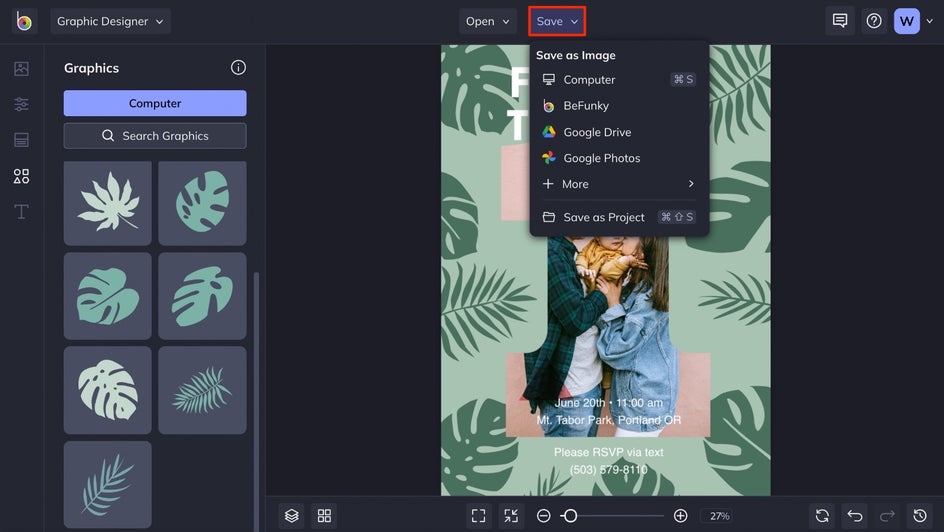
We recommend saving your First Birthday Party Invitation as a PDF to keep it in high resolution if you’re planning on printing, and as a project, just in case you need to make any future changes.
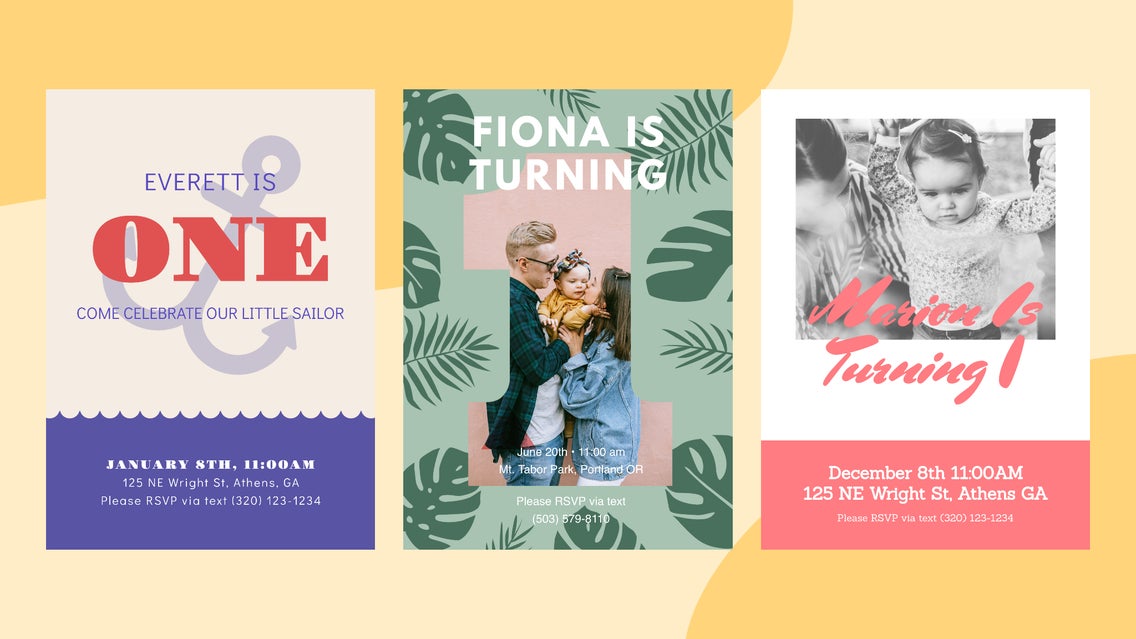
The Perfect Invite
See how easy it is to transform a BeFunky First Birthday Party Invitation template into the design of your dreams? Whatever you’re envisioning, these templates will help get you there:
First Birthday Invitation Inspiration
When it comes to first birthday parties, there’s usually a theme involved. BeFunky’s First Birthday Party Invitation templates are fully customizable to suit whatever look you’re going for, so you can totally match the invitation to the party theme. Here are some of our favorite templates to use as starting points:
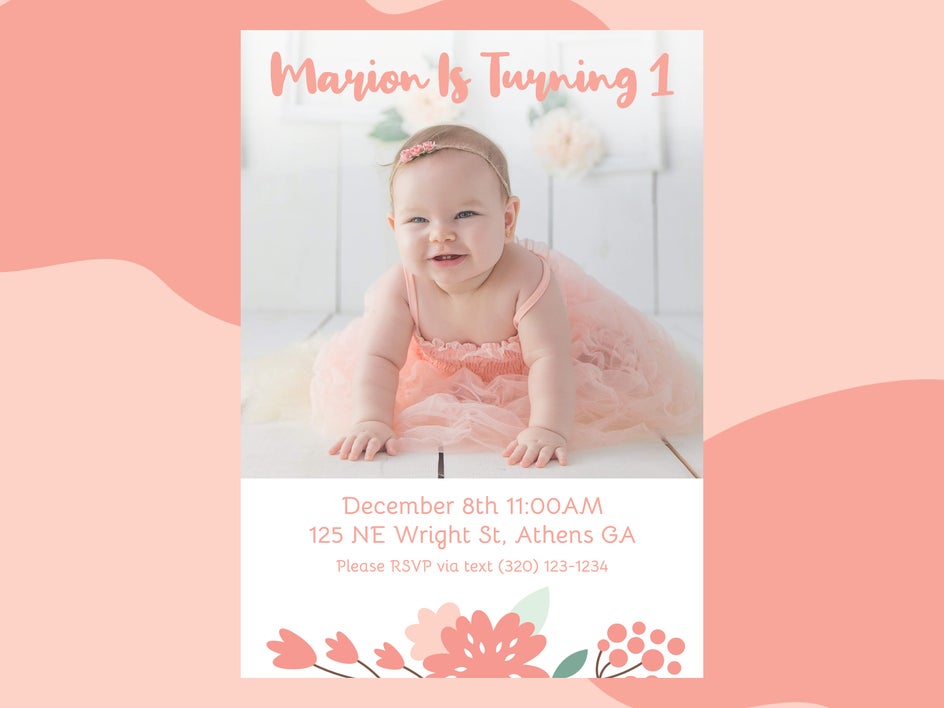
Floral Theme
If there’s one thing that will never go out of style, it’s the floral look. This premade floral first birthday party template is so cute as-is, but you could add even more floral graphics to take it a step beyond.
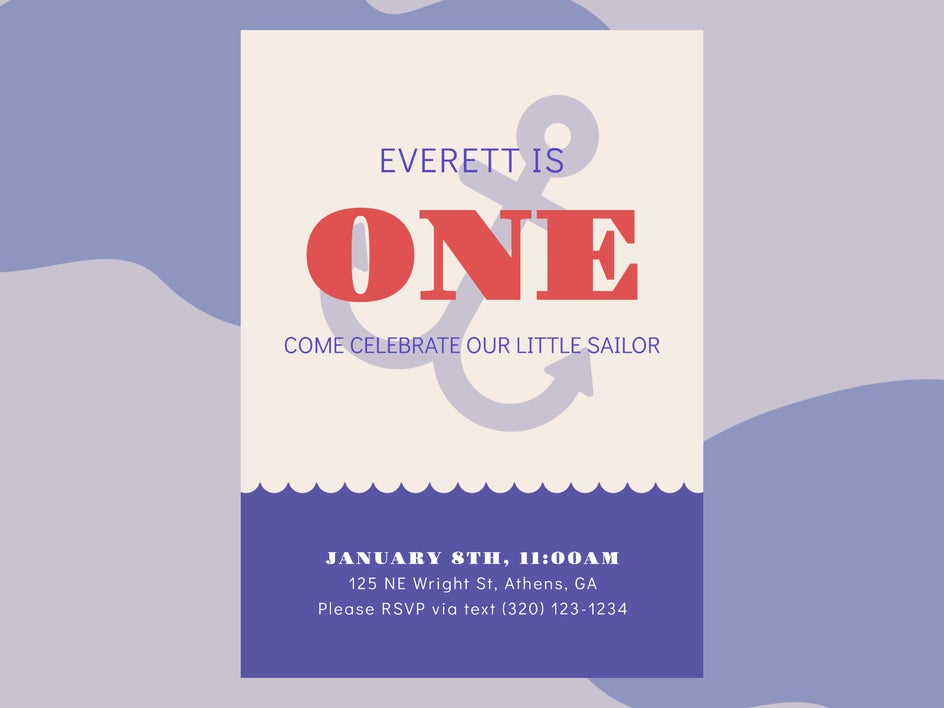
Nautical Theme
Perfect for your little sailor, this nautical first birthday party template comes pre-designed by professional graphic designers, so all you have to worry about is changing out the party details.
Minimal Theme
Although this minimal first birthday party invitation template lacks a standout theme, you could totally make it your own by using it as a starting point. Or, make it even more of a minimal look by using fonts like Helvetica, League Spartan Bold, or Montserrat:
Create a Memorable First Birthday
The best part about BeFunky’s Birthday Invitation templates is that you can change them as much or as little as you want. With easy customization tools, you’ll have total creative freedom over the design. Start designing here!