How To Turn Your Photo Into Pen Art
Whether it’s silly doodles or fine art, using pens is a fun way to get creative. Pen art sketches give depth and character to their images. Dutch artists Rembrandt and Vincent van Gogh, some of the greatest artists in history, used ink to capture their surroundings. This unique style of art usually avoids color. It instead relies on the pen to create a monochrome image that utilizes linework and texture. Now, you can convert your photo into a pen and ink drawing by using BeFunky’s Photo Editor.
Photos of anything can be transformed into pen and ink art. Take portraits of your friends or shots of wildlife in the great outdoors and make them look like they’ve been drawn with a pen. Pen art is a breeze with BeFunky.
How to Create Pen Art From Your Photos
Pen art presents a photo in a unique and eye-catching style. There is even variety within pen art itself! Choose styles that resemble ballpoint pen art or fountain pen art, customizing either to your personal style. Follow the simple steps below to create pen art from your own photography.
Step 1: Upload Your Photo
The first step is to upload your photo into the Photo Editor. Open the app and click the Open menu at the top center of the screen. You can either choose to upload your own image by selecting Computer or Google Drive. You can also experiment with a stock photo from BeFunky before working on your own photos by clicking More, followed by Stock Photos.
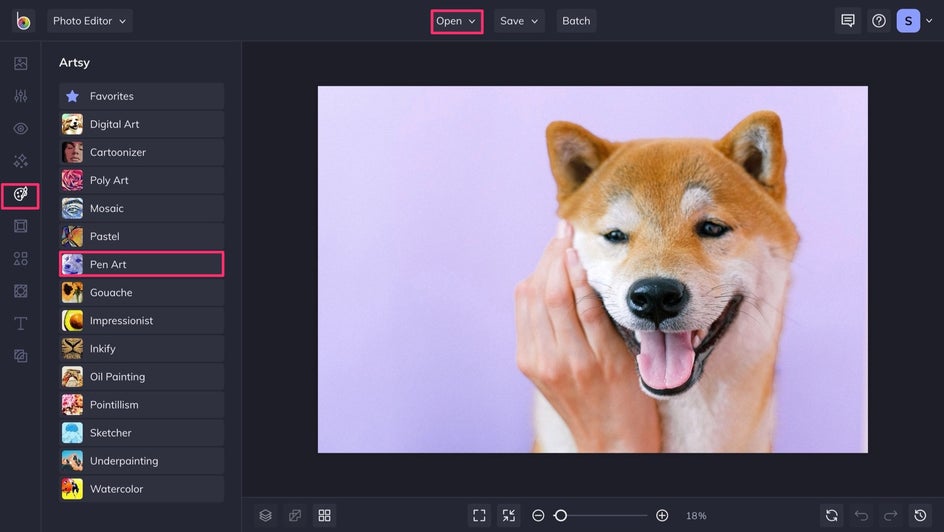
Step 2: Find the Pen Art Effect
When you open a photo, you will be brought to the Artsy menu. The Pen Art tab can be found about halfway down the list.
Step 3: Turn Your Photo Into Pen Art
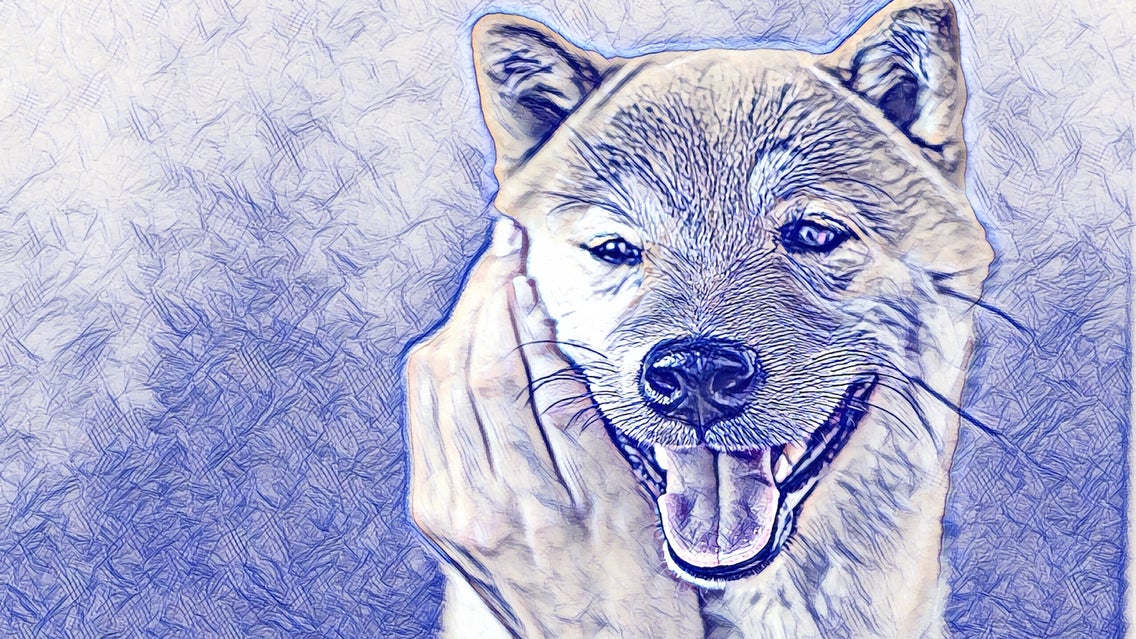
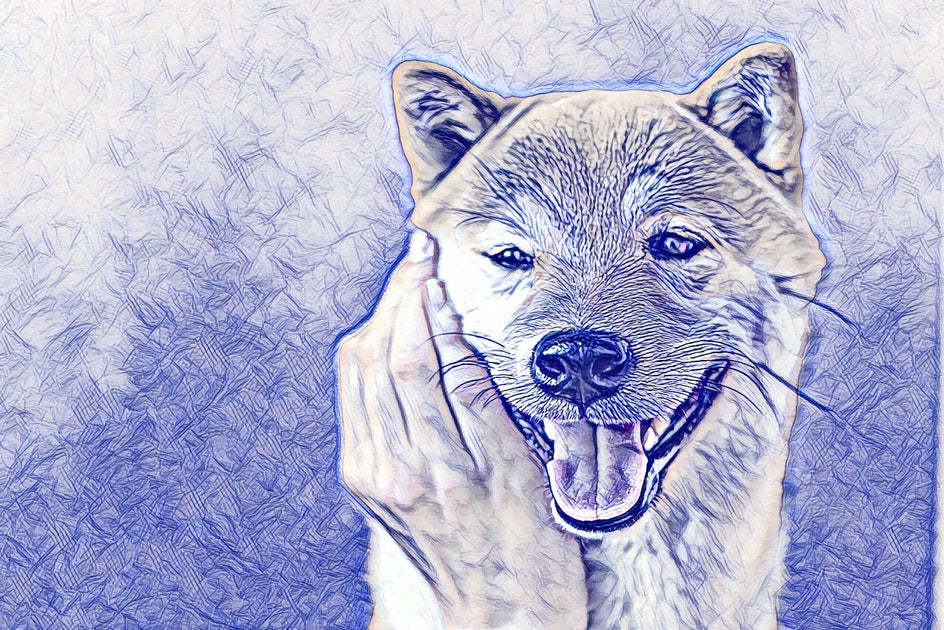
Click on Pen Art to see two options: Pen Art DLX 1 and Pen Art DLX 2. The first emphasizes fine lines and uses two colors. The second option leans into broader strokes and shapes while giving slightly more texture to the image. For this case, we’re selecting the first option.
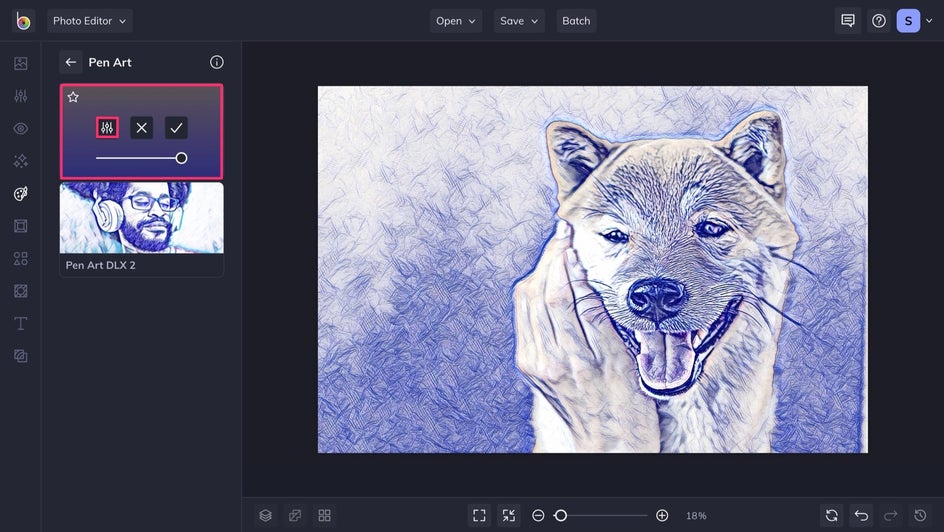
The button on the far left is Settings, where you can adjust the amount of pen art that is applied to your image. The center button is Cancel, selecting this will remove the effect completely and take you back to your original image. The third is Apply, click this to keep the changes and finalize your pen artwork. Use the sliding scale below these buttons to adjust how much pen effect is applied to your photo.
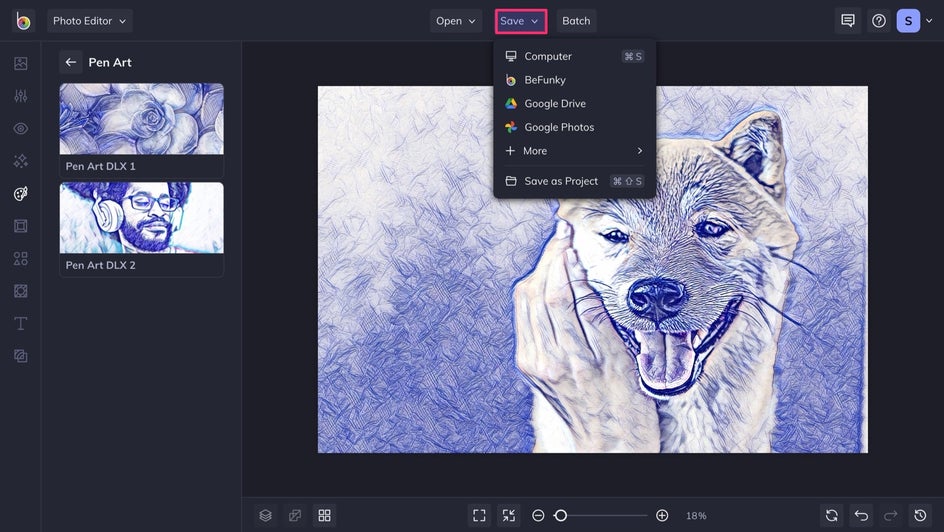
Step 4: Save Your Pen Art Photo
Make sure to save your photo once you’re done editing by using the Save dropdown menu. You can save your finished product to your computer, BeFunky, Facebook, and more.
Well done! You’ve just made your photo look like it came straight out of a sketchbook!
Creative Pen Art Inspiration
If you want to make your photos into pen art, but aren’t sure where to get started, keep reading! We have some tips and tricks for pen art editing to make your photos look as unique as the subjects they’re capturing. Let’s explore the two pen art editing options.
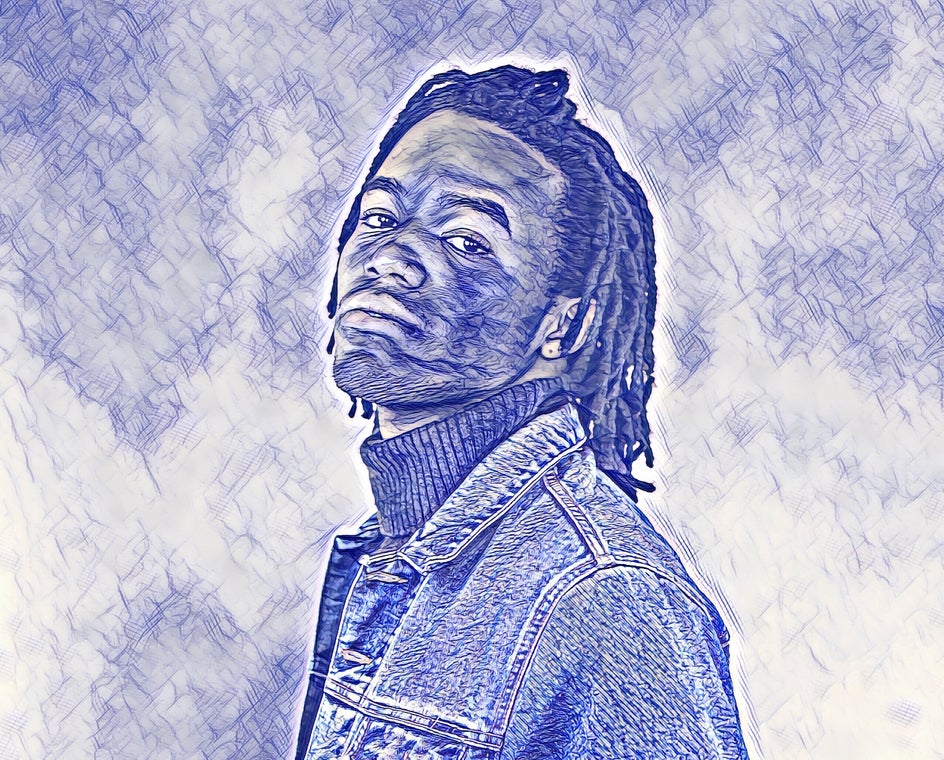
Create a Monochrome Portrait
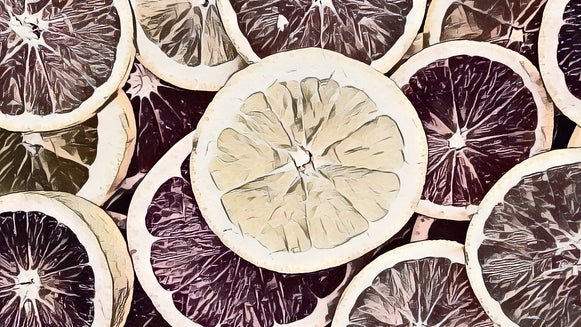
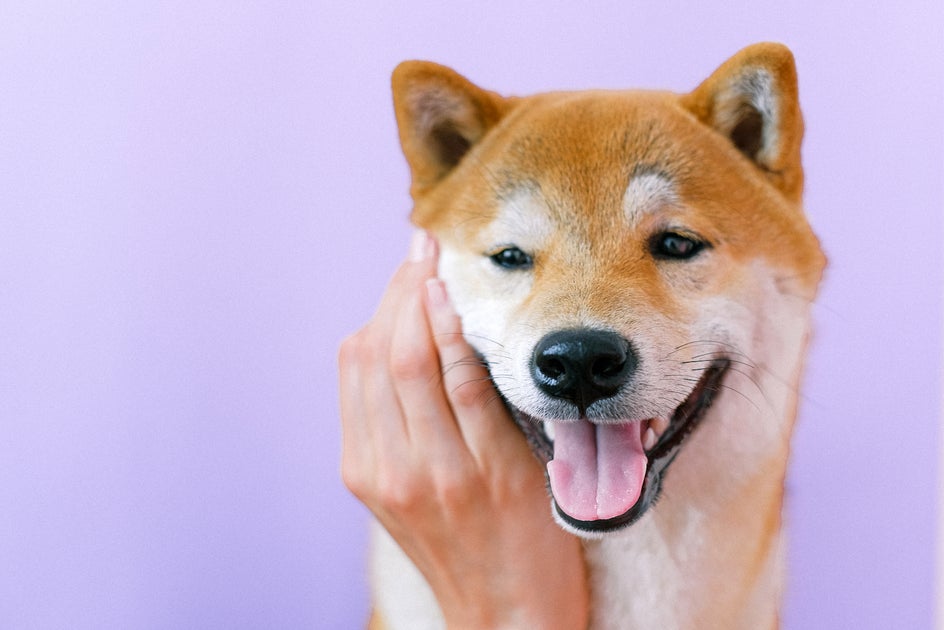
Pen Art DLX 1 utilizes finer lines to emphasize the light and dark spaces in the photo’s subject and its surroundings. Notice how this colorful example has a more monochrome tone after the effect is applied. If you prefer the simplicity of ballpoint pen art, this is a good effect to play with. You can use the sliding scale as detailed above to adjust how much of this effect is applied to your photo. With higher saturation, you will achieve a more dramatic result.

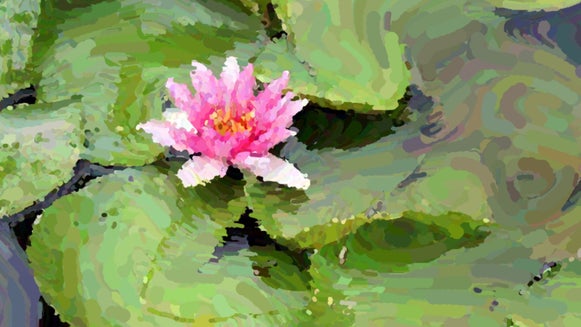
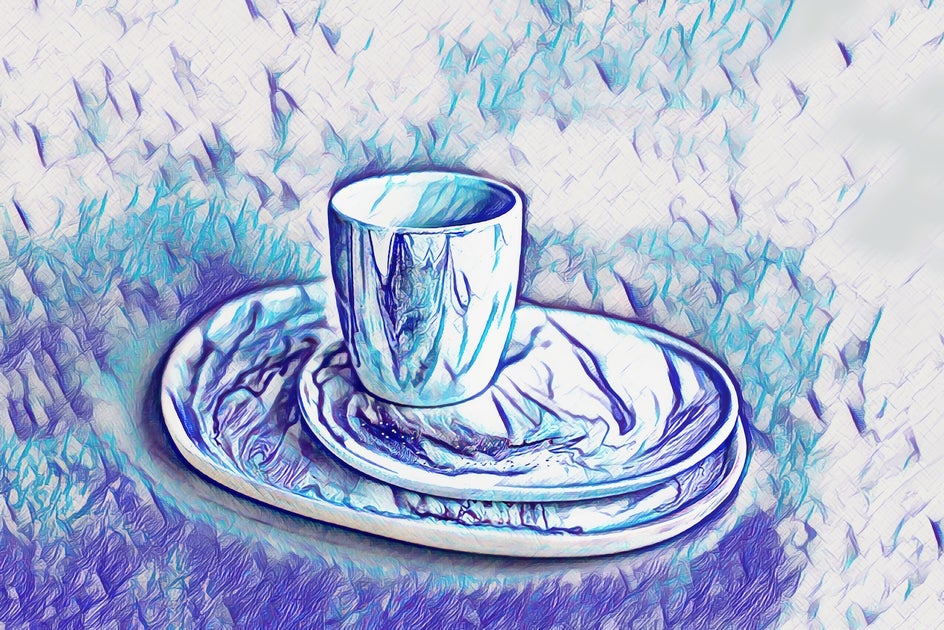
Add Depth and Texture to Your Photos
Our Pen Art DLX 2 effect uses wider strokes to highlight the photo’s shapes. The feature does two cool things to the image. First, it more resembles fountain pen art, which works with the colors and shapes of the photo. Second, it brings out the photo’s depth to create a 3D pen art effect. The photo’s subject in the forefront pops out in front of the scenery behind it. This keeps the photo realistic, even with a pen art filter.

Transform Your Photo Into Pen Art
Pen art is a creative way to showcase your photography. Make your images look like works of art using these editing effects. It’s quick to learn and easy to use.
Now, it’s time to turn your photo into a pen and ink masterpiece!