How To Create Light, Bright And Airy Images
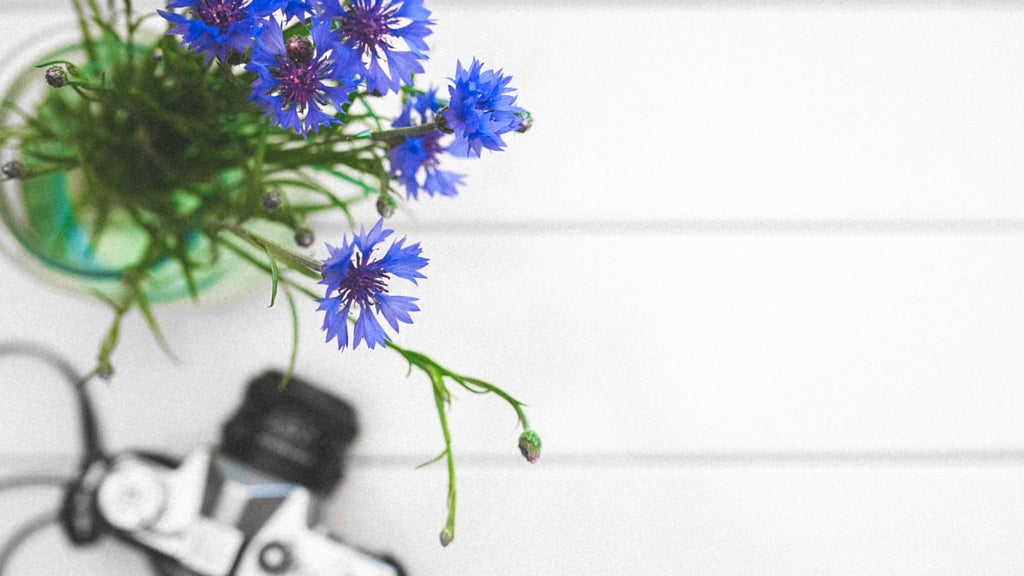
Are you always trying to create the perfect image? Me too. And at the moment, it seems the picture we’re all striving to create is one that is light, bright and airy. But how do you do it? Surely you need a fancy camera and posh editing software. Well guess what? You don’t! All you need is BeFunky’s Photo Editor to create these beautiful images. Here’s how to do it.
Your Surroundings
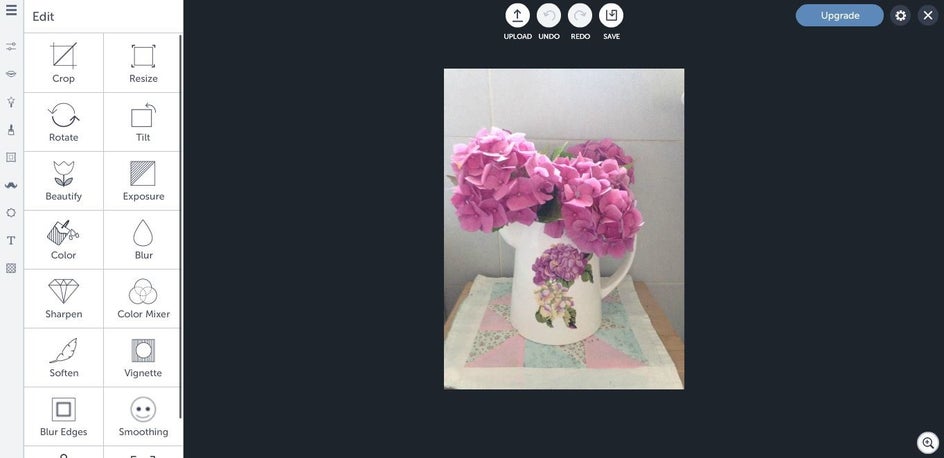
The first step to getting a light, bright and airy image starts by deciding where you want to take the photo (we recommend a white room). There’s a reason why photographers always prefer to shoot in a white room. It’s the best backdrop for getting a bright aesthetic, so be sure to shoot your photo in a light room that is really bright. If you don’t have a room that’s pure white, your bathroom is the next best shot – that’s where I took the image above. Already, you’re getting the effect because the room is so light!

The Lighting
We’ll get onto using the BeFunky Photo Editor to create the perfect light balance soon, but before that, natural light is what you need to focus on. Shooting underneath or near a big window is ideal. Now you might think that a really sunny day would provide the best lighting. Actually, a light grey sky is even better. Bright sunshine can be too harsh and cast a yellow effect over an image, but a light grey sky creates the perfect airy atmosphere.

Your Background
Just like the room you’re in, the background you choose to shoot your image against is just as important. You wouldn’t want to take a picture in a white room against a dark blue backdrop, would you? Soft grays, peaches and light blues are perfect, and they also add a bit of interest and texture to an image, without being overpowering.
The Editing
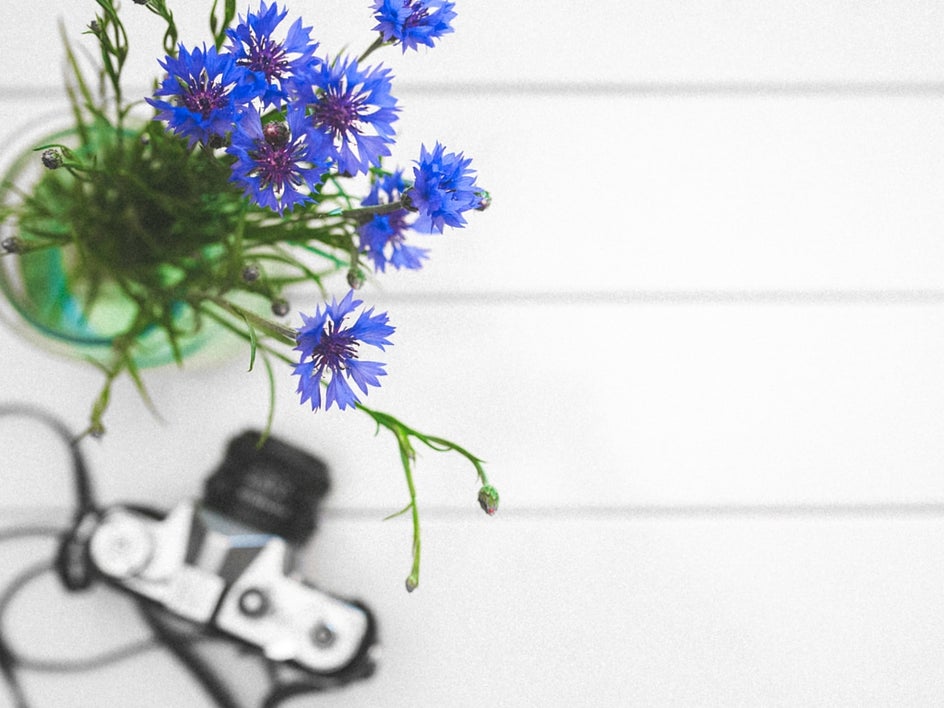
Now here’s where the magic happens. Creating a light, bright and airy image is all in the editing, which is where the BeFunky Photo Editor comes in. The first thing you want to do is make sure your image is the right size with the Resize tool – you want your subject to fill the background, but leave a little extra space.
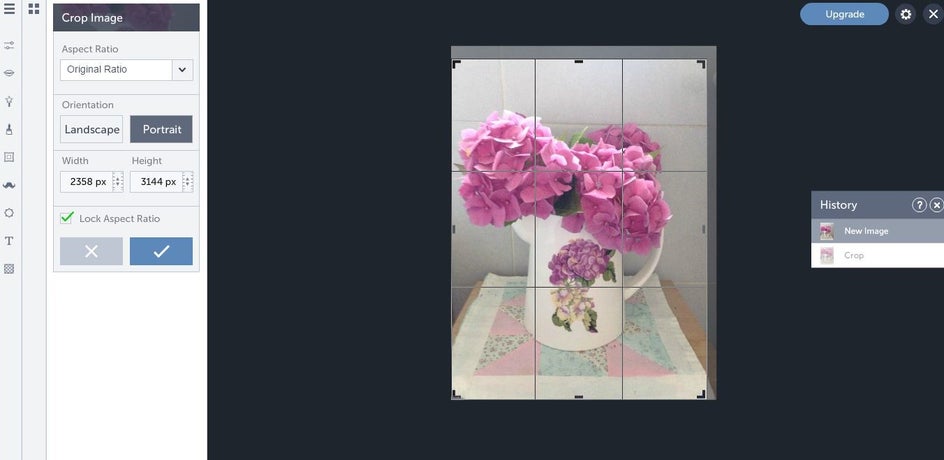
Now you could hit the Beautify button, it will really enhance the colors in the image. But that isn’t your aim when you’re going for light and airy images. You’re better off doing it manually, and the first thing you want to adjust is the Brightness, which you’ll find in Exposure.
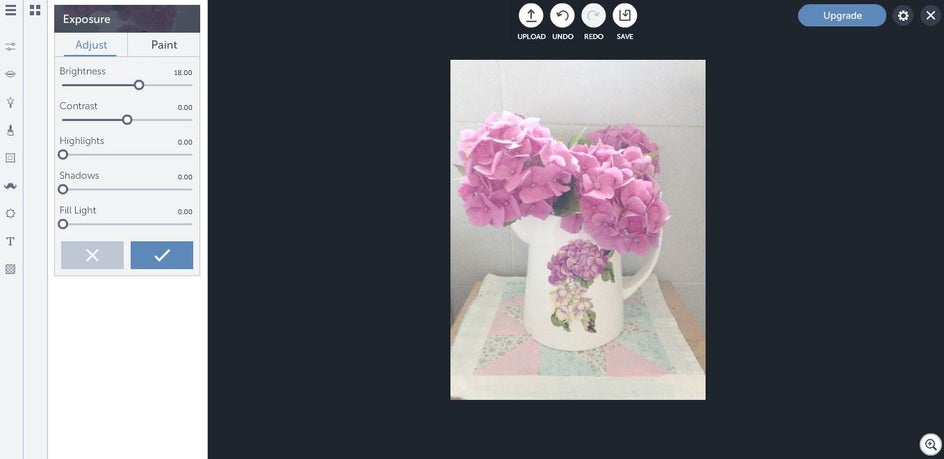
Brightness is every photographer’s secret weapon. It instantly adds light to the image, which you can see below.
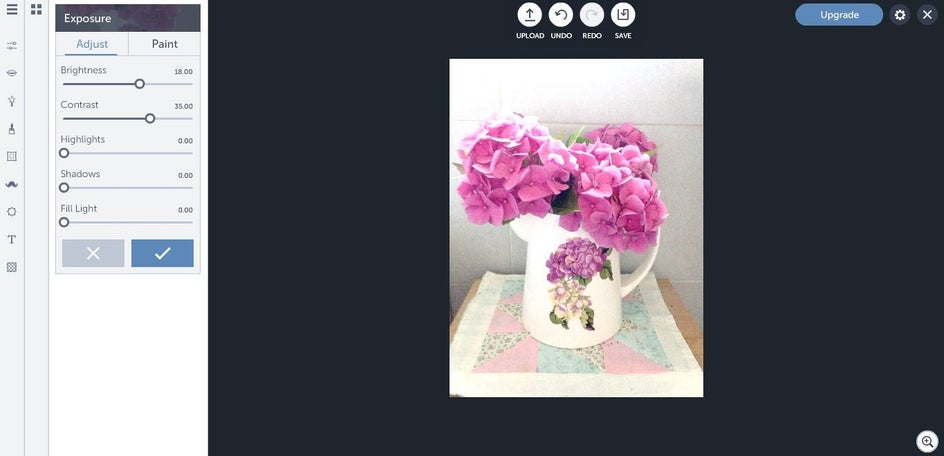
In this image, I really want to bring out the colors of the flowers, which means it’s time to adjust the Contrast. The higher up I put the contrast, the brighter the flowers become. You don’t want to make them too bright so that they’re overpowering – just bright enough so they stand out against the background.
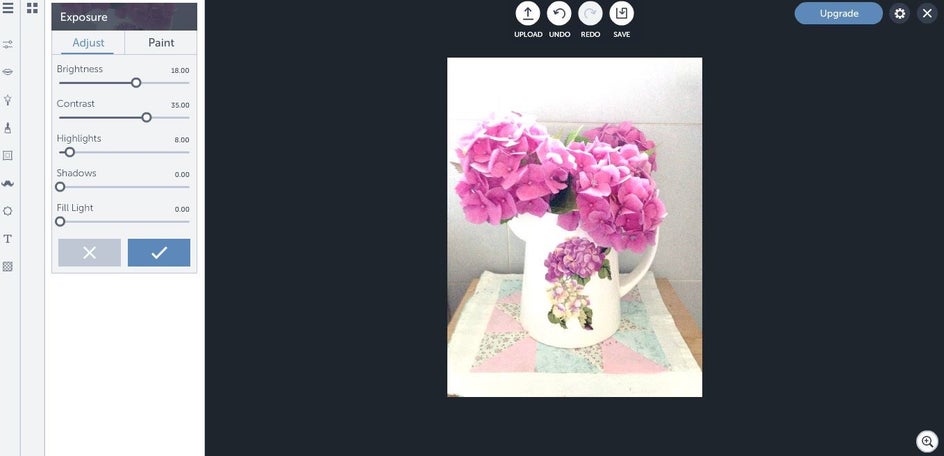
Highlights also add to the lightness of the image. They bring out the natural light in the photo just a little bit more, and with a slight adjustment, can have big effects.
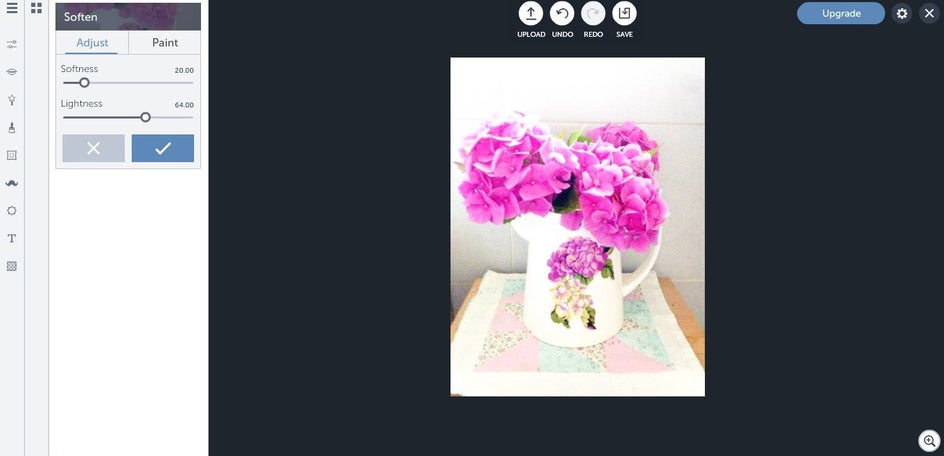
In the Softness area of the Photo Editor, you’ll be able to create the extra air to your image. If you increase the lightness it gives a real ethereal effect to your picture. You can also increase the softness, which works beautifully in this photograph.
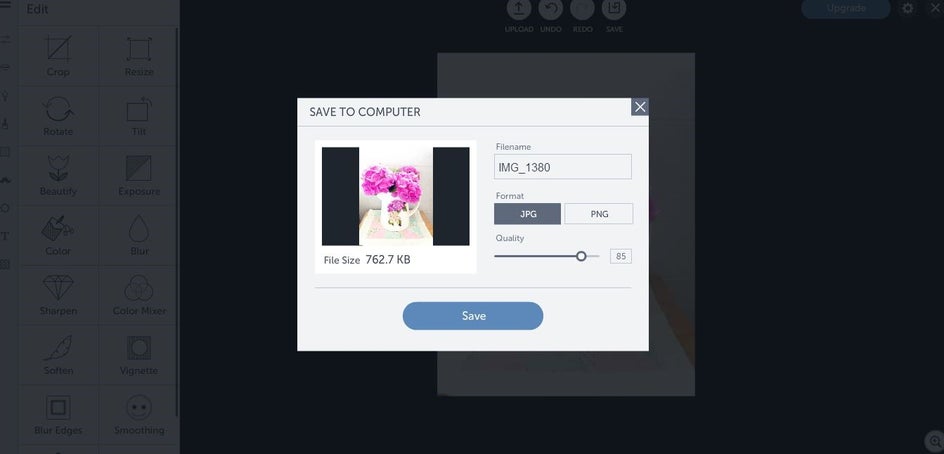
When you’re happy with your edits, you can save your photo to your computer and use it wherever you wish. You can also save it to BeFunky and use different hashtags to describe your image.

There you have it. Now go off and enjoy creating the perfect light, bright and airy images!
