Create Your Own Halloween Decorations
Halloween is that spooky time of year when we get to let our imaginations run wild with thoughts of ghouls, witches and monsters! It's also the time of year we get to decorate our homes with skulls, bats and other creepy things (and deck out our Pinterest full of Halloween goodies).
This year, if you find yourself lacking ideas for how to scare your trick-or-treaters or Halloween party guests, why not make your own with the BeFunky Photo Editor? It's simple, inexpensive and will save you that last minute rush to the Halloween store!
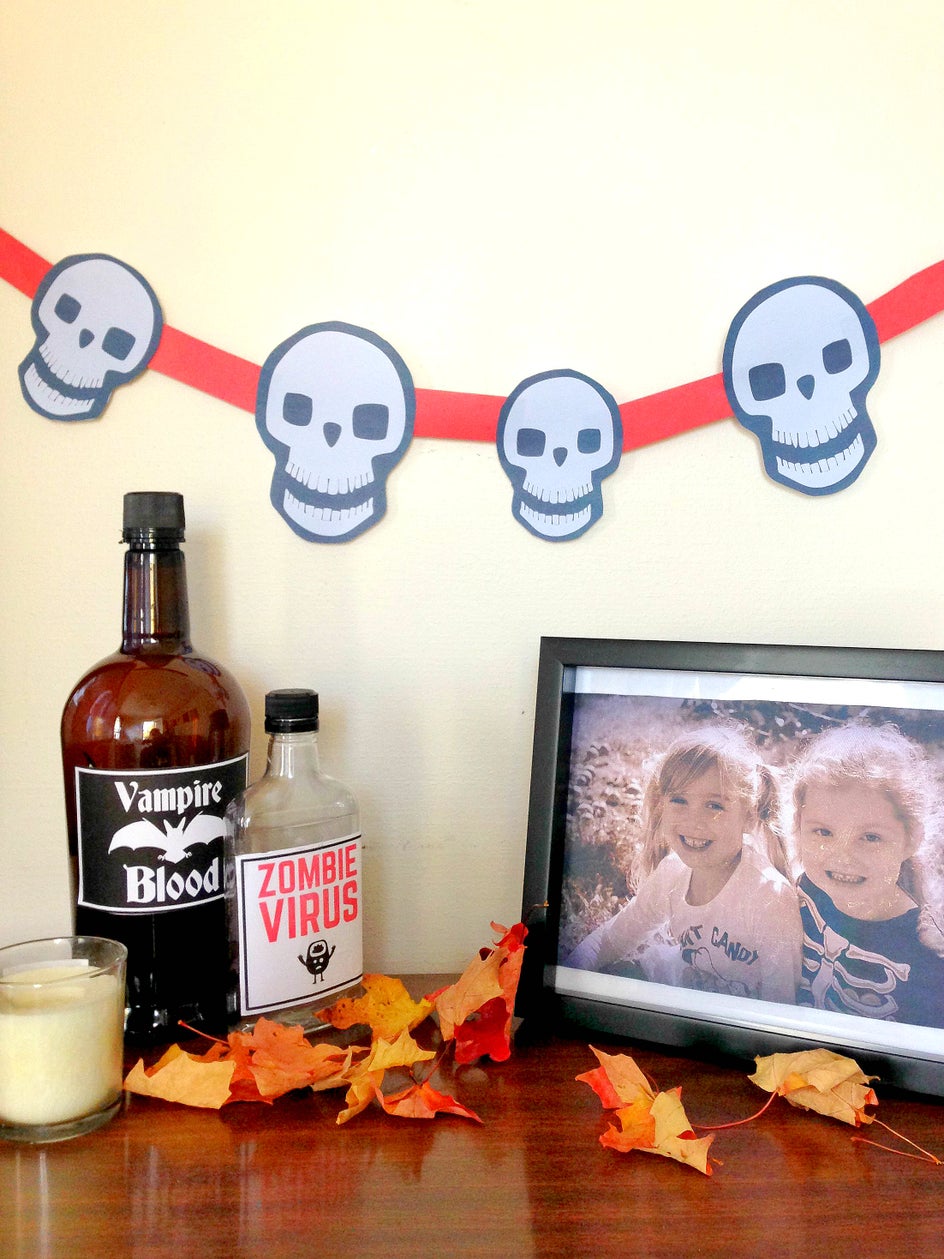
Skull Garland
Garland is a popular decoration choice, and by mixing this cute, yet spooky, DIY skull garland with orange and black streamers, your place will be looking spine-tingling in no time!
To get started, first open up the BeFunky Photo Editor and upload a plain, white picture. Or, make your own on BeFunky by opening up any photo and add a white, rectangle graphic to it. It's a good idea to save the white photo to use again for the next decoration, too.
Make sure your white photo is rotated to landscape.
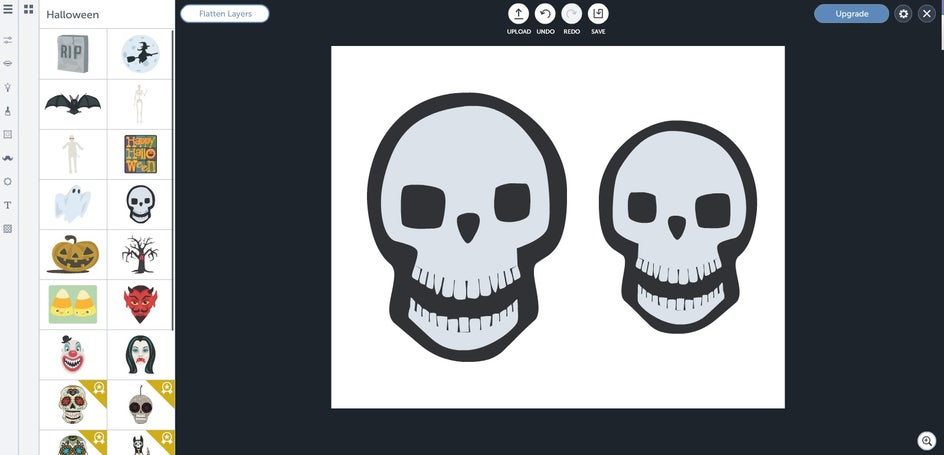
Now, go to graphics and select the Halloween library. Click on the skull and place it on one side. Select another skull and place it on the other side. Make one larger than the other, and flip it so it's pointing the opposite way.
To make it into a garland, you need to print several copies. Once printed, cut them out and attach them to a ribbon. And you're done! The best part is, you can make creepy garlands with any of the Halloween graphics on BeFunky!
Potion Bottles
Having a collection of potions and poisons on a table top will add an eerie feel to your home. You could buy some, but why not just make your own?
To get started, upload your plain, white photo again, but this time rotate it to portrait orientation mode.
Next, go to graphics, click on geometry and select the rectangle outline tool. Make it black, and drag the intensity all the way up. Now, click on the rectangle graphic and layer it on top, creating a black and white border. On the bottom half of your page, create a black square outline, but leave the centre white.
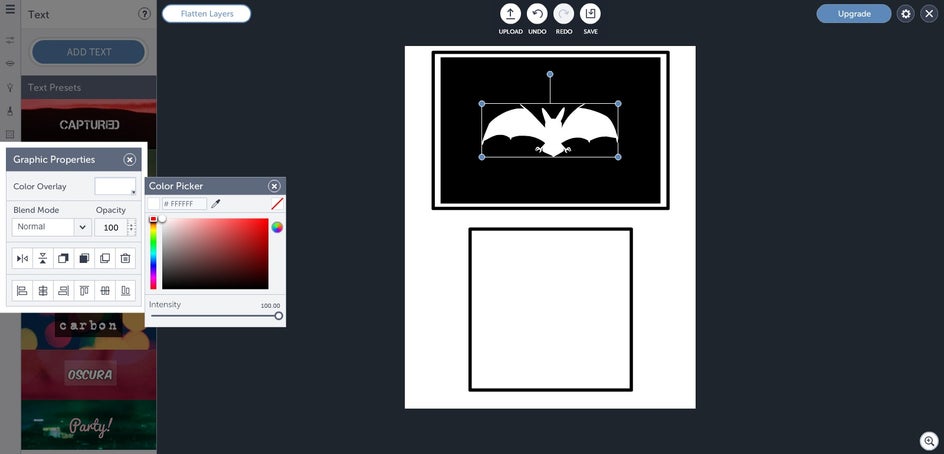
In the middle of your rectangle add a bat from the Halloween library. To make it solid white, click on the color overlay, select white and drag the intensity all the way up.
Next, add the words vampire blood in Deutsch Gothic font, make it white and add it to your bat label.
For the other label, you can find the monster graphic in the monster library and change it to black. Then add the zombie virus words in Norwester font and make them red.
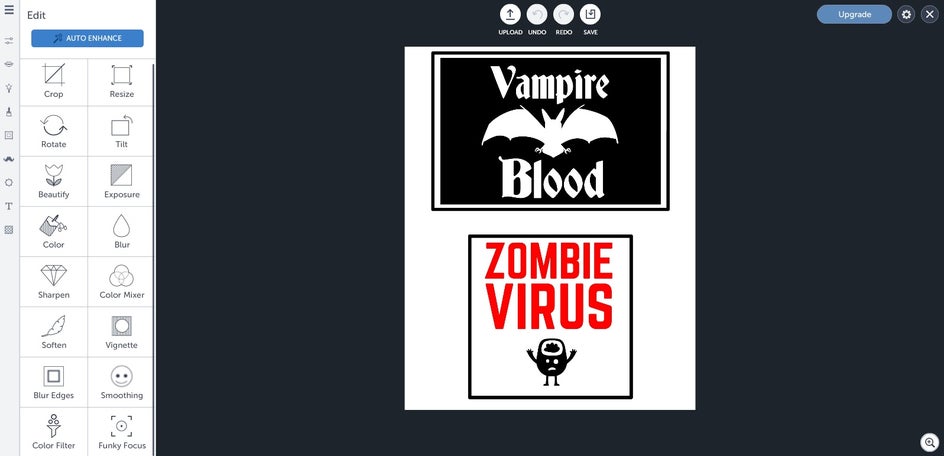
Once you're done that, you can print them, cut them out and glue them to either old wine bottles, mason jars or whatever other canisters you have lying around.
Don't be afraid to try to make your own! You can make witches brew, posion or any other creepy ingredients you like!
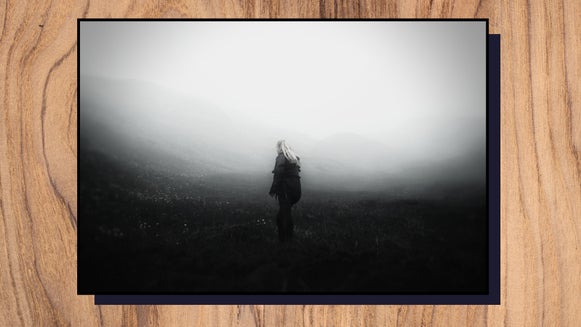
Old photo
Place an old, ghostly photo on your mantle to add fear to your haunted house.
You can select any portrait you want for this. (Family portraits look especially, awesome, though!)
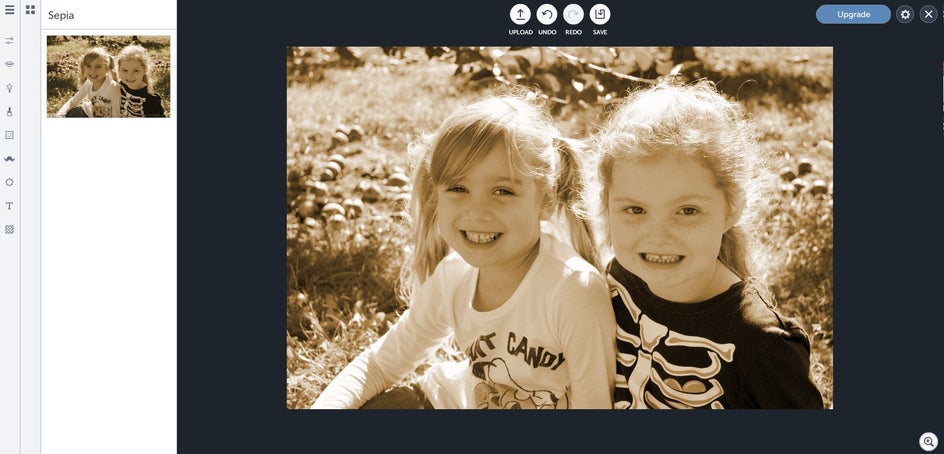
Once you've uploaded your picture to the BeFunky Photo Editor, you can go to effects, then choose Sepia.
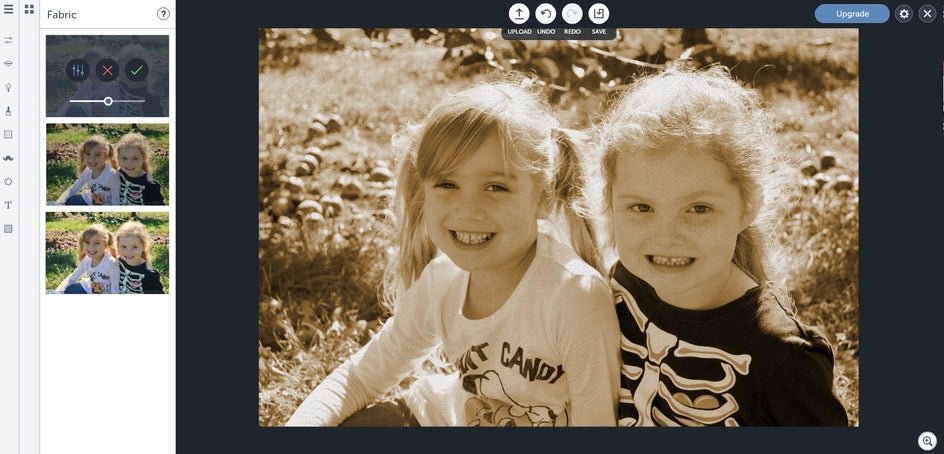
Once that's done, go to textures, select Fabric 1 and move the slider down halfway. This'll help make your digital photo look older.
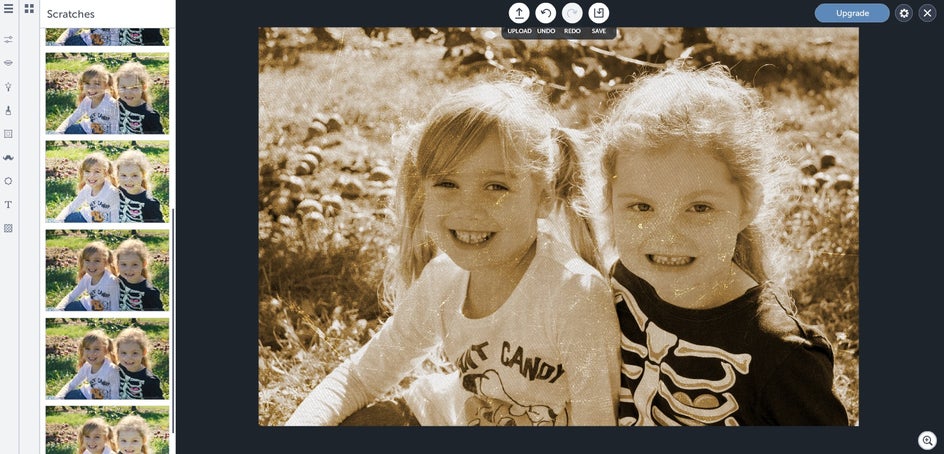
To make it look even older, make it look worn by adding scratches, also found under texture. For this photo, I used Scratches 8.
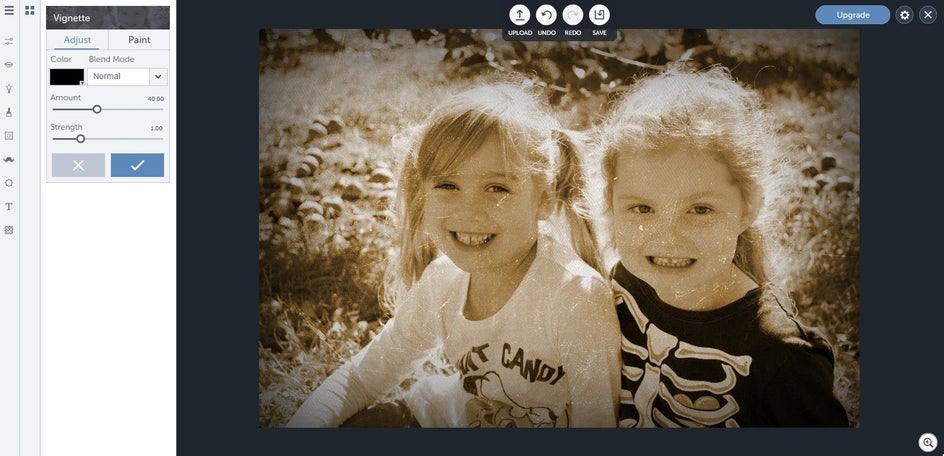
Finally, go to edit, vignette and create black edges. Once complete, you can save and print! Place it in an old photo frame.
Creating your own petrifying decorations is easier than you think! What spooktacular things will you come up with this year?