Experimenting With Color
I’m smitten with color. From colorful Instagram posts of the Indian Holi festival to colorful photo manipulations and more, I can’t get enough of the stuff. I wanted to see just how far I could take my delicious, colorful cravings, so this weekend I sat down and started playing around with BeFunky's different tools in hopes of undertaking a little color experiment. Needless to say, the results were pretty incredible. Here’s a sneak peek into my happy experiment with the BeFunky Photo Editor.
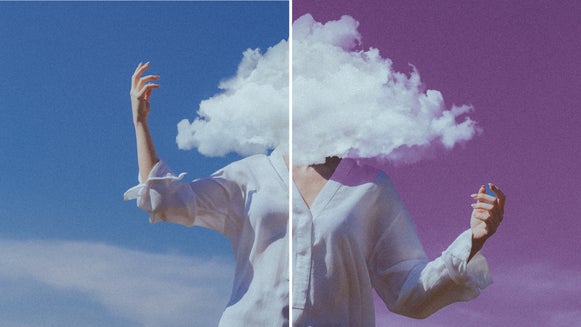
I decided to start off with a plain photo—a nice stock photo from Pixabay that already had a good amount of color on it. It was also to my advantage to choose a photo with another shape in it to manipulate; in this instance, a silhouette of a girl was the perfect accompaniment to the crisp, colorful sky. Feeling like I had the perfect photo to start off with, I set out to explore some arty options.

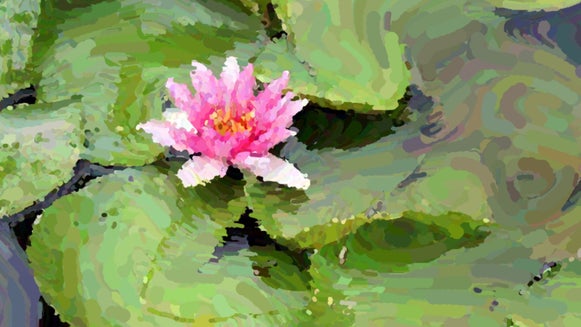
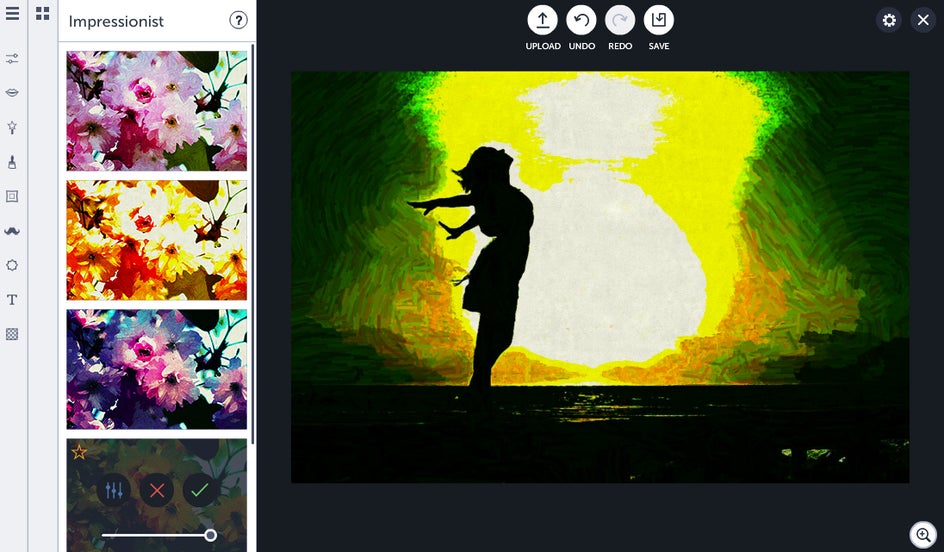
There’s oodles and oodles of color options from saturation tools like Beautify to the Color Mixer and beyond, but I decided to start with some artsy tools to get the party started. Since I wanted a gorgeous, painted look, I started off with Impressionist under Artsy and tested out a few different variations:
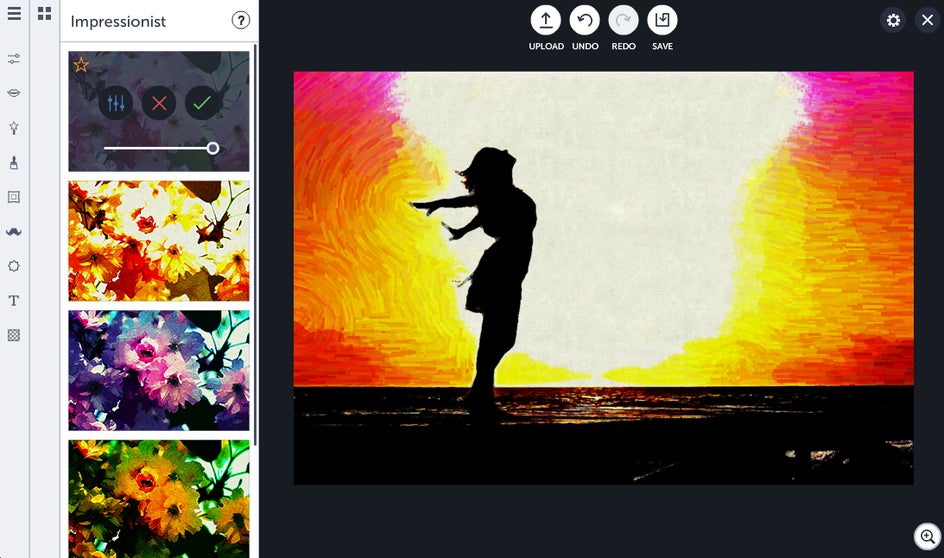
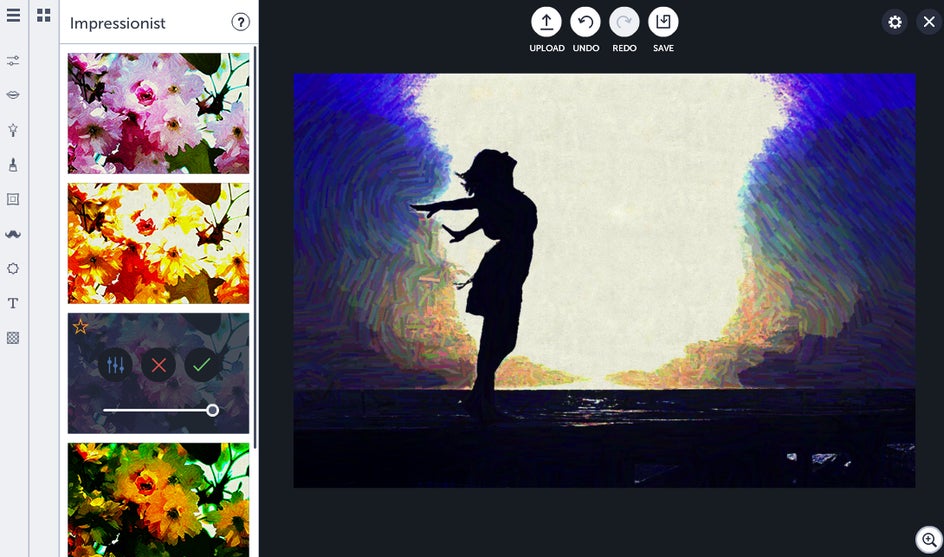
I settled on Impressionist 3 in the end, because it gave my photo a look that instantly reminded me of Van Gogh’s dazzling Starry Night. Swoon.
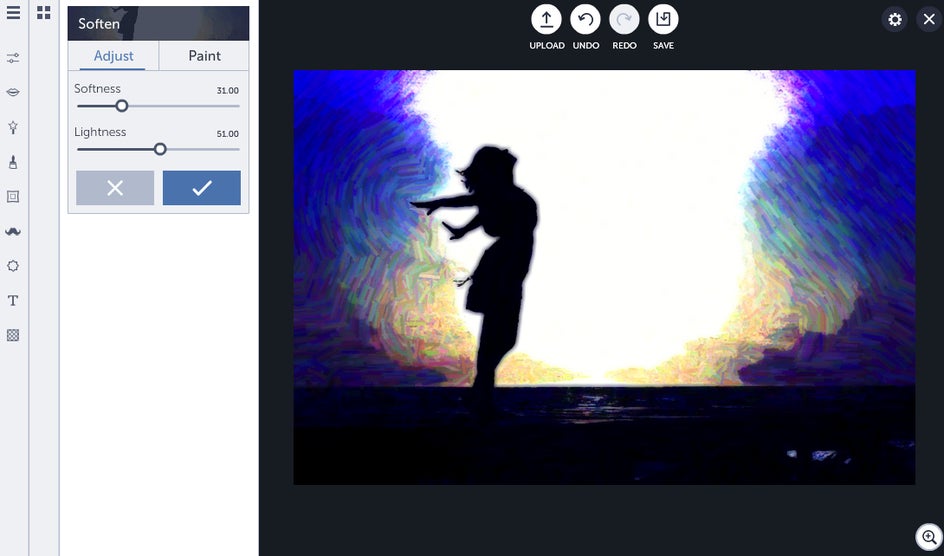
I wanted to get it to look even more like Starry Night, so I continued my adventure by adjusting the Exposure and using the Soften tool to get a dreamy, ephemeral look.
The next step in my journey was heading on over to Effects. My favorite has always been Chromatic, so I headed in to mess around with each type of filter before finally settling on Chromatic 6, which yielded this incredible beauty:
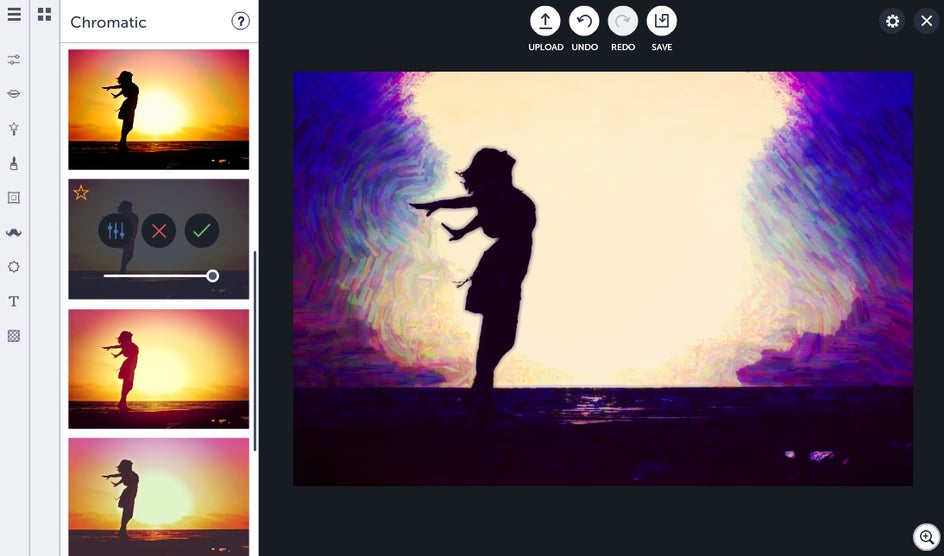

For the finishing steps, I headed over to Color and increased the saturation to 12, then used the Smart Sharpen tool to end up with…
this gorgeous work of art!
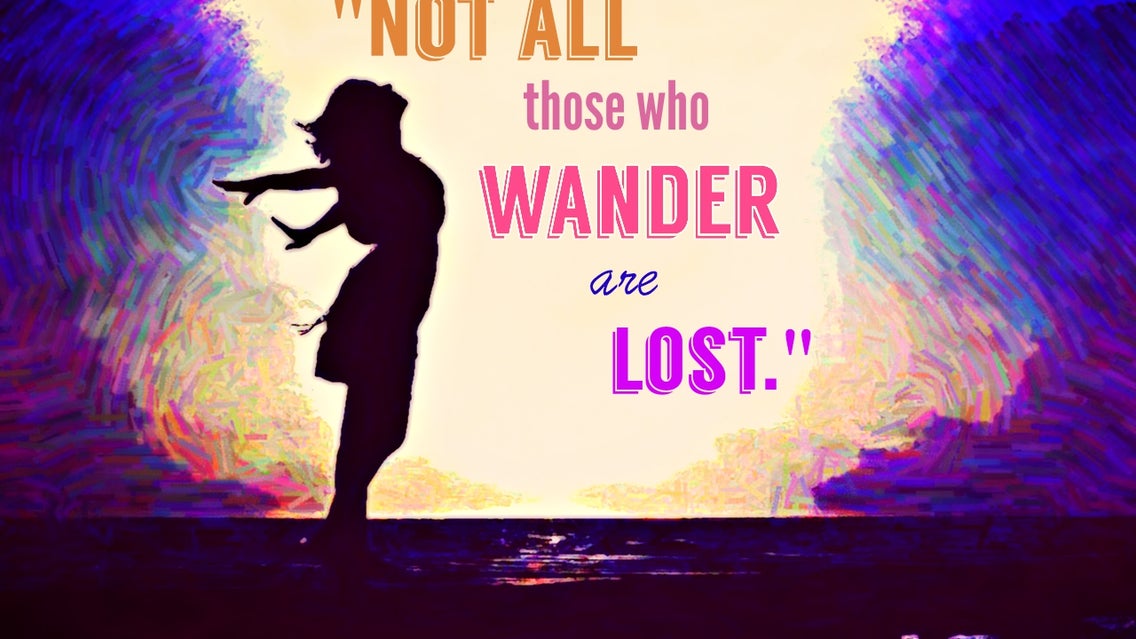
If you’re feeling particularly inspired, you could always throw on a quote for good measure (and to make it Pinterest worthy, of course) like I did here:
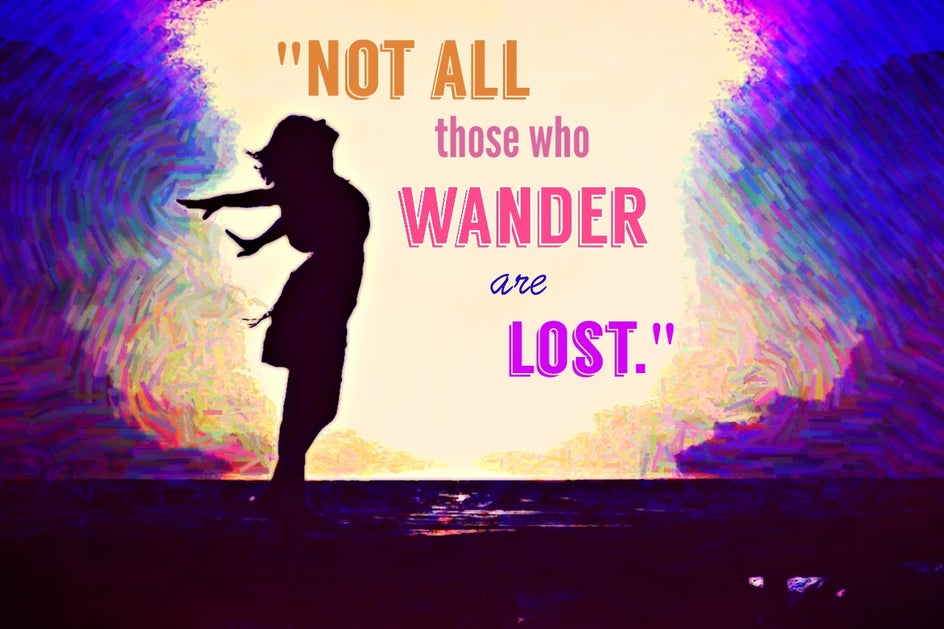
I used the Color Picker tool and selected colors from the image itself to make it complimentary, so please excuse me while I go to stare at this picture on my screen for the next half hour or so. Ooh, just look at all the pretty colors!
Feeling especially colorful? Start your artsy journey today: