Product Photography Tips
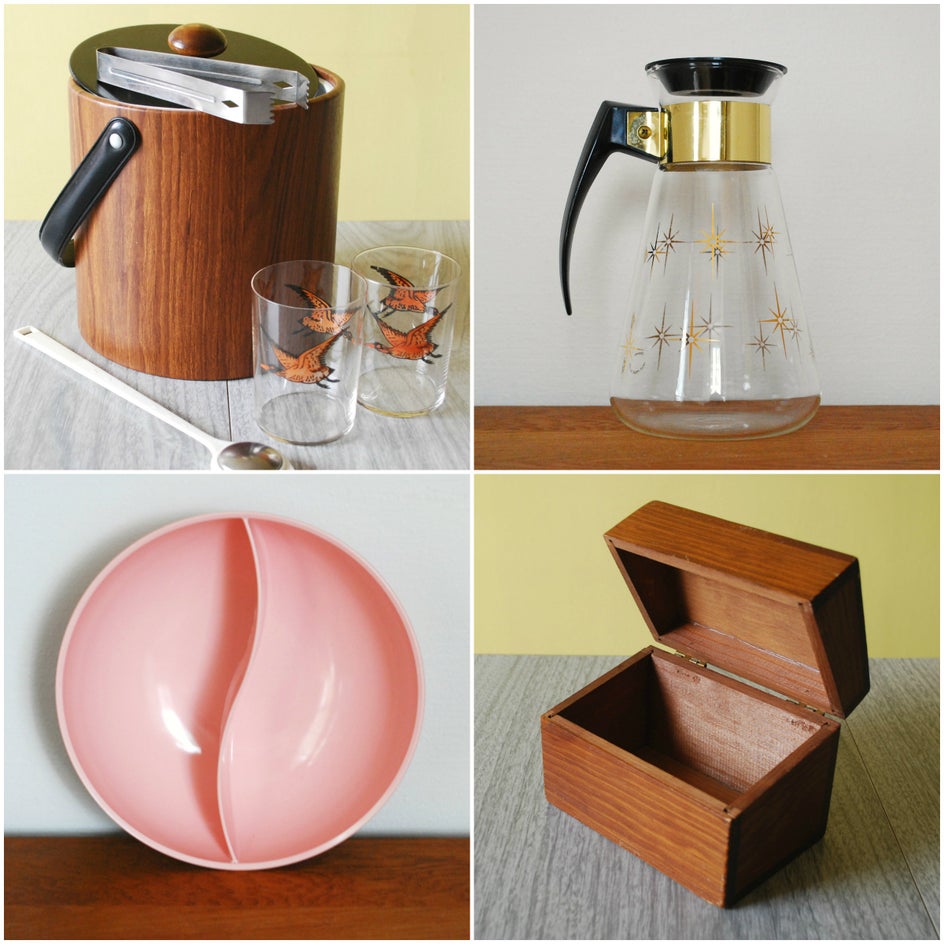
These days it seems like everyone has a blog or online shop. And why not? Starting an online business is inexpensive, it's fun and it gives you the freedom to do what you want. And while there's a lot to consider when you start an online shop, if you ask me the most important part of selling products online is the photography. If you don't show your item in an appealing and eye-catching way, you're going to struggle to make sales.
The truth is with today's technology you don't necessarily need expert photographer skills or an expensive camera (although it does help). All you need to know is how to take a basic picture and how to edit it to look nice. Some people even use their smartphones!
As an online shopper and online shop owner, I've learned over the years what makes a product stand out and how to achieve it. Here's how to edit your product photos to perfection using the BeFunky Photo Editor.
Bright, Clear and Simple Photos
I always take the first picture of my item straight on with a plain background, preferably white but setting it on a table with a plain wall behind it is okay, too. Upload your photo to the photo editor on BeFunky to get started.
Click the edit button on the left side and select crop. When you crop your photo crop it close to the item, leaving just a little bit of space around it to help eliminate negative space around it and bring the focus to your product. Next, sharpen your photo so that it's clear and concise without being too grainy.
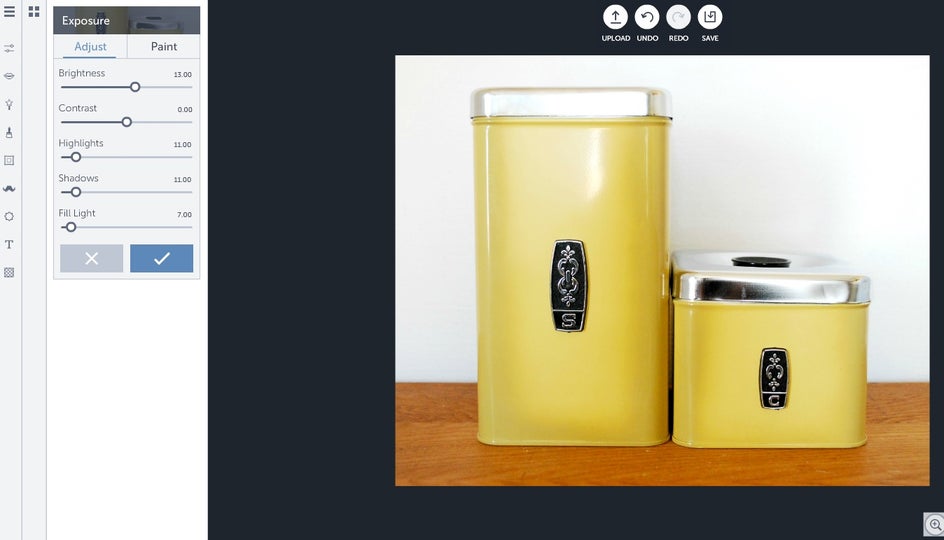
I always like to brighten my product photos because people typically prefer brighter photos to dark and dull ones. When you brighten it, use the highlight and shadow tools to help you achieve the look you want under the exposure option. How much you change it is depends on your photo, but what I did was brighten the photo first a little bit, enough to make my white walls actually look white. Then, I increased the highlights and shadows just a little bit, followed by using the fill light option a smidge.
Accurate Color
Sometimes when you take a picture the lighting isn't quite right which can majorly alter the colors in your photo. This, of course, is bad because you want your item to look as accurate as possible so as to not confuse your customers as to what the color actually is.
Lucky for you, it's pretty easy to change the color of your product photo with BeFunky photo editor. Once you upload it simply go to edit then color. This is where you will change the hue, saturation and temperature of your photo. Play around with it until it's as close to the same color as the actual product as you can. To achieve this, I started by increasing the hue by just one point and then I raised the saturation up to 25, followed by the temperature up to one point as well. Sometimes you will need to brighten the photo under exposure afterwards. I raised it to 17.
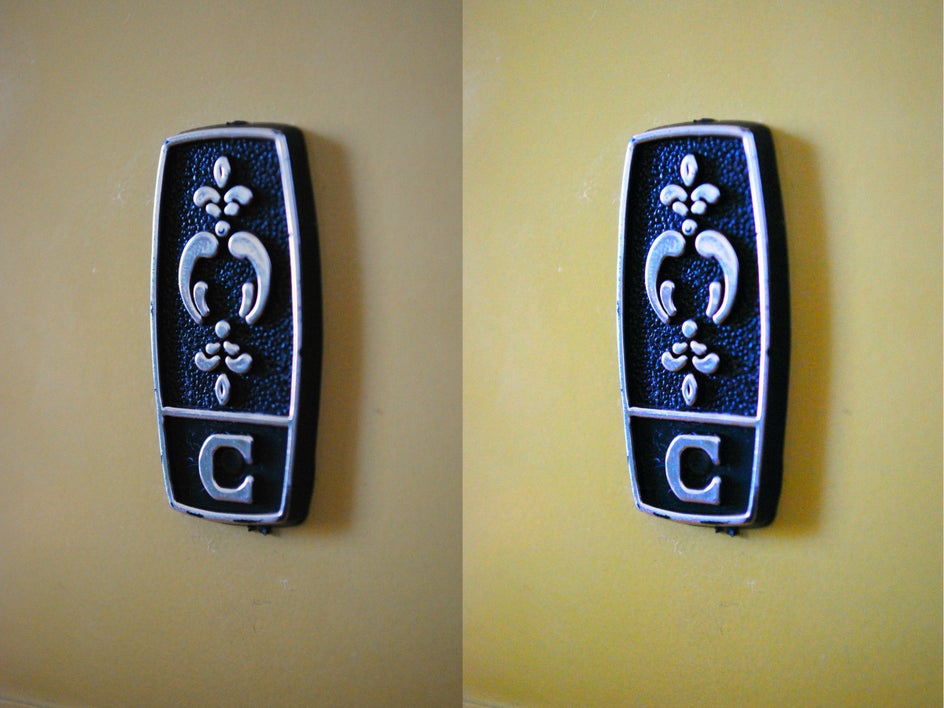
As you can see, the second photo looks a lot nicer and closer to the canisters actual yellow color.
Different Angles and Details
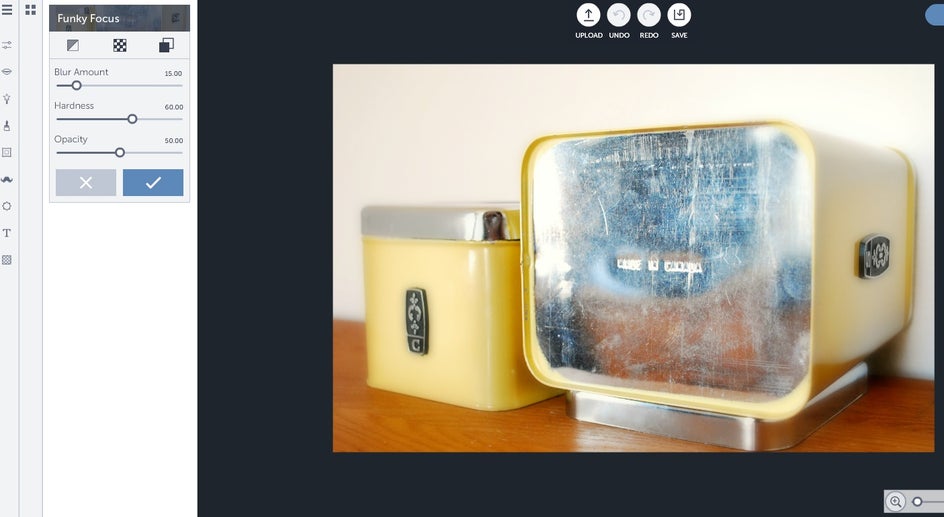
Since your online customers cannot pick up the item and turn it over in their hands, it's up to you as the product photographer to capture as many different angles and features as you can. In this photo, I have the canisters turned and the larger one on its side to show the customers what the bottom looks like and that it's stamped with “Made in Canada.”
Again, you'll want to upload it to edit it. Crop, sharpen and brighten the exposure just like with the first couple of photos. When showing a specific detail, like the stamp on the bottom of this container, you can go over to edit then use the Funky Focus to accentuate it. For this photo I changed the blur amount to 15, hardness to 60 and opacity to 50.
This will help you blur out the background and bring the focus to the details you want to show off.
Creative Photo
I like to take a picture of my products in a real life setting to give my customers an idea of how it'll look in its actual location. For example, if you're selling a dress, have someone pose in it outside or at a party. If it's a book you're selling, you should take a picture of it on a bookshelf.
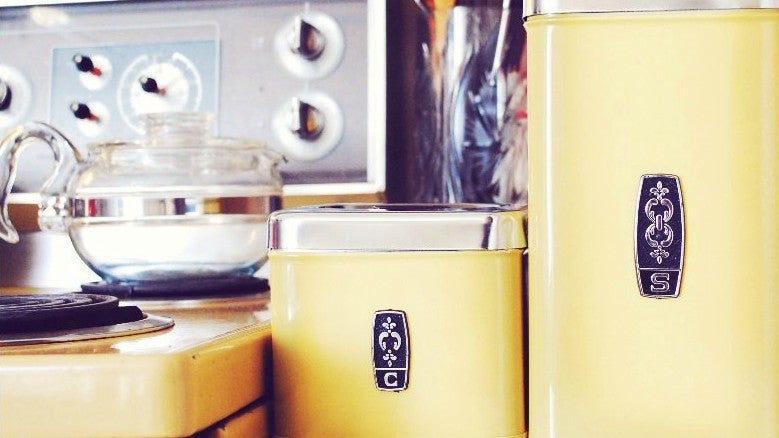
I placed my vintage canisters in my kitchen beside our stove because I find these photos really do help sell the product as your customers can now imagine it in their own home or on themselves. Once again, you will want to upload it and then edit the brightness and color, as well as sharpen and crop it.
These kinds of product photos can also be a lot more fun to edit because you're not trying to keep it plain and simple like your other photos. Instead, you can get in touch with your creative side and try a few different ideas. If you're selling vintage items, why not giving your photo a vintage feel? You can accomplish this by going to effects, then Vintage Colors. For this photo, I chose the first option and dragged the slider to the middle.
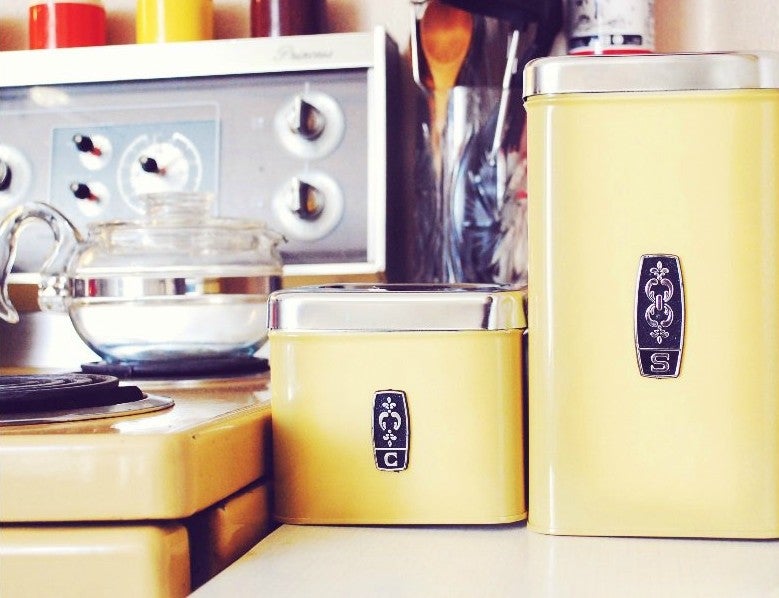
Other times you might just want to make your photo stand out a little differently. For this second photo I tried the chromatic 5 effect because I feel it gives my kitchen a sunny and warm feel to it.
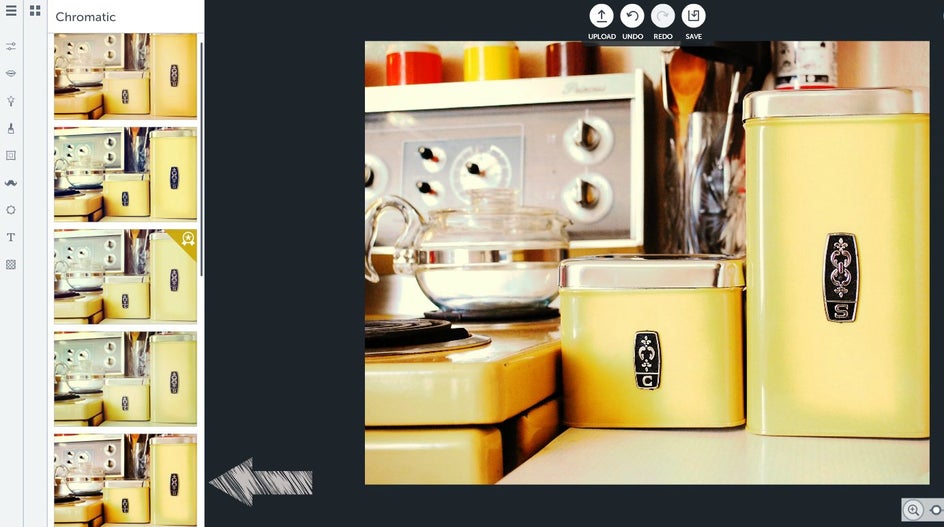
There are a lot of different ways to show your products, and by editing the photos with BeFunky you have a lot more options to make your products really stand out!
Why not get to it and take your product photography to the next level of awesome?!
