Getting Crafty: Logos, Watermarks With The Background & Layer Tools

Whether it’s making a blog header or a business card, we’re constantly astonished at the ingenuity you guys show us each and every day.

And because we’re here to encourage all of your creative dreams, we’ve just debuted two new features that we know you’re really going to love. Are you ready?!
Good, cause it’s time to rock yo’ world with the new Background Tool and Layer Manager.
These tools are so versatile that it’s crazy to think about just how much you could do with them, so we’re going to give you a quick rundown to help get the party started.
The Background Tool is a new feature in the Photo Editor that allows you to either 1) paint over your canvas/photo with any color or 2) make your background transparent. It’s wicked useful for creating your own logos or superimposing images to make some gorgeous art (and some truly epic stock photos).

The Layer Manager, meanwhile, is a new tool that allows you to directly import your own photos and layer them over whatever you’re working on—hurrah!

But what are the potential uses of these two new features, you ask? Well young one, sit down and let me tell you a lil somethin’ somethin’.
The Basics: Making Logos and Watermarks
Let’s get started. Head over to the Edits panel in the Photo Editor and select ‘Background’. You’ll be prompted to choose a color for your image or either make it transparent. I chose to make it here transparent for the purposes of making a logo—I had this crazy idea to try and make a logo “tag” similar to a street art piece, and just couldn’t get it off my mind.
From there, go to the Paint panel and just paint the outline of the design you want, filling it in as you go. If you want your design to be more forgiving on your drawing skills, use the lowest possible brush hardness.
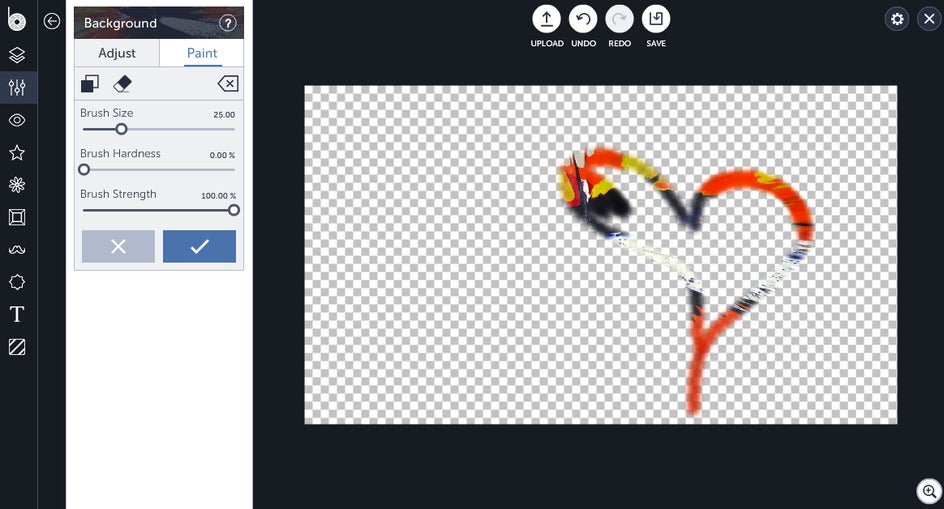
Siiiiick.
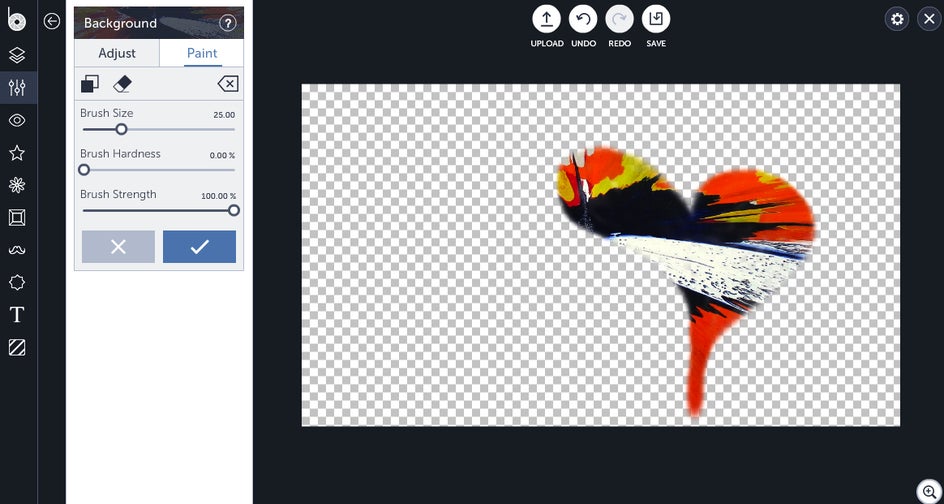
Ah, but not yet enough. I popped over to the Text panel and added in my brand name:
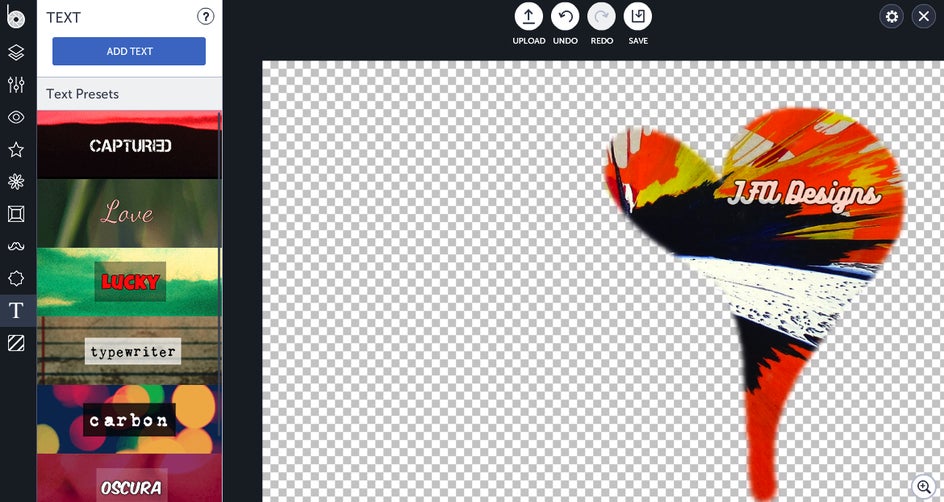
Save your design as a PNG file. From there it’s as easy as pie to upload your new logo or watermark onto any image. Just head over to the Layer Manager tab and hit ‘Add Layer’, select your image, then drag and drop. You can upload multiple images and keep them here, just like you would use the Image Manager in the Designer Toolset.

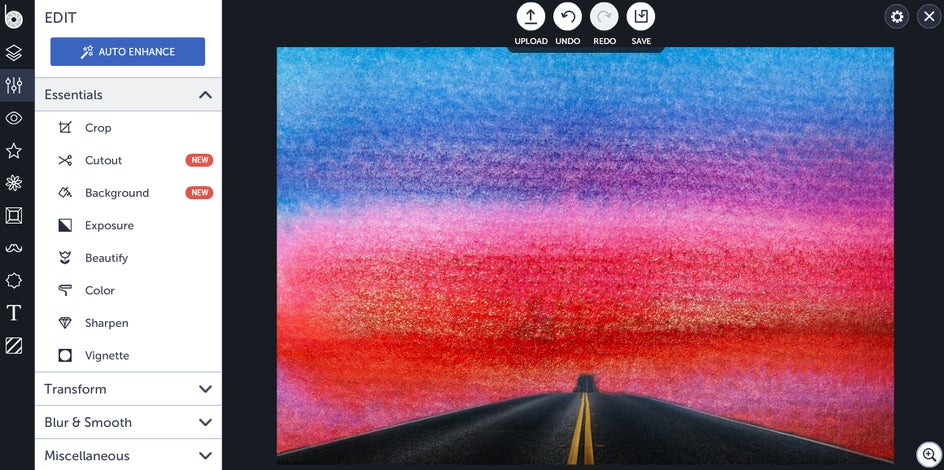
You can also use it to get a bit craftier. For instance, I found this nice image of a road:

...made it transparent, then painted over the road and saved it as a PNG.
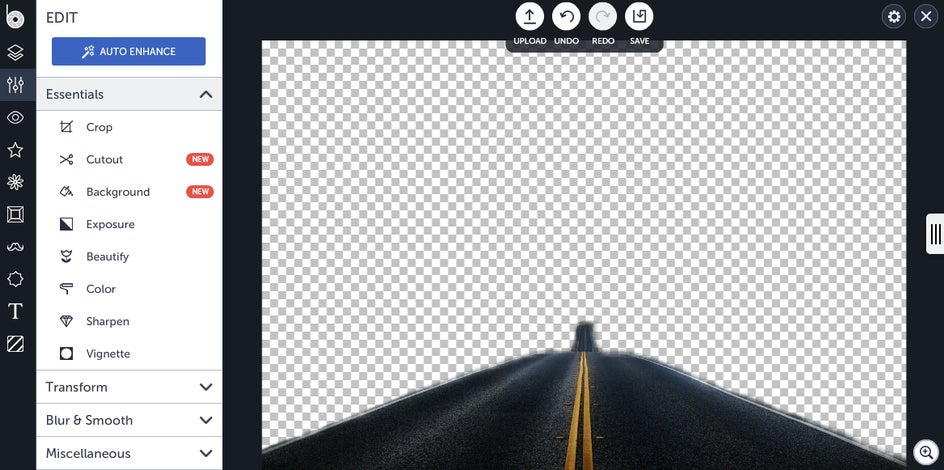
I then used the Layer Manager to superimpose my road over a watercolor stock picture from Pixabay to yield this beauty:
Layering Images and Making Stock Photos
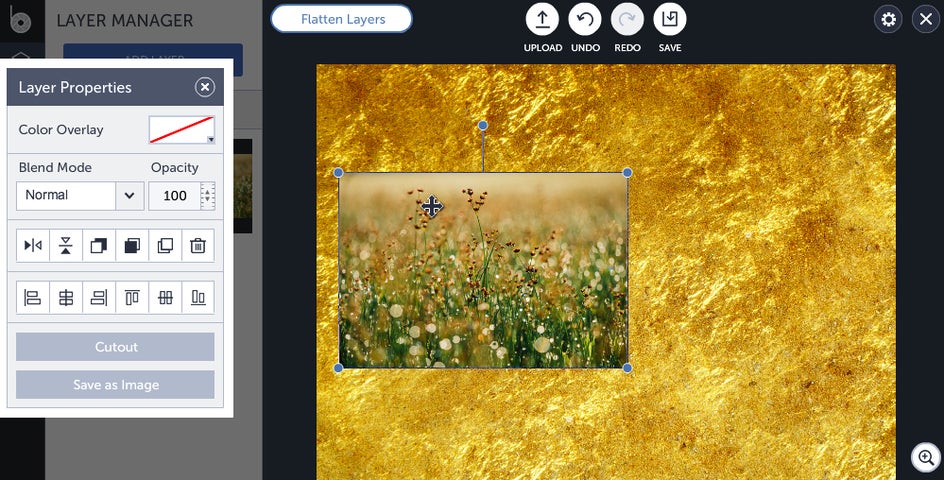
I am perpetually ahhmazed at the variety of things I can find on Pixabay. In this case, my findings were two things: an innocuous picture of some dandelions, and an image of gold leaf. I decided to blend the two together, because I was feeling very much like a mad scientist that wanted to test the limits of their strange and terrible power to make an amazing stock photo.
Upload the background texture you want first. In my case, it was the gold leaf. Add in your next layer and stretch it out to cover the entire image...
I then turned down the opacity to 70 and flattened my layers:
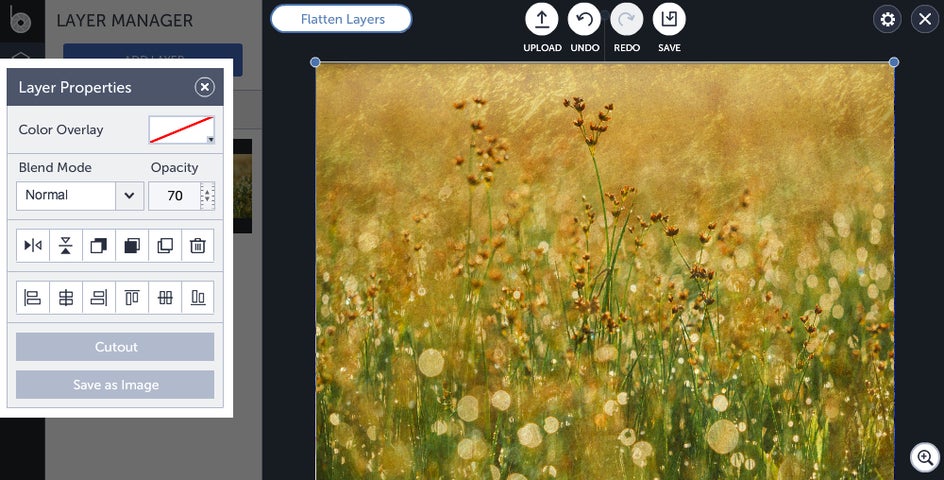
And ended up with this sheer beauty of an image.

You can also play around with the Blend Mode to yield different versions of your image:

So shiny, much gold, so wow.
If you’re addicted to the Artsy tools like I am, you can use these basic DIY stock images to make something even cooler. I usually test out a couple of different effects before settling on one I like; in this case, it was Oil Painting 1.
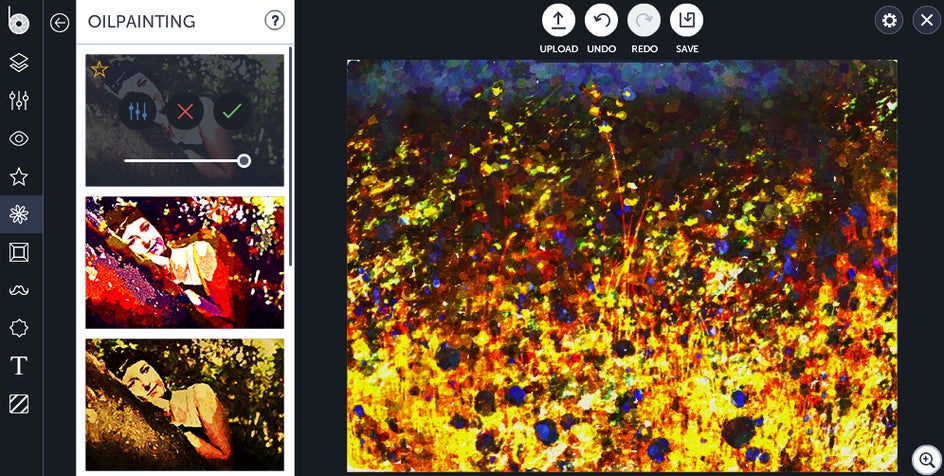
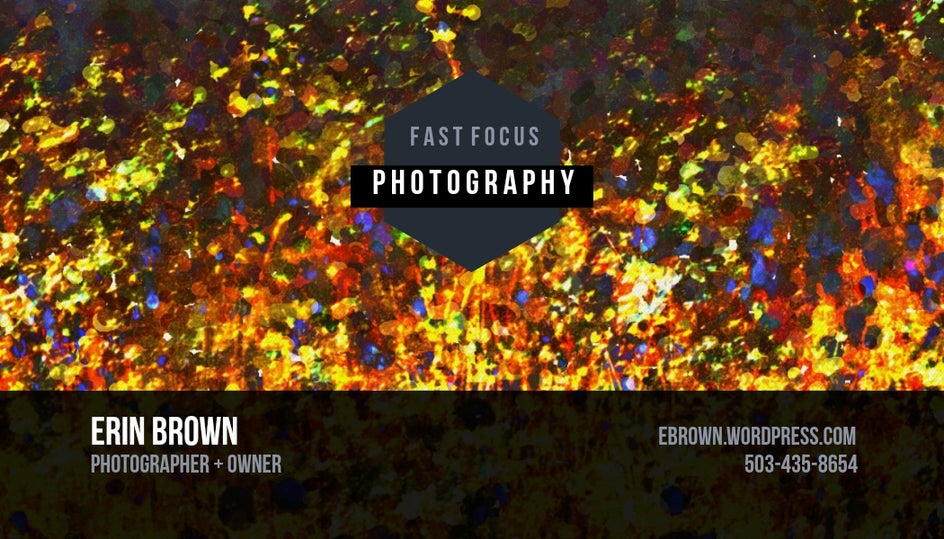
Finally, I used the image to make a stunning business card using the Small Business section in the Designer Toolset:
Feeling inspired yet?

