5 Tips for Using Window Light in Portrait Photography
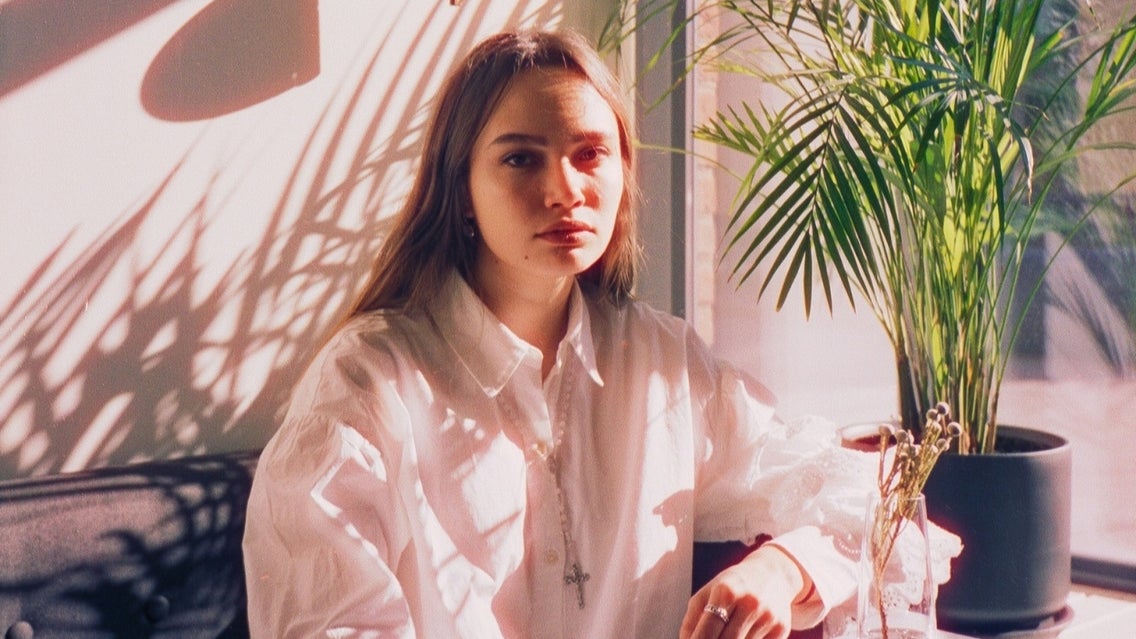
Unless you’re a professional photographer, chances are you don’t own expensive lighting gear, nor do you have access to a fully equipped photography studio.
But contrary to popular belief, you don’t need these things in order to create eye-catching and perfectly lit portraits. All it takes is a nice window, some natural light, and your camera! In this article, we'll go over some of the best and easiest ways to perfect your window light portraits.
5 Ways to Perfect Your Window Light Portraits
From window size to taking advantage of the sun, here are our top 5 tips for using window light in your portrait photography!
1. Use Big Windows
When it comes to lighting in photography, the following rule applies: the larger the light source, the softer the light will look on your subject. Since a window is also a light source, this rule applies to window light portraits too!
Larger windows will provide softer-looking light with gradual and subtler shadows. As this type of lighting is most flattering for portrait photography, it’s what you’ll want to aim for when shooting your subject.
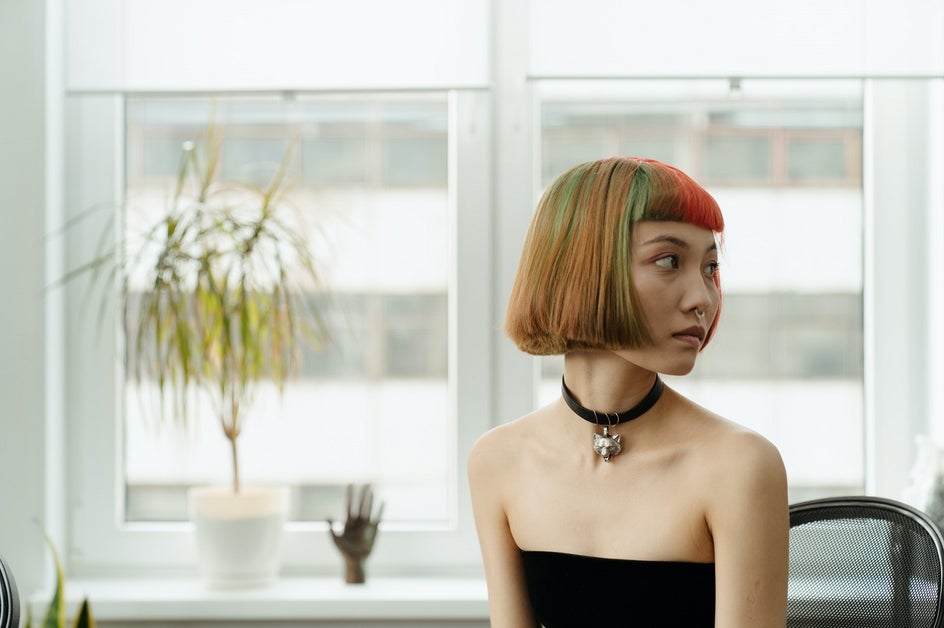
Smaller windows, on the other hand, will generate harsher light with dark and sharper shadows. Of course, some portrait photographers might aim for this dramatic look for creative effect. However, in most cases, you simply cannot go wrong with softer and more evenly diffused lighting.
2. Pay Attention to Proximity
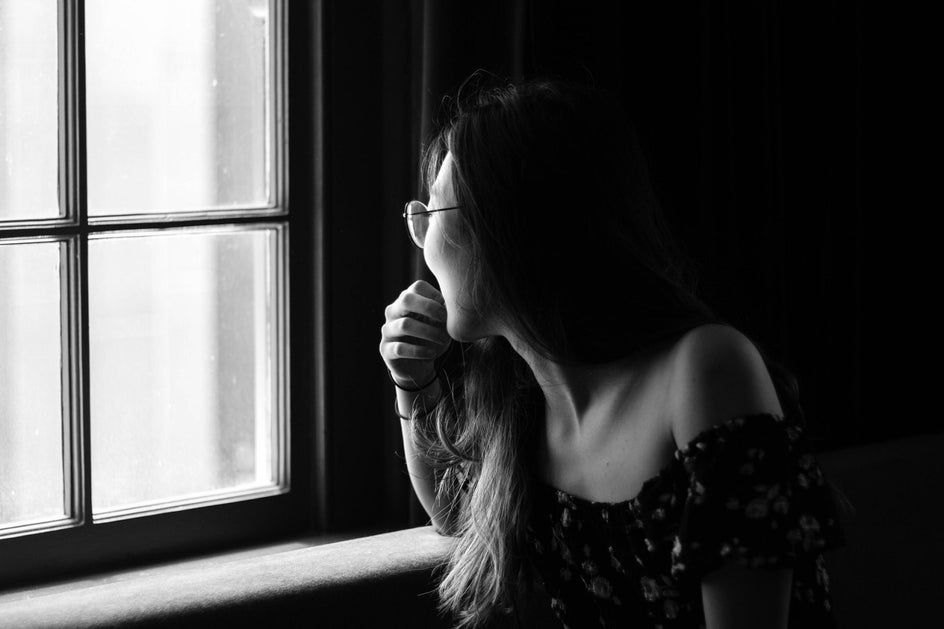
The location of your subject in regard to the window will have the most influence on your photograph's aesthetic.
Closer proximity to the window creates more contrast, while a distance of several feet creates a more balanced lighting effect. When your subject's side is facing the window, on the other hand, the light on their opposite side will fall off dramatically. Alternatively, a striking silhouette can be created by placing the window behind them.
Experiment with several positions to find one that suits both your subject and desired aesthetic. You can even add a Photo Effect to your portrait to exaggerate the drama or softness of the portrait.
3. Remove All Other Light Sources
In general, you want total control over the available light when capturing portraits. If you use multiple light sources, however, you risk adding unwanted color casts to your photographs.
Therefore, be sure to turn off overhead lights, lamps, and anything else that's throwing light around inside.
If you’re taking photos in a room with more than one window, you might want to close all the blinds or curtains on those windows within the room. Cover the windows with black sheets if you don't have suitable blinds or curtains.
This creates a "one light setup," where a single window is your primary source of lighting.
4. Choose a North or South Facing Window
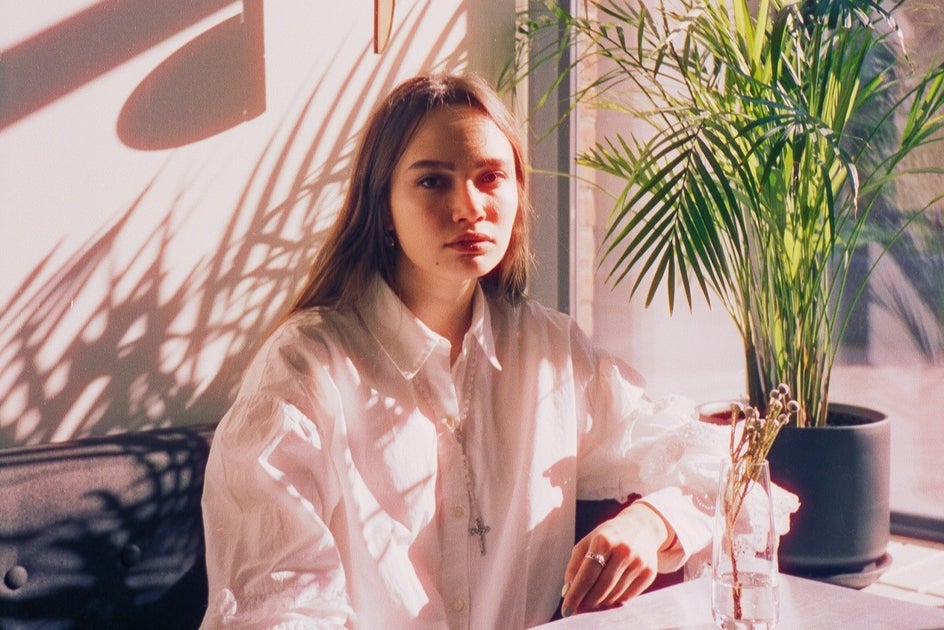
East and west windows provide very direct light at sunrise and sunset respectively. While this can work for photographs that require a lot of contrast and drama, many portrait photographers may choose to avoid it.
Instead, they prefer to use a north or south-facing window, as these remain the most reliable and flattering in terms of portraiture lighting. Because the sun doesn’t shine through them directly, their lighting is always evenly diffused and soft.
Additionally, the light remains consistent across the course of the day, which makes planning portrait photography sessions much easier – rain, hail, or shine!
5. Utilize Window Panes, Blinds, or Curtains
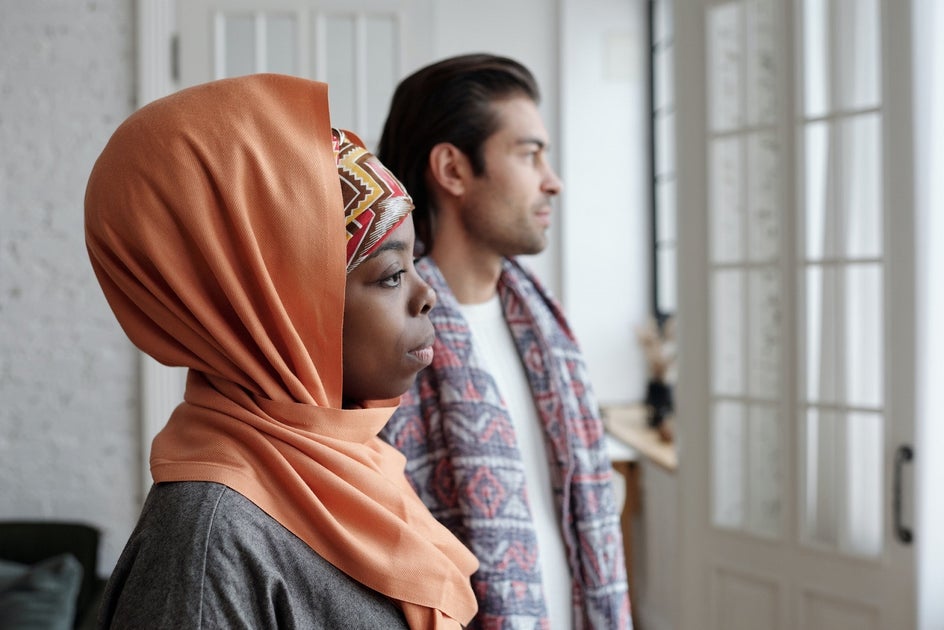
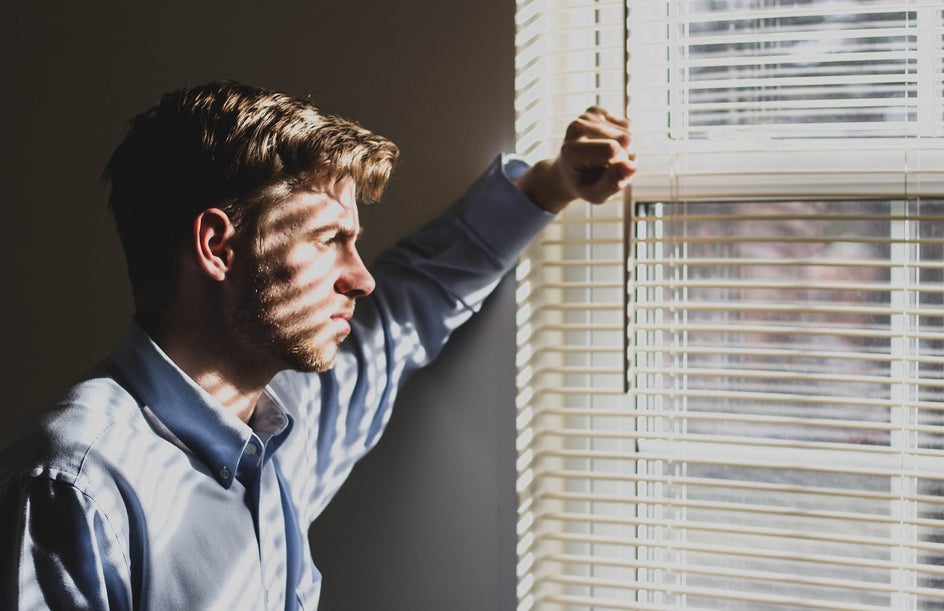
Window coverings, such as panes, blinds, or curtains, can create really intriguing light patterns that you may want to take advantage of – especially for more experimental portrait photography.
Window blinds or shutters, for example, can be opened partially to create linear shadows. A windowpane, on the other hand, is great for creating interesting shapes and lines across your photo. A slightly ajar curtain can filter the window light in to hit a specific area of your portrait, thus drawing the viewer’s attention more effectively. Additionally, a curtain with a unique pattern, such as lace, can generate the most intricate and creative shadows or bursts of light on your subject, giving your portrait photography a unique twist.
Window Portraits: An Easy and Natural Indoor Lighting Setup
Who knew capturing stunning and beautifully lit portraits indoors could be so easy? By following the five tips above, you’ll be perfecting your window light photography in no time!
When it’s time to edit your portraits, BeFunky’s easy-to-use Photo Editor can help. It gives you access to essential photo editing features such as Exposure, Contrast, Shadows, Highlights, Brightness, and more to ensure you get your indoor photography just right.
Try it for yourself to see just how easy it is to edit window portrait photography.
