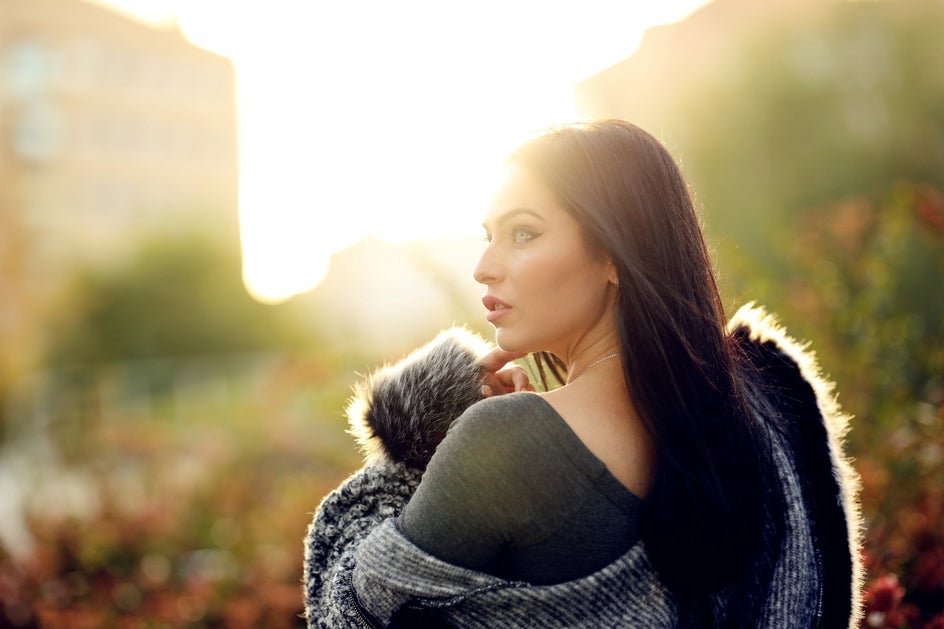
How to Take and Edit Self Timer Photos
Taking your own photos used to be next to impossible, leaving many of us stuck with highly staged photos captured by a relative, friend, or stranger. Now, thanks to modern cameras and smartphones, it’s easier than ever to take and master your own self-timer photos. Whether you’re taking a sweet picture of yourself and your partner or a self-portrait with a little more flair, we’ve gathered some of the best tips and tricks for helping your shots look their best!
Tips for Taking Self Timer Photos
When you’re taking your self-timer photos, there are a couple of key factors to keep in mind.
Be Strategic About Your Location
Because you’re shooting these photos yourself, it’s important to make sure the background of your image isn’t too busy or you’re not shooting somewhere that requires a lot of “in the moment” adjustments that you won’t be able to see from in front of the camera.
Check Your Lighting Beforehand
Before you jump in front of the camera, make sure that your lighting is even. This will help spare you from a partial headache in the editing process later.
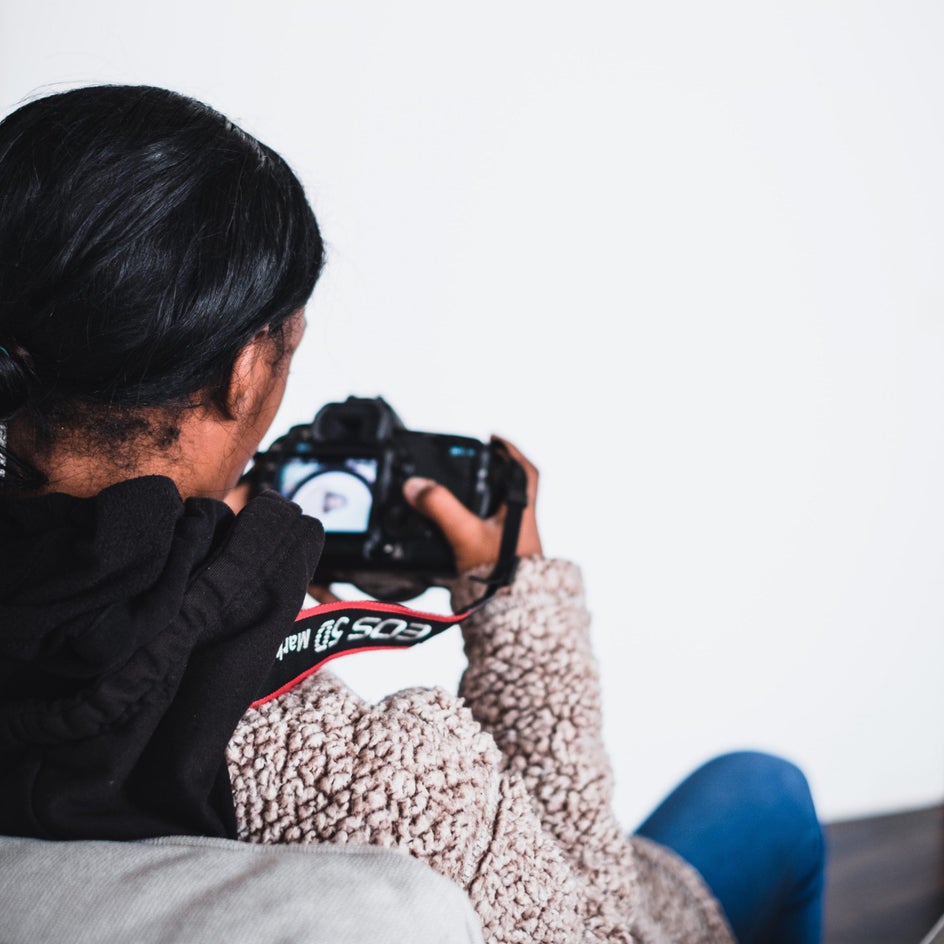
Use Your Phone or a Camera
The easiest way to take self-timer photos is by using the 10-second timer on your camera, or by downloading your camera’s corresponding app in the app store and remotely setting off your camera to take a picture. You can also utilize the self-timer feature on your phone!

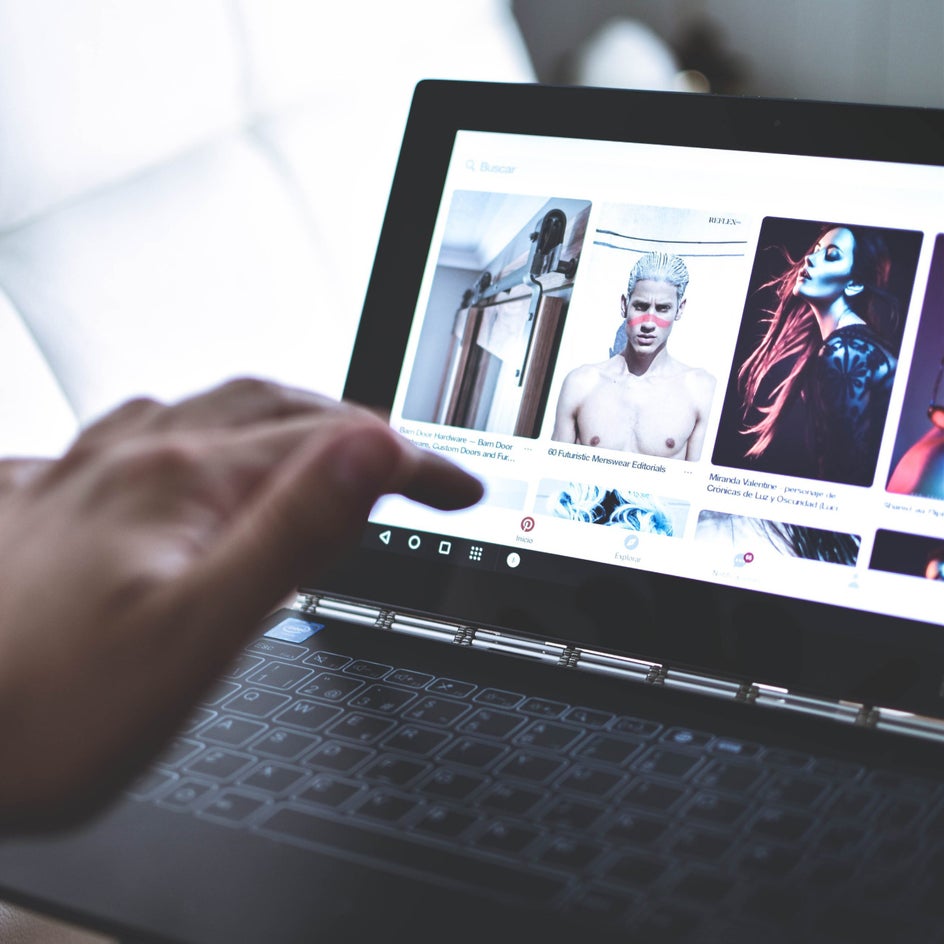
Pinterest is Your Best Friend
If you’re trying to get inspired, check Pinterest beforehand for some inspo! Going into your shoot with a concept is the easiest way to plan and execute the shots you want.
Check Your Camera After the First Few Shots
Worried you’re not getting the photos you want? Make sure after your first few photos that you get up and check your camera to make sure they’re coming out the way you envisioned. This gives you more time to reset and readjust before you end up with hundreds of shots you don’t want.
Now that you’re a master at taking the shots, it’s time to edit!
Our Favorite Tools for Editing Self Timer Photos
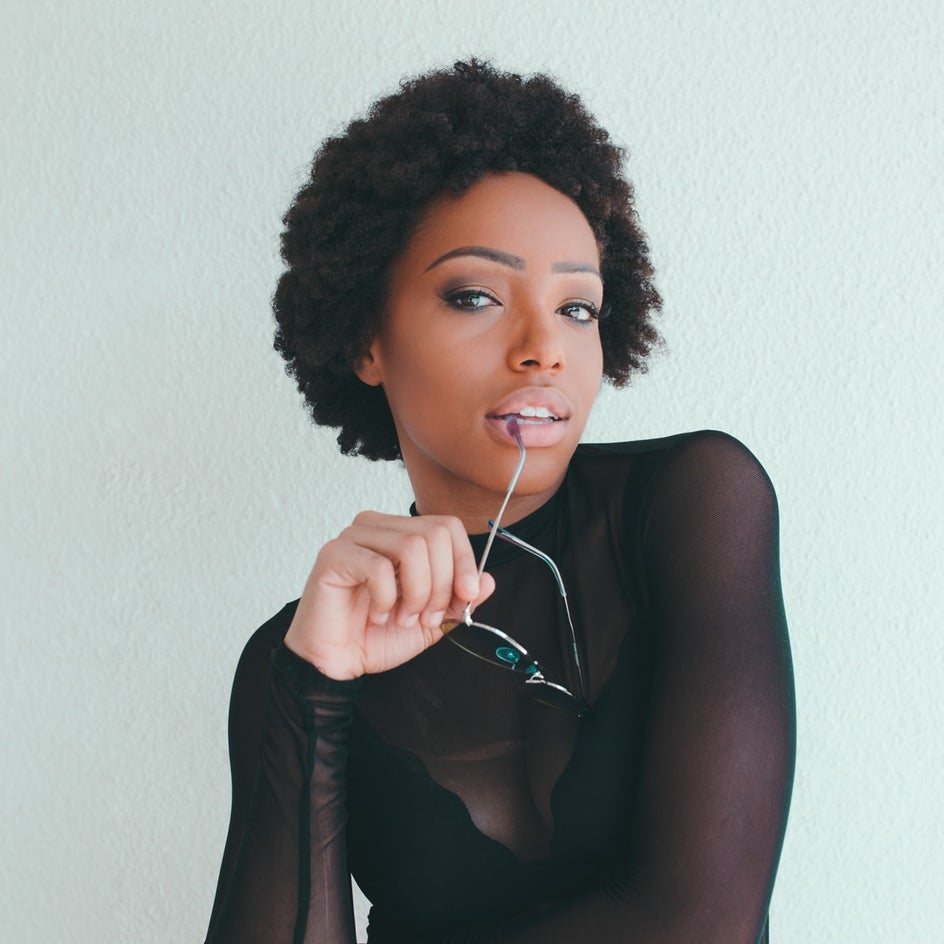
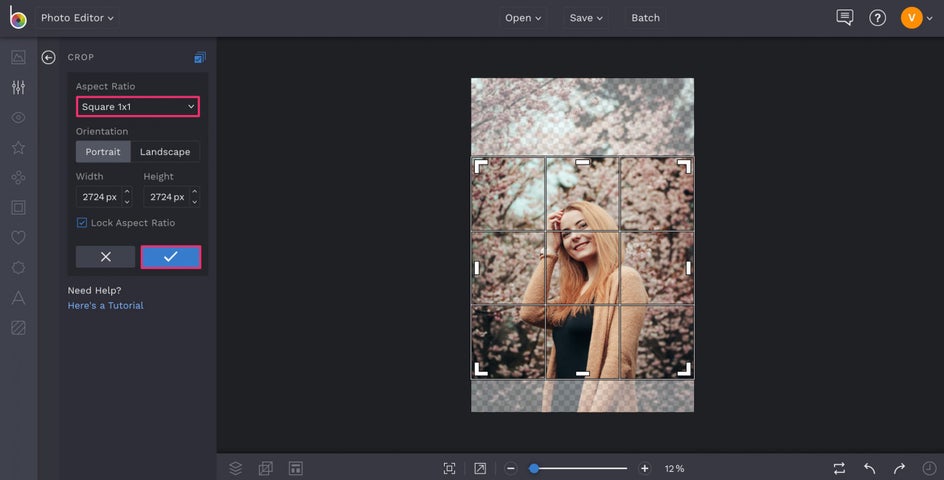
Now that you have your image, it’s time to get them ready to post! BeFunky’s Photo Editor has all the tools you need to make your shot look perfect. We can start by resizing our photo for Instagram. We’re going to bring in the crop on this portrait so that it’s a nice square size for Instagram using the Crop tool. Adjust the size of the crop so that the subject is in the center of the frame, and voila, now you have an Instagram post ready to go.
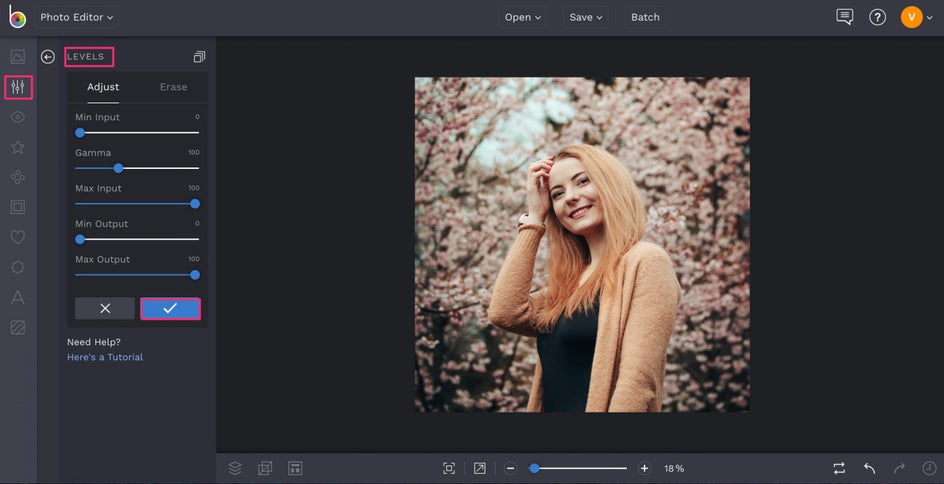
The next tool we’re going to talk about is the Levels tool. The Levels tool helps control all of the exposure levels in your photo: Shadows, Highlights, and overall Brightness. We’re going to use this tool to bring out the brightness in our photo so we’re going to use the Min Input, Gamma, and Max Input tools. In reverse order, the Max Input slider controls the highlights in your image - a great starting point for brightening. The Gamma slider controls the overall brightness of the image, which is a perfect next step. The Min Input controls the shadows in your image. You can play with each of these settings until you adjust your photo to look the way you’d like it to!
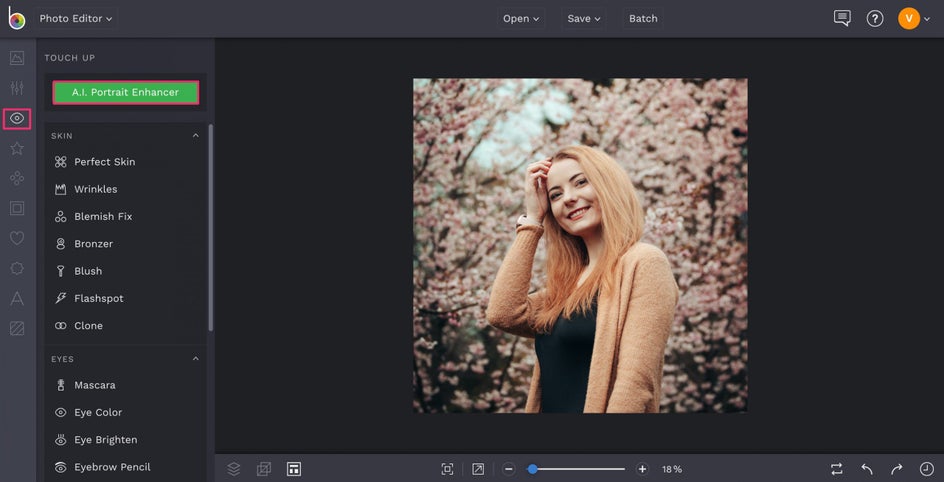
If you’re looking for a single-click portrait editor, check out our A.I. Portrait Enhancer tool! With one click, this tool brightens your photo and amplifies the colors so that it looks its best without any hassle on your part. Find the tool under the Edit tab!
Trying to give your photo some interesting tones? Checkout our Warmer Tones filters! These filters can help give any photo a touch of warmth that’s both inviting and aesthetic. Use the slider to adjust the strength of the filter and click the green checkmark to apply it.

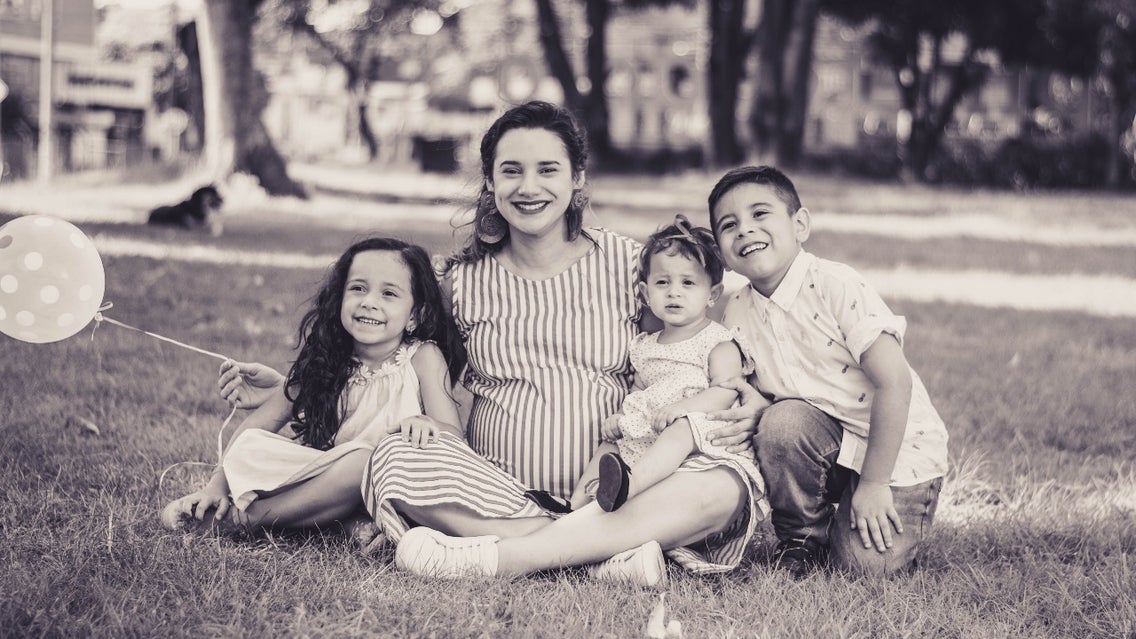
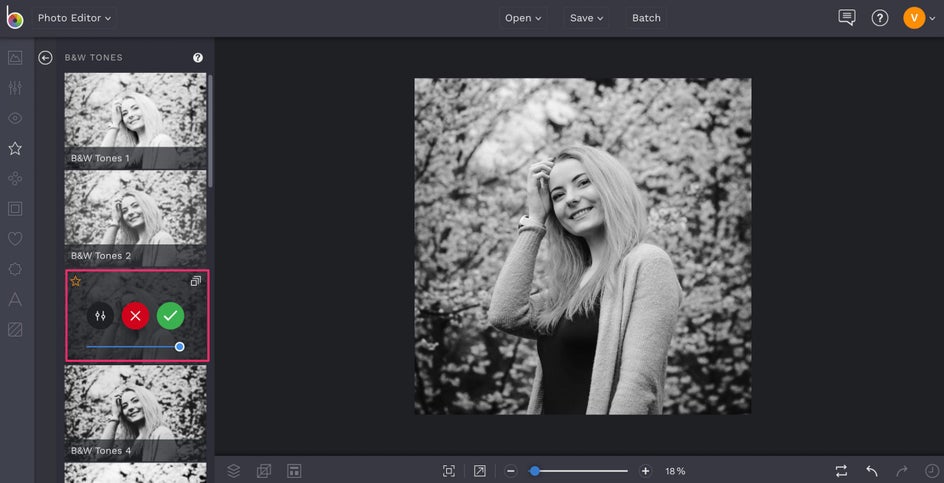
You can also transform your full-color photo into black and white using the Black and White Tones filters!
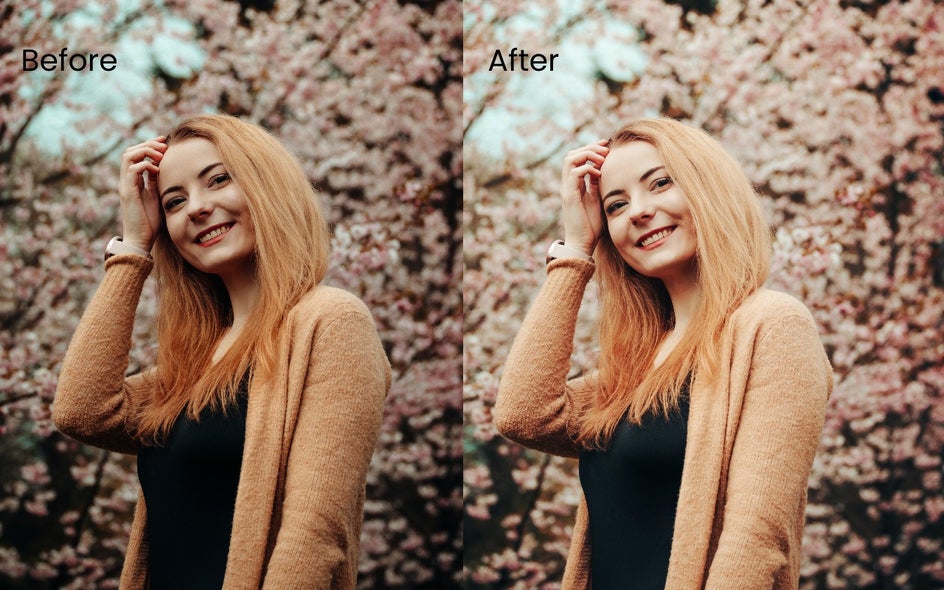
Final Results
There is no reason to let taking your own photos stifle your creativity! What kinds of creative self-portraits are you going to take? Start editing your shots below!