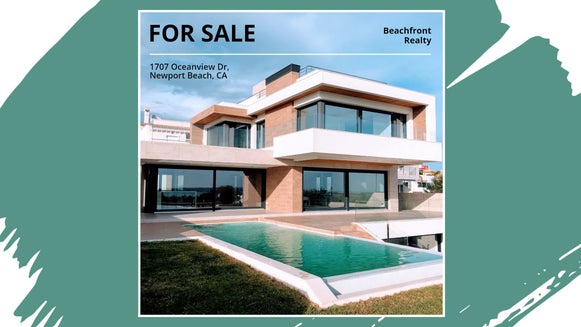
Your Guide to Stunning Real Estate Photography
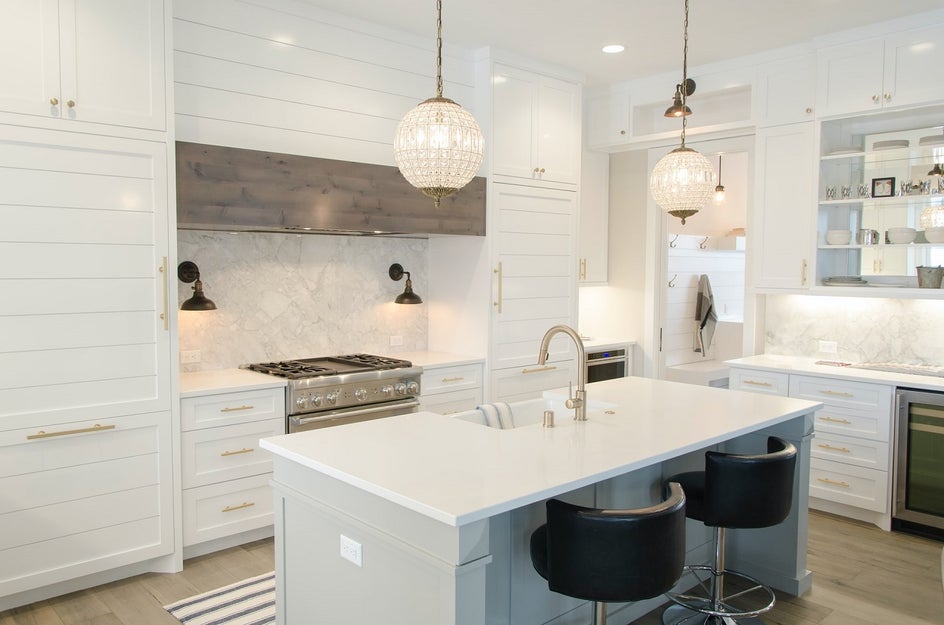
If you’re in the business of selling houses, then you no doubt already know just how important real estate photography is and how it can influence the number of buyers for a property. After all, you’ve got to sell them the dream first, and the best way to do that is through clear, crisp photos showcasing the best features of a home.
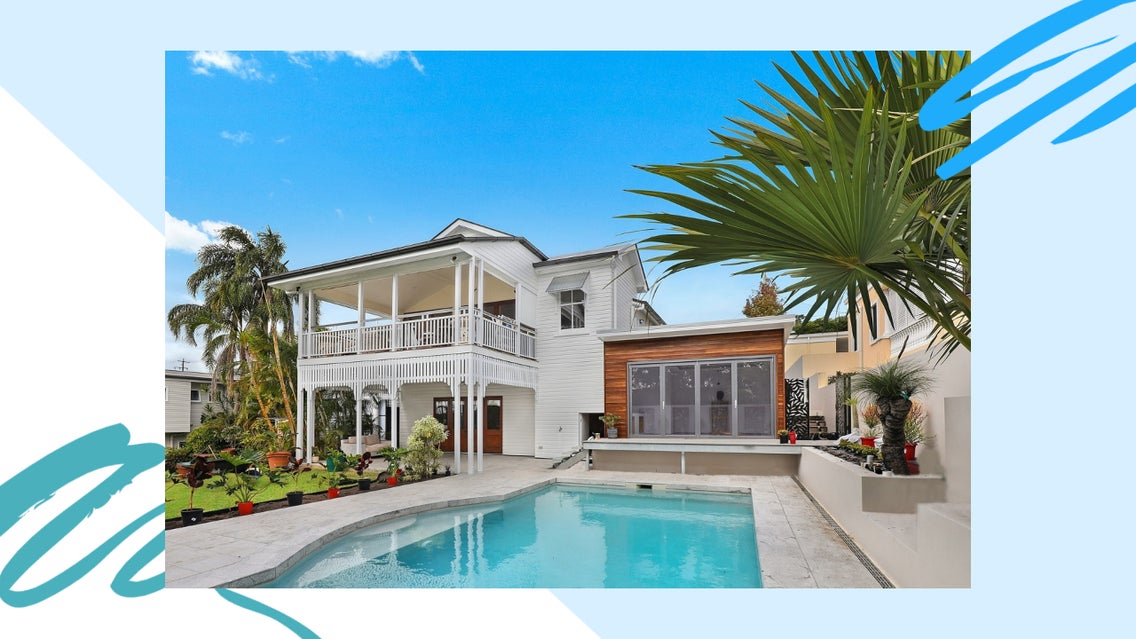
Don’t just take our word for it though! Over 80% of buyers find professional real estate photography “very useful” during the decision-making process, while homes listed with high quality photos receive a 47% higher asking price per square foot. This is why we’ve gathered our best tips for capturing real estate photography, plus we’ll even walk you through the best photo editing tools for the job available in BeFunky’s Photo Editor. It’s a win-win!
Tips for Capturing Real Estate Photography
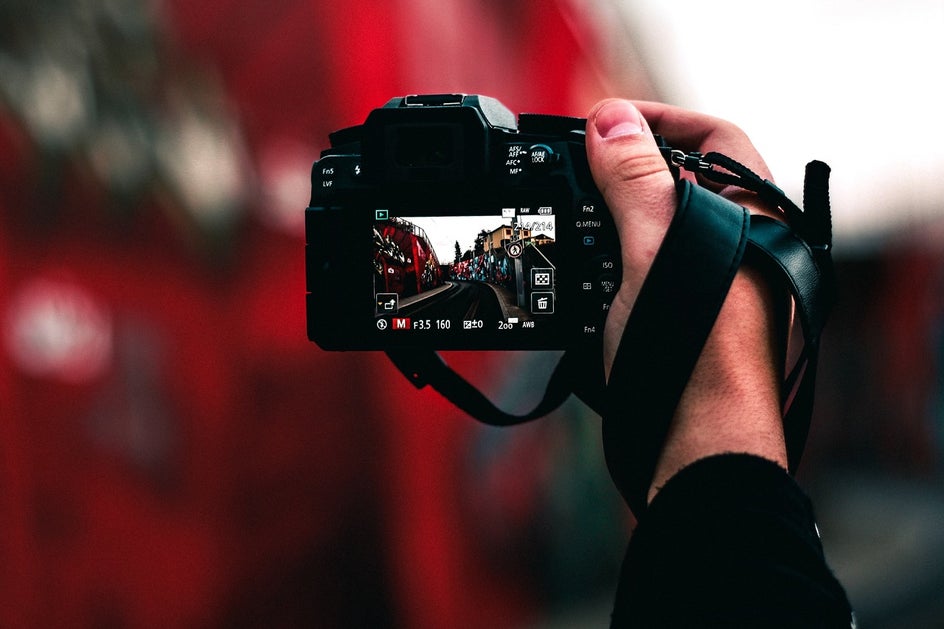
If you’re not a world-renowned real estate photographer but find yourself suddenly behind the lens, fear not. Whether you’re a real estate agent suddenly in charge of taking your own property photos, a new photographer who has just been hired to take real estate photos, or a homeowner going down the DIY route and are therefore, in charge of capturing and editing your own photos - you’re in luck.
Here are our top 5 tips for capturing real estate photography like a pro!
Do a walk-through first
If you’re not the owner of the property, you will need to familiarize yourself with the layout, rooms, and unique selling points by doing a walk-through first. Not only will this help you see which spaces and angles will photograph best, but it also allows you to move any unsightly mess or objects out of shot before you start snapping away.

Use a wide-angle lens
You want to give the rooms of the property an open and spacious look and the best way to do this is through using a wide-angle lens. It also saves you some of the hard work in capturing the entire room within one photograph, which standard lenses are often unable to do.

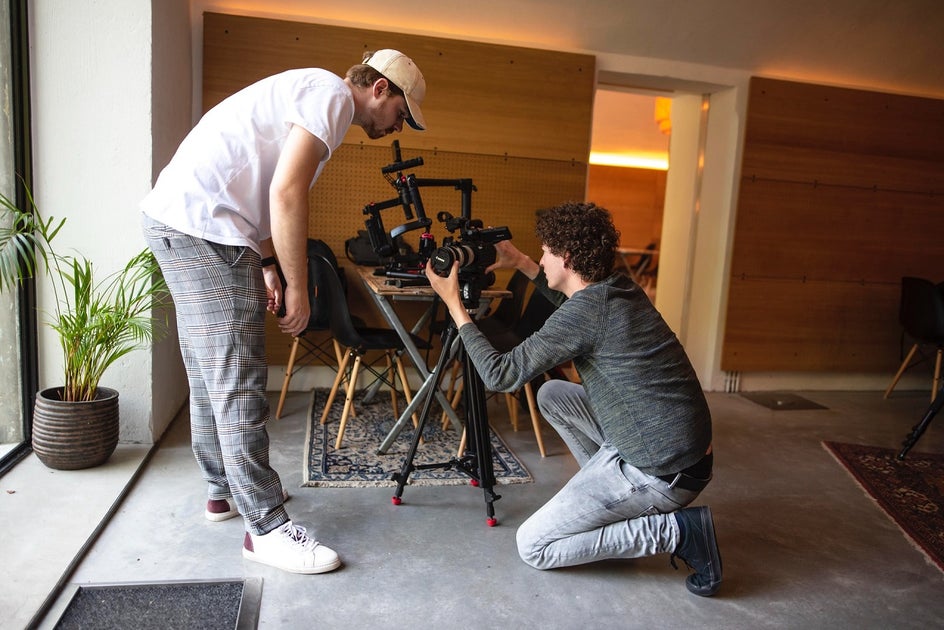
Minimize blur with a tripod
Even the sturdiest of camera models (and hands) will find that some blur in photos is common. That is, if you don’t use a tripod! A tripod will stabilize the camera and prevent any additional movement while shooting, leaving you with the clear and crisp photos you need to sell the property. It also creates consistency, as each photo can be captured from the exact same height.
Get the lighting perfect with flashes and light modifiers
Not every property will be blessed with wide, open windows and flattering lighting. This is why you should invest in two important pieces of equipment: a flash and a light modifier. An external flash is more powerful than your camera’s standard flash and can be attached to the camera or set up elsewhere within the room. A light modifier, such as a shooting umbrella, will encourage a more even light distribution.
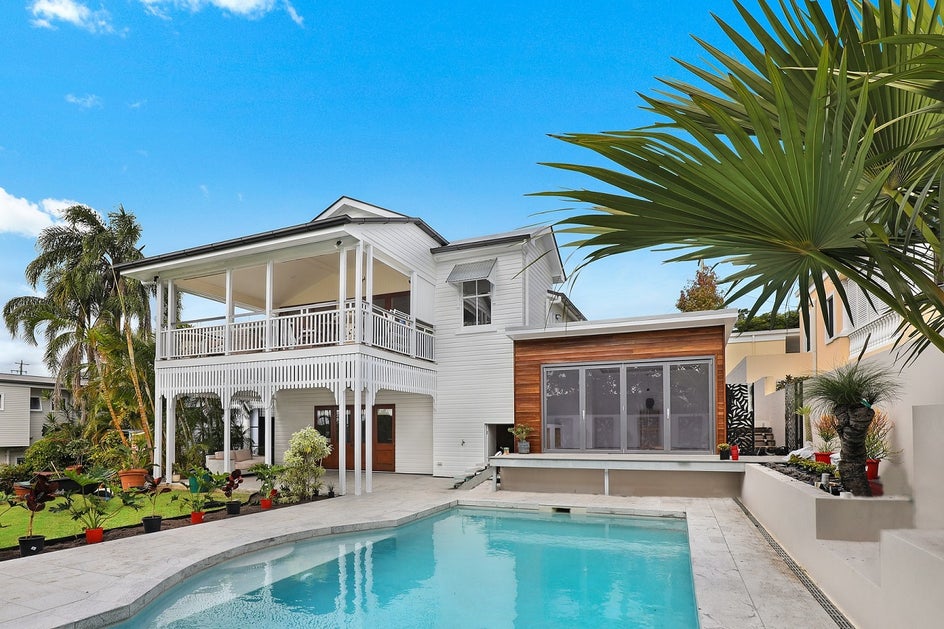
Choose the right weather and time of day
If it’s a dark and rainy day, you’ll benefit from rescheduling your photo shoot to a time when better weather is predicted, if possible. You see, the weather greatly affects the lighting of your images, not to mention the mood. Aim for a clear and sunny day with little to no clouds in the sky. For the most perfect natural lighting outdoors, the sun should be behind the house.
Best Photo Editing Tools for Real Estate Photography
Now we’re going to walk you through the best photo editing tools in BeFunky’s Photo Editor to help you perfect your real estate photography, every time.
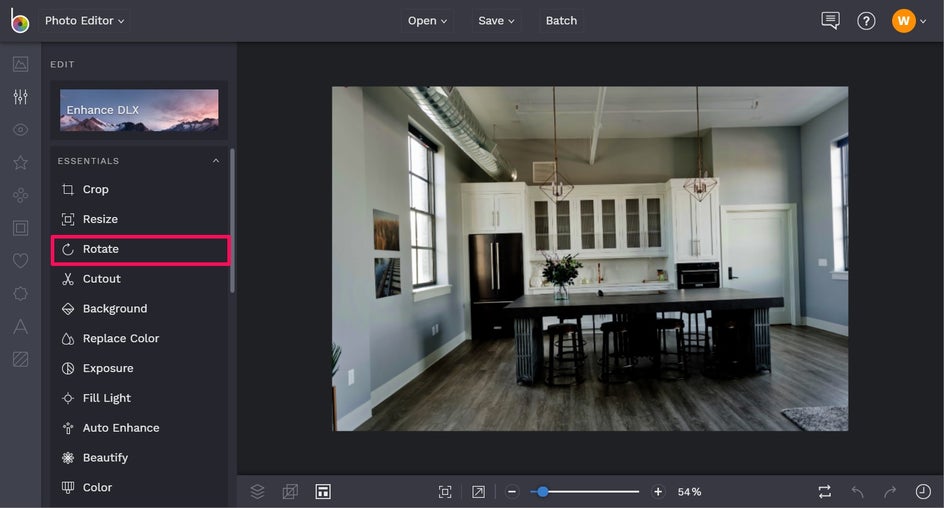
We’re going to start with an unedited photo and show you the quick and easy tweaks you can make to turn it into something that sells. Each of the following tools can be located in the Edit tab of the Photo Editor’s main menu.
Rotate: We can use the Rotate tool to straighten our photo. Simply adjust the slider to straighten the photo to the left or right.
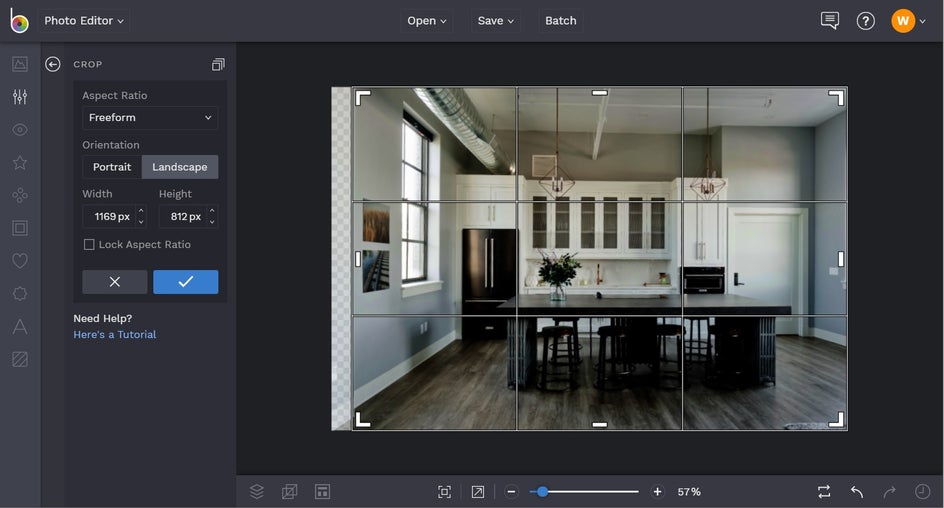
Crop: The Crop tool can be used to crop out any distractions near the edges of your photo. Simply adjust the crop selection by dragging the outlines in or out. You can also use your mouse to reposition the selection to the left, right, up, or down. Need to crop your photo to a specific size or dimension? Select your requirements from the dropdown menu underneath Aspect Ratio.
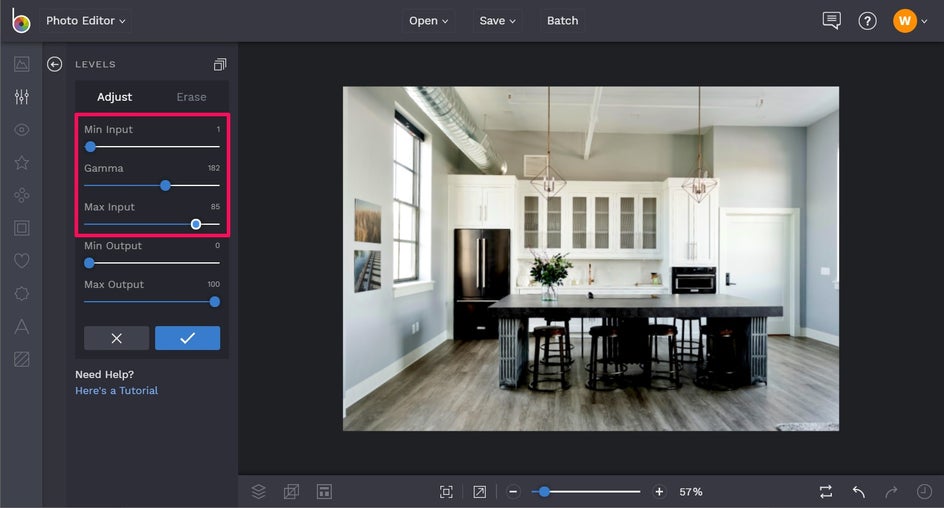
Levels: The Levels tool is perfect for fixing the lighting in the image while maintaining total control over highlights, midtones, and shadows. There are five different sliders in the Levels tool menu, but the top three sliders are the most used for balancing and brightening. The Min Input corresponds to the shadows in your photo, the Gamma slider controls your overall Brightness, and the Max Input slider corresponds to the highlights in your image.
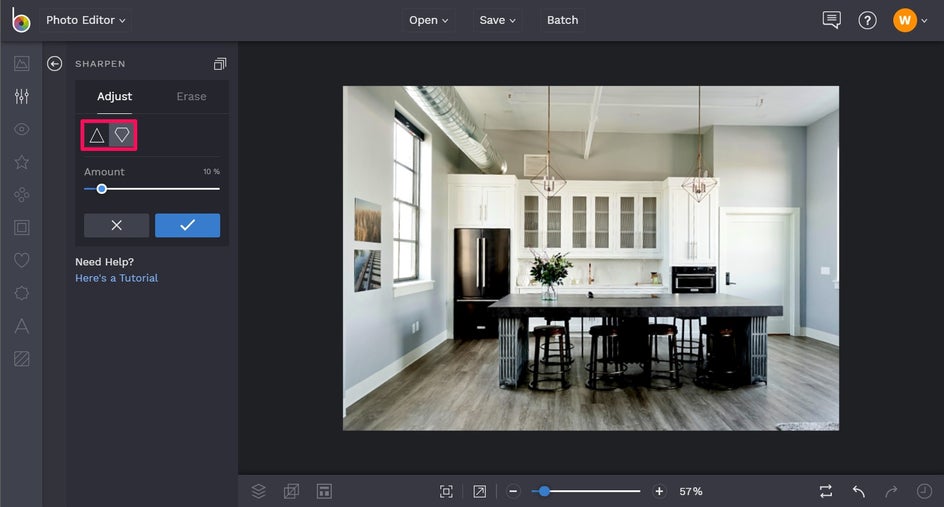
Sharpen: This one is pretty self-explanatory, but our Sharpen tool provides two options for achieving a crystal-clear image: Smart Sharpen (the triangle symbol) and Sharpen (the diamond symbol). Sharpen works to enhance the edge contrast of your photos, while Smart Sharpen enhances the midtones of your photo to give you a sharpened look without over sharpening.
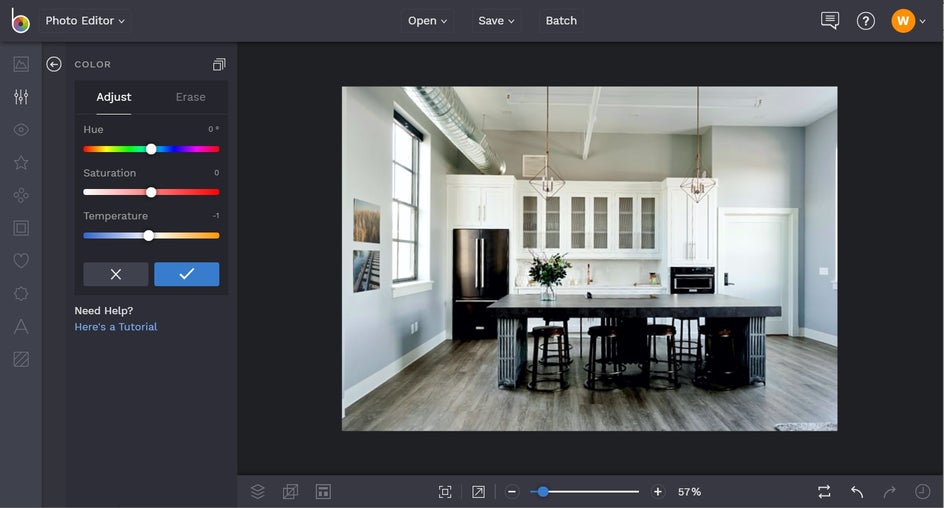
Color: If your photo’s color is looking a bit off or lacking the saturation it needs, then the Color tool can help. It offers multiple options you can adjust, including Hue (the shade or tint of a color), Saturation (the intensity of color), and Temperature (how warm or cool the colors are). In our photo, we’ve made the colors slightly cooler by adjusting the Temperature.
Before and After
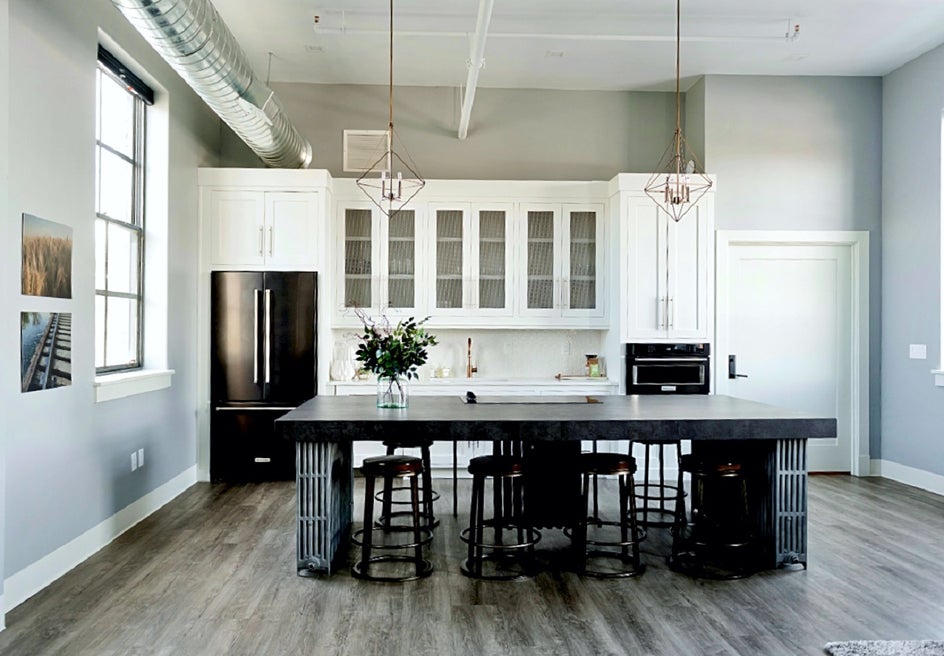
Forget unappealing or unsightly real estate photos. If you want your real estate photography to sell the home for you, you’ll want to make use of our Photo Editor’s effective and easy-to-use photo editing tools!