Free Online Image Resizer
Change the dimensions of your image as well as the file size in seconds.


How Does Image Resizer Work?
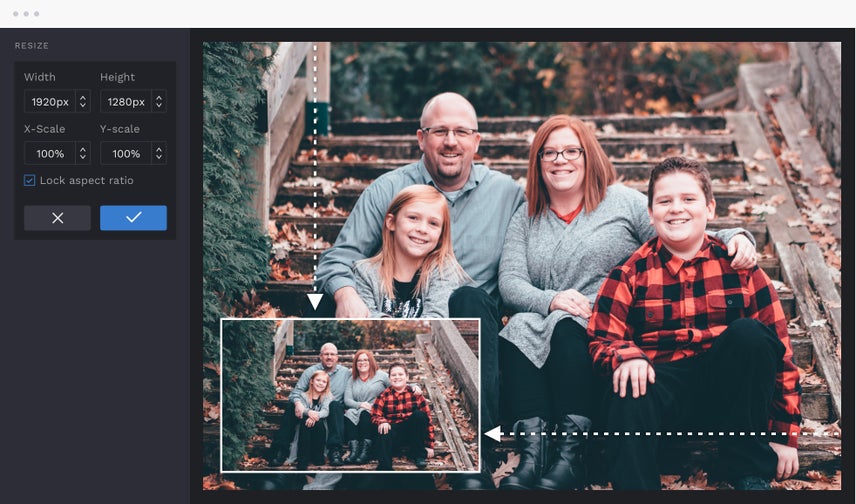
It is the fastest way to edit your photos for all types of projects. Easily resize images by pixel dimensions, scale by percentages, and maintain the aspect ratio of your images so you can save photos in high resolution. You can even batch resize multiple photos at once, simplifying the image resizing process. This way, you can resize your photos for everything from social media posts to printing your family photos, all without sacrificing image quality. Your photos can be adjusted to the dimensions and file size you need with our fast and free tool.

Resize Photos by Converting Pixels to Inches
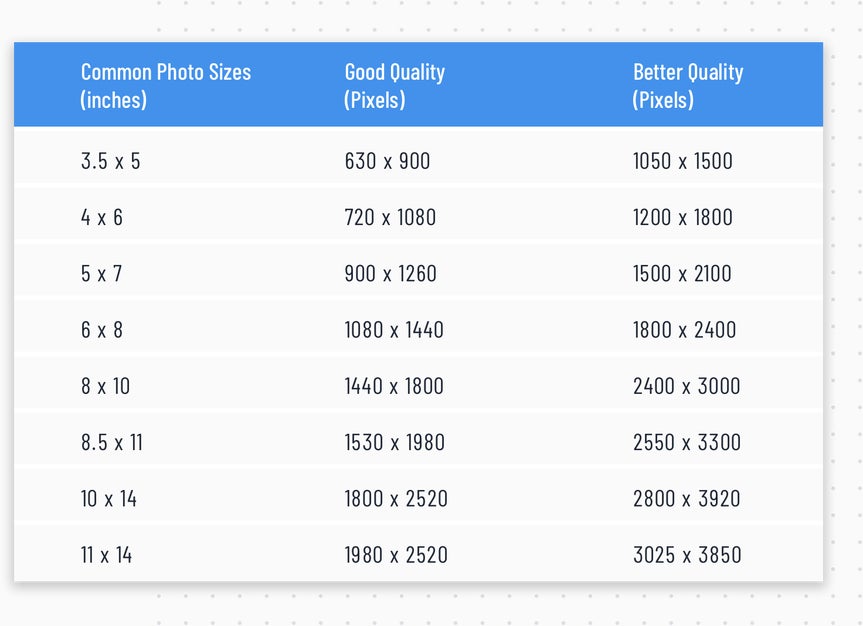
Resizing photos for print means changing pixels to inches. Don’t worry, we've done the math for you, so resizing the dimensions of your photo is easy. The chart to the right lists the most common photo-print sizes, and their corresponding dimensions in pixels. You can use this table to resize photos. First, find the size you want your photo print to be, then adjust the pixels accordingly using our online tool before saving your resized photo to your Computer in high resolution. Now you're ready for pain-free photo printing!

Size Matters. Resize Photos for Every Site.
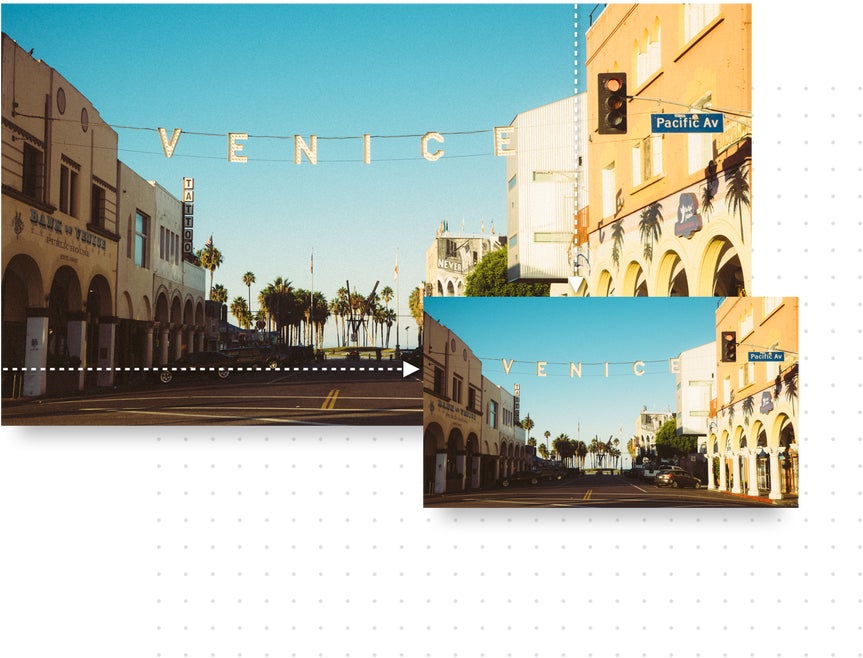
Adjusting your photos for every online platform is tricky. With our free Image Resizer, you can resize photos for social media, Shopify, your website, and more! Resize photos for your online store or change the dimensions of your blogging graphics with ease. You can adjust the dimensions of your images, no matter where you’re posting the photos. Keep your Facebook cover photos current, adjust your YouTube thumbnails, or get the perfect Twitter header using a pixel-by-pixel ratio to adjust the exact dimensions you need while leaving the image resolution intact.

Printing Your Images? Resize Photos for Print.
Looking for the best way to resize your images for print? Our tool, located in the Photo Editor, makes fine-tuning the dimensions of your photos for print simple. You can resize your family portraits, change the dimensions for a t-shirt design, or create the perfect poster for your room.

Photo Resizing FAQ
How Do I Resize My Image Using BeFunky?
Upload your photo into the Photo Editor, navigate to the Edit section, and then select Resize. You can get an in-depth look at using the tool to resize your photos in this article!
What Photo File Types Can Be Resized Using the Resize Image Tool?
BeFunky supports JPEG/JPG (common file format for digital cameras), GIF, BMP, and PNG file formats. Here's an article to learn more about what kinds of files can be uploaded to BeFunky.
What is the Aspect Ratio of an Image?
The aspect ratio of an image displays the proportional relationship between a photo’s width and its height. It is most often shown as two numbers separated by a colon, as in 8:9. It is important to note in the process of resizing your image, you may want to lock the aspect ratio to ensure the quality of your photo stays the same. Here's an article to learn more about this process.
How Do I Resize a Photo Without Losing Quality?
Upload your photo to the Photo Editor, then customize the image settings based on whether you’re making the image smaller or larger, and the format you’re saving in (JPG, PDF, or PNG). Once you’re satisfied with your resized photo, click Save.
Why is Image Resolution Important?
The image resolution is typically described in PPI, which refers to how many pixels are displayed per inch of an image. Higher resolutions mean that there are more pixels per inch (PPI), while lower resolutions have fewer PPI and can often appear stretched after the resizing process is complete.
How to Resize an Image in 4 Steps
Our Image Resizer never compromises quality
01. Select Resize
Choose Resize from the Edit section of BeFunky's Photo Editor.
02. Adjust Image Size
Type in your new width and height dimensions.
03. Apply Changes
Click the checkmark and let the Image Resizer do its work.
04. Save your Photo
Save your resized image