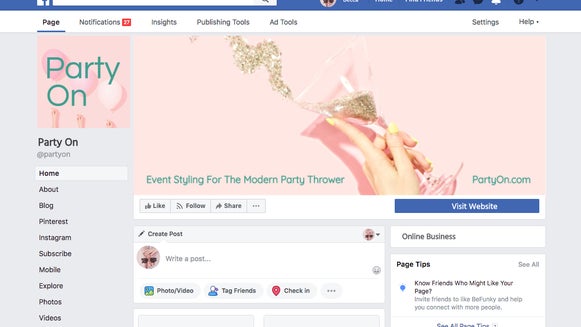
Creating a Facebook Group Header Graphic

It's back and better than ever: fall, that is! Though we may feel sad to say farewell to summer, with the cooler weather comes something we all enjoy —fall television premieres. So, how can you take your excitement and share it with all your friends? By styling your Facebook or Pinterest group to match your favorite show, complete with all its premiere information.
Using BeFunky’s Designer Toolset, you can put together a fun premiere page.
1. Log In
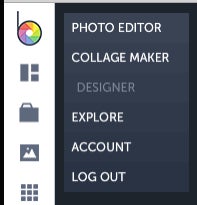
After finding out what pertinent information you’ll need for your graphic (network, premiere date, time), log in to BeFunky, choosing Designer to begin your header.
2. Pick A Social Media Outlet

Choose Social Media Headers, specifically for Facebook.
3. Choose Your Template
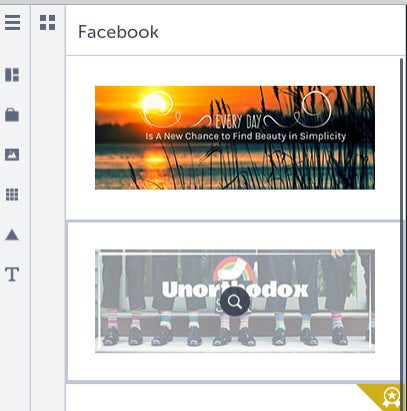
Pick from various templates to easily create your graphic.
4. Upload Your Photo
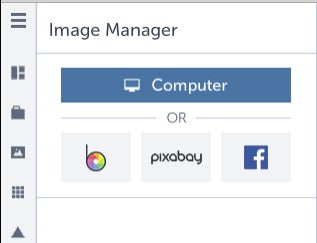
Upload the photo you’d like to use for your header. For my purposes, I’ve chosen the show Bones on Fox.
5. Edit Your Image
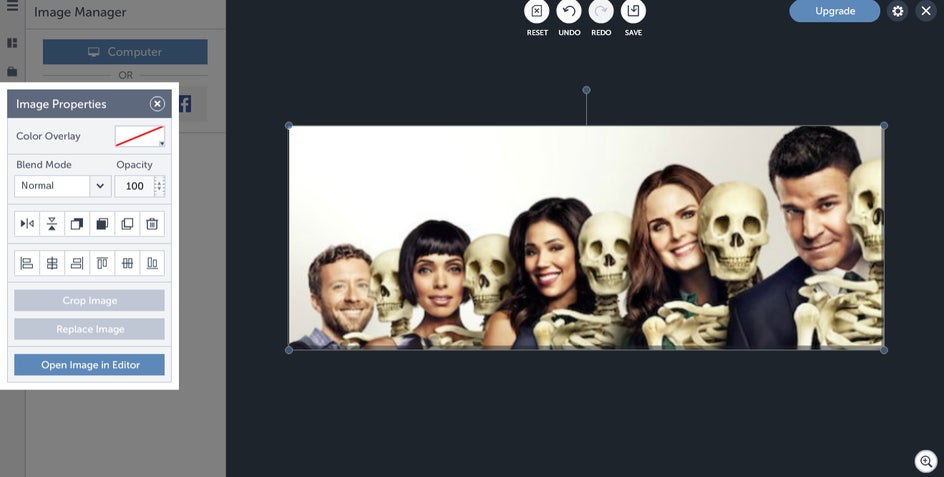
Edit your photo, if necessary. Headers are a specific shape for most social media sites, of a more rectangular nature. If your photo doesn’t fit exactly, you can stretch it to fit, or you can create background around it, which is what I’ll be doing.
6. Add Informational Text
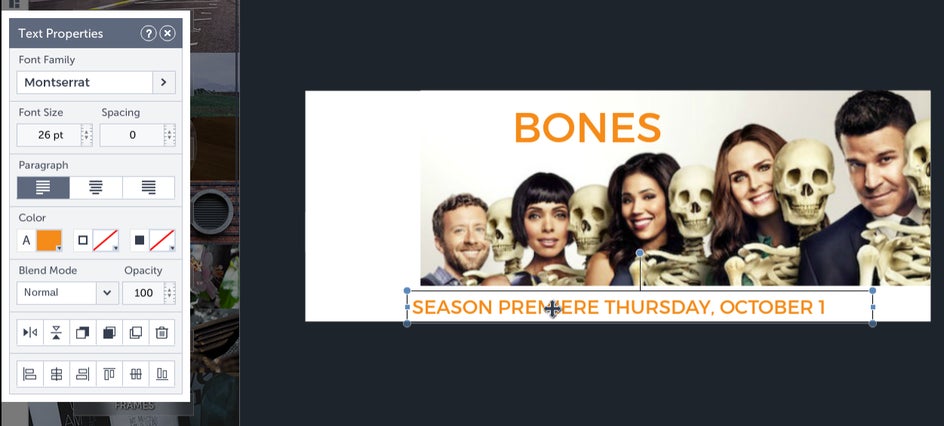
Add text to your graphic, focusing on important info for your show’s premiere. I’ve chosen to keep the font and color similar to that of the Bones page on Fox’s website.
7. Do Color Adjustments
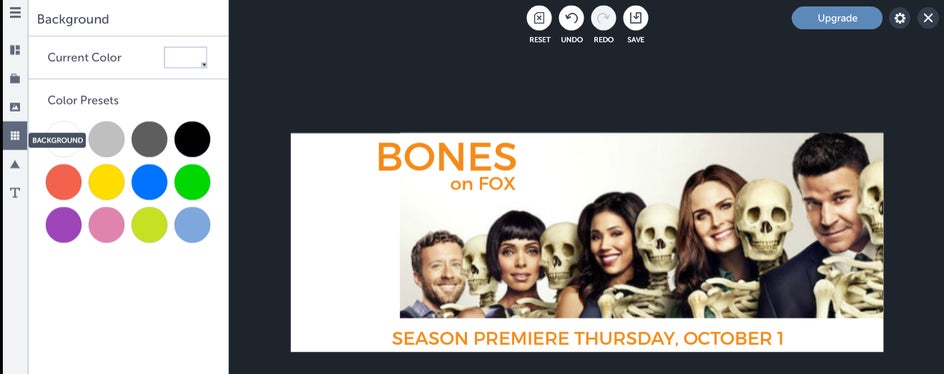
Adjust the background color, if necessary, to match the photo.
8. Make It Pretty
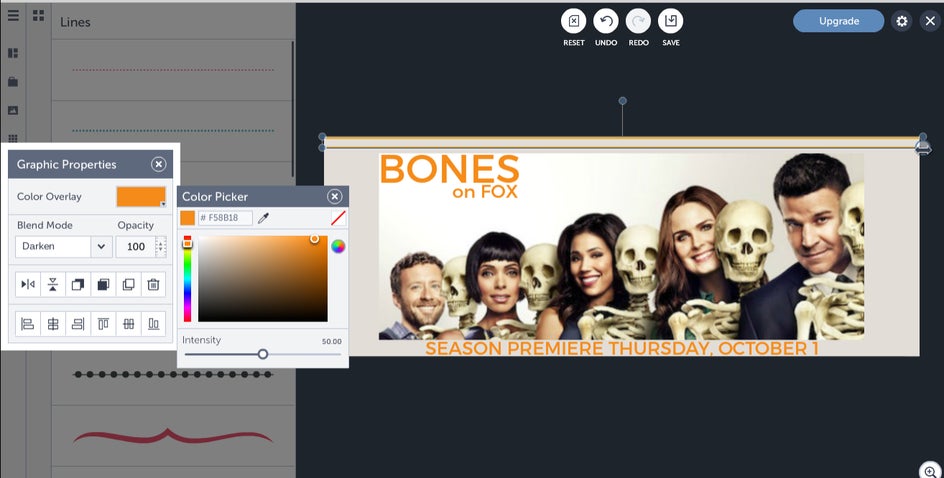
Add design elements to your header, if you so desire. I’m adding a basic line to create some visual interest, but not overwhelm the text.
9. Save It
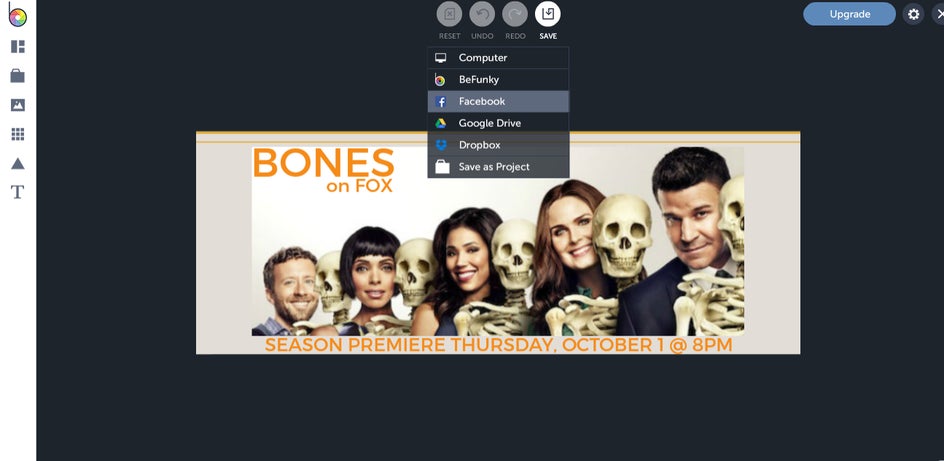
Once the header is looking how you’d like it, click on “Save” to save and upload it directly to Facebook! Your group now has a fun, informative header for your favorite show’s premiere information.
From here, you can certainly add teaser videos, cast bios, and potential spoilers, if that’s up your alley. Happy premiere season!


